{{superHeaderAds.title}}
Live Chat
Embroidery Designs
Welcome, Embroiderer
Login
FSL Flowers Lampshade
{{mainImageAlt || (productInfo._source && productInfo._source.name) || ''}}

FSL Flowers Lampshade Embroidery Project

By   Marisa Littleton   on   March 09, 2020

PROJECT DETAILS

SKILL LEVEL
Some Experience
TIME REQUIRED
02:00
Description

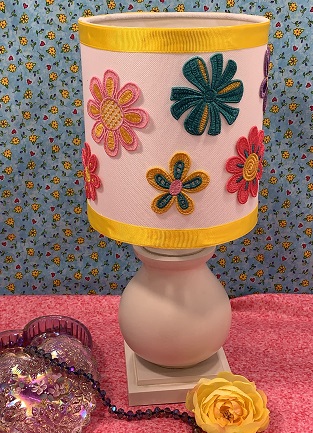
Spring is in the air! FSL Flowers on a lampshade add a pop of color to your décor for a seasonal change.

Project Preview Video

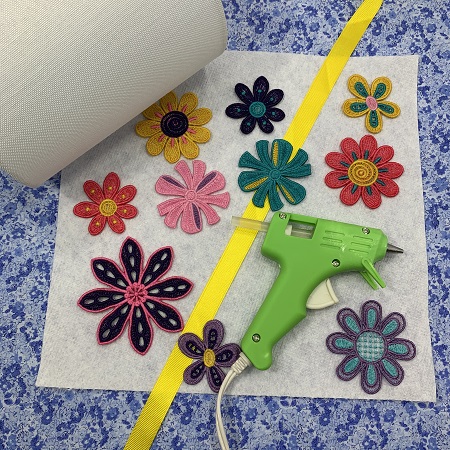
Materials
  • 4”x4” hoop or larger
  • 2 sheets Vilene water soluble stabilizer per hooping
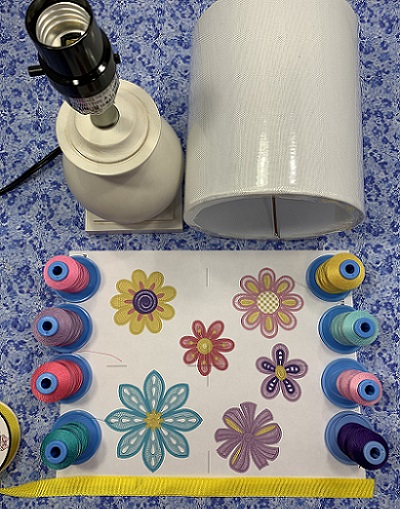
  • 40 wt. embroidery thread (Robison-Anton poly)
  • Embroidery Needle size 75/11
  • 505 Temporary Spray Adhesive
  • 12” lamp with shade (7" shade)
  • Scotch Super 77 multi-purpose adhesive
  • Computer Software program, optional (Embrilliance Essentials)
  • Grosgrain ribbon 3/4"x1 yard
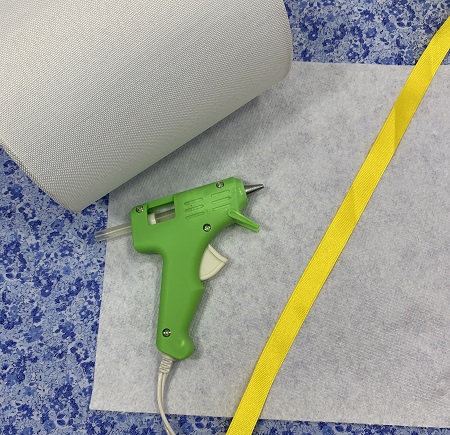
  • glue gun & glue sticks

  • Designs used in this project

    Preface:
    Brighten up your home with a pop of bright, cheery colors.  FSL Flowers on a lampshade add a touch of spring to your home décor for a seasonal change.  The time to complete the project will depend on the number of FSL flowers you make for the lampshade plus drying time.
     
    Design Technique:  Free Standing Lace.  Hoop Size:  4”x4” or larger.  Stitch Count: Ranges from 4600-14,500 per design.   Stabilizer:  Vilene wash away stabilizer (WSS).    Hooping Method:  FSL is completed In The Hoop (ITH).   Hoop two pieces of WSS.  Embroidery Needle Size:  Size:75/11.  Machine Speed:  600-700 stitches per minute.


    Step 1:
    Read all the directions before beginning the project.  Gather supplies and materials needed for the project.
     
    Free-standing lace embroidery designs are stitched on a fibrous water soluble stabilizer with no fabric base.  A high stitch count holds the lace together.  The film plastic-like WSS works better as a topping for deep nap fabrics like towels and is NOT recommended for this project.  Drying time is not included in the project completion time.


    Step 2:
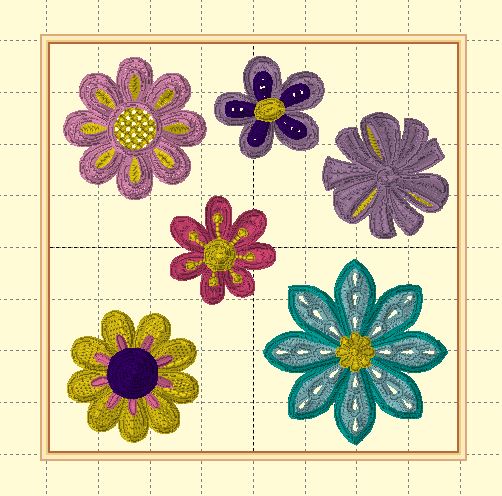
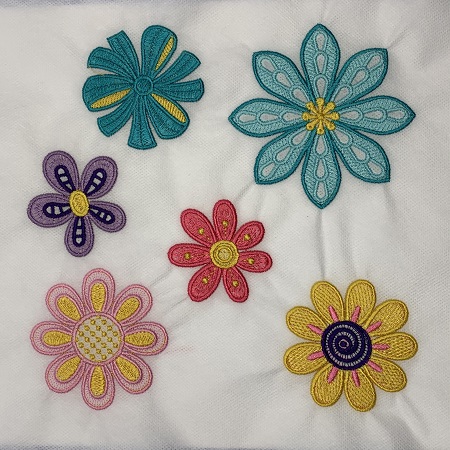
    An embroidery software program (Embrilliance Essentials) was used to group the designs used in this project.  Grouping the designs reduced the number of hoops as well as the amount of stabilizer.  


    Step 3:
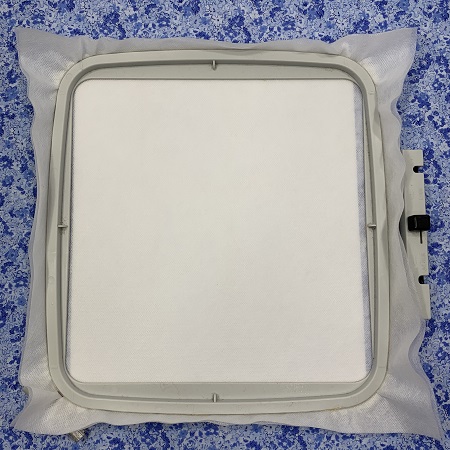
    Hoop two pieces of water soluble stabilizer.  


    Step 4:
    Load the design template onto the embroidery machine.  Attach the hoop.  Put a 75/11 embroidery needle on your machine.  Check your bobbin area for debris. Check for an adequate amount of thread on the bobbin.  
     
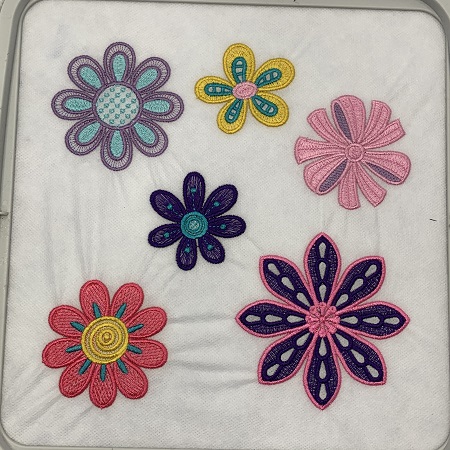
    Follow the color chart to embroider the FSL designs.   There was some puckering on the WSS due to the total stitch count in the grouping.  The puckering was not a problem for the finished design.  Two sheets of stabilizer is ample for each individual design.  


    Step 5:
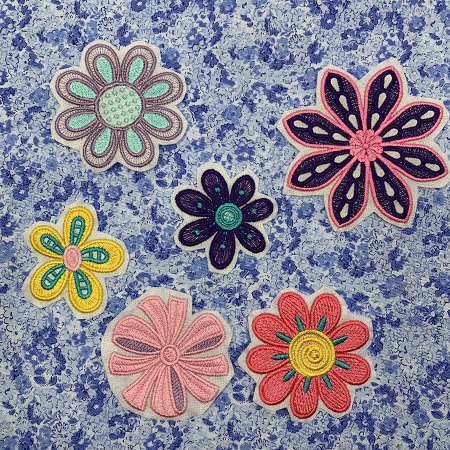
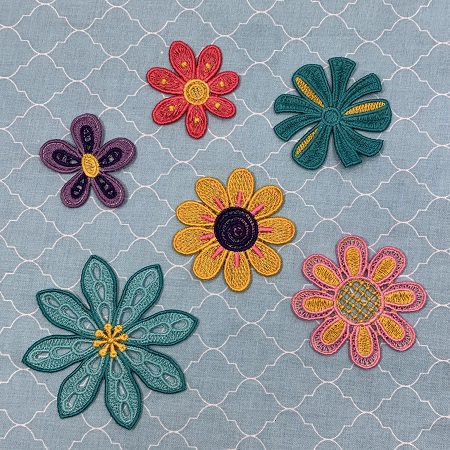
    I embroidered two sets of the FSL flowers for this project using a variety of complimentary spring colors.


    Step 6:
    Remove the hoop from the machine after the FSL flowers have completed embroidering.  Remove the project from the hoop.  Remove the stitch out from the hoop. 
     
    Trim the excess stabilizer to about ¼” from the edge.  Trim the long threads if needed on the back of the design.  It’s very difficult to clip/remove a stray thread once you remove the water-soluble stabilizer.


    Step 7:
    Remove the water-soluble stabilizer by following the directions on the package.  WSS is usually removed by running hot water on the design.  Hold the FSL flower under a tiny stream of running water just until the WSS is no longer visible around the edges or in holes in the design.  Leaving some of the WSS will make the FSL flower stiff and hold their shape better.

    Lay the FSL flowers on a wax paper or parchment paper to dry overnight.  FSL items tend to stick to paper towels.


    Step 8:
    Collect the materials needed to complete the FSL Flower lampshade.  Scotch Super 77 multi-purpose adhesive worked great for gluing the flowers to the lampshade.  Hot glue did not work as well on the FSL Flowers as it did for the grosgrain ribbon.  


    Step 9:
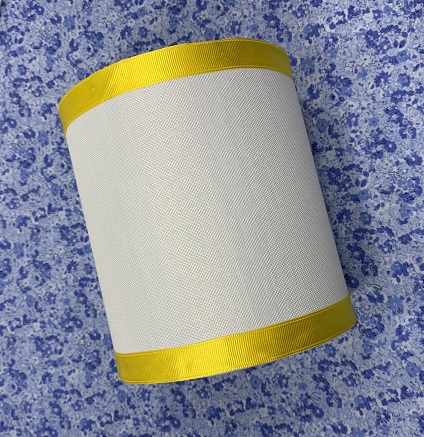
    Measure the diameter of the lampshade.  Add 1" to your measurement.  Cut two pieces of ribbon to match your measurement. 


    Step 10:
    Hot glue a piece of ribbon around the top and bottom of the lampshade.  When you get to where the ends of the ribbon meet on the lampshade, fold the end under so that the raw edge of the ribbon is not showing before gluing it down.


    Step 11:
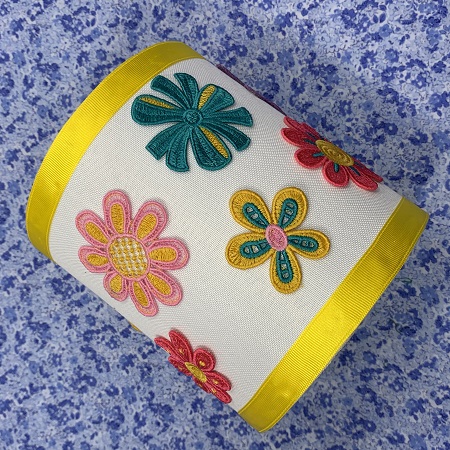
    Attach the FSL Flowers to the lampshade.  Hot glue did not work for me on this part of the shade.  Put an adhesive (hot glue or a multi-purpose) on the back of each flower.  Randomly place the flowers on the lampshade.   Press the flower firmly onto the lampshade and hold in place until it adheres to the lampshade.


    Step 12:
    (Click Image to Enlarge)
    Congrats!  You created a dash of spring to add to your home décor!  The kid in me really enjoyed making this project.  Sew Much Fun!

    Making things beautiful, one stitch at a time....
     
     
    Marisa Littleton 
    Meet the Author: Marisa Littleton
    Marisa Littleton
    Marisa Littleton is a retired educator with a love for teaching and learning. Interests include machine embroidery, hand embroidery, quilting, cooking, and antiques.
    More From This Author
    Link is Broken, Please check the URL
    Exclusive Embroidery Offers!
    Copyright © {{ currentDate | date:'yyyy'}} - EmbroideryDesigns.com
    GET 50% OFF! ×