{{superHeaderAds.title}}
Live Chat
Embroidery Designs
Welcome, Embroiderer
Login
Bunny Key Fob
{{mainImageAlt || (productInfo._source && productInfo._source.name) || ''}}

Bunny Key Fob Embroidery Project

By   Marisa Littleton   on   March 10, 2020

PROJECT DETAILS

SKILL LEVEL
Some Experience
TIME REQUIRED
00:30
FINISHED SIZE
4 x 2.5 inches
Description

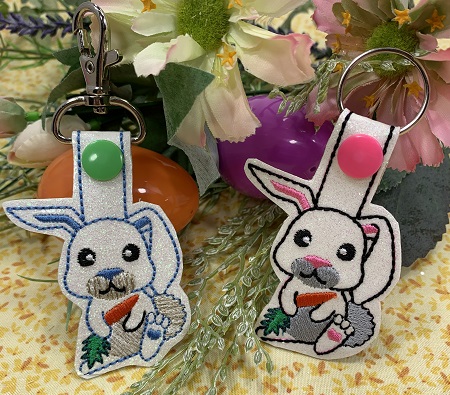
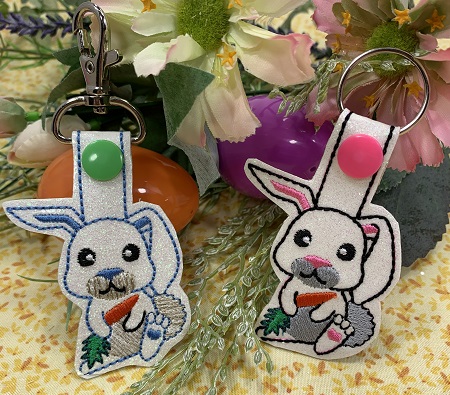
Do the Hop! The Bunny Hop! Everyone will want to hop over and make 'Bunny Key Fobs'! Super Cute! Fun & easy!

Project Preview Video

Materials
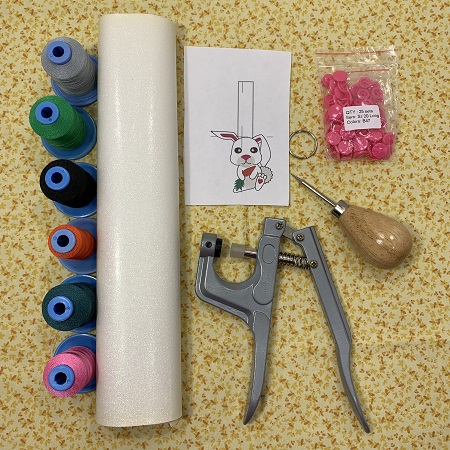
  • 4"x4" hoop
  • Two pieces of 4.5"x3" pieces of marine vinyl for front & backing
  • Cut away stabilizer (2.5 oz. wt.)
  • 90/14 Embroidery needle
  • 40 wt. Embroidery thread (Robison-Anton poly)
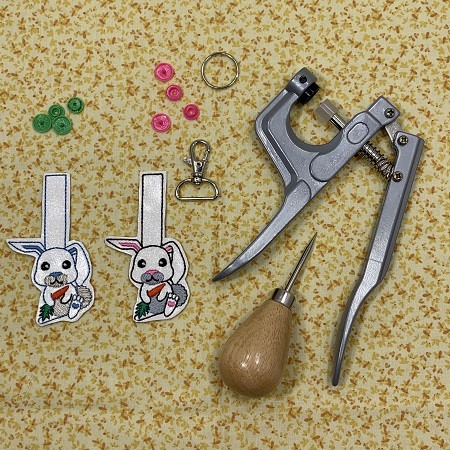
  • Kam snaps (size 20) & pliers
  • Hole punch/awl
  • 1” key ring or lobster clasp
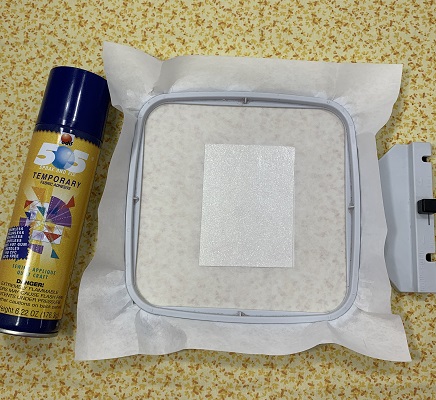
  • 505 Temporary Adhesive Spray

  • Designs used in this project

    Final Product: What You Will Create

    Preface:
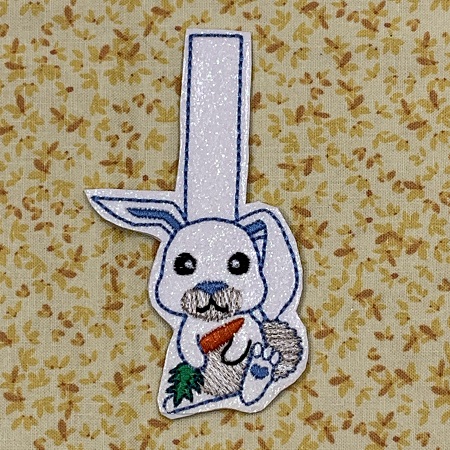
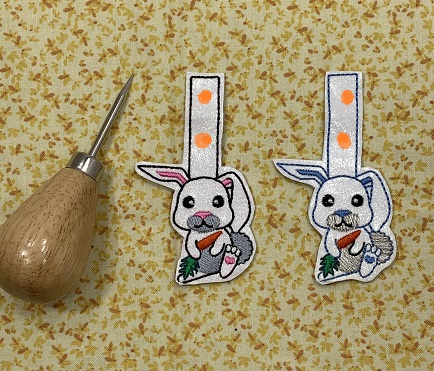
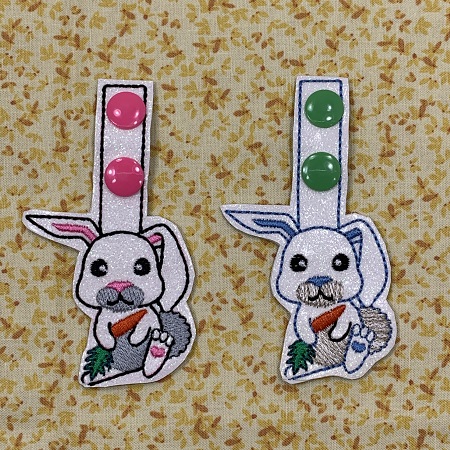
    A Bunny Key Fob made with marine vinyl.  Kam snaps were used as a fastener on the key fob.   A single needle embroidery machine was used to make this project.  


    Step 1:
    Read all the directions before beginning the project.  Gather supplies and materials.  Cut two pieces of marine vinyl 4.5" x 3".  Put a 90/14 embroidery needle on your machine.  Check your bobbin area for debris.  Check for an adequate amount of thread on the bobbin.  


    Step 2:
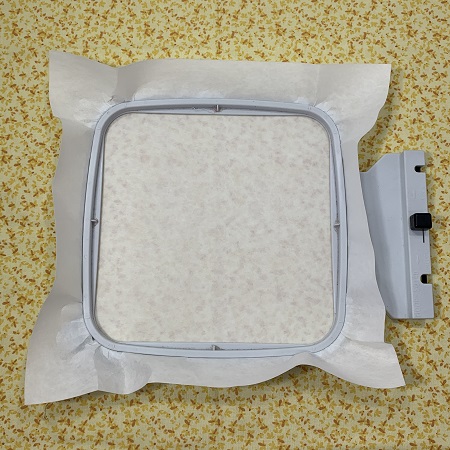
    Hoop one piece of medium weight (2.5 oz.) stabilizer.  


    Step 3:
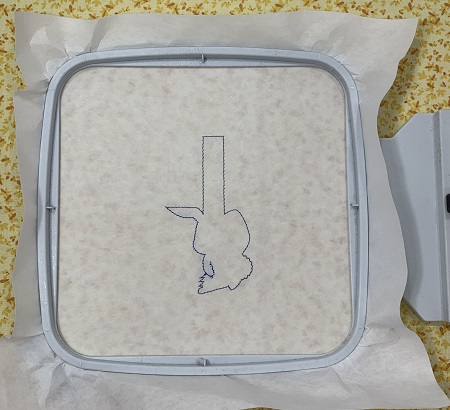
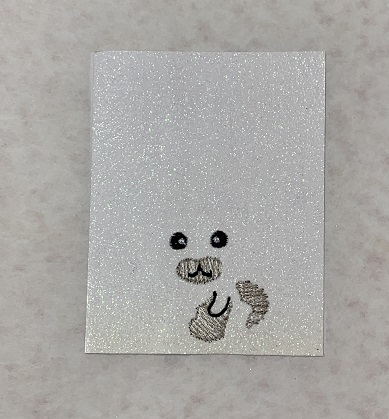
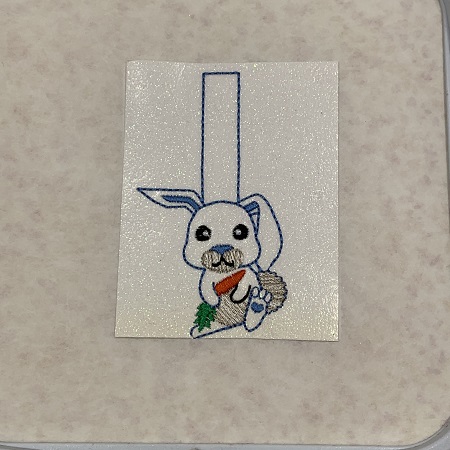
    Load the design onto the machine.  Attach the hoop.  Stitch COLOR 1.  COLOR 1  is the placement stitches for the marine vinyl.


    Step 4:
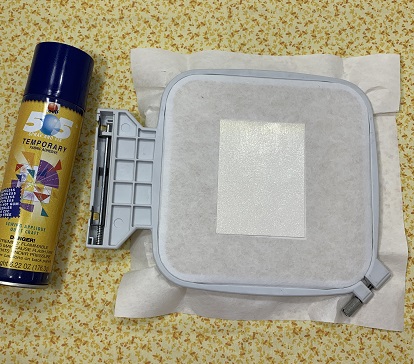
    Remove the hoop from the machine.  Spray a light mist over the placement stitches on the stabilizer.  Gently press one piece of the marine vinyl onto the stabilizer.  Make sure that the vinyl covers the placement stitches. 


    Step 5:
    Turn the hoop over so that the back of the hoop is facing you.  Spray a light mist over the placement stitches on the stabilizer.  Gently press one piece of the marine vinyl onto the stabilizer.  Make sure that the vinyl covers the placement stitches.  


    Step 6:
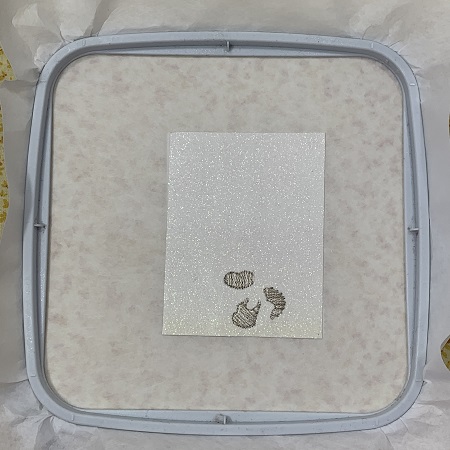
    Attach the hoop to the machine.  Stitch COLOR 2.


    Step 7:
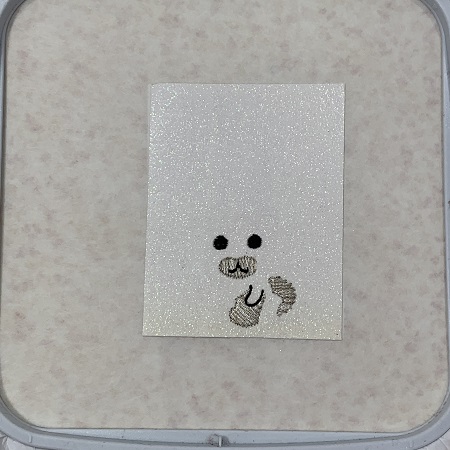
    Stitch COLOR 3.  Color 4 adds facial features and limbs.


    Step 8:
    (Click Image to Enlarge)
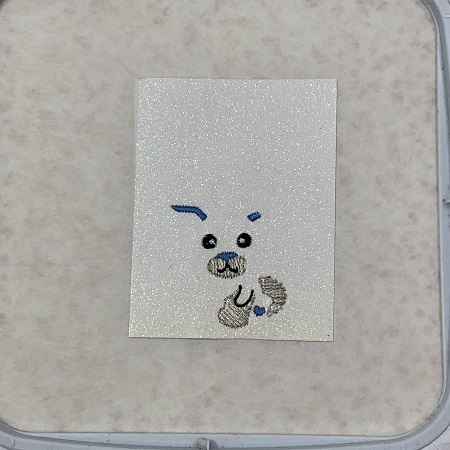
    Stitch COLOR 4.  Color 4 adds a tiny dot of white to the eyes.


    Step 9:
    Stitch COLOR 5.  Color 5 adds details to the ears and feet.  I used blue or pink on the examples that I made for this step.  


    Step 10:
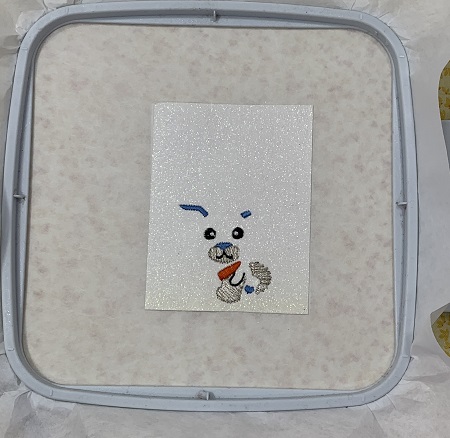
    Stitch COLOR 6.  Color 6 is for the carrot.


    Step 11:
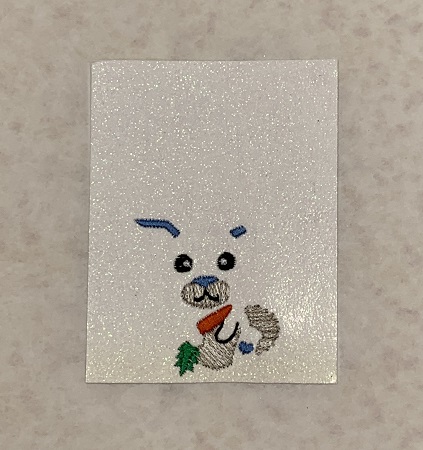
    Stitch COLOR 7.  Color 7 is the carrot top.


    Step 12:
    Stitch COLOR 8.  Color 8 outlines the Bunny Key fob.  


    Step 13:
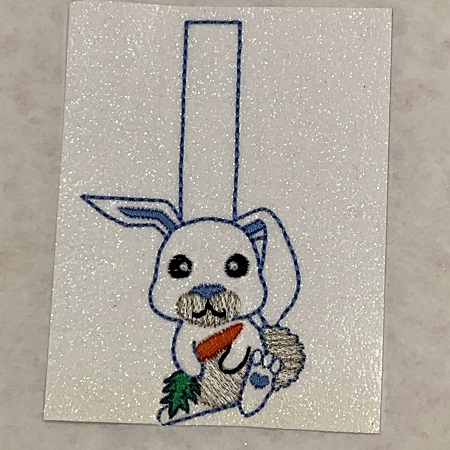
    Stitch COLOR 9.  Color 9 outlines the carrot top.  You have completed the stitching.  


    Step 14:
    Remove the hoop from the machine.  Trim around the bunny leaving about 1/4" margin using small, sharp scissors.  Be careful not to clip any stitches.   Trim long thread on the back if needed.


    Step 15:
    The next step will add a snap to the Bunny Key fob.  Kam Snaps were used for this project.  You need a snap set, an awl, and pliers for this step.  You will need one snap set for each key fob that you make.  
     
    NOTE:  If you haven't used Kam Snaps before, I suggest practicing on a piece of scrap vinyl before putting a snap on the key fob.   


    Step 16:
    Next, you will decide where to place the snap on the tab.  Fold the tab on the key fob about halfway down.  Make sure you have enough room in the loop for the loop or lobster clasp.   Make two holes in the vinyl with the awl.   The holes must match when the tab is folded down.  


    Step 17:
    Refer to the package directions for attaching the snaps.  Once the snaps are attached, add a hoop or lobster clasp.  


    Step 18:
    Congrats!  You did it!  Cute & Fun!  Kids will love them!

    beautiful things are made one stitch at a time....
     
    Marisa Littleton 
     
    Meet the Author: Marisa Littleton
    Marisa Littleton
    Marisa Littleton is a retired educator with a love for teaching and learning. Interests include machine embroidery, hand embroidery, quilting, cooking, and antiques.
    More From This Author
    Link is Broken, Please check the URL
    Exclusive Embroidery Offers!
    Copyright © {{ currentDate | date:'yyyy'}} - EmbroideryDesigns.com
    GET 50% OFF! ×