{{superHeaderAds.title}}
Live Chat
Embroidery Designs
Welcome, Embroiderer
Login
Step Into Spring Boot Cuffs
{{mainImageAlt || (productInfo._source && productInfo._source.name) || ''}}

Step Into Spring Boot Cuffs Embroidery Project

By   Linda Mills   on   February 14, 2020

PROJECT DETAILS

SKILL LEVEL
Some Experience
TIME REQUIRED
01:30
Description

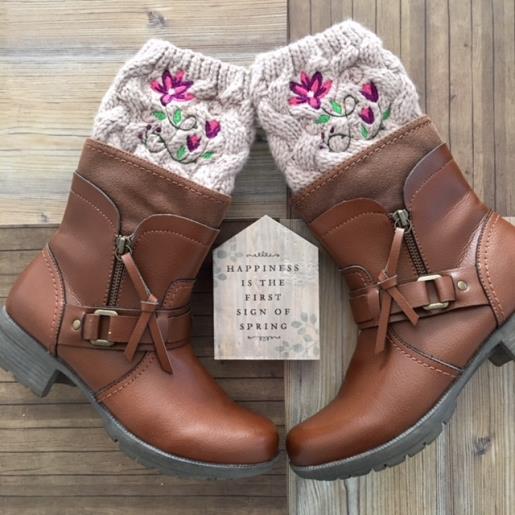
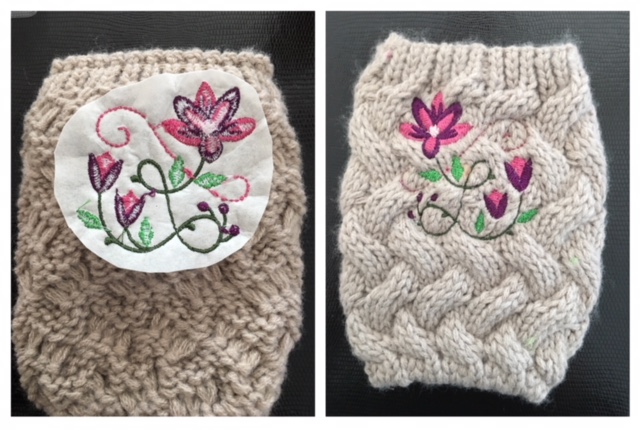
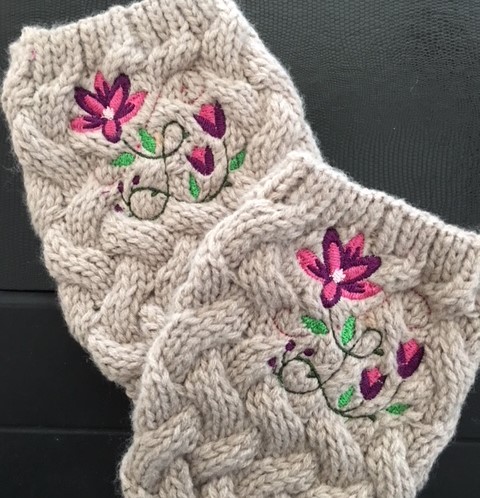
The mornings will still be chilly and what a great way to step into Spring with these fashionable boot cuffs embroidered with a whimsy design.

Project Preview Video

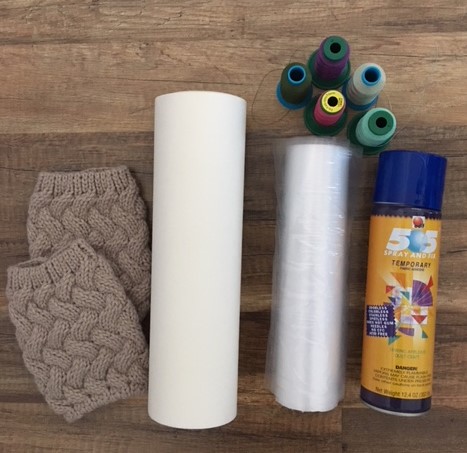
Materials
  • EMBROIDERY THREAD
  • PAIR OF KNIT BOOT CUFFS
  • CUT AWAY STABILIZER
  • TEMPORARY ADHESIVE SPRAY
  • WATER SOLUBLE STABILIZER
  • MASKING TAPE

  • Designs used in this project

    Final Product: What You Will Create

    Preface:
    A simple tutorial of embroidering a sweet spring embroidery design onto a pair of boot cuffs that results into a fashion statement.   


    Step 1:
    Gather all supplies and review instructions before beginning. 

    (Click Image to Enlarge)


    Step 2:
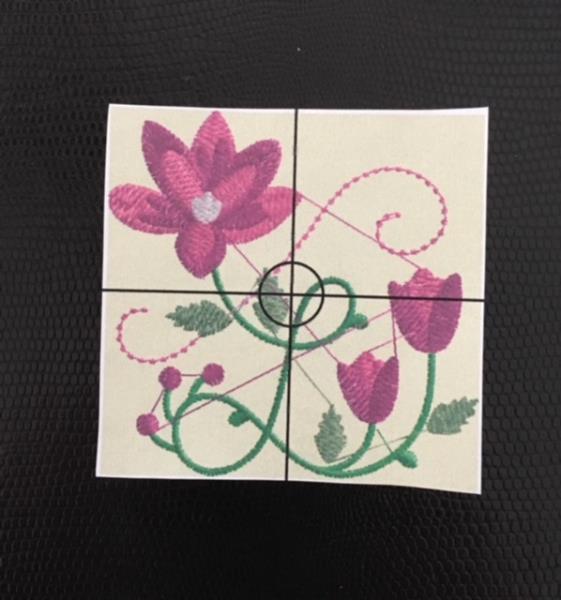
    Print out design template for thread color review. 

    (Click Image to Enlarge)


    Step 3:
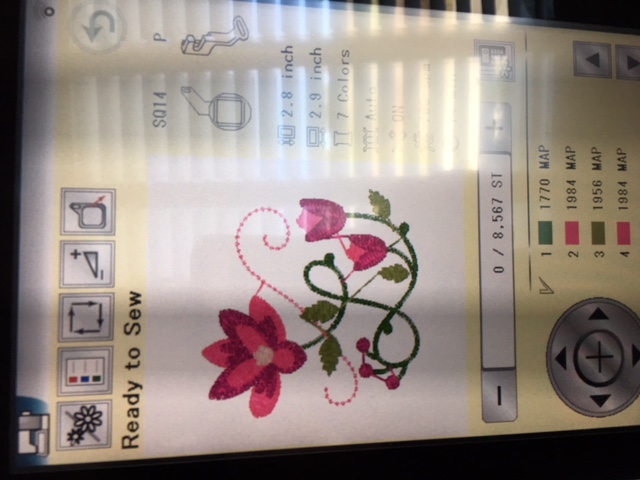
    Upload embroidery design to your machine. 

    (Click Image to Enlarge)


    Step 4:
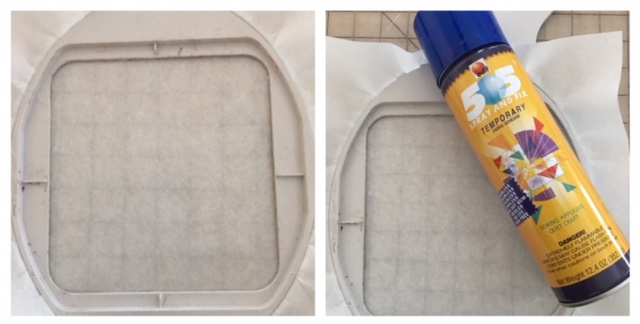
    Cut and hoop a piece of stabilizer.  Spray temporary adhesive spray onto stabilizer.

    (Click Image to Enlarge)


    Step 5:
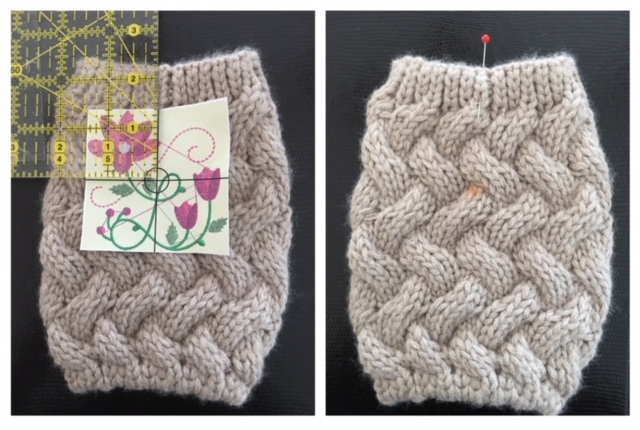
    Find center of your cuff. Seam in the back. Mark with straight pin. Mark 2” down from top of cuff to center of design. Mark center. ( use your favorite marking method) 

    (Click Image to Enlarge)


    Step 6:
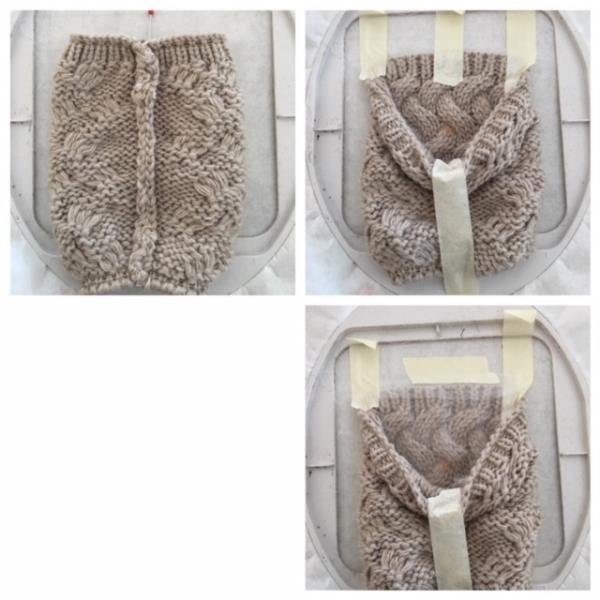
    Turn cuff inside out and center place onto stabilizer. Push down to adhere. You will need to “open” the area on cuff to be embroidered using a strong tape (masking tape) to keep the stitching area opened. Place a small piece of water soluble stabilizer to cover the stitching area. This will help the stitches from sinking into the knit.  

    (Click Image to Enlarge)


    Step 7:
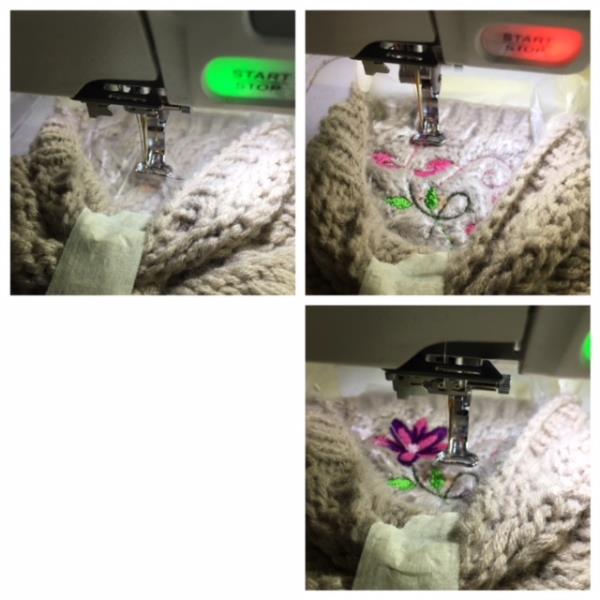
    Attach hoop to machine. Confirm center needle placement. Begin the embroidering process. The stitching area will be a small area so keep a watchful eye to ensure needle doesn’t “catch” any of the excess knit of the cuff. (tip: lower SPM speed) 

    (Click Image to Enlarge)


    Step 8:
    Embroidering Complete Remove hoop. Cut and trim all jump stitches and loose thread ends. Cut away back stabilizer. Turn right side out. Remove soluble stabilizer.  

    (Click Image to Enlarge)


    Step 9:
    Repeat steps 4 through 8 for the other cuff. Your Step Into Spring Boot Cuffs are complete! Congratulations! 

    (Click Image to Enlarge)

    Meet the Author: Linda Mills
    Linda Mills
    Linda loves to create by sharing her different sewing and machine embroidery techniques so others can utilize their machines to the fullest
    More From This Author
    Link is Broken, Please check the URL
    Exclusive Embroidery Offers!
    Copyright © {{ currentDate | date:'yyyy'}} - EmbroideryDesigns.com
    GET 50% OFF! ×