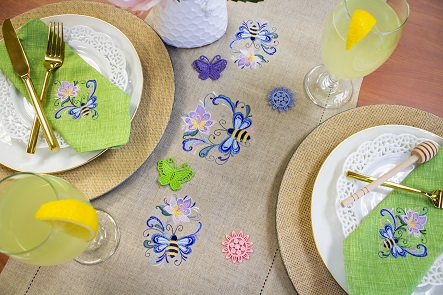
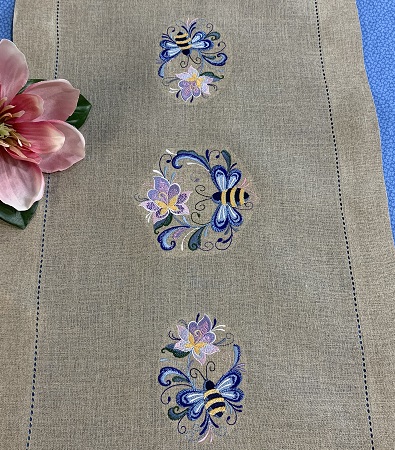
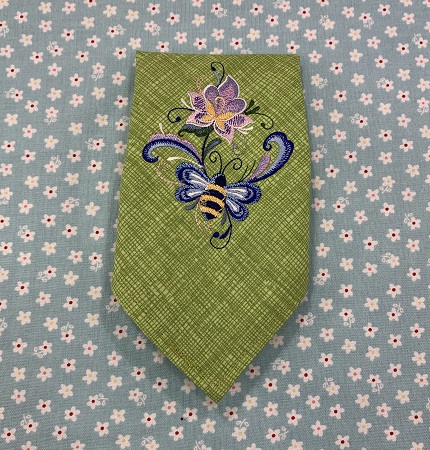
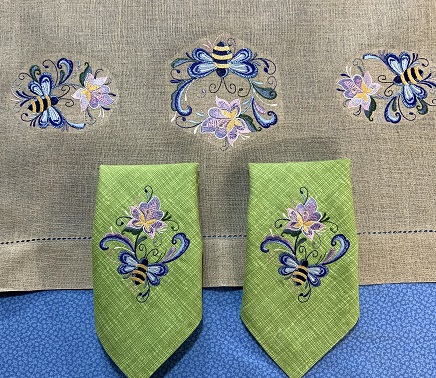
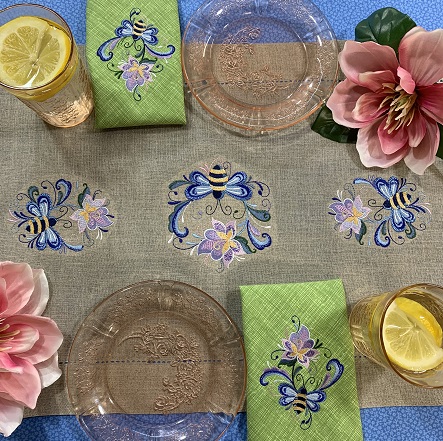
BEE-utiful table runner and napkins showcasing the art of rosemaling in designs. The art of rosemaling began in Norway as a decorative form of folk art. Rosemaling is traditionally painted on wood in floral and geometrical flowing patterns. This style of art has been translated into embroidery designs. Five different designs were used from the design pack. Each design took approximately 30 minutes to stitch at 700 stitches per minute. Hoop Size:4"x4", 5"x7", or 6"x6". Multiple hoop changes are needed for this project. Fabric: Linen for the runner & cotton for the napkins. Stitch Count: Ranges from 13,000 to 18,000. Stabilizer:Cut away medium wt. (2.5 oz.) stabilizer. Hooping Method: Floating Technique. Needle Size:75/11. Time to complete project: Approximately 8 hours using a single needle embroidery machine.
Step 1:
Read all the directions before beginning the project. Gather supplies and materials. Put a 75/11 embroidery needle on your machine. Check your bobbin area for debris. Check for an adequate amount of thread on the bobbin. If available, print a design template.
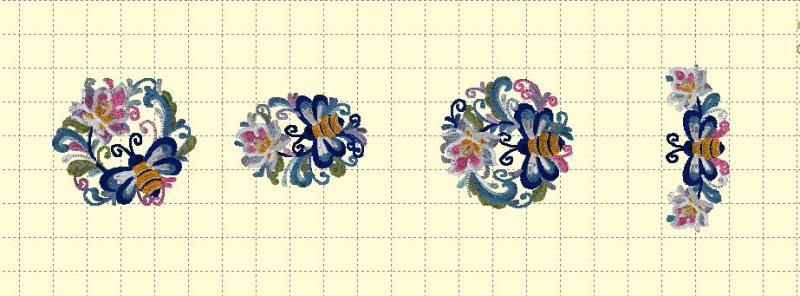
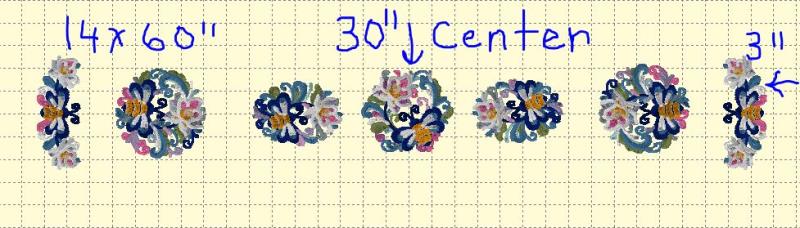
There are 12 designs in the Rosemaling Bee design pack. Decide which designs that you are using for your runner and napkin. The size of your runner will be your guide to the number of designs you will need for the project. The shorter your runner, the fewer designs you will need to use. The picture shows an example of some of the designs used on the runner.
Step 2:
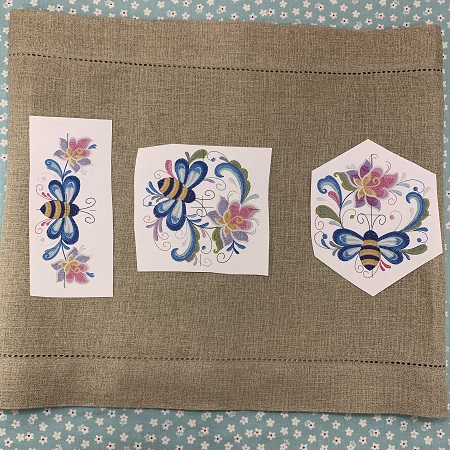
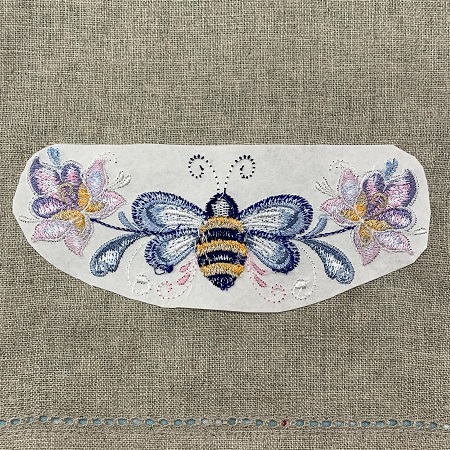
A design template is a life size picture of the actual design. It's a great tool for placement and helps visualize the design when stitched on the item. Embrilliance 'Essentials' embroidery software was used to make the design template. (You can use the trial version of the Embrilliance Essentials to print a template if needed.)
Rosemaling Bee design numbers 2040-10, 2040-5, 2040-7, & 2040-3 were used on the table runner. Design 2040-10 is in the center and the other designs were repeated on each side.
(Click Image to Enlarge)
Step 3:
(Click Image to Enlarge)
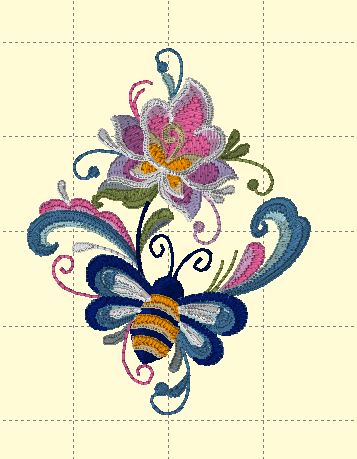
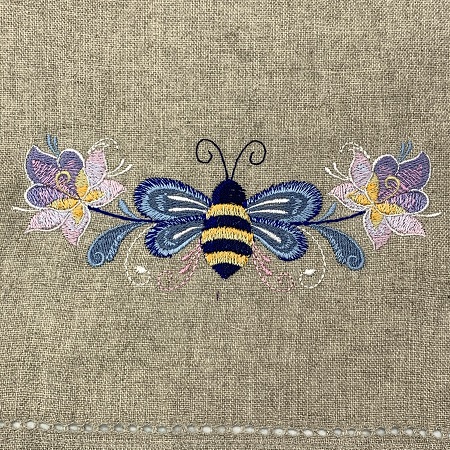
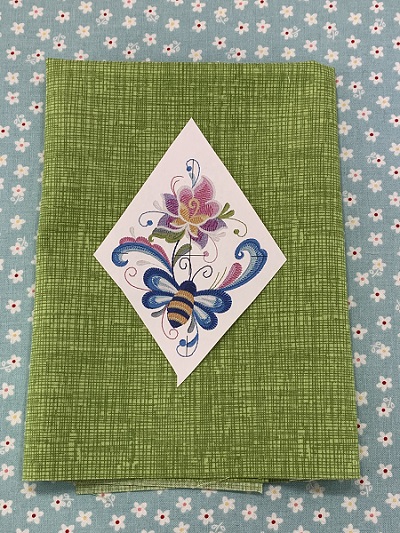
Rosemaling Bee design number 2040-11 was used for the napkins.
Step 4:
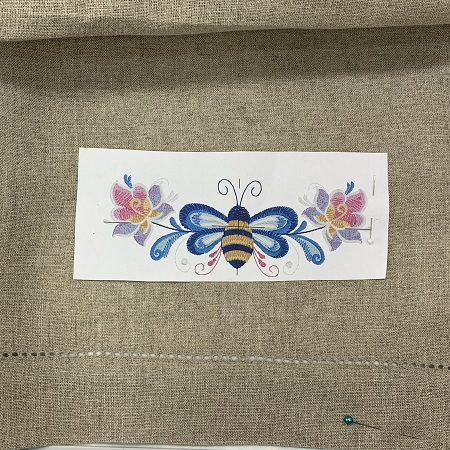
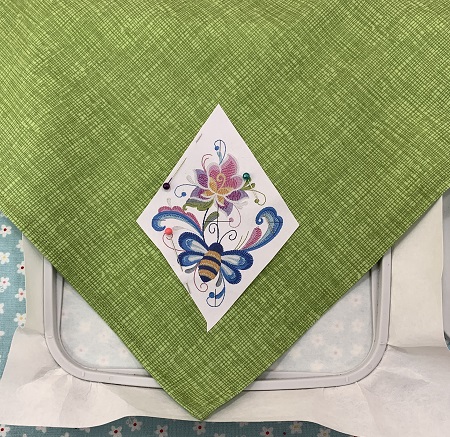
For the runner: Use the design templates to guide placement on the table runner. Fold the runner in half. Lightly press along the fold line. The fold line is the center point on the runner.
If you do not have a design template, mark the layout of the designs with a fabric pen.
(Click Image to Enlarge)
Step 5:
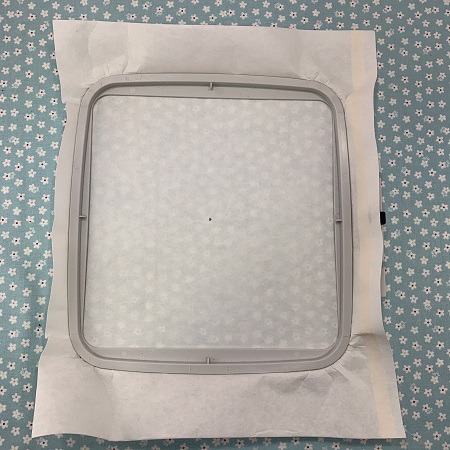
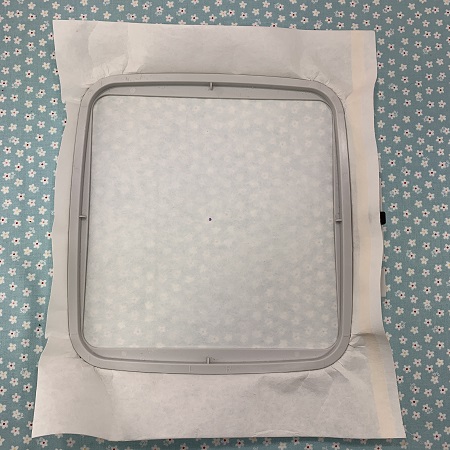
Hoop one piece of cut away stabilizer.
Step 6:
Float the runner onto the stabilizer. Pin or use a very light mist of temporary adhesive spray to hold the fabric in place. Surface should be smooth and wrinkle free. Attach the hoop. Load the design.
Step 7:
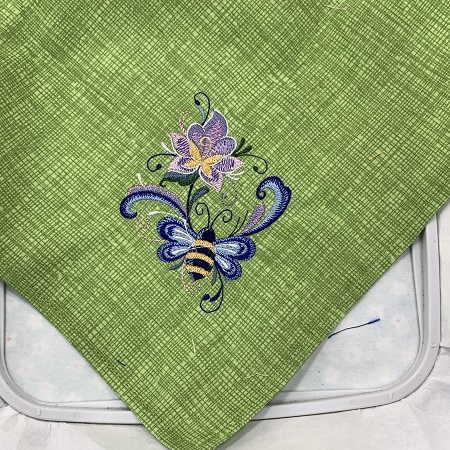
Stitch the design.
Step 8:
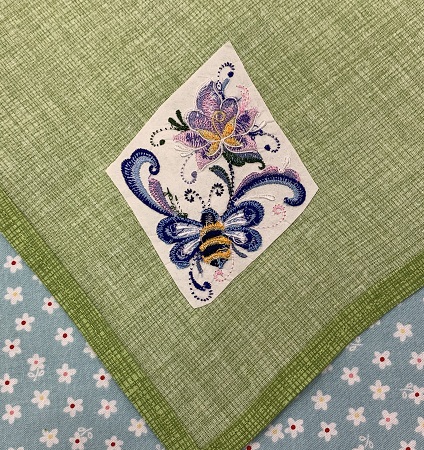
Remove the hoop from the machine. Trim thread if needed. Carefully cut away the stabilizer from around the design leaving a 1/2" margin.
Step 9:
(Click Image to Enlarge)
Repeat steps 5,6,7, & 8 for each design on the table runner.
Step 10:
For the napkins: Gather your materials needed for the napkins. Thread colors are the same as for the table runner.
(Click Image to Enlarge)
Step 11:
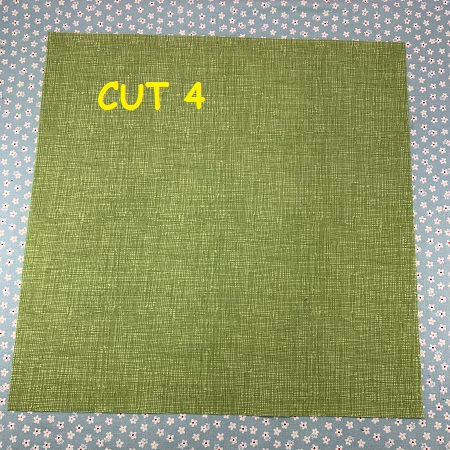
Cut 4 pieces of 100% cotton 16"x16".
Step 12:
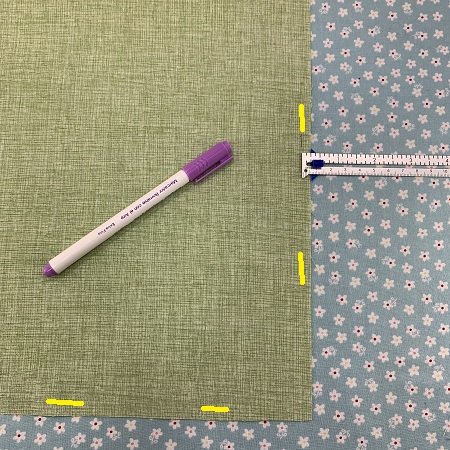
Use an erasable fabric pen to mark 1/4" along the edges on the wrong side of the fabric.
Step 13:
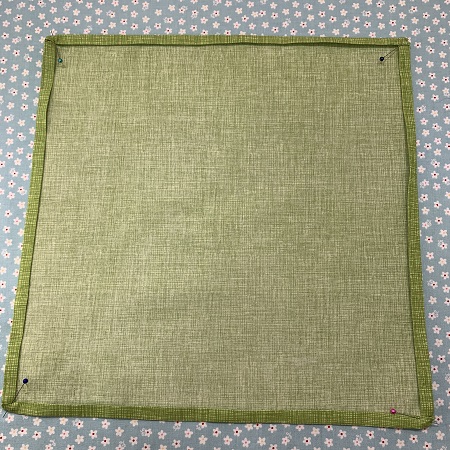
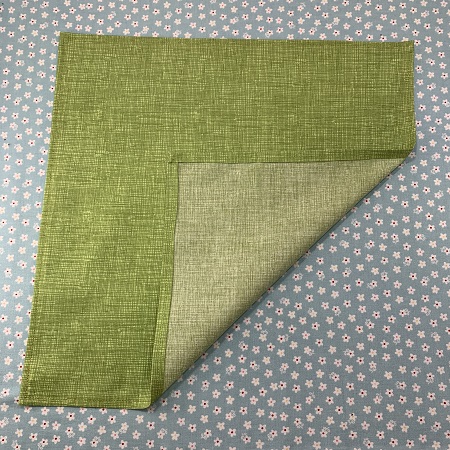
Double fold the fabric 1/4" back toward the wrong side on each napkin. Press with an iron along the edges.
Step 14:
Topstitch along the sides using a 1/4" seam.
Step 15:
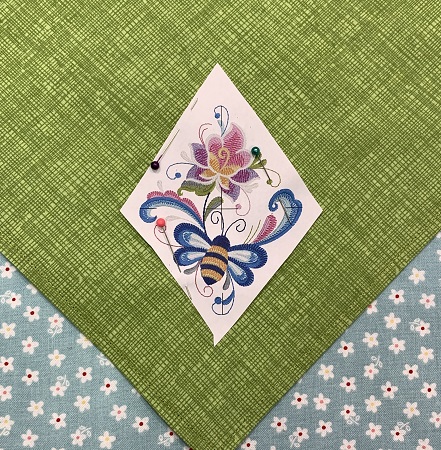
Use a design template to decide on placement on the napkins.
Step 16:
Hoop one piece of medium weight (2.5) cutaway stabilizer.
Step 17:
Float the napkin onto the stabilizer. Secure the napkin to the stabilizer with pins or a very light mist of temporary adhesive spray.
Step 18:
Load the design onto the machine. Attach the hoop. Stitch the design.
Step 19:
Remove the hoop from the machine. Trim thread if needed. Carefully cut away the stabilizer from around the design leaving a 1/2" margin.
Step 20:
Congrats! You have completed a napkin. Make as few or as many that you want for your set.
Step 21:
Great job!
Step 22:
Enjoy your new table décor!
Beautiful things are made one stitch at a time....
Marisa Littleton is a retired educator with a love for teaching and learning. Interests include machine embroidery, hand embroidery, quilting, cooking, and antiques.