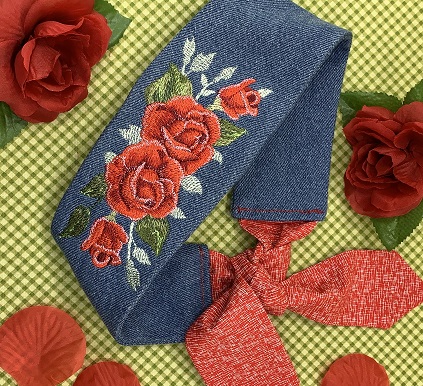
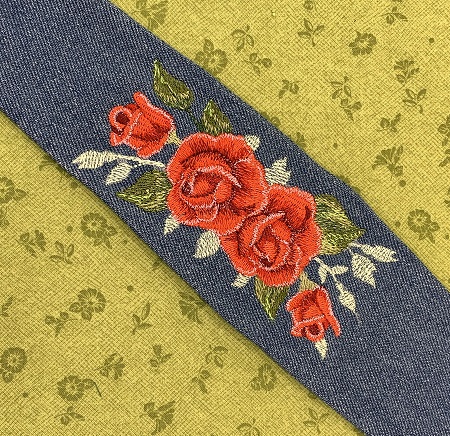
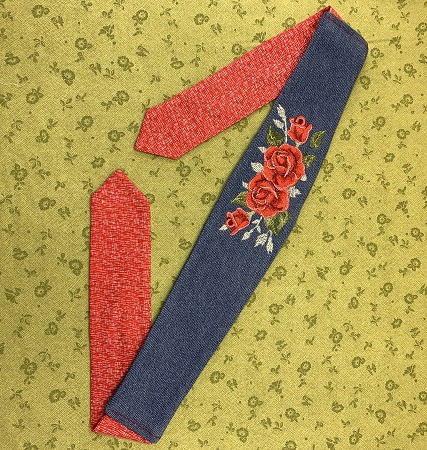
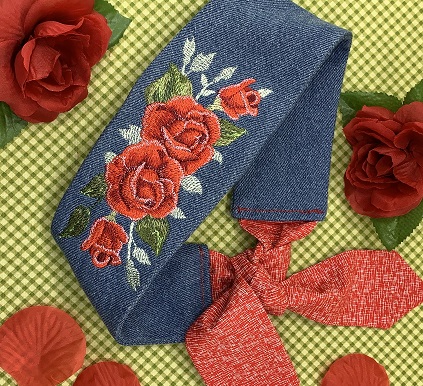
A 'Denim Headband' with watercolor roses make a stylish accessory for an outfit. Some basic sewing skills are needed to complete this project.
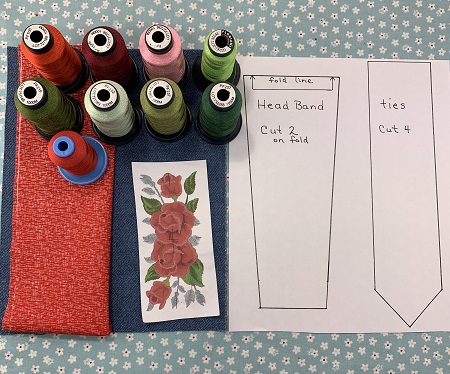
Design Technique: Basic embroidery technique featuring a Watercolor Rose design. Design Dimensions: 4.93x2.12. Hoop Size: 5x7 or 6x6. Fabric: Denim. Design Stitch Count: 17,286. Stabilizer: Two sheets of medium weight (1.5) tear away. One sheet of water soluble topping stabilizer. Hooping Method: Floating Technique. Needle Size: 90/14. PDF pattern is for an adult size headband.
Step 1:
Getting Started: Read all the directions before beginning the project. Gather supplies and materials. Print a copy of the PDF Headband pattern. Iron and lightly starch the denim and cotton fabric. Put a 90/14 embroidery needle on your machine. Check your bobbin area for debris. Check for an adequate amount of thread on the bobbin. Load the design on the machine. If available, print a design template.
Step 2:
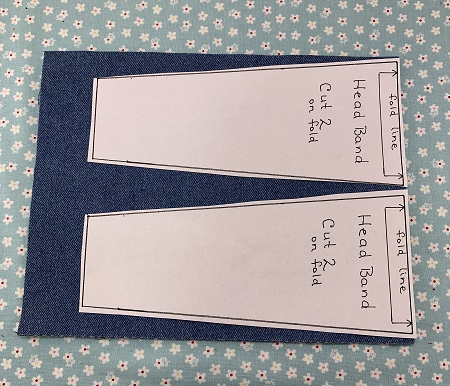
Making the headband: Fold the denim in half so that the piece now measures 8"x11". Place the edge of the headband pattern on the fold line of the fabric. Pin the pattern in place. Cut two pieces of the headband pattern.
Step 3:
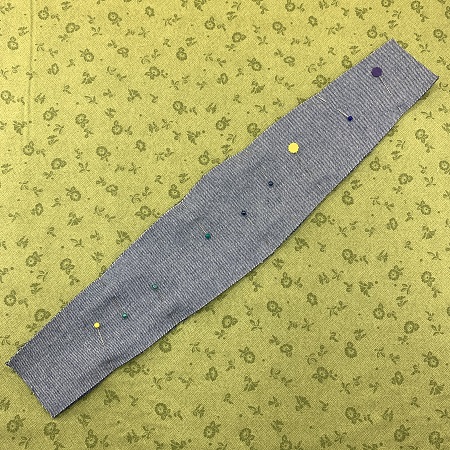
Place the two pieces of denim fabric with right sides together. Pin the pieces together. Sew a 1/4" seam along each long side. You do not stitch the across the ends.
Step 4:
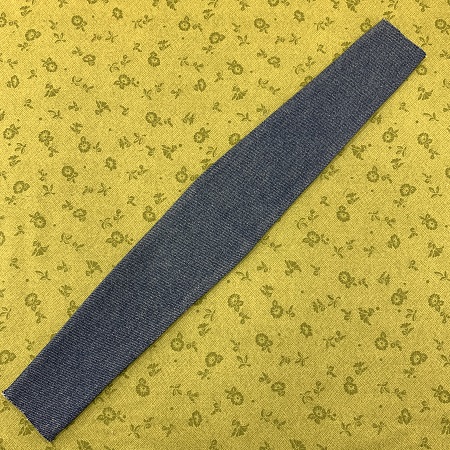
Turn the denim right side out. Press with an iron.
Step 5:
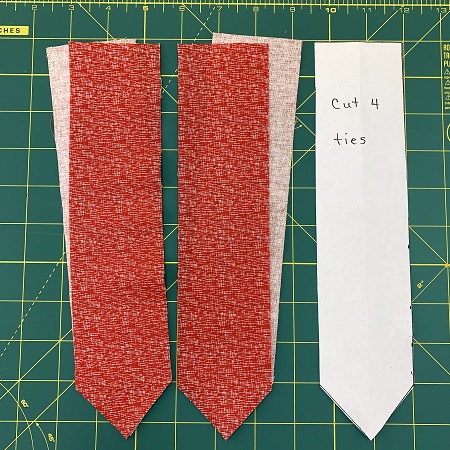
Cut 4 pieces for the ties using the cotton fabric.
Step 6:
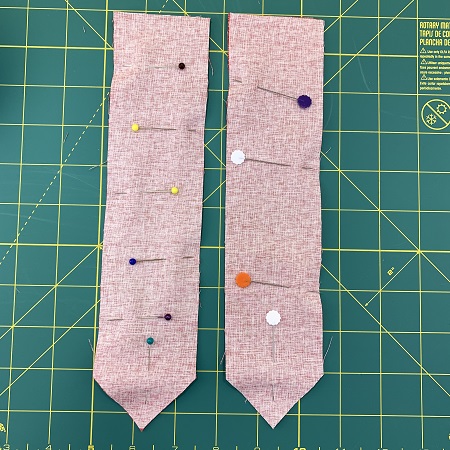
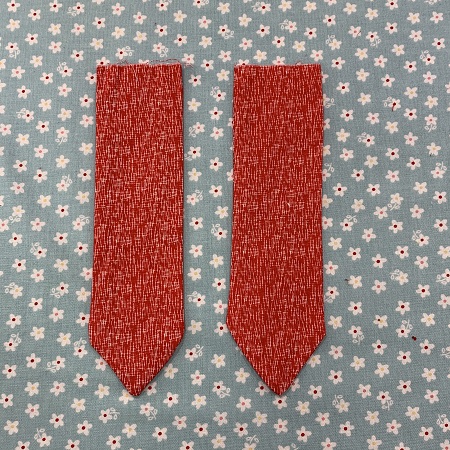
Using two pieces of the ties, place the fabric together with right sides facing each other. Pin in place. Repeat this step for the other two pieces. Sew a 1/4" seam around the edges of the ties. Leave the short end of the ties open so you can turn the ties.
Step 7:
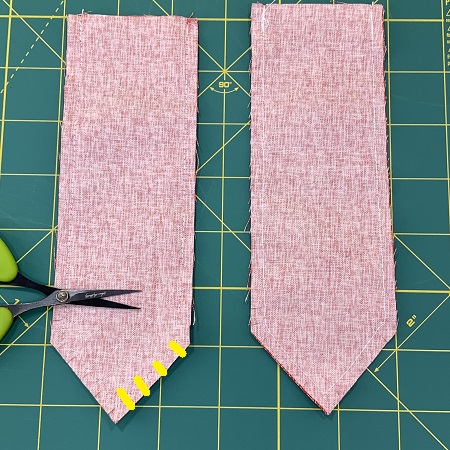
Clip the fabric around the tip of the ties using small scissors. Be careful not to cut the stitches. The clips will help the ties lay flat.
Step 8:
Turn the ties right sides out. Press with an iron.
Step 9:
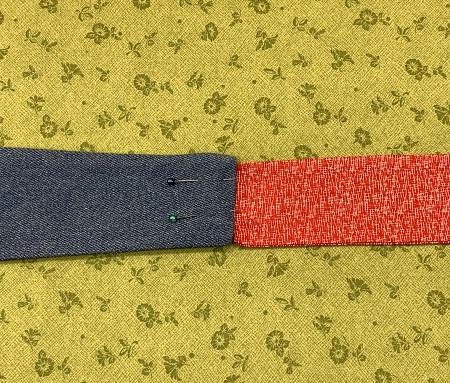
Fold the edges on each end of the denim toward the inside about 1/2". Press with an iron. Slide the open end of a tie 1/2" into the end of the denim. Pin in place. Repeat for the other end of the denim headband. Sew the pieces together. Reinforce the stitching.
Step 10:
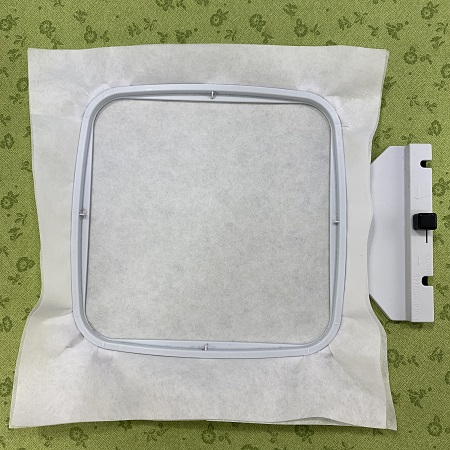
Embroidering the design: Hoop two pieces of medium weight (1.5) tear away stabilizer.
Step 11:
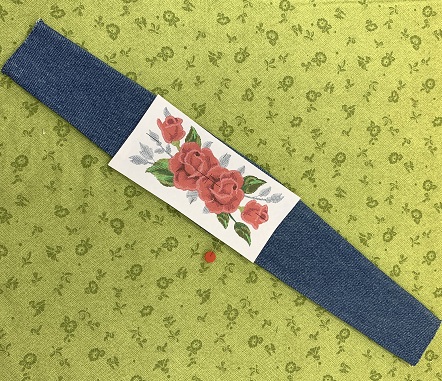
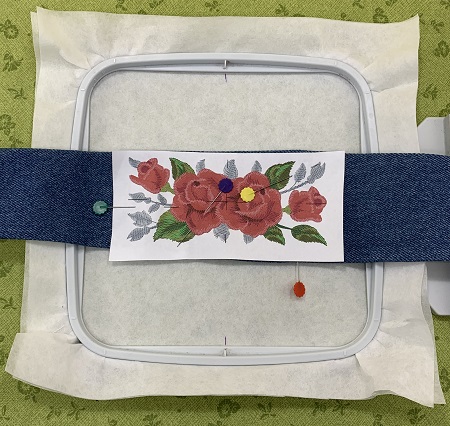
A design template is a life size picture of the actual design. It's a great tool for placement and helps visualize the design when stitched on the item. Embrilliance 'Essentials' embroidery software was used to make the design template.
If available, use the design template to guide placement of the design on the headband. If not, make a template using the design dimensions out of blank paper. So, you would have a rectangle on blank paper measuring 4.93x2.12.
Step 12:
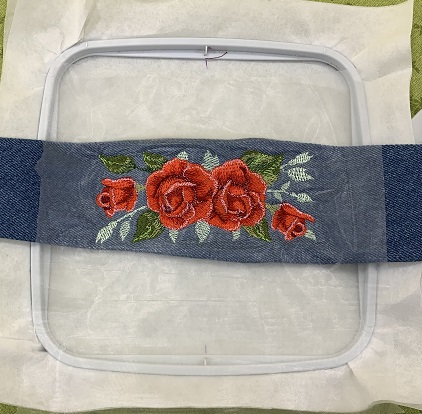
Floating Technique: To float, you hoop your stabilizer only. Then you attach your item to the stabilizer.
Center the denim headband on the stabilizer. Use a light mist of temporary adhesive spray to secure the headband to the stabilizer.
Step 13:
Attach the hoop to the machine. Place one piece of water soluble topping stabilizer in the stitching field. Embroider the design.
Step 14:
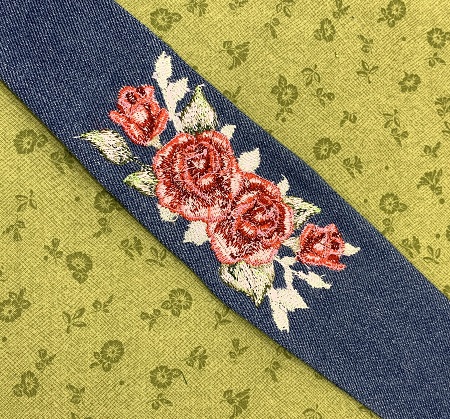
Remove the hoop from the machine. Remove the headband from the hoop. Tear away the stabilizer from the back of the headband. Trim long thread as needed.
Step 15:
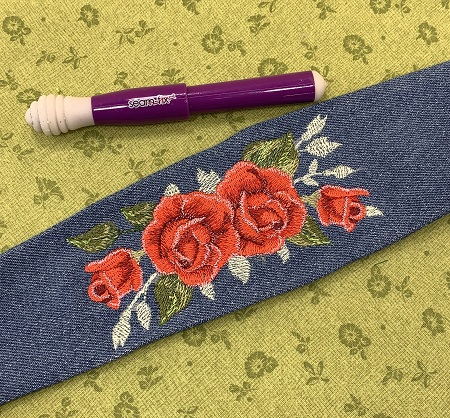
Tear away the water soluble topping stabilizer from the design. Use the tip of a clean pencil eraser or the honey comb tip of a Seam Fix to remove any small remaining pieces.
Marisa Littleton is a retired educator with a love for teaching and learning. Interests include machine embroidery, hand embroidery, quilting, cooking, and antiques.