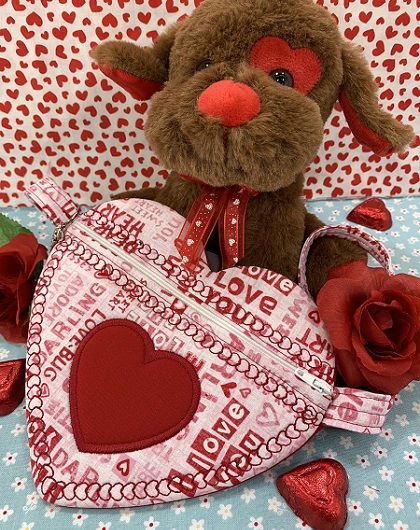
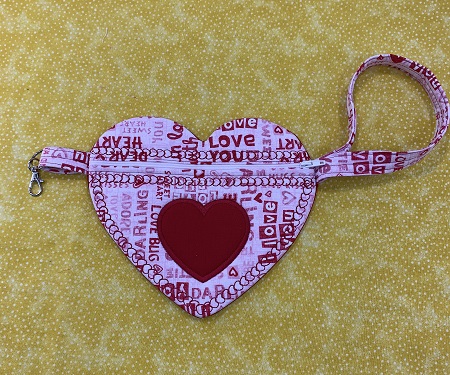
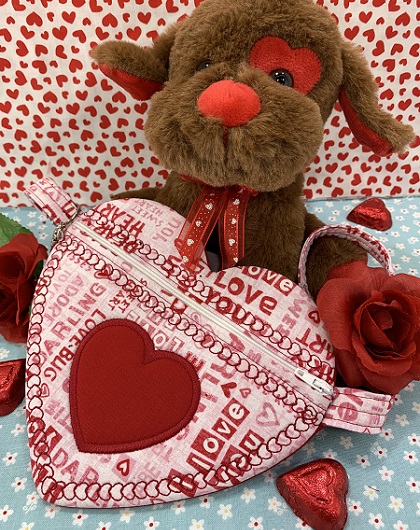
Be Mine, Valentine! Say I'm thinking of you with a cute zippered heart bag. An In the Hoop design with a wristlet strap made on a sewing machine.
.
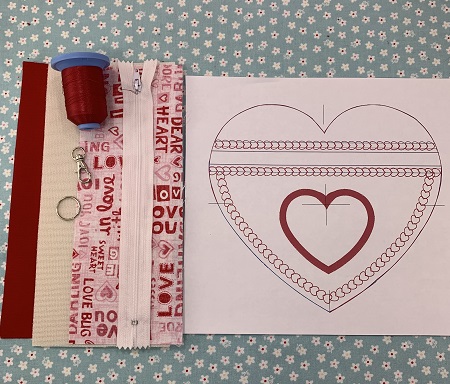
Design dimensions are 6.87"x7.73. An 8"x8" or larger hoop size will be used for this project. Fabric is 100% quilter's cotton with low nap batting or Bosal fusible foam. The foam worked well, but was a little harder to stitch. The batting did not have as much bulk as the foam. No show mesh stabilizer will be used. Stitch count is 7,096. The design is made to be completed in the hoop; however, I added a wristlet strap stitched on a sewing machine. A 90/14 size embroidery needle is recommended due to the combined thickness of the fabric with the batting or foam. A single needle embroidery machine was used to stitch this project.
Step 1:
Read all the directions before beginning the project. Gather supplies and materials. Iron and lightly starch the fabric before cutting into the needed sizes. Put a 90/14 embroidery needle on your machine. Check your bobbin area for debris. Check for an adequate amount of thread on the bobbin. Load the design on the machine. If available, print a design template.
Step 2:
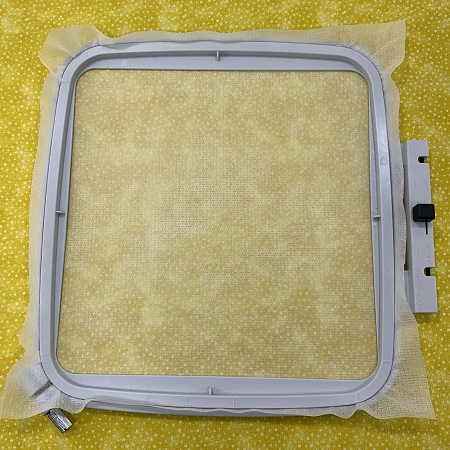
Hoop one piece of No Show Mesh stabilizer in the embroidery hoop.
Step 3:
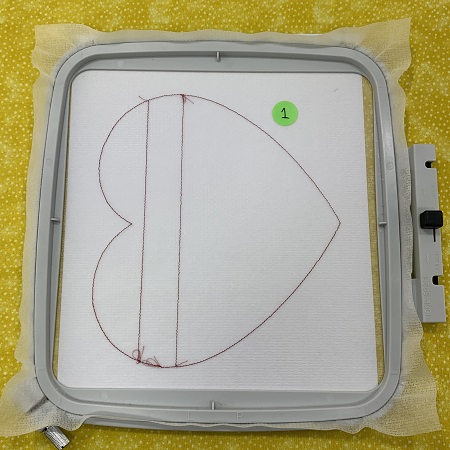
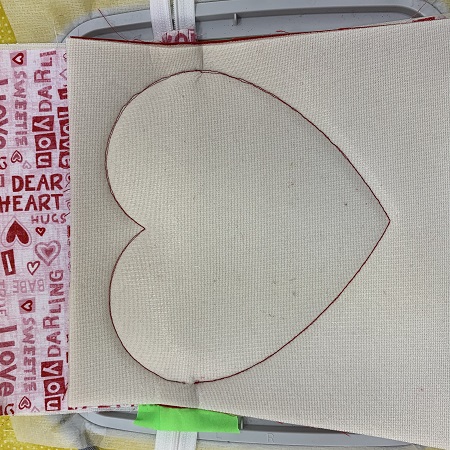
Stitch color 1. Color 1 is a placement stitch for the heart bag.
Step 4:
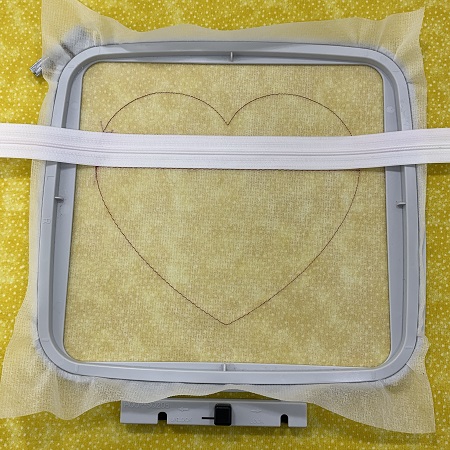
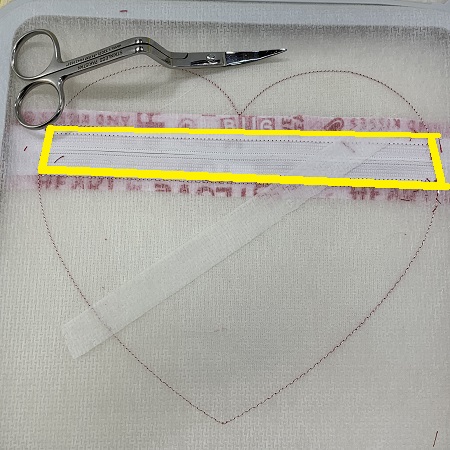
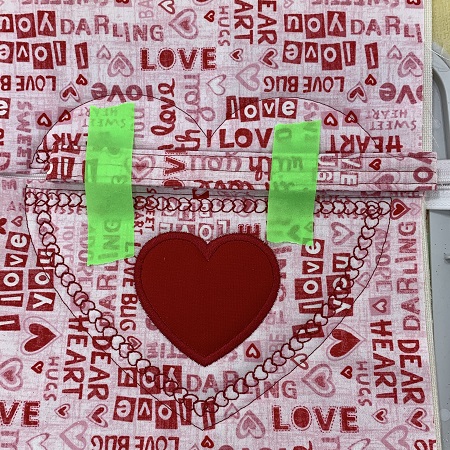
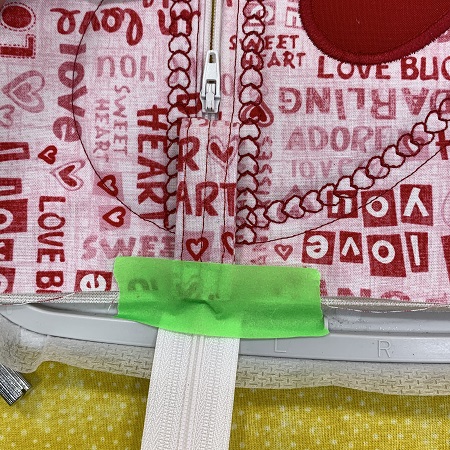
Place the zipper on the between the two lines on the top section of the bag. The teeth of the zipper should be on the middle. Make sure the ends of the zipper overlap 1" on each side of the bag. Use masking tape to hold the zipper in place.
Step 5:
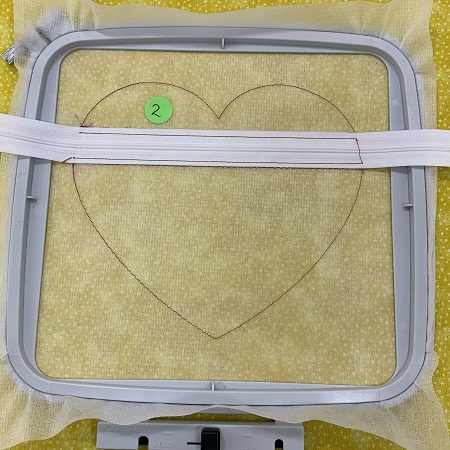
Stitch color 2. Color 2 will sew each side of the zipper onto the stabilizer.
Step 6:
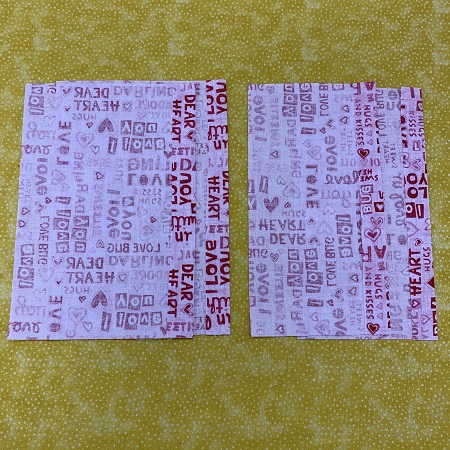
Using the two 9"x4" fabric pieces for the upper front and upper lining and the two 9"x7" fabric pieces for the lower front and the lower lining, fold one of the 9" sides down 3/4" to the back of the fabric. Press with an iron.
Step 7:
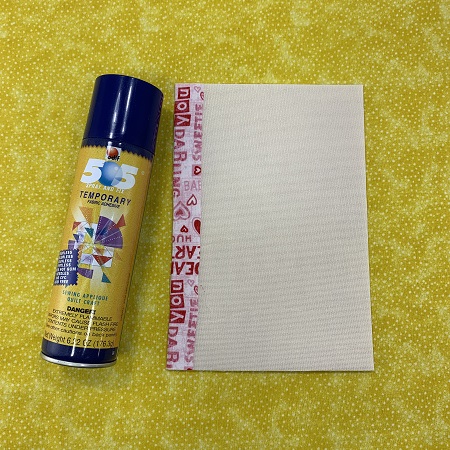
Insert one piece of low nap batting or foam under the lip of one 9" x 4" fabric for the front. Insert one piece of low nap batting or foam under the lip of one 9" x 7" fabric for the front. Lightly mist temporary adhesive spray along the edges to help secure the fabric.
Step 8:
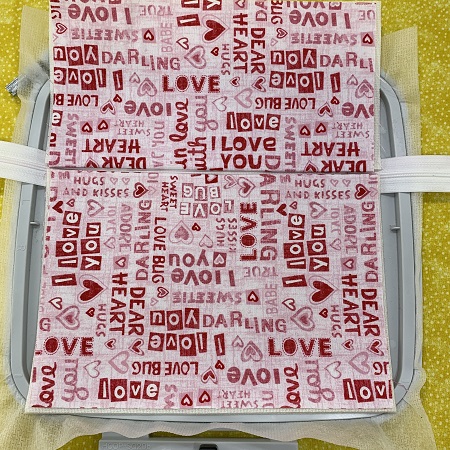
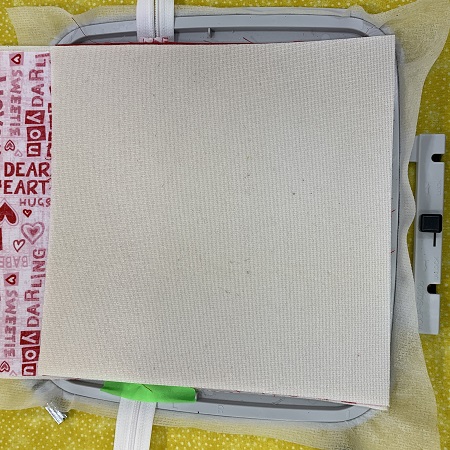
Lightly mist the stabilizer with temporary adhesive spray. Place the 9"x4" piece on the top part of the heart. Gently press piece down onto the stabilizer. Surface should be smooth and wrinkle free.
Place the 9"x7" piece on the lower part of the heart. Gently press the piece down onto the stabilizer. Surface should be smooth and wrinkle free.
Step 9:
Turn the hoop over so that the back of the hoop is facing you. Use a small pair of scissors and carefully cut out the stabilizer from the back of the zipper.
Step 10:
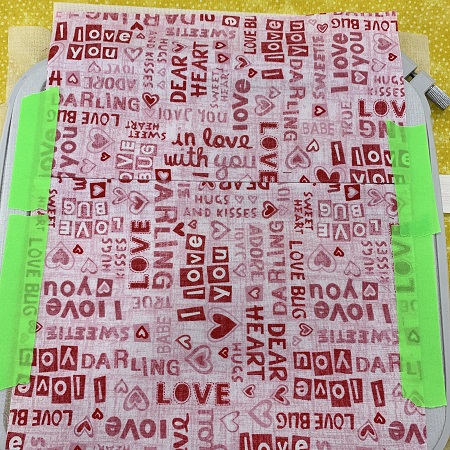
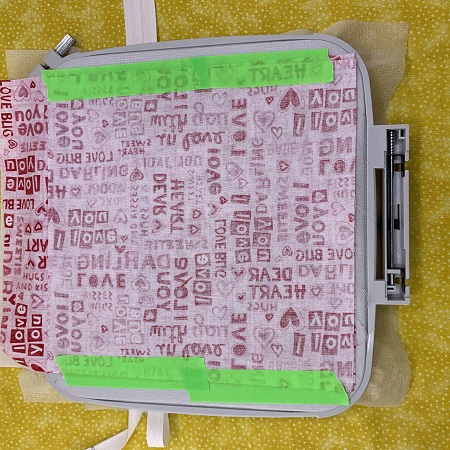
Place the 9"x4" lining piece on the top part of the heart. Place the 9"x7" lining piece on the lower part of the heart. Use masking tape along the fabric edges.
NOTE: The lining does not have any batting or foam in it.
Step 11:
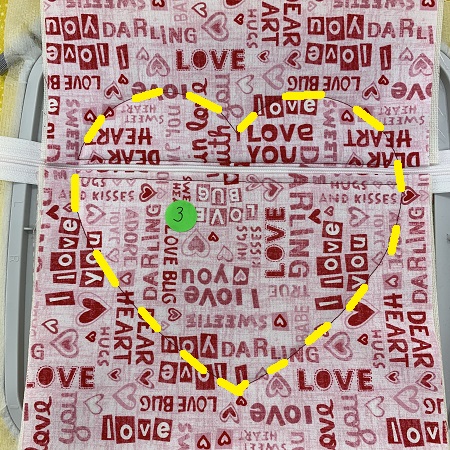
Stitch color 3.
Step 12:
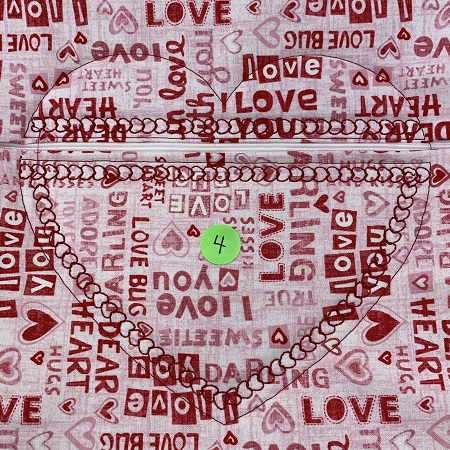
Color 4 adds decorative stitches to the design.
Step 13:
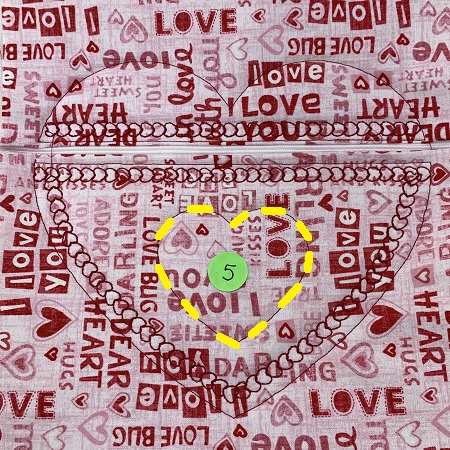
Stitch color 5. Color 5 is the placement stitches for the appliqued heart on the front of the bag.
Step 14:
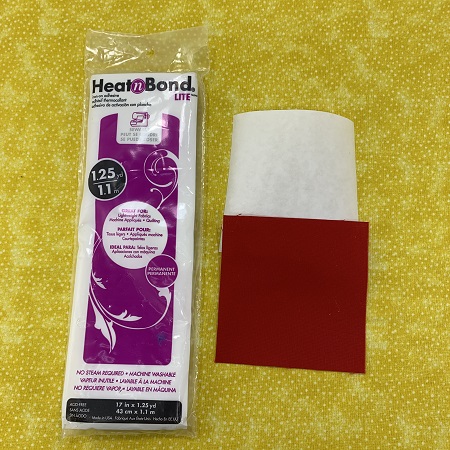
Cut one 4"x4" piece of Heat n Bond lite.
Step 15:
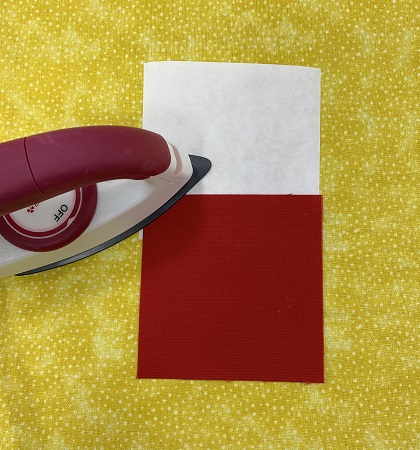
Follow package directions to bond the fabric with the Heat n Bond lite.
Step 16:
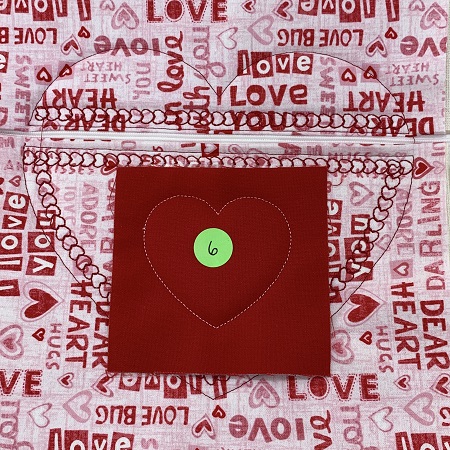
Place the 4"x4" piece of fabric over the small, heart placement stitches. Stitch color 6.
Step 17:
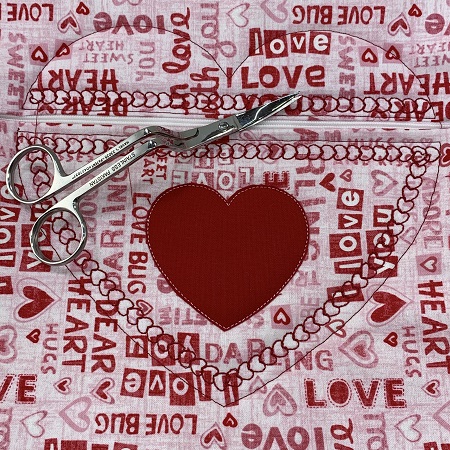
Use applique scissors to trim around the heart. Trim closely to the edge of the stitches without cutting the stitches.
Step 18:
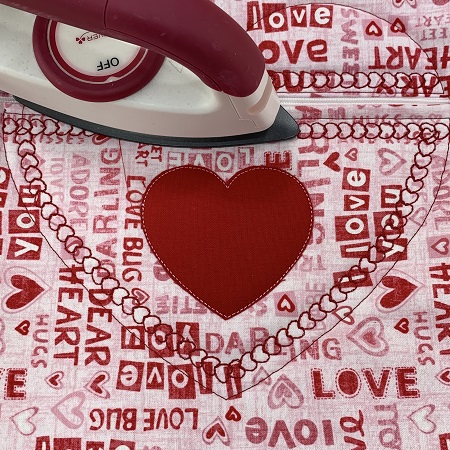
Follow the directions in the Heat n Bond lite package to bond the small heart to the fabric. Pay close attention around the edges of the small heart.
Step 19:
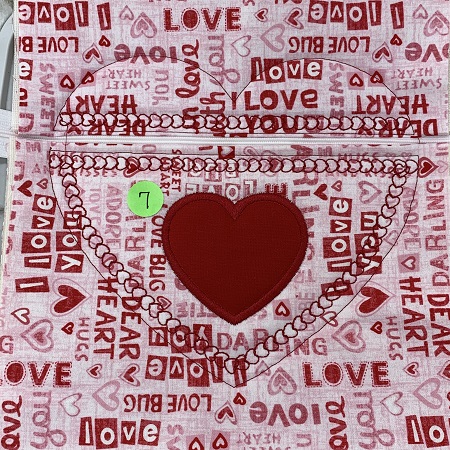
Stitch color 7. Color 7 is the finishing stitches around the small heart.
Step 20:
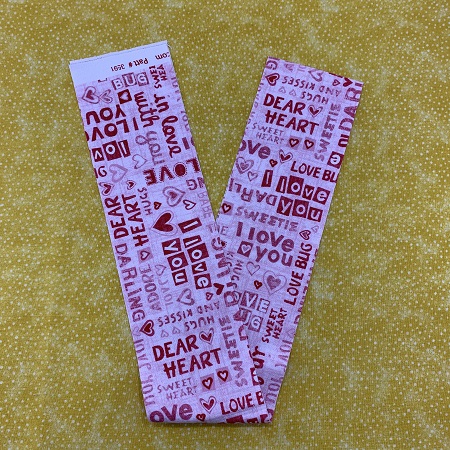
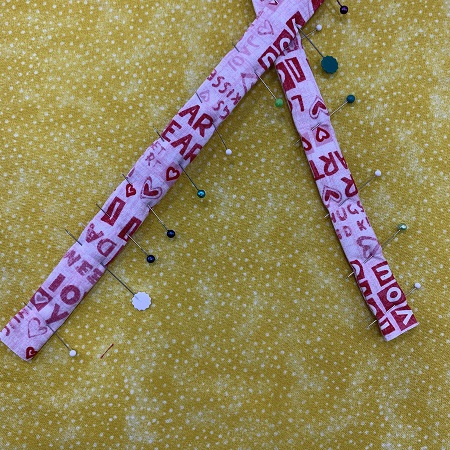
Cut a strip of fabric 3" x 12".
Step 21:
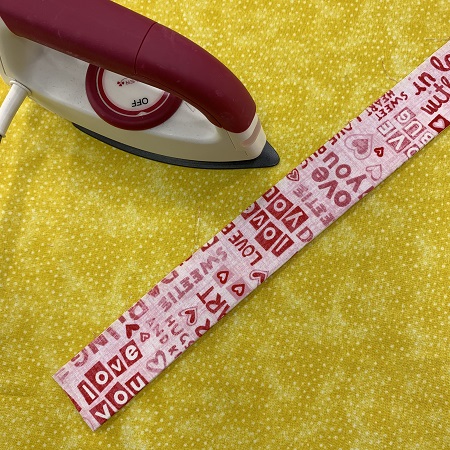
Fold the 3"x12" piece of fabric in half lengthwise. Press along the fold with a hot iron.
Step 22:
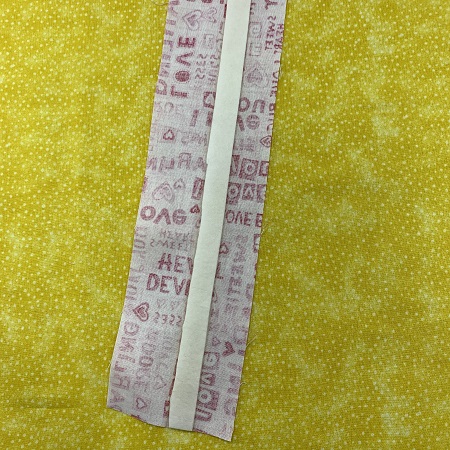
Cut one piece of low nap batting 1/2" x 12". Place the strip along the center fold line.
Step 23:
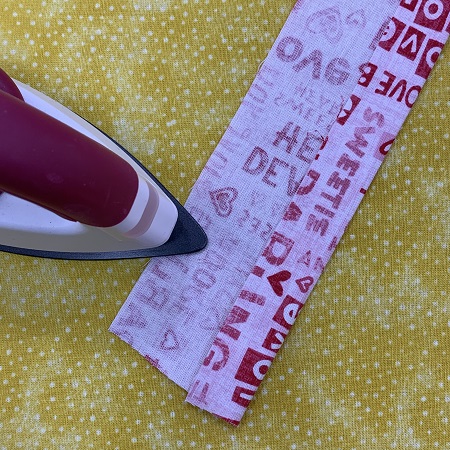
Fold the edges of the fabric toward the center line.
Step 24:
Fold again and pin in place.
Step 25:
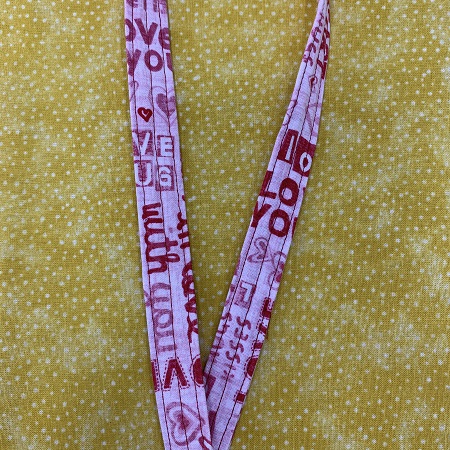
Stitch closely to the edges of the fabric strip. Sew a line in the center of the strap.
Step 26:
Unzip the zipper about 3/4" of the way across the bag.
Cut an 8" piece from the fabric strap. Fold the fabric in half. Place the fabric strap on the right side of the heart over the zipper. The fabric strap should be pointing to the left. Pin or tape the fabric strap in place.
Step 27:
Fold the 4" piece of fabric strap in half. Place the fabric strap on the left side of the heart over the zipper. The fabric strap should be pointing to the right. Pin or tape the fabric strap in place.
NOTE: A wide, heavy ribbon would work for a wristlet strap also instead of making the fabric strap. Wristlet strap can be larger or smaller.
Step 28:
Place one 9"x9" fabric back piece on top of the hoop with right side of fabric down. Gently place one 9"x9" piece of low nap batting or Bosal foam on top of the fabric.
Step 29:
Stitch color 8.
Step 30:
Turn the hoop over. Place a 9"x9" lining piece with the right side down. Stitch color 9.
Step 31:
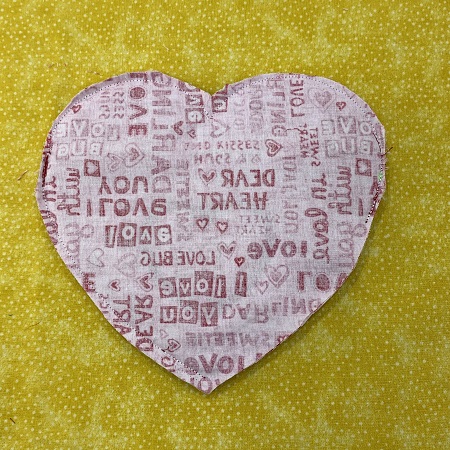
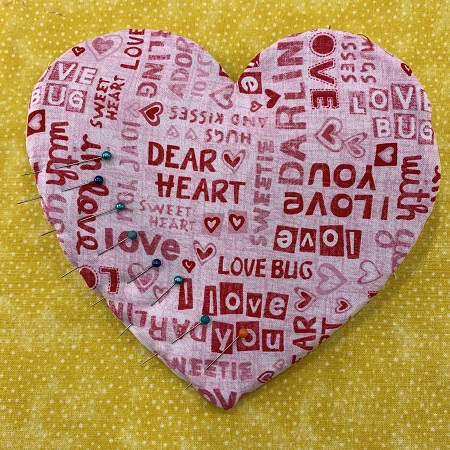
Remove the zippered bag from the hoop. Trim excess fabric/batting from around the heart leaving 1/2" margin.
Step 32:
Turn the zippered bag so that the lining is on the outside. Pin the opening together. Use a needle and thread to close the opening.
Step 33:
Turn the bag through the zippered opening. Congrats! You have made a Zippered Heart Bag! The loop on the left is ideal for a key fob or key set.
Marisa Littleton is a retired educator with a love for teaching and learning. Interests include machine embroidery, hand embroidery, quilting, cooking, and antiques.