






PROJECT INSTRUCTIONS


PROJECT INSTRUCTIONS

Clear Zippered Bag Embroidery Project
By
Marisa Littleton
on
February 03, 2020
Description
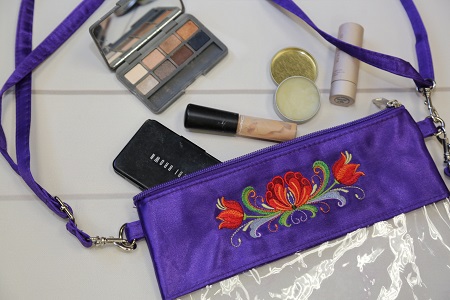
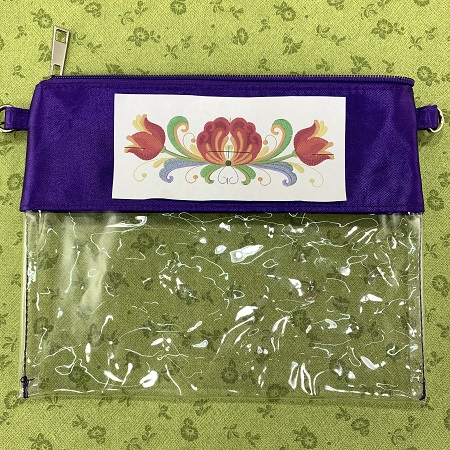
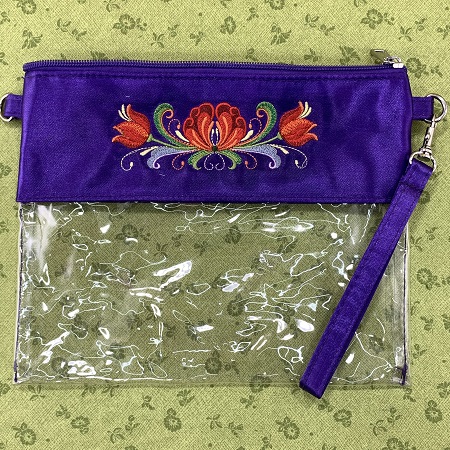
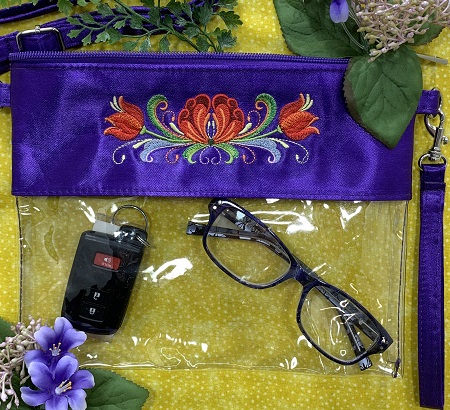
A zippered bag made of clear vinyl with nylon trim. Use as a crossbody body purse or a wristlet clutch.
Step
of
Materials
Project Preview Video

QUICK VIEW
Rosemaling Border
$10.00
$3.49
Circle Price: $3.34

QUICK VIEW
Tear Away Stabilizer
$7.98
Circle Price: $7.18
{{ item.name }}
{{ item.listPriceDisplay }}{{ item.salePriceDisplay }}
Circle Price:
{{ item.clubPriceDisplay }}


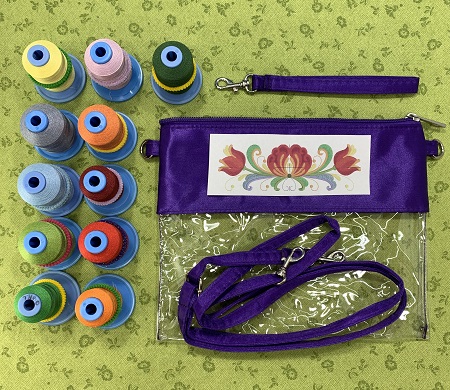
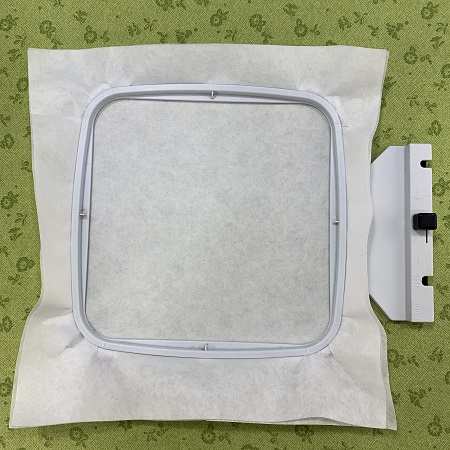
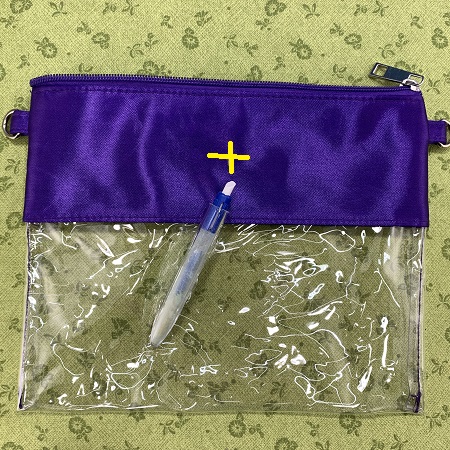
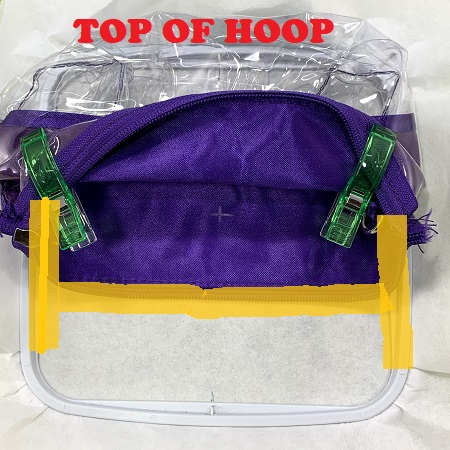
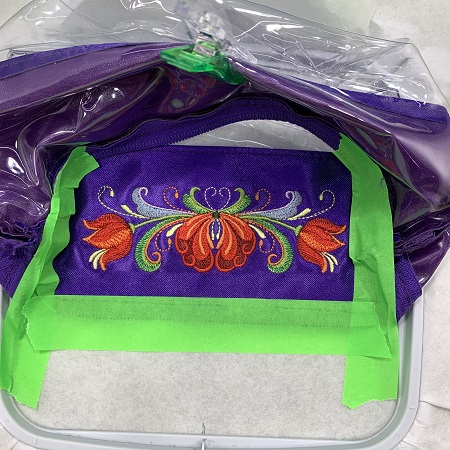
| Materials Design Template 5x7 or 6x6 hoop 90/14 Embroidery Needle 40 wt. Embroidery Thread (Robison-Anton poly) Tear away Stabilizer Wonder Clips Masking Tape 10"x8" clear vinyl bag |
| Designs used in this project |
| Final Product: What You Will Create |
 |
|
Beautiful things are made one stitch at a time.... Marisa Littleton |
Projects You May Like
Meet the Author:
Marisa Littleton

Marisa Littleton is a retired educator with a love for teaching and learning. Interests include machine embroidery, hand embroidery, quilting, cooking, and antiques.
Feedback
Characters Remaining
Please Login to Submit a Feedback
Invalid Characters, Please enter a valid Comment
Please enter a valid Comment
Reviewed On
Link is Broken, Please check the URL