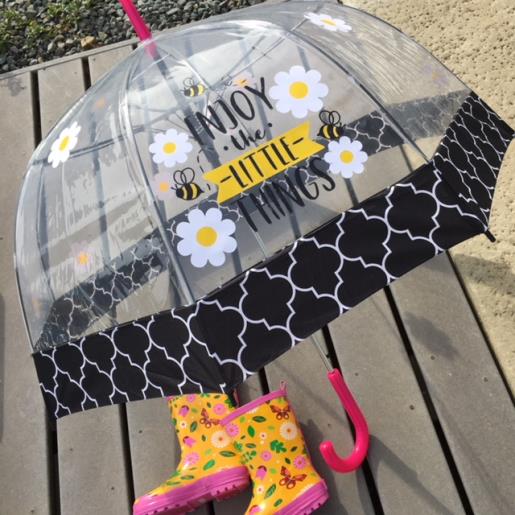
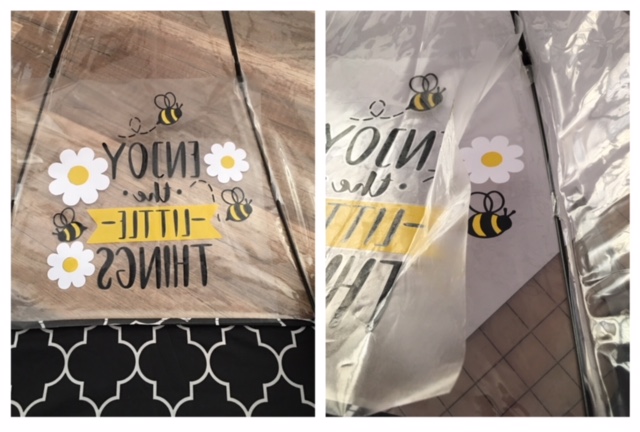
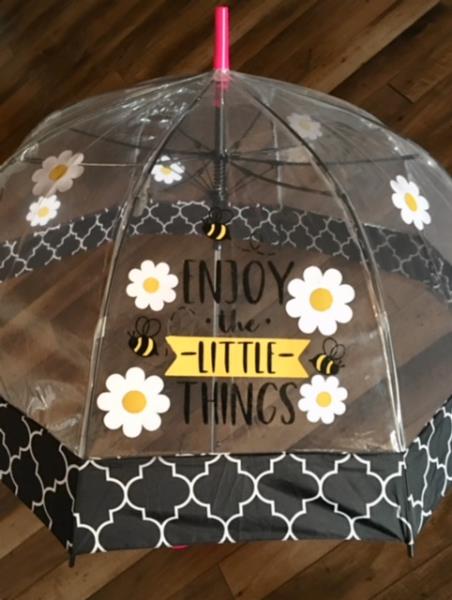
Add a splash of color to a clear transparent umbrella with this springtime SVG design that sends a message to “Enjoy The Little Things” wherever you go. The Enjoy the Little Things SVG design will be cut using multiple colors of vinyl and then creating one decal for application. Multiple daisy decals will be cut to be placed sporadically onto your umbrella for a whimsical springtime look. All decals will be created in a reverse image as the final decal will be placed on the inside of the umbrella.
Step 1:
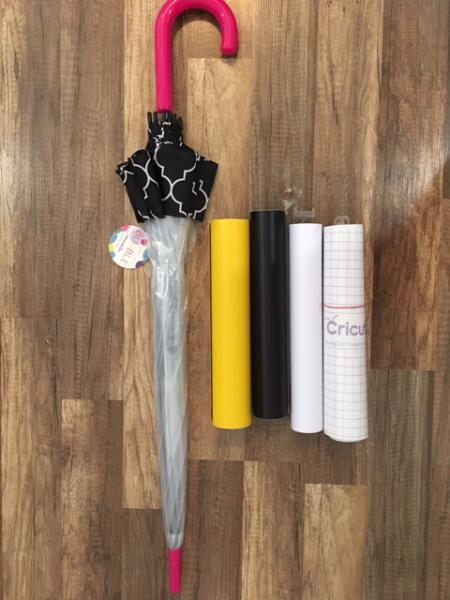
Gather all supplies and review instructions before beginning.
*Basic knowledge of a cutting machine, cutting multiple colors of vinyl, and how to prepare vinyl for a decal is needed.
(Click Image to Enlarge)
Step 2:
Creating the Decal
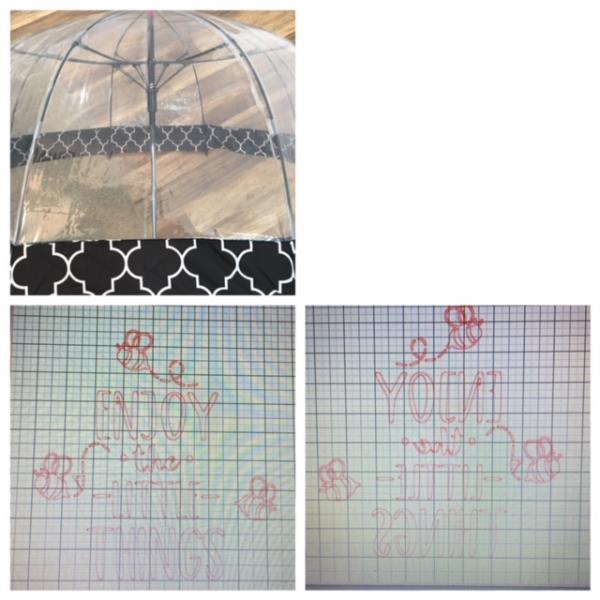
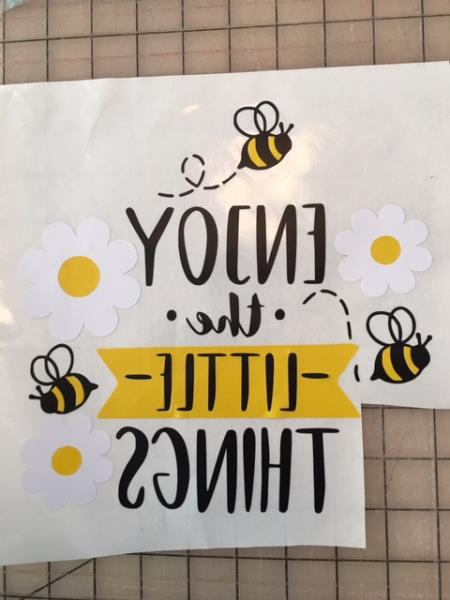
Per your cutting machine’s software program instructions. Upload the design “ Enjoy The Little Things” into cutting machine’s program. Resize your design to fit within one of the sections of your umbrella ( In this tutorial the design was resized to 8.3” x 8.5”) and cut multiple colors of vinyl following the colors for the design. Black for the wording/saying and outline of bees. White for the daisies. Yellow for the bee bodies, banner and the center of the daisies. (The black vinyl cut out will be your primary decal) Be sure to reverse the image of the all the cut design and pieces as this design decal will be placed on the inside of your umbrella.
(Click Image to Enlarge)
Step 3:
Preparing Vinyl for Cutting
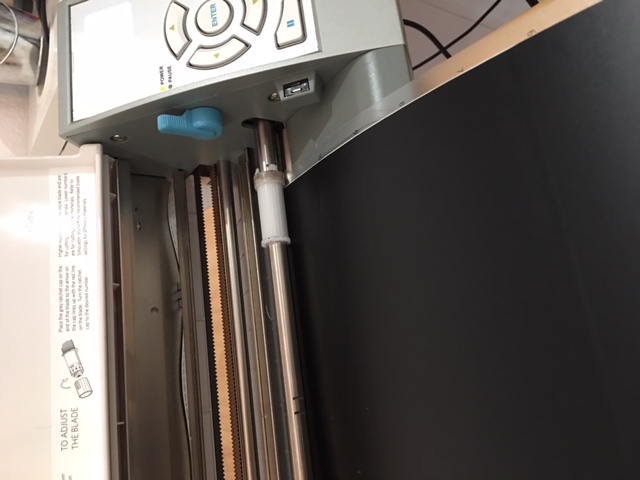
Load your vinyl into your cutting machine. Check your cutting settings etc. per your cutting machine’s instructions. Ensure your design/pieces have been reversed imaged. Cut. Continue each color vinyl cutting of design pieces per your machine’s instructions.
(Click Image to Enlarge)
Step 4:
Making The Additional Daisies
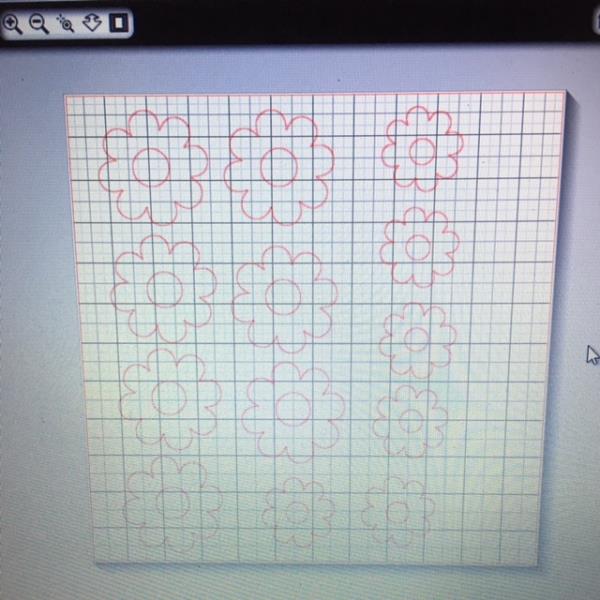
Ungroup your design in your cutting machine's program and delete all but the daisies. Make as many additional large and small daisies ( copy and paste) as you would like to put on your umbrella. Cut using your white vinyl. Cut the daisy centers in yellow vinyl. (The number of centers to cut are determined by the number of daisies you have cut.)
(Click Image to Enlarge)
Step 5:
Weeding
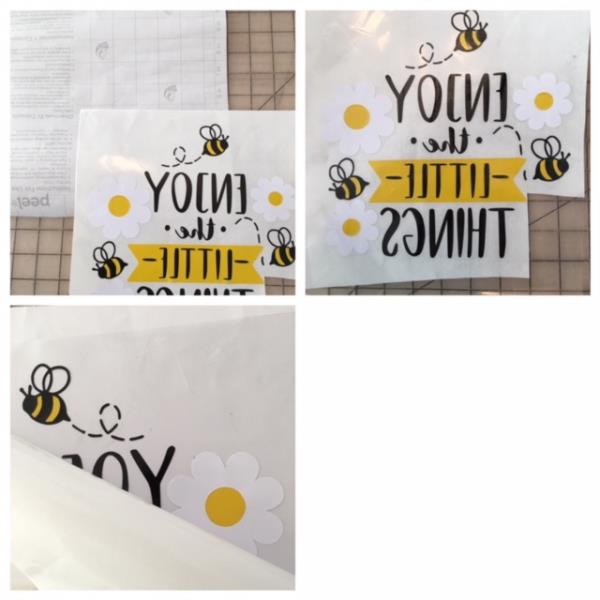
Weed the extra vinyl with your weeding tool on all your cut designs/pieces for a decal. Because there are quite a few pieces, we will be layering them to create just one decal for application on to the umbrella by adding your pieces of color vinyl to” fill in” the area of the outlines and complete the design. (If needed print out design template and review for placements of fill vinyl) In the pic shown I accidentally cut out area where a daisy should be and will apply individually to the umbrella.
(Click Image to Enlarge)
Step 6:
After you have "filled" in all the areas with your color vinyl cuts.....Cut a piece of transfer tape and apply to your decal. Remove adhesive backing.
(Click Image to Enlarge)
Step 7:
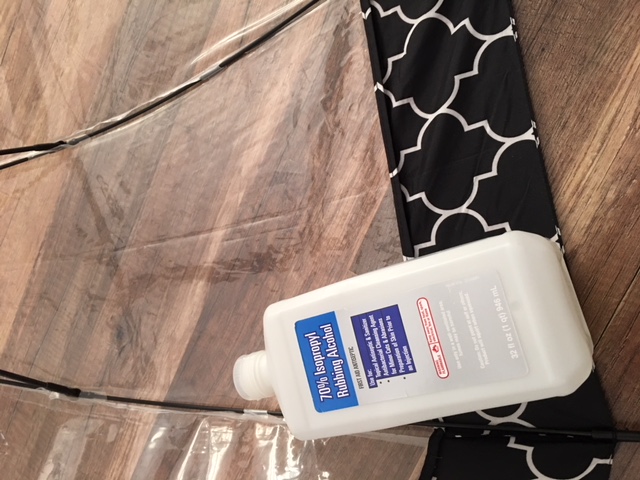
Open up your umbrella and wipe down the inside of the umbrella section with rubbing alcohol for placement of decal.
(Click Image to Enlarge)
Step 8:
Center place decal in your umbrella section. When you have the placement you like…. fingertip press down onto the umbrella. Smooth out any bubbles. Remove transfer paper while ensuring decal stays adhered.
(Click Image to Enlarge)
Step 9:
Sporadically place the other decal daisies around the umbrella. Make sure to wipe down the sections with rubbing alcohol before placement. ( I did not use any transfer tape as the decals were small enough to manage without.) Woohoo! You did it! Your Spring Time Umbrella is finished! Congrats! A little time consuming… but oh so worth the outcome!