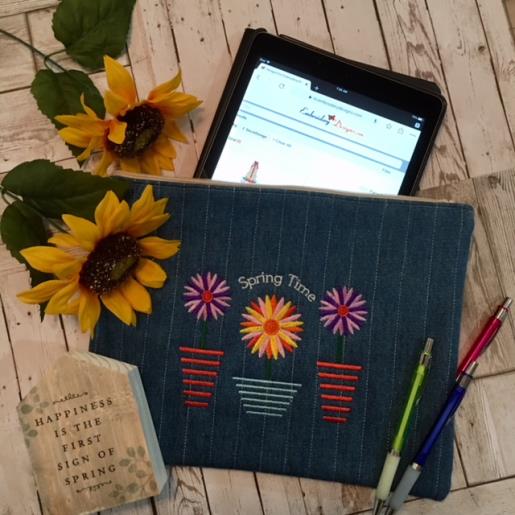
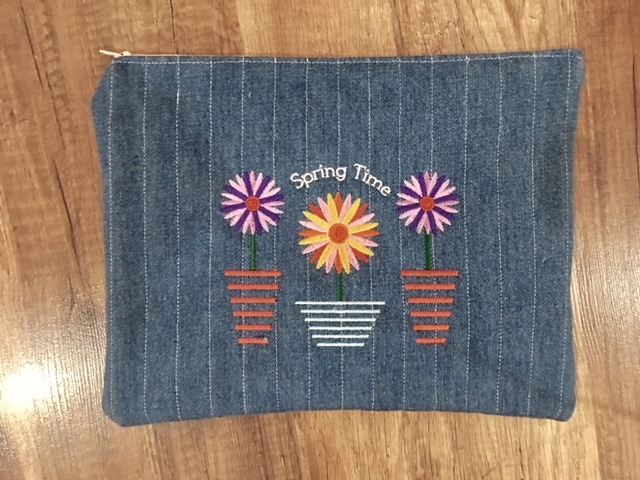
Step into Spring with this simple yet stylish quilted tablet cover embroidered with a delightful “Spring Time” embroidery design and with a zipper closure at the top.
This cover will fit a 10” x 7” tablet already in a cover. In this tutorial we will be using your sewing machine’s quilting guide bar to quilt the outer panels as this will provide “padding” for additional protection to your tablet as well as the cover itself keeping it free from dust and scratches.
Step 1:
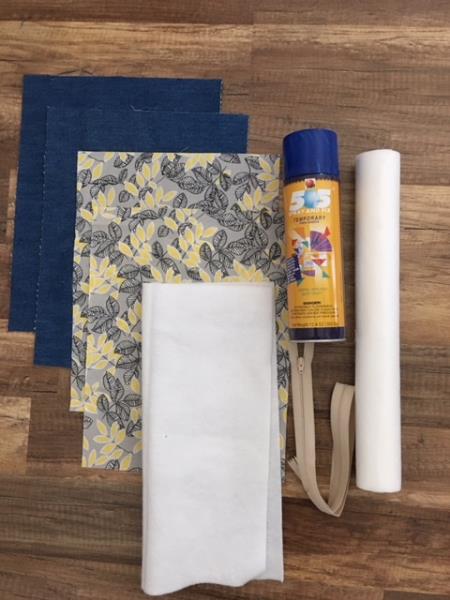
Gather all supplies and review instructions before beginning.
(Click Image to Enlarge)
Step 2:
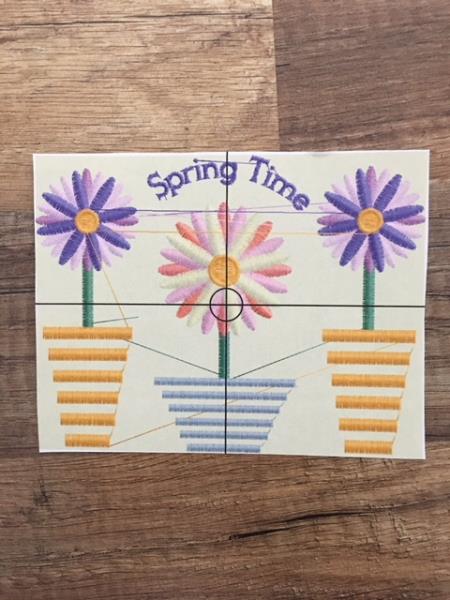
Print out template for review of thread colors and placement if needed.
(Click Image to Enlarge)
Step 3:
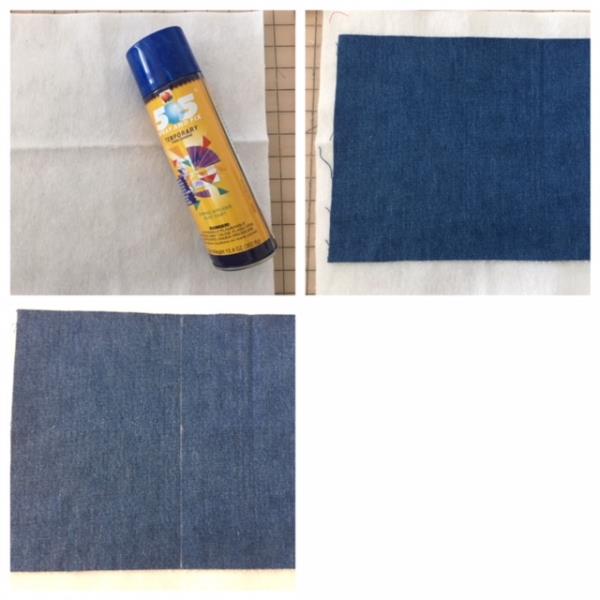
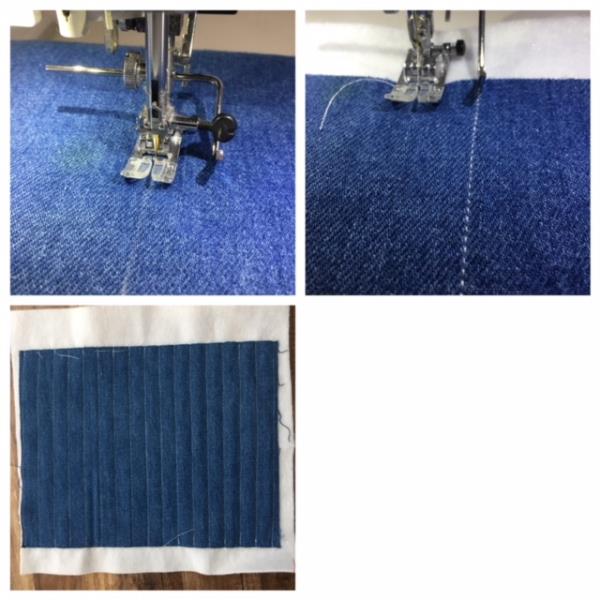
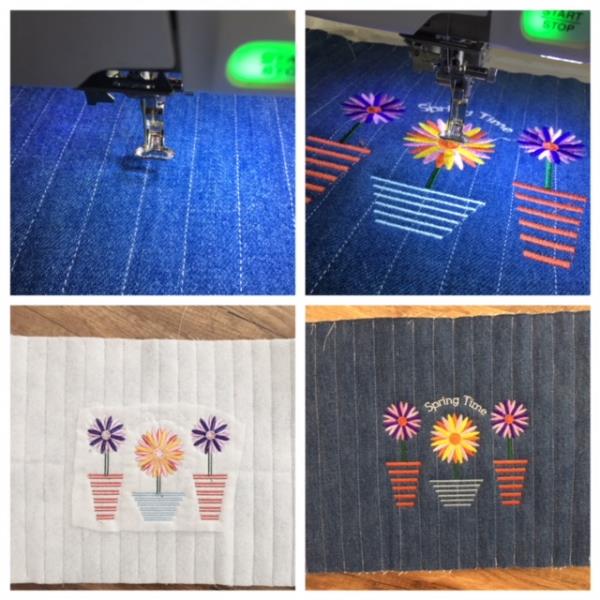
QUILTING FRONT AND BACK OUTER PANELS Lightly spray temporary adhesive spray onto your cut cotton batting. Place your cut denim panel piece atop. Fingertip smooth out all wrinkles to secure. ( if needed iron press) find center ( 6.5”) draw a line using your air erase or chalk pen from top to bottom
(Click Image to Enlarge)
Step 4:
Using white thread stitch from top to bottom on drawn line. Set your quilt guide bar attachment ( per your machine’s instructions ) at approx 1”. Place your quilt guide bar atop stitched line and quilt the panel by stitching from top to bottom. Do the same for the outer back cut piece. If you do not have a quilt guide bar…. Draw lines atop your panel 1” apart and stitch down the drawn lines.
(Click Image to Enlarge)
Step 5:
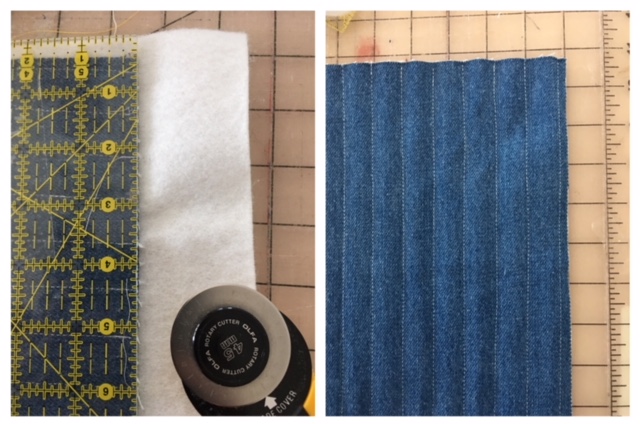
Cut away excess batting from all four sides
(Click Image to Enlarge)
Step 6:
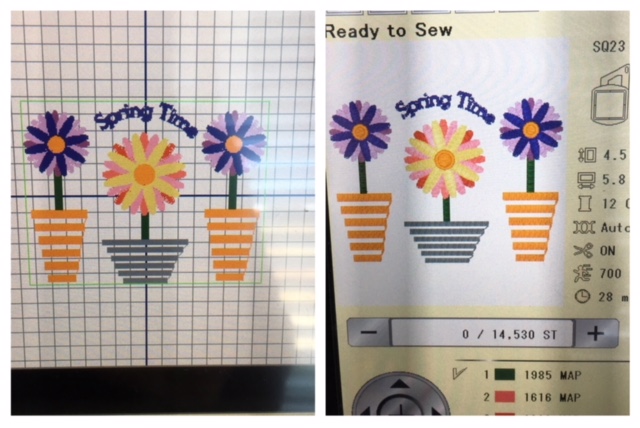
Load the Spring Time embroidery design into your machine.. In the edit mode ( per your machine’s instructions enlarge by 20%. Design then should be approx 5.8” x 4.5”
(Click Image to Enlarge)
Step 7:
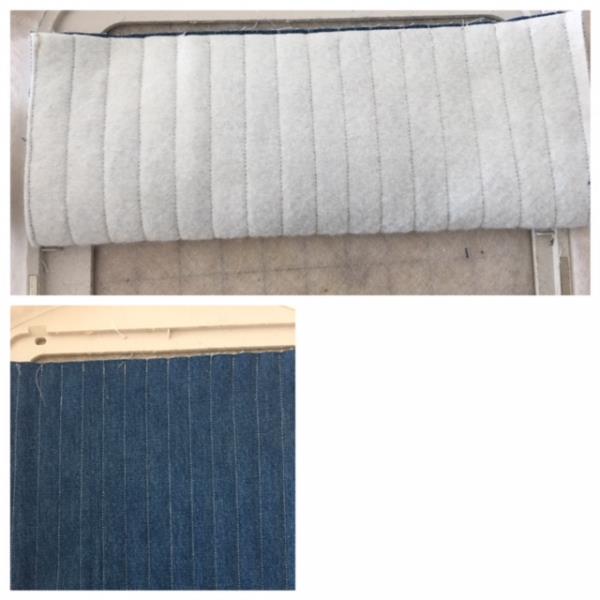
Cut and hoop piece of cut away stabilizer. Spray tas atop stabilizer. Center your outer denim panel by folding in half and using your center stitch line to match your hoop’s axis points.
(Click Image to Enlarge)
Step 8:
Attach hoop to machine. Confirm center needle placement. Begin the embroidering process. Design will take approx. 28 min based on your machine and at a speed of 700 spm. Embroidering complete: remove hoop. Cut and trim all jump stitches and loose thread ends. Trim stabilizer from design.
(Click Image to Enlarge)
Step 9:
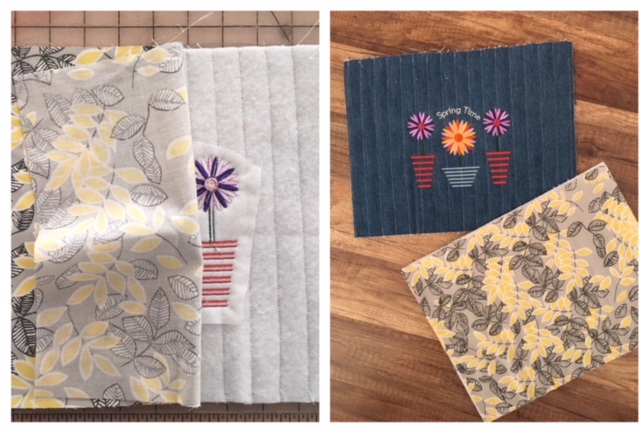
ATTACHING THE LINING Lightly spray temporary adhesive spray onto backside of the embroidered outer panel. Lay your cut lining panel atop. Fingertip press and smooth to secure. Matching up side edges and top/bottom. Repeat using other lining and outer panel.
(Click Image to Enlarge)
Step 10:
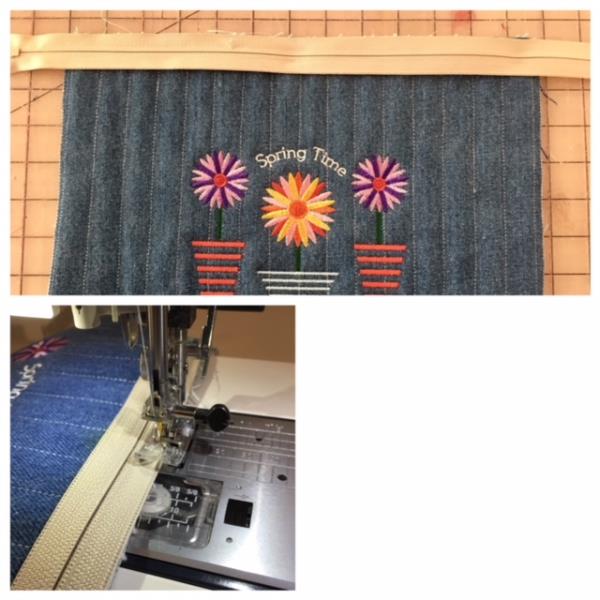
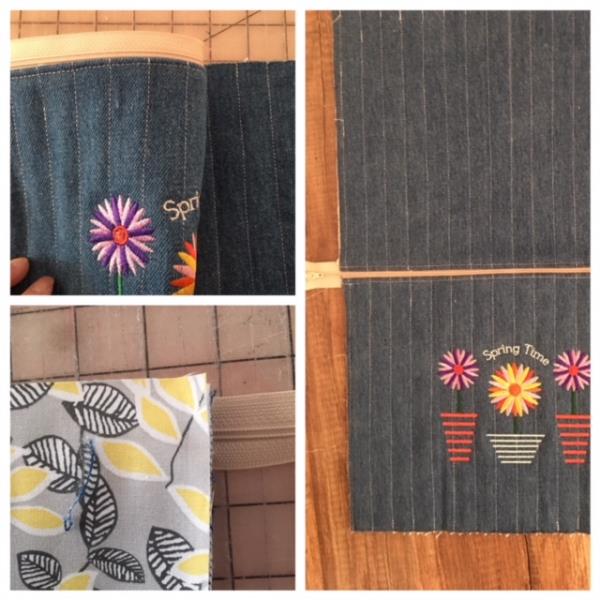
Attaching the zipper Place zipper at top of front panel matching up edges edge. Right sides together. Using 1/8” -1/4” seam allowance stitch in place.
(Click Image to Enlarge)
Step 11:
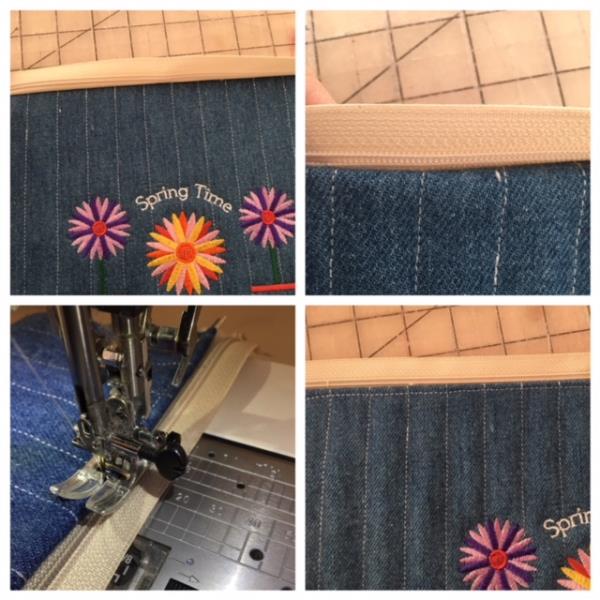
Pinch a “fold” to meet right below the teeth of the zipper. Topstitch.
(Click Image to Enlarge)
Step 12:
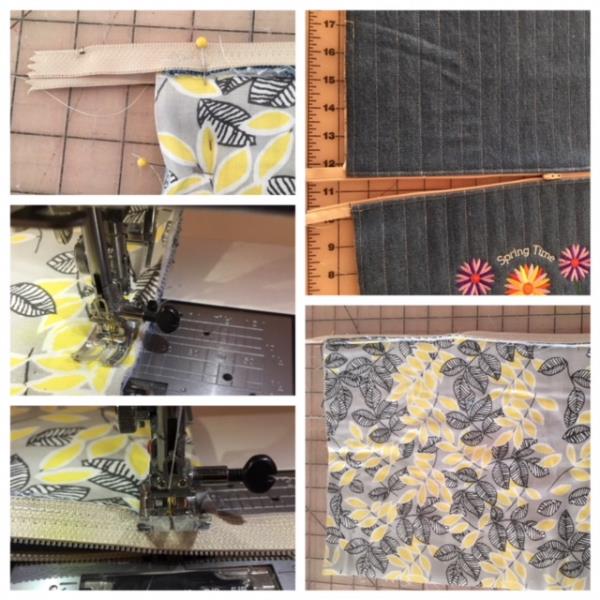
BACK PANEL Right sides together. Center the back panel by matching up side edges. Match up top edge of back panel to top edge of zipper. Repeat steps to attach zipper.
(Click Image to Enlarge)
Step 13:
Constructing the Cover Open zipper ½- ¾ . Right sides together match up sides and bottom. Pin in place. Using ½” seam allowance stitch sides( stitch through zipper) and bottom.
(Click Image to Enlarge)
Step 14:
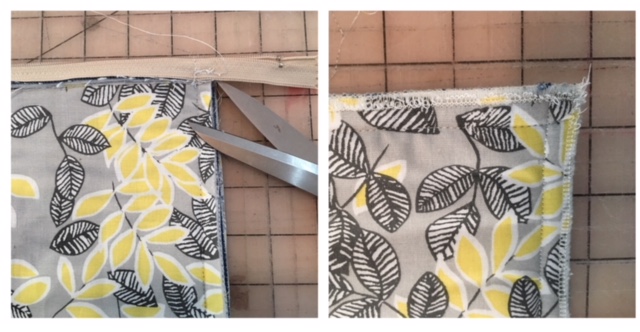
Trim excess zipper tails. Zig zag/serge sides and bottom edges to prevent fraying.
(Click Image to Enlarge)
Step 15:
Trim bottom corners. Turn right side out through zipper opening. Push out corners. Congratulations! You’re ready for Spring with your Spring Time Tablet Cover. Good job!