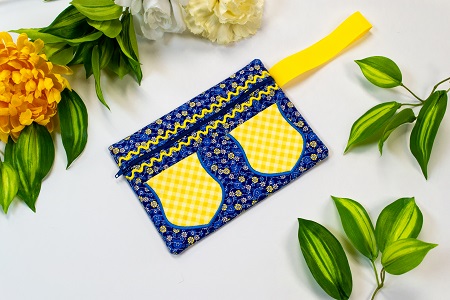
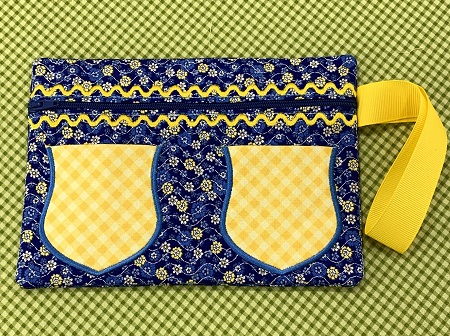
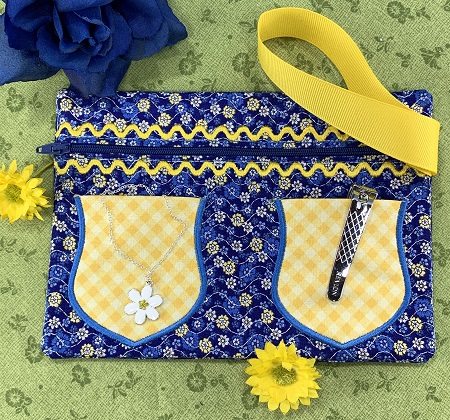
In the Hoop Deco Zippered Bag...Everything for this bag is done in the hoop on the embroidery machine. The bag is lined with complimentary fabric and has a ribbon strap. This design is completed in one hooping.
Step 1:
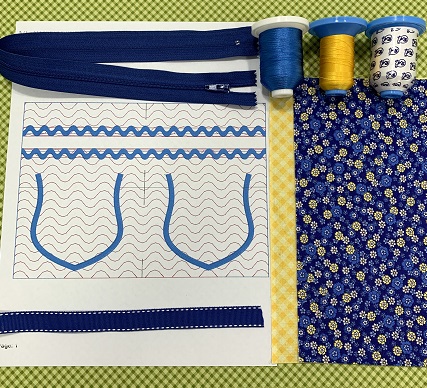
Read the directions before beginning the project. Prepare the materials. Iron and lightly starch fabric. Cut the required sizes of the fabrics. Check needle size and bobbin thread. Load the design onto the embroidery machine.
Step 2:
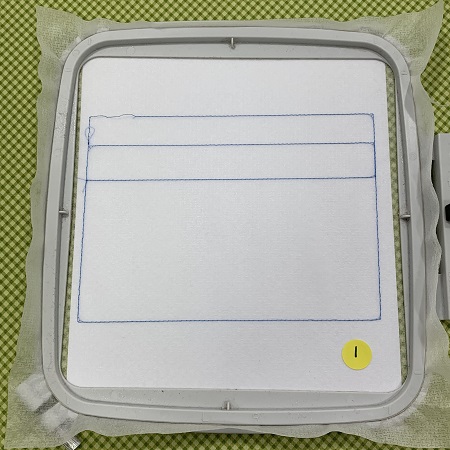
Hoop one piece of No Show Mesh stabilizer. Attach the hoop to the embroidery machine. Stitch color 1. Color 1 is the placement stitches for the bag.
Step 3:
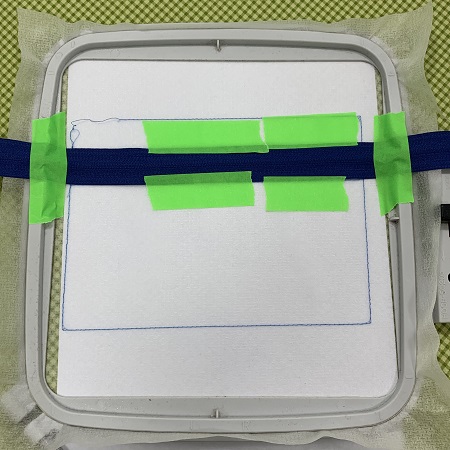
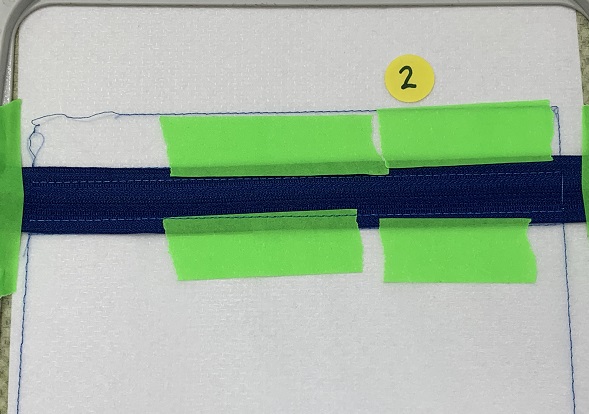
Place the zipper on the middle line on the top section of the bag. The teeth of the zipper should be on the middle line. Make sure the ends of the zipper overlap 1" on each side of the bag. Use masking tape to hold the zipper in place.
Step 4:
Stitch color 2. Color 2 will sew each side of the zipper onto the stabilizer.
(Click Image to Enlarge)
Step 5:
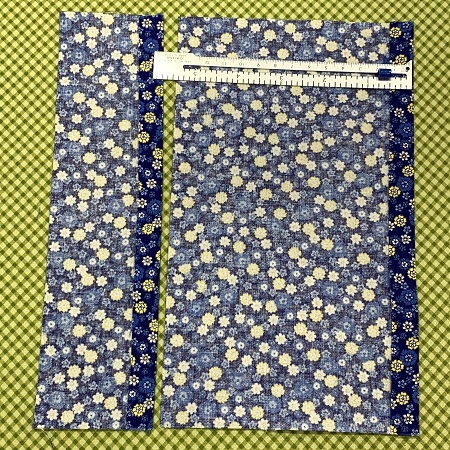
Next we will prepare fabric for the front of the bag. You will be using Fabric A pieces 3.5"x9", and 6"x9". Fold the raw edges down 1/2" on one long side of each piece of fabric. Press with an iron.
Step 6:
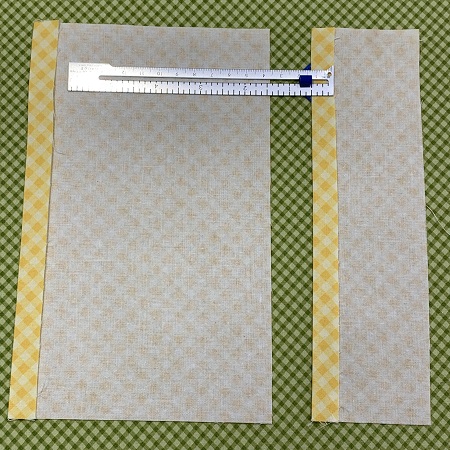
You will be using Fabric B pieces 3.5"x9", and 6"x9". Fold the raw edge down 1/2" on one long side of each piece of fabric. Press with an iron.
Step 7:
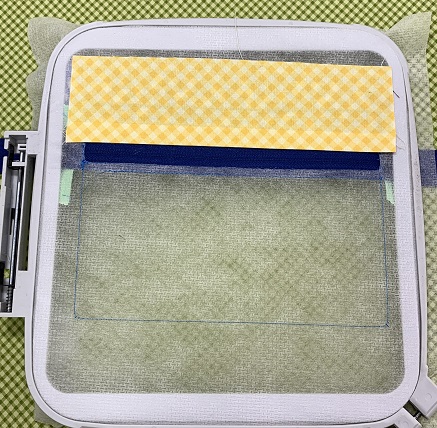
Place the 3.5"x9" piece of Fabric A on the top section of the bag. The fold line of the fabric should be centered with the teeth of the zipper.
Step 8:
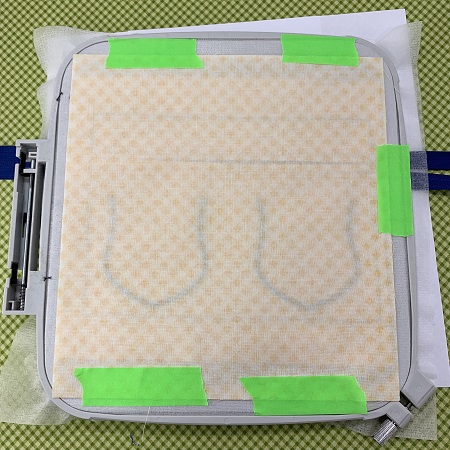
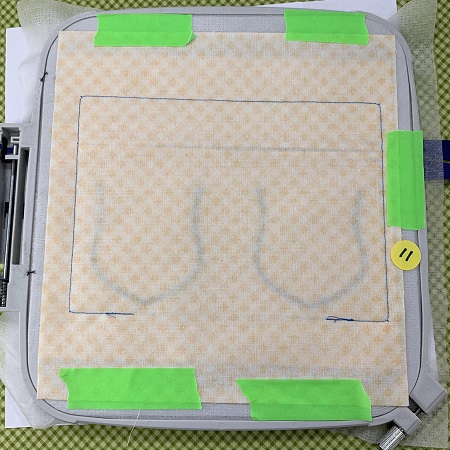
Turn the hoop over so that the back of the hoop is facing you. Place the 3.5"x9" piece of Fabric B on the top section of the bag. The fold line of the fabric should be centered with the teeth of the zipper. Use a temporary spray adhesive or masking tape to hold the fabric in place.
Step 9:
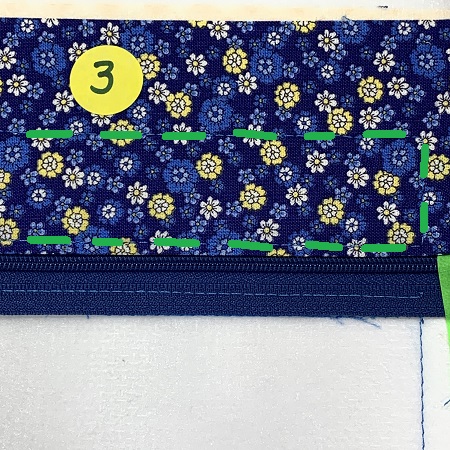
Attach the hoop. Stitch color 3.
Step 10:
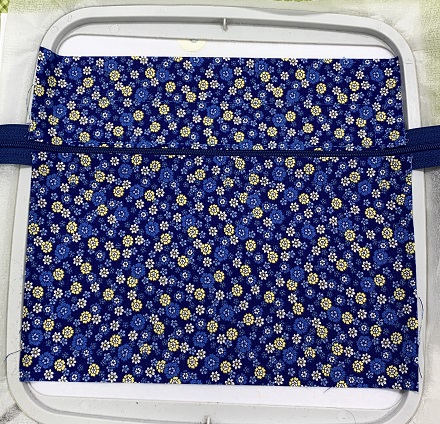
Place the 6"x9" piece of Fabric A on the lower section of the bag. The fold line of the fabric should be centered with the teeth of the zipper. Use a temporary spray adhesive, pins, or masking tape to hold the fabric in place.
Step 11:
Place the 6"x9" piece of Fabric B on the lower section of the bag. The fold line of the fabric should be centered with the teeth of the zipper. Use a temporary spray adhesive or masking tape to hold the fabric in place.
Step 12:
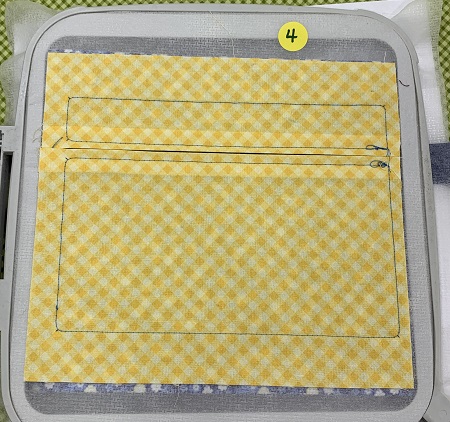
Attach the hoop. Stitch color 4.
Step 13:
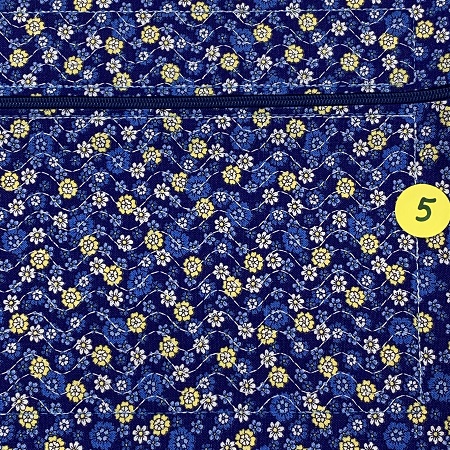
Stitch color 5. Color 5 is the stippling stitches on the front of the bag.
Step 14:
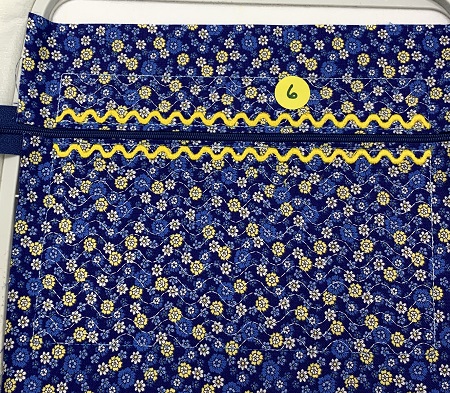
Stitch color 6. Color 6 is the wide, bold, zig zag stitches around the zipper. A bold, contrasting color is suggested for the zig zag stitches.
Step 15:
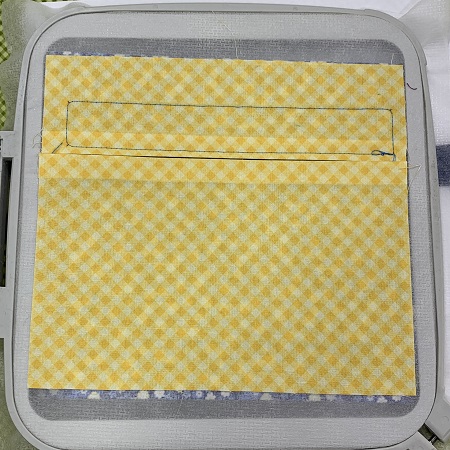
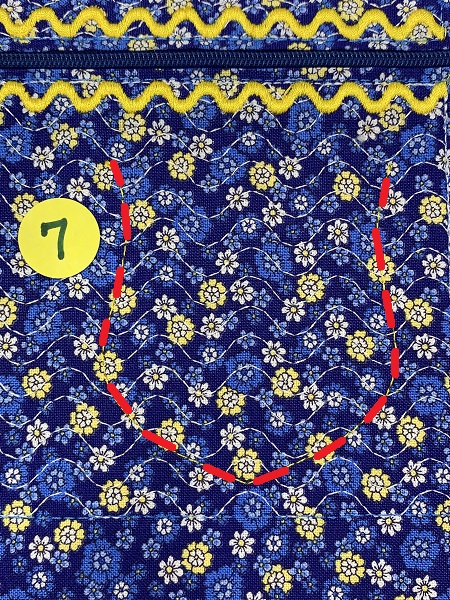
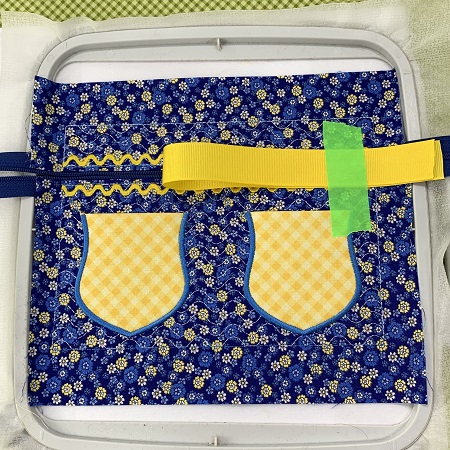
Stitch color 7. Color 7 is the placement stitches for the pockets. The picture shows a close up of one of the pockets.
(Click Image to Enlarge)
Step 16:
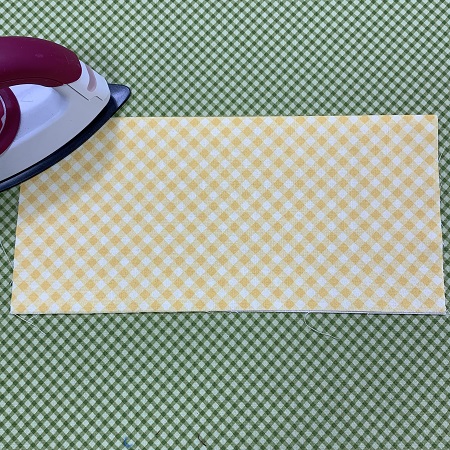
Next, we will prepare the fabric for the pocket. Using the 8"x9" piece of Fabric B, fold the fabric in half lengthwise. Iron a crease on the fold line.
Step 17:
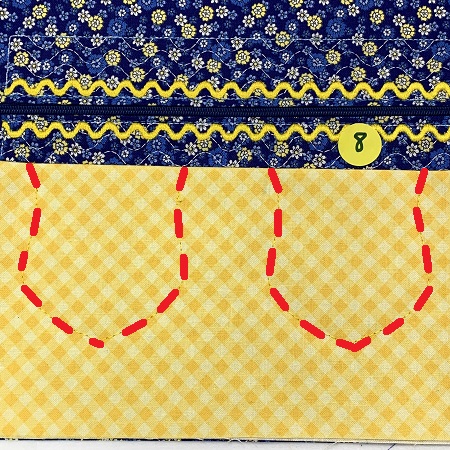
Using the folded fabric for the pocket, place the fabric over the placement stitches. The side of the fabric with the fold should be at the top of the pocket. Use pins or masking tape to secure the pocket fabric in the hoop. Stitch color 8.
Step 18:
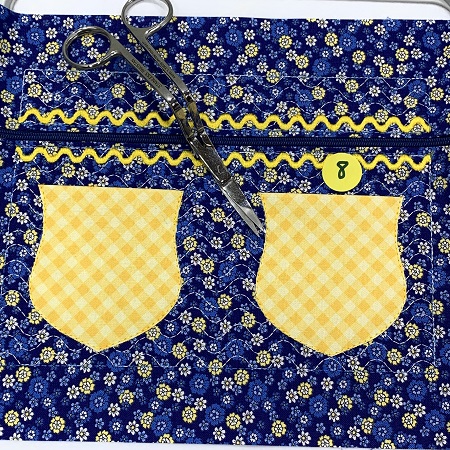
Trim excess fabric from around the pockets with applique scissors. Be careful not to clip the stitching on the pockets.
Step 19:
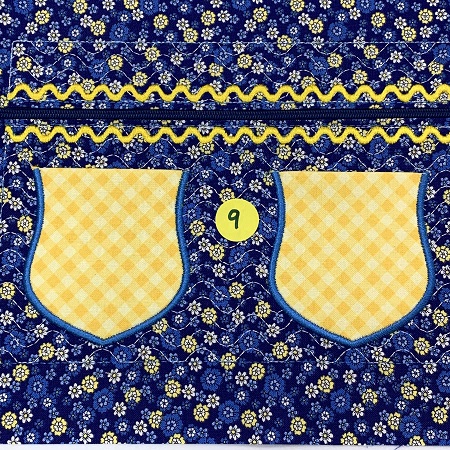
Stitch color 9. Color 9 is a satin stitch around the pockets. A contrasting thread color works wells for the pockets.
Step 20:
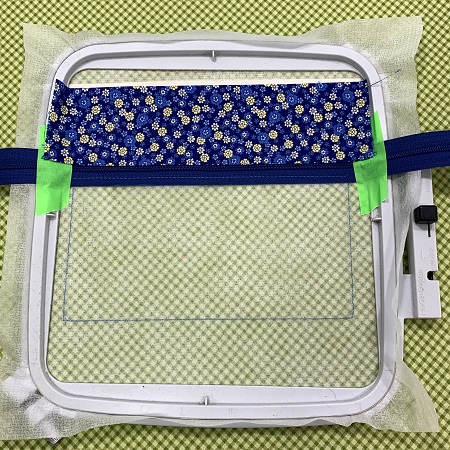
Unzip the zipper at least 3/4 of the way open. Fold the ribbon in half. Place the folded ribbon over the zig zap stitching. Make sure that the raw edges of the ribbon overlap about 1" over the seam line. Use masking tape to hold the ribbon in place.
NOTE: The ribbon for the strap can go on either side of the bag. The picture shows the ribbon strap on the right side.
Step 21:
Place the 8"x9" piece of Fabric A wrong side down onto the hoop. Use pins or masking tape to secure the fabric to the hoop. Stitch color 10.
Step 22:
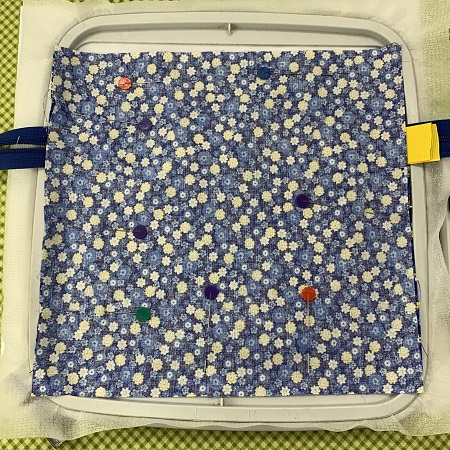
Remove the hoop from the embroidery machine, but do not remove the project from the hoop. Turn the hoop over so that the back of the hoop is facing you. Place the 8"x9" piece of Fabric B on the back of the hoop. Make sure that the fabric covers the back of the bag you are stitching. Use masking tape to secure the fabric to the hoop.
Step 23:
Attach the hoop. Stitch color 11.
Step 24:
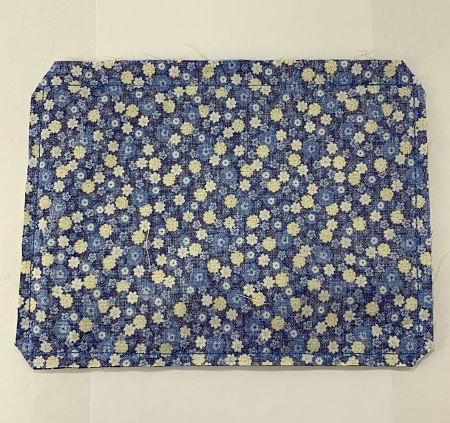
Remove the hoop from the machine. Remove the zippered bag from the hoop. Trim excess fabric on the side with the opening for turning to 1/2". Trim the other sides to 1/4".
Clip the edges off of each corner at an angle. Clipping the corners will remove some bulk from inside the bag.
Step 25:
Turn the bag through the opening in the liner. Make sure the corners are fully turned.
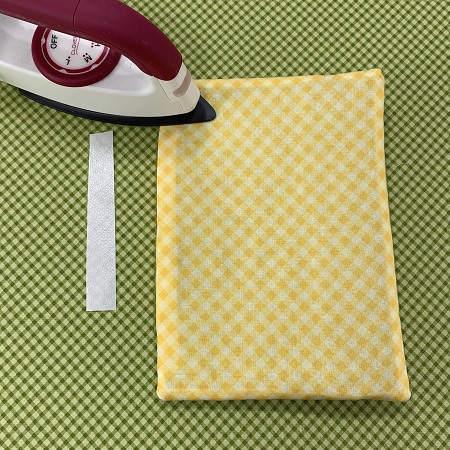
Close the opening in the lining by tucking the fabric edge inside the bag. Press the edge with an iron. A slip stitch with a needle and thread is one way to close the opening. Another way to close the opening is using a small strip of Heat n Bond Ultra strong. Just follow the Heat n Bond package directions.
Step 26:
Turn the bag again through the zipper opening. Press the edges of the bag so that the seams will lay better.
Congrats! You have completed a zippered bag!
Step 27:
Great job!
Beautiful things are made, one stitch at a time....
Marisa Littleton is a retired educator with a love for teaching and learning. Interests include machine embroidery, hand embroidery, quilting, cooking, and antiques.