{{superHeaderAds.title}}
Live Chat
Embroidery Designs
Welcome, Embroiderer
Login
Snowflake Pillow
{{mainImageAlt || (productInfo._source && productInfo._source.name) || ''}}

Snowflake Pillow Embroidery Project

By   Marisa Littleton   on   December 07, 2019

PROJECT DETAILS

SKILL LEVEL
Some Experience
TIME REQUIRED
01:00
Description

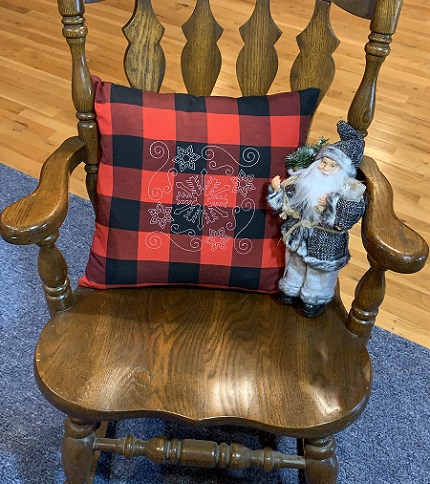
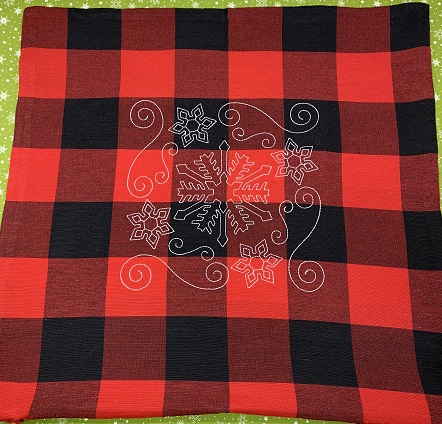
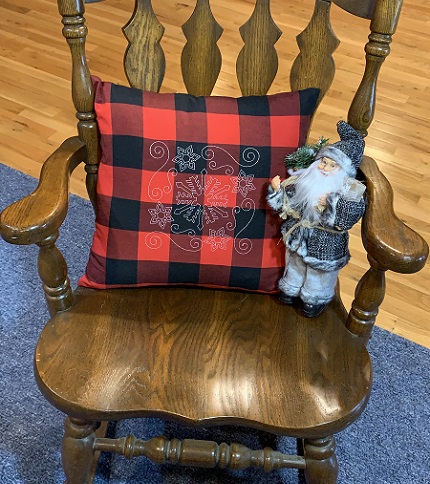
A HUGE snowflake on a red/black buffalo plaid cushion cover will blend the Christmas and winter décor in your home.

Project Preview Video

Materials
  • Snowflake design
  • 8x8 or larger hoop
  • Two commercial red/black buffalo plaid 16"x16" zippered cushion covers
  • No show mesh
  • Embroidery needle 80/14 or 75/11
  • 40 weight embroidery thread (Robison-Anton poly)
  • Embroidery Software Program (optional)
  • Two 18"x18" pillow inserts

  • Designs used in this project

    Final Product: What You Will Create

    Preface:
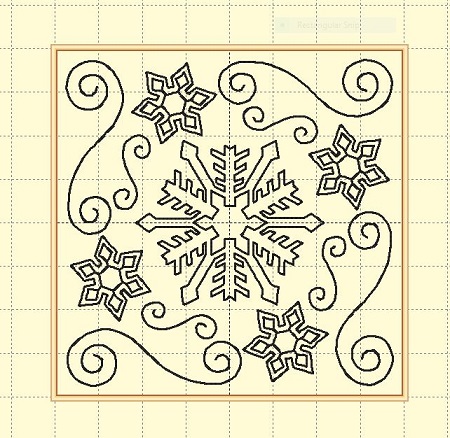
    A HUGE snowflake on a red/black buffalo plaid cushion cover will blend the  Christmas and winter décor in your home.  The design is available in 3 sizes.  The 7.12x7.12 design was enlarged slightly to 7.5x7.5 using Embrilliance Essentials software program.  The design has a low stitch count and outlined stitch type.  Commercial zippered cushion covers were used for this project.  16"x16" or 17"x17" are ideal sizes.  I suggest using an 18"x18" pillow insert for these size cushion covers to get a snugger, better fit.


    Step 1:
    If desired, enlarge the design slightly.  I wanted the design slightly larger to be more proportionate to the size of the cushion cover.  Embrilliance Essentials software program was utilized to enlarge the design.  


    Step 2:
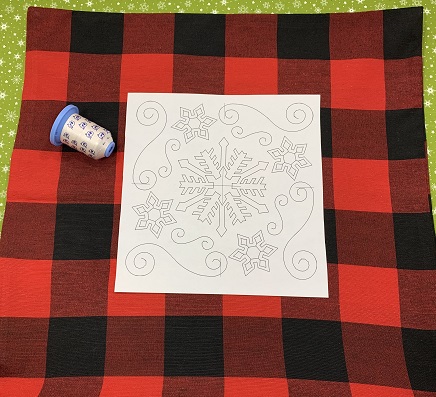
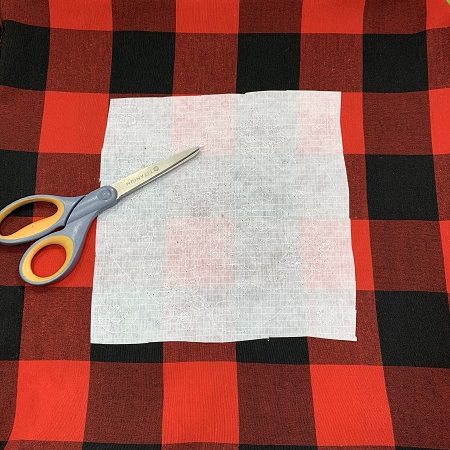
    Read the directions before beginning the project.  Gather the materials.  Print a design template.


    Step 3:
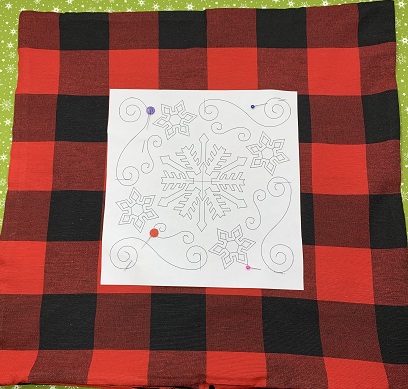
    Find the center of the pillow cover.  You can measure the length and width to find the center.  Use an air erasable fabric marker to mark the center and axis points on the cushion cover.  Use the design template to assist with placement on the pillow cover.  Pin the template in place on the cushion cover.
     
    NOTE:  Another way to find the center and axis points is to fold the pillow cover in half and then fold again.  Press a crease mark along the fold.   Center the design template on the folded grid lines.  Pin the template in place on the cushion cover.


    Step 4:
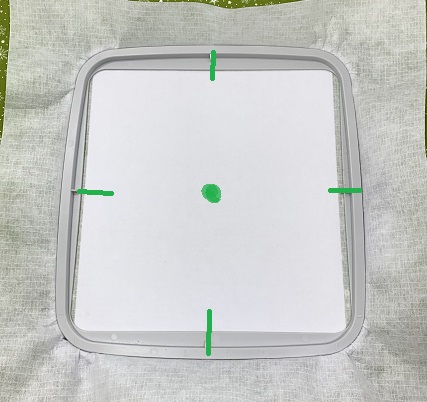
    Hoop one piece of No Show mesh stabilizer.  (Regular cut-away stabilizer would work well also.)  Mark the center and axis points on the stabilizer.  


    Step 5:
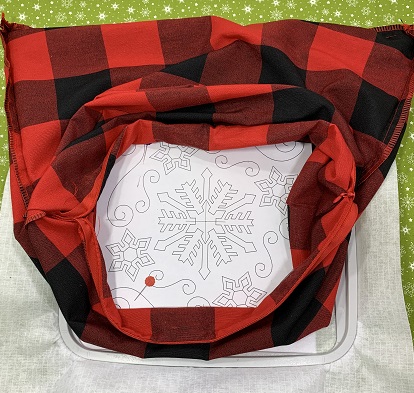
    Turn the pillow cover inside out.  Match the center and axis points on the pillow cover/template and the stabilizer.  Lightly mist the stabilizer with 505 Temporary Adhesive spray.  Pin the pillow cover to the stabilizer.  The pillow surface should be smooth and wrinkle free.  


    Step 6:
    Load the design onto the machine.  Attach the embroidery hoop. Check the needle and bobbin.  Pin or clip the pillow cover away from the stitching field.   If using a design template for placement, carefully remove the template from the top of the cushion cover.  Stitch the design.


    Step 7:
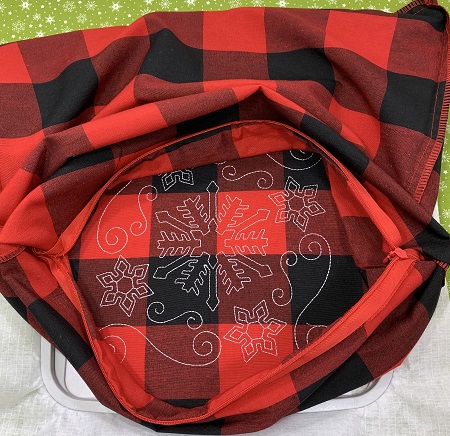
    Remove the pillow cover from the hoop.  Trim the extra stabilizer leaving a 1/4" margin.  Trim long threads if needed.


    Step 8:
    Congrats!  Simply adorable!   Don't stop...you need one more Snowflake Cushion cover to make a set!  


    Step 9:
    A functional item in a popular color scheme.  WTG!  

    Beautiful things come together, one stitch at a time...
     
     
    Marisa Littleton 
    Meet the Author: Marisa Littleton
    Marisa Littleton
    Marisa Littleton is a retired educator with a love for teaching and learning. Interests include machine embroidery, hand embroidery, quilting, cooking, and antiques.
    More From This Author
    Link is Broken, Please check the URL
    Exclusive Embroidery Offers!
    Copyright © {{ currentDate | date:'yyyy'}} - EmbroideryDesigns.com
    GET 50% OFF! ×