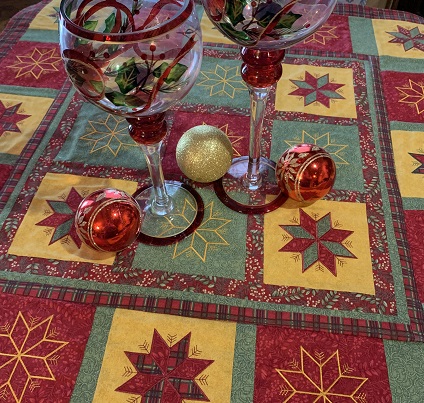
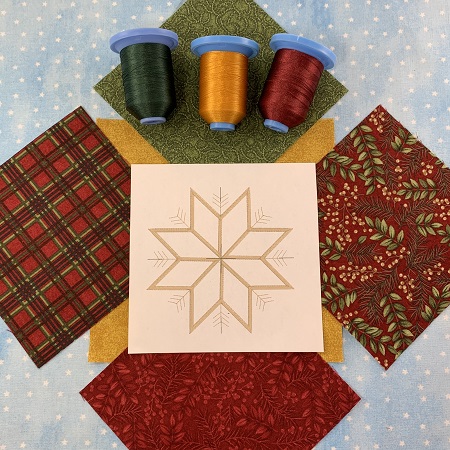
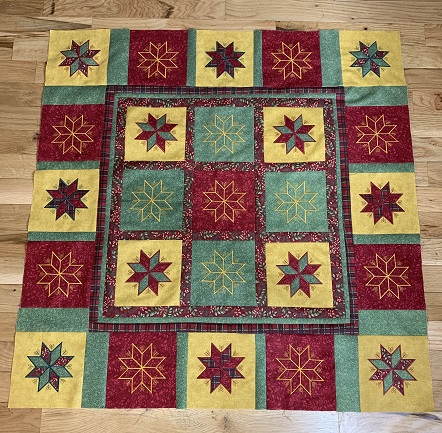
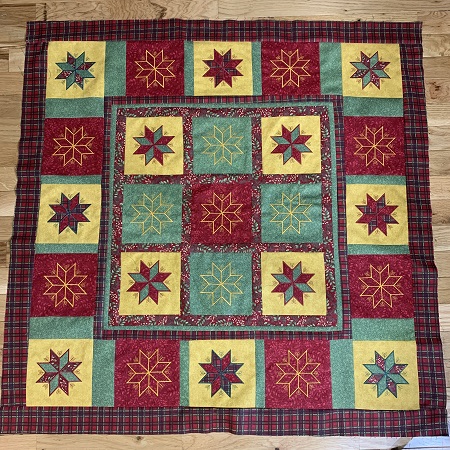
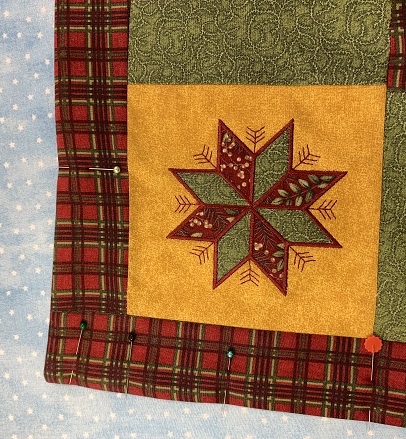
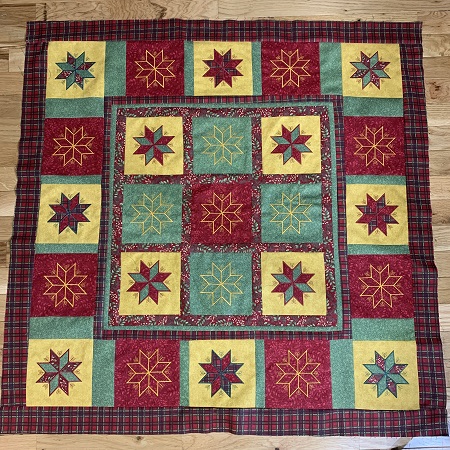
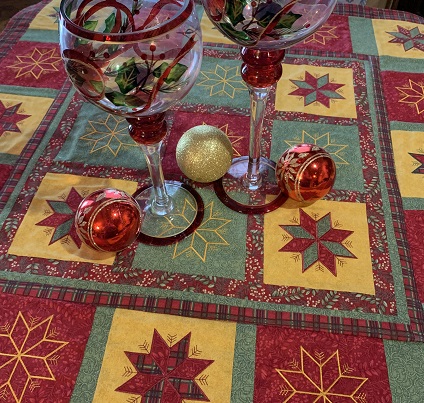
Christmas Star Table Topper in traditional seasonal colors of gold, green, and red. A festive touch for your Christmas décor. The table topper is approximately 36"x36" and would add charm to a round kitchen table, a coffee table, on the back of a bench, etc. The table topper has a total of 25 blocks in the design. Amount of fabric needed will depend on the layout of your table topper. Amount of time to complete the table topper will vary also.
Step 1:
Read the directions before beginning the project. Starch and iron the fabric.
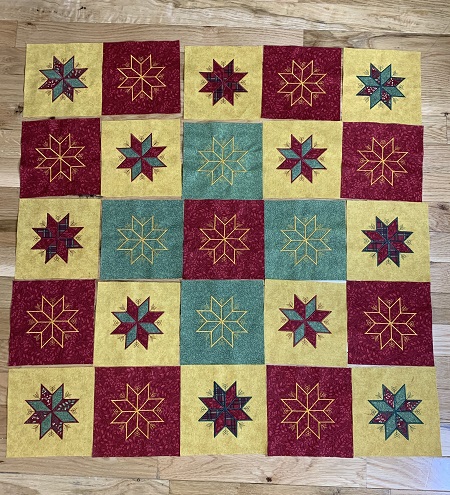
This layout uses twenty-five 6.5" x 6.5" blocks. Twelve of these blocks have been appliqued. You need twenty-four 5"x5" blocks for the appliqued blocks.
Apply Heat n Bond light to the 5"x5" blocks.
Step 2:
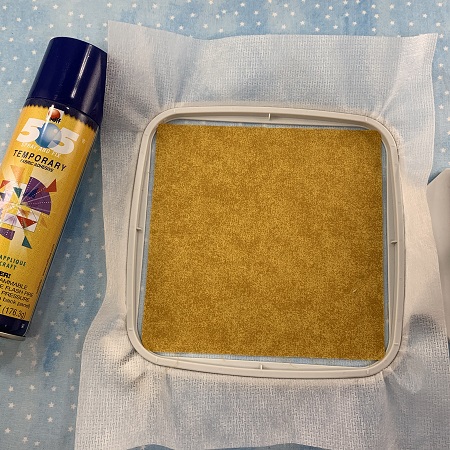
Hoop 1 piece of No Show Cutaway Mesh stabilizer in a 4x4 or larger hoop.
Lightly mist the stabilizer with a temporary adhesive spray to secure the fabric to the stabilizer. Float one 6.5" x 6.5" fabric block on the stabilizer.
Step 3:
NOTE: The Christmas Applique Star is a very simple design with a low stitch count. For a time saver, I did not change thread colors while stitching this design. I used the color that I wanted for the last step or finishing stitches. It also made a huge difference in the finished design by using matching bobbin thread.
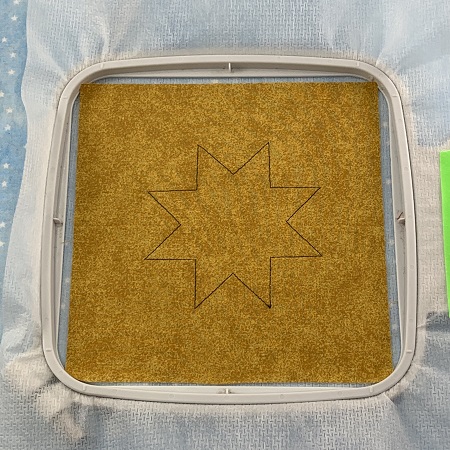
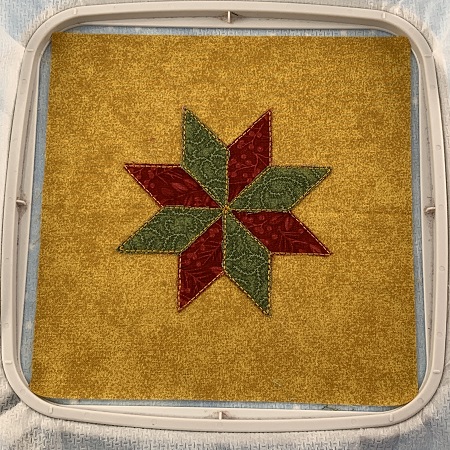
Stitch Step 1. Step 1 is the placement stitches.
Step 4:
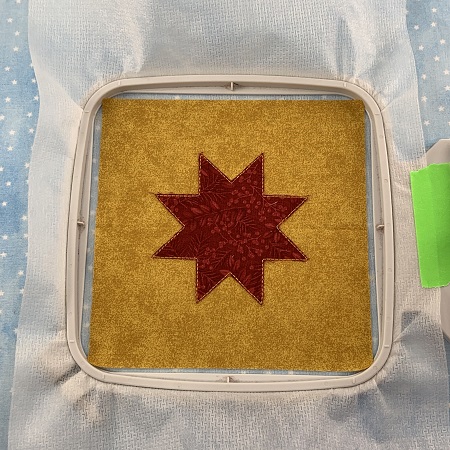
Place a 5x5 fabric block over the placement stitches. Stitch Step 2. Step 2 is the tack down stitches.
Trim the excess fabric from around the design. Use very small scissors and trim as close to the edge as possible without cutting the stitches.
Step 5:
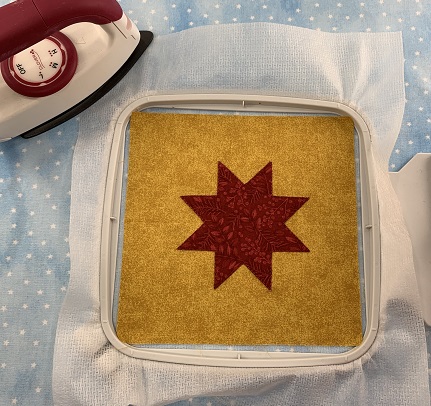
Use a small, hot iron and bond the appliqued star to the base block. Pay special attention to the sides and tips of the appliqued star.
Step 6:
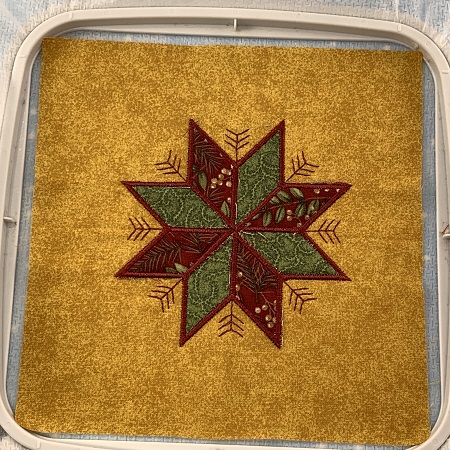
Step 3 is placement stitches. Stitch Step 3.
Step 7:
Place one 5"x5" block over the placement stitches. Stitch Step 4 which will tack down the applique fabric.
Step 8:
Trim the excess fabric from around the design. Use very small scissors and trim as close to the edge as possible without cutting the stitches.
Use a small, hot iron and bond the appliqued star to the base block. Pay special attention to the sides and tips of the appliqued star.
Step 9:
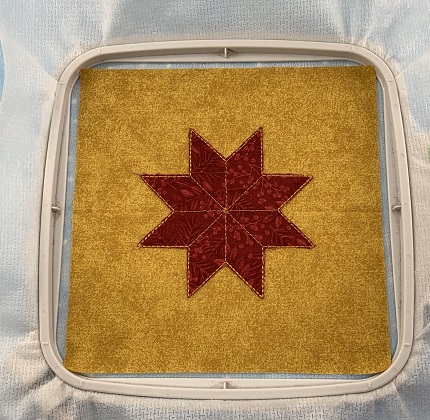
Step 5 is the finishing stitches. Stitch Step 5.
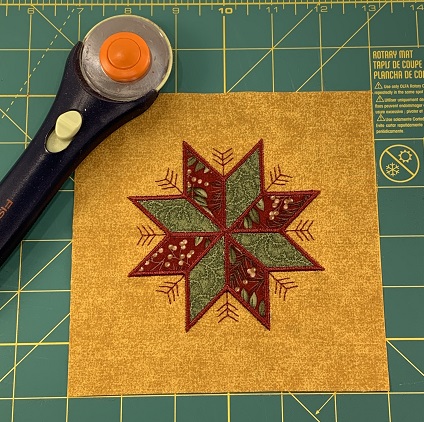
Remove the project from the hoop. Trim excess stabilizer leaving about 1/4" margin around the design. You may need to iron the block when you have finished.
The design has 12 appliqued blocks with different color combinations. Repeat these steps to make your blocks.
Step 10:
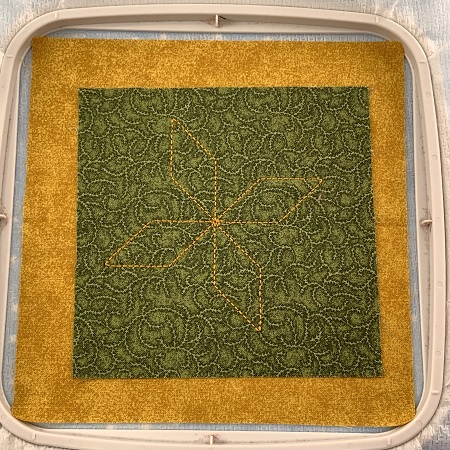
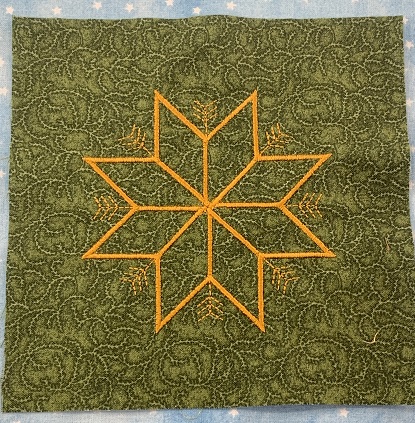
NOTE: 13 of the blocks were made without doing the appliqued parts. I just simply stitched each step without appliqueing fabric. These blocks have an outline of the Christmas Star pattern.
Hoop 1 piece of No Show Cutaway Mesh stabilizer in a 4x4 or larger hoop.
Lightly mist the stabilizer with a temporary adhesive spray to secure the fabric to the stabilizer. Float one 6.5" x 6.5" fabric block on the stabilizer.
Stitch all steps in the design without appliqueing any fabric. Trim excess stabilizer leaving about a 1/4" margin.
Step 11:
Square the blocks.
Step 12:
Decide on the layout of the table topper.
Step 13:
Decide what kind of sashing you want for the topper. You could sew the blocks together without any sashing. Another option would be to use a 1.5" strip between all blocks. It doesn't have to be complicated or difficult to do.
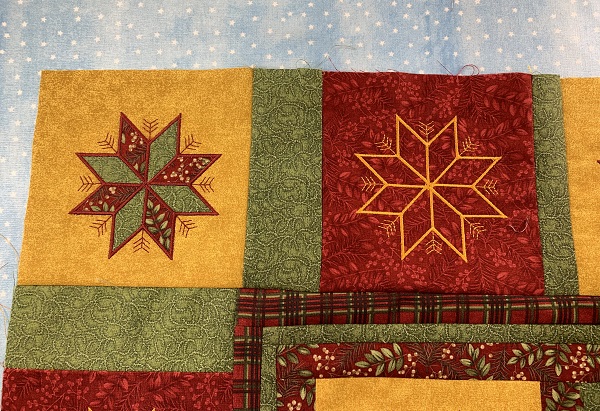
For this topper, a 1.5" floral strip was used for the nine blocks in the center.
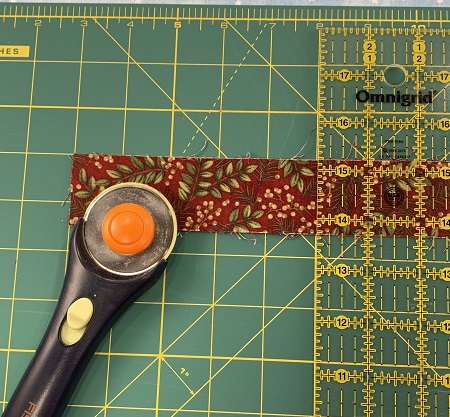
Cut two 1.5" x WOF of floral fabric for the trim. Sew the fabric to the blocks. The trim was used between each block and then on the outer edge to frame the nine block section.
Step 14:
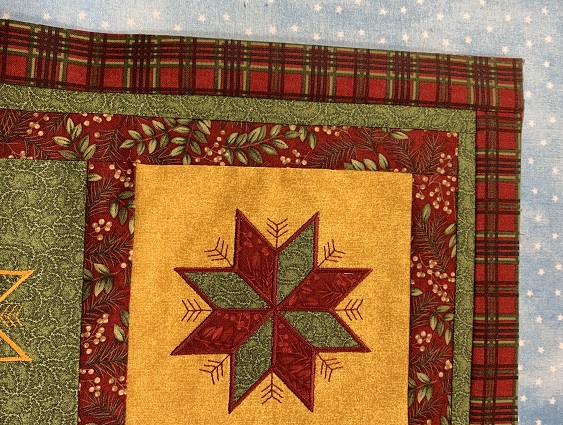
Cut two 1"x WOF of green fabric. Sew the strips around the 9 square block.
Cut two 1.5" x WOF of plaid fabric. Sew the strips around the 9 square block.
(Click Image to Enlarge)
Step 15:
Add a 1.5" strip of sashing for the outer rows of blocks.
Step 16:
Corner blocks will need approximately a 2.5" strip for the sashing. Measure before cutting the fabric.
(Click Image to Enlarge)
Step 17:
Add a 2" strip of sashing to the outer edges of the topper.
Step 18:
Lay the low nap quilt batting on a flat surface. Smooth the surface of the batting. Lightly mist the quilt batting with a temporary adhesive spray.
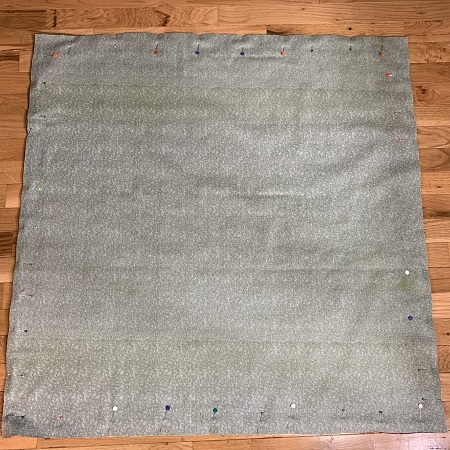
Lay the backing fabric on top of the quilt batting with the right side facing you. The surface should be smooth and wrinkle free.
Lay the table topper with the right side down on the backing fabric. Smooth the surface of the topper.
Pin the three pieces together. Square the topper if needed. Stitch the topper together leaving an opening for turning.
Step 19:
(Click Image to Enlarge)
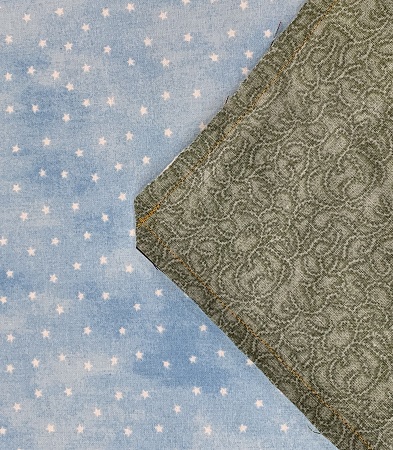
Clip the corners of the topper being careful not to cut the stitches. This step will remove some of the bulk at the corners.
Step 20:
Turn the topper right side out. Smooth the surface of the topper. Iron the topper if needed. Fold the edges of the opening inside and pin in place.
Top stitch around the outer edges of the table topper. Stitch around the 9 block frame. You can use a top stitch or a stitch in a ditch attachment.
Step 21:
Congrats! You have completed a Christmas Star Table Topper!
Step 22:
Great job!
Beautiful things come together, one stitch at a time....
Marisa Littleton is a retired educator with a love for teaching and learning. Interests include machine embroidery, hand embroidery, quilting, cooking, and antiques.