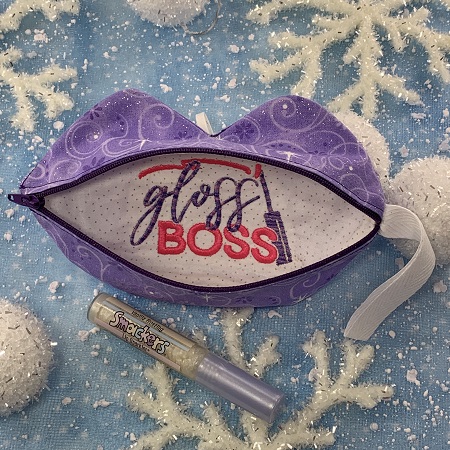
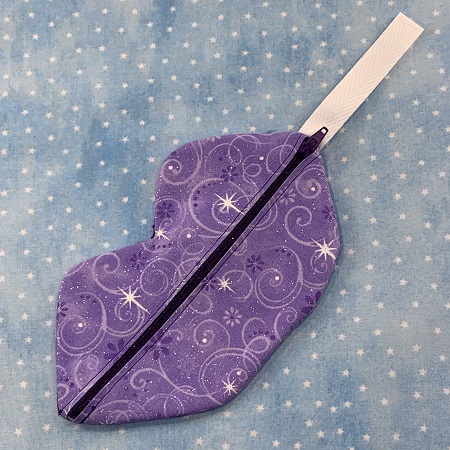
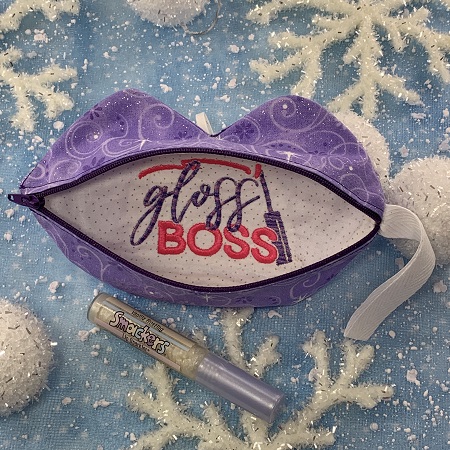
Cute! Cute! Cute! For makeup lovers of all ages! Add some makeup to the bag to make a great stocking stuffer! ITH Lip Makeup Bag lined with 'Gloss Boss' design on the inside of the bag.
Have some LIP SMACKING fun! ITH Lip Makeup Bag lined with 'Gloss Boss' design on the inside of the bag. This project has two separate designs. The 'Gloss Boss' design must be stitched first before doing the 'ITH Lip Makeup Bag. This bag would be great for craft shows. Add some makeup to the bag to make a great stocking stuffer!
Step 1:
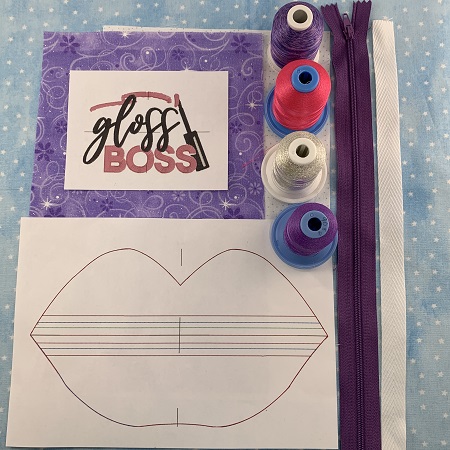
Read the directions carefully before beginning the project. Gather & prepare the materials. Print a design template and color chart. Starch & iron the fabrics before stitching. Check your needle size and condition. A 75/11 embroidery needle is recommended.
Step 2:
Hoop one piece of light weight (2.0) cutaway stabilizer in a 4x4 frame.
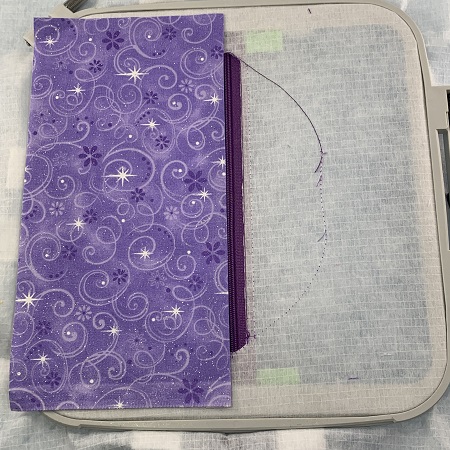
Float one piece of 5.5x10" fabric on the stabilizer. Lightly mist the stabilizer with a temporary adhesive spray to secure the fabric to the stabilizer.
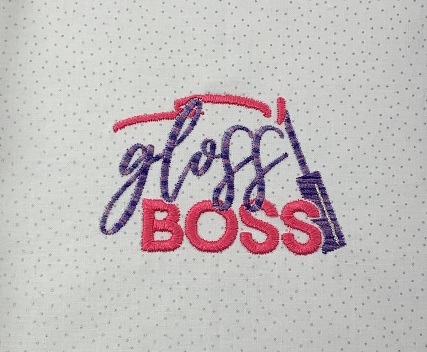
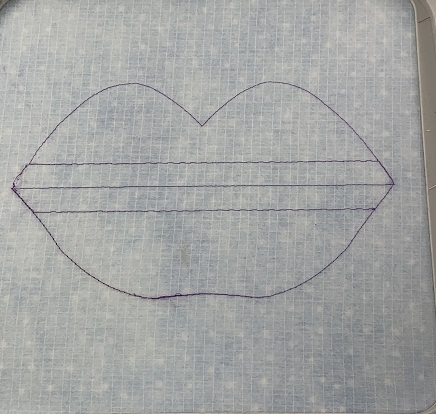
Load the 'Gloss Boss' design on the machine. Stitch the design.
Step 3:
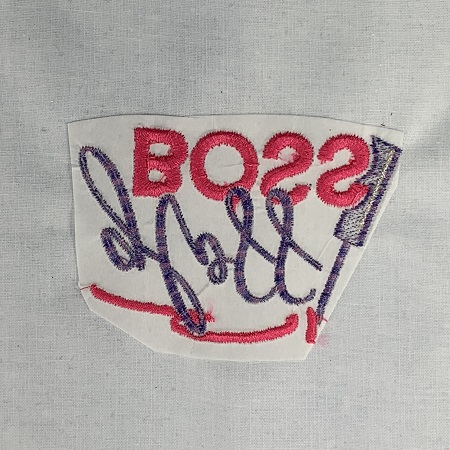
Remove the fabric from the hoop. Trim excess stabilizer from around the design leaving about 1/4" margin being careful not to cut the fabric.
Step 4:
Hoop one piece of No Show Poly Mesh in a 8x8 or larger frame.
Load the design. Stitch Step 1.
Step 5:
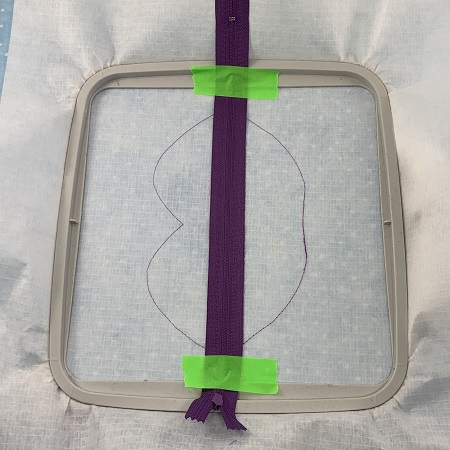
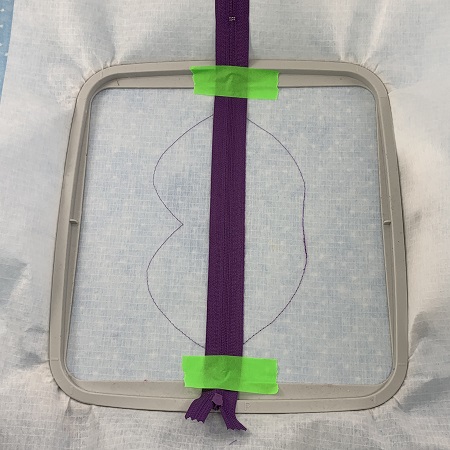
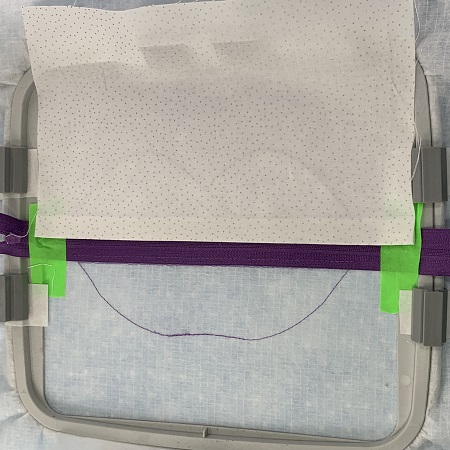
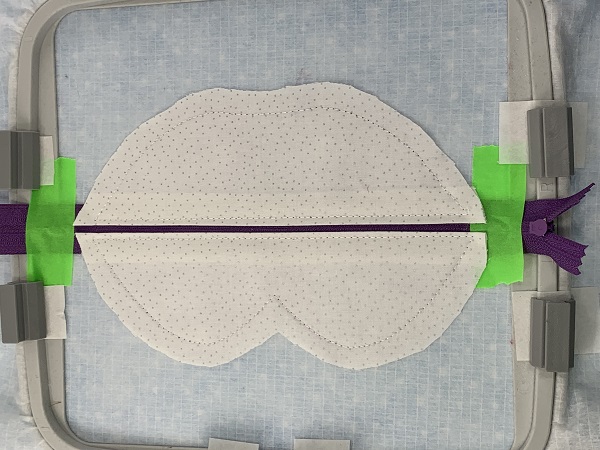
Center the zipper on the midline. The zipper must be RIGHT SIDE DOWN. The ends of the zipper must extend at least 1" on each side. Use masking tape to hold the zipper in place. Stitch Step 2.
Step 6:
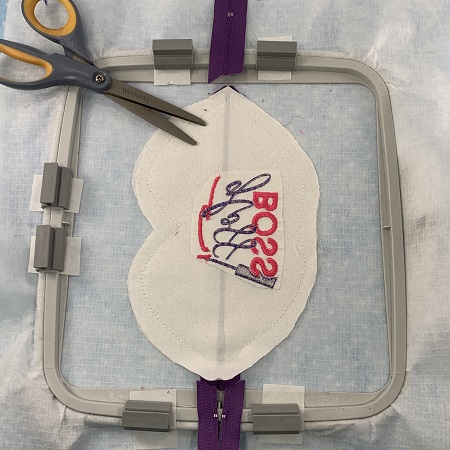
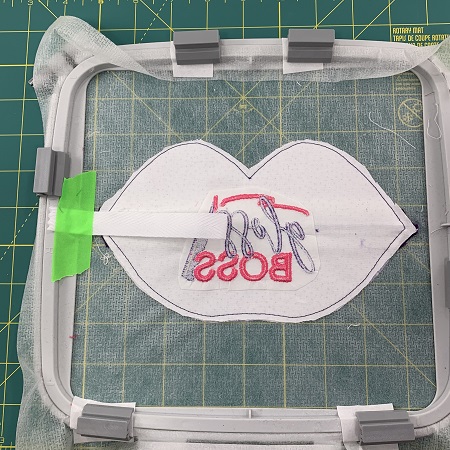
Remove the hoop from the machine. Turn the hoop over so the back is facing you. Cut out the small section of stabilizer from the center of the zipper. Use the seams as a cutting guide.
Step 7:
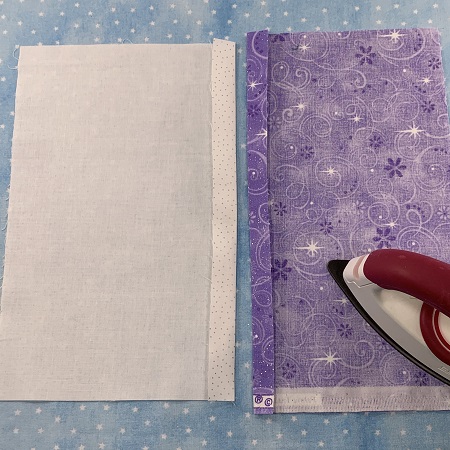
On two pieces each of Fabric A and Fabric B, fold the fabric over toward the wrong side making a 1/2" lip. Press in place.
NOTE: You will have two pieces of Fabric A and two pieces of Fabric B with pressed overlaps when finished.
Step 8:
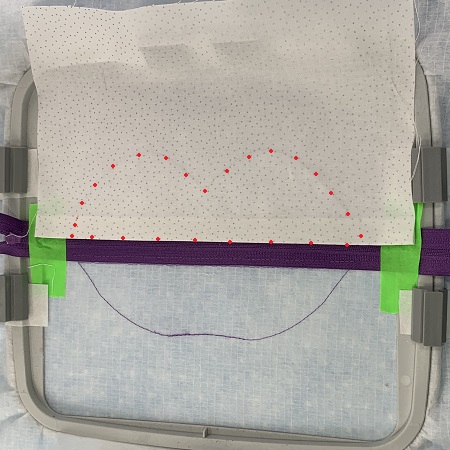
Lightly mist a temporary adhesive spray on the top lip section on the stabilizer. Place one piece of Fabric A on the stabilizer with the right side of the fabric facing you. Fabric surface should be smooth and wrinkle free.
Step 9:
Turn the hoop over so the back is facing you. Lightly mist a temporary adhesive spray on the top lip section on the stabilizer.
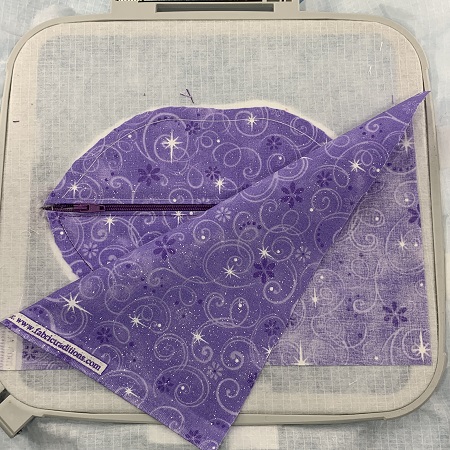
Place one piece of Fabric B on the stabilizer with the right side of the fabric facing you. (This fabric will be the outside of the bag.) Fabric surface should be smooth and wrinkle free.
Step 10:
Stitch Step 3.
Step 11:
Lightly mist a temporary adhesive spray on the bottom lip section on the stabilizer. Place one piece of Fabric A on the stabilizer with the right side of the fabric facing you. Fabric surface should be smooth and wrinkle free.
Turn the hoop over so the back is facing you. Lightly mist a temporary adhesive spray on the bottom lip section on the stabilizer. Place one piece of Fabric B on the stabilizer with the right side of the fabric facing you. (This fabric will be the outside of the bag.) Fabric surface should be smooth and wrinkle free.
Stitch Step 4.
Step 12:
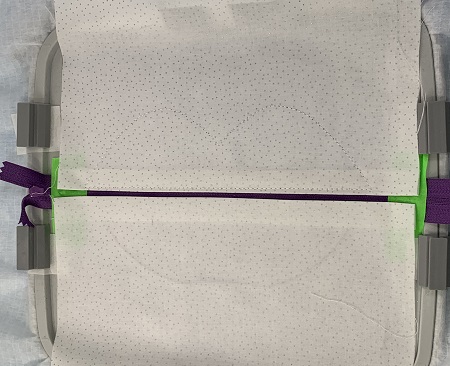
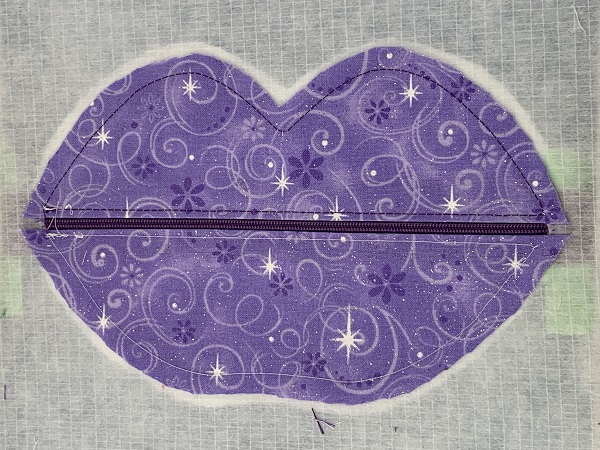
Remove the hoop from the machine, but do not remove the project from the hoop. Carefully trim the excess fabric from around the design leaving about a 1/2" margin.
Turn the hoop over so the wrong side is facing you. Trim the excess fabric from around the design leaving about a 1/2" margin.
(Click Image to Enlarge)
Step 13:
Back side of the hoop after trim the excess fabric.
(Click Image to Enlarge)
Step 14:
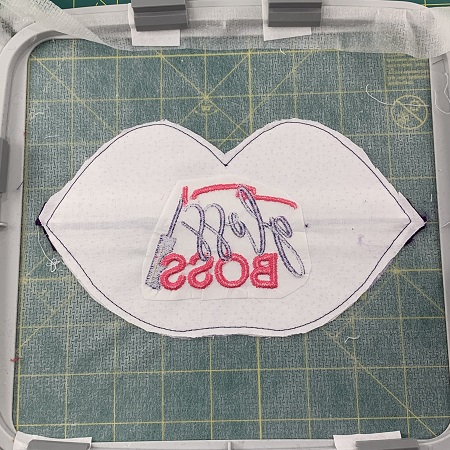
Place the fabric with 'Gloss Boss' right side down onto the ITH Lip Makeup Bag design. Make sure that the design is centered over the bag and not in the stitching path.
Stitch Step 5. Remove the hoop from the frame but do not remove the project from the hoop. Trim the excess fabric leaving a 1/2" margin around the design.
Step 15:
Pull the zipper tab to the middle of the bag. Trim the excess zipper leaving about 1/2" margin from the stitches.
Step 16:
Fold the ribbon in half. Place the ribbon to the right side of the lip bag. Make sure the ribbon is centered on the bag. Pin or tape the ribbon in place on the hoop.
Step 17:
Turn the hoop over so the back is facing you. Place one piece of Fabric B right side down over the design. Lightly mist a temporary adhesive spray around the edges of the stabilizer to hold the fabric in place.
Stitch Step 6. A small section will be left open on this step. You will use this opening to turn the lip bag right side out.
Step 18:
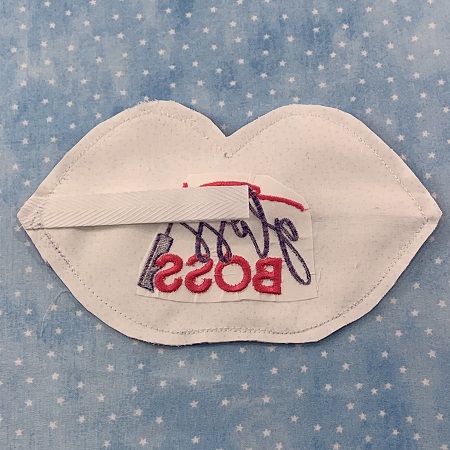
Remove the fabric from the hoop. Trim the excess fabric and stabilizer leaving a 1/2" margin around the design.
Step 19:
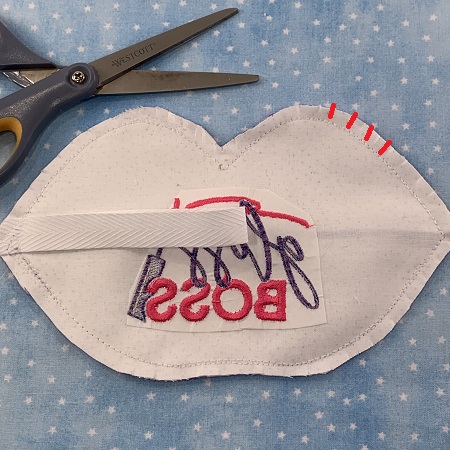
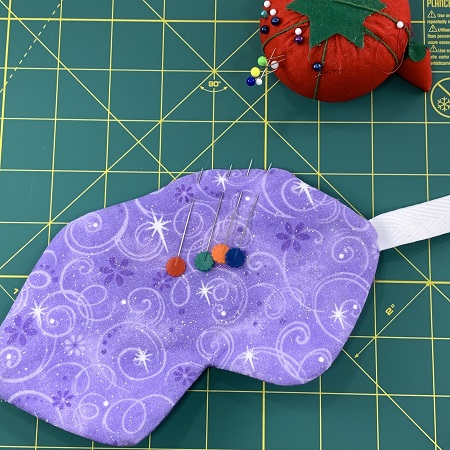
Make straight, small slits around the lip bag so that the seams will lay smoother.
Step 20:
Use the small opening to turn the bag right side out. Fold the edges of the opening inward and pin in place.
Sew the opening together using a needle and thread. You could also use Heat N Bond strong instead of hand stitching the opening.
Step 21:
Congrats! You have completed a ITH Lip Makeup Bag lined with a 'Gloss Boss' design on the inside of the bag. WTG!!!
Step 22:
Great little gift idea year around!
Beautiful things come together, one stitch at a time....
Marisa Littleton is a retired educator with a love for teaching and learning. Interests include machine embroidery, hand embroidery, quilting, cooking, and antiques.