{{superHeaderAds.title}}
Live Chat
Embroidery Designs
Welcome, Embroiderer
Login
Hanging Christmas Pockets
{{mainImageAlt || (productInfo._source && productInfo._source.name) || ''}}

Hanging Christmas Pockets Embroidery Project

By   Kylie Burke   on   October 23, 2019

PROJECT DETAILS

SKILL LEVEL
Some Experience
TIME REQUIRED
01:00
Description

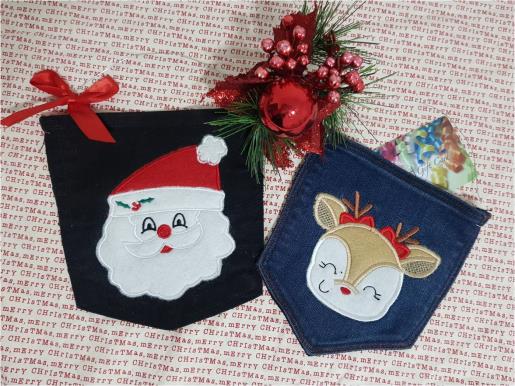
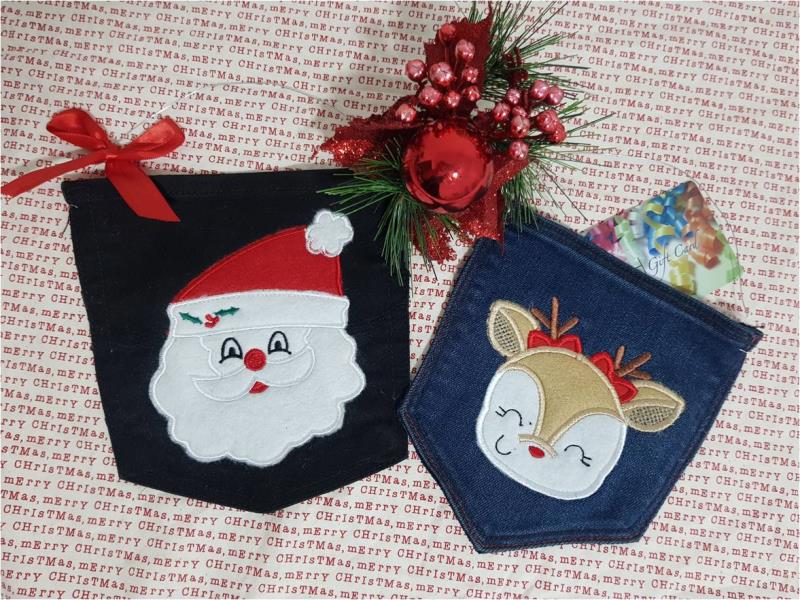
Up-cycle old jeans into these cute hanging pockets. Use them as gift bags, gift cards holders or simply for decoration

Project Preview Video

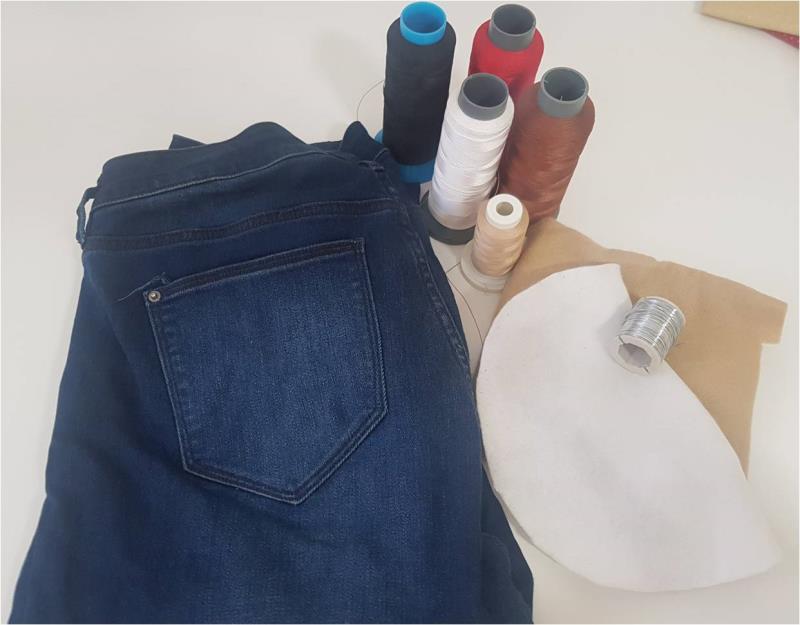
Materials
  • Old pair of jeans to cut the back pockets out of
  • Relevant thread colors for your chosen design
  • Felt pieces in relevant colors (I have also used hessian for the ears)
  • Backing fabric of your choice
  • Pinking shears (optional)
  • Beading wire (for hanger)
  • Tearaway stabilizer
  • 4” hoop

  • Designs used in this project

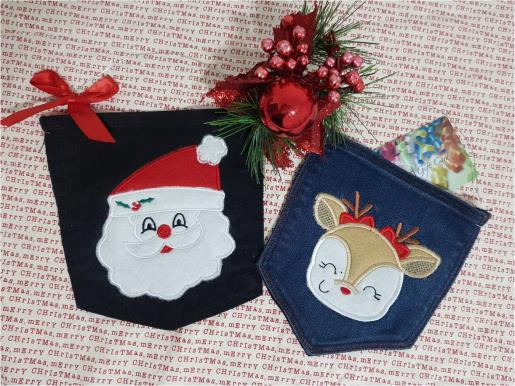
    Final Product: What You Will Create

    Preface:
    You could choose any Christmas appliqué designs for these pockets. Play around with different jean color pockets to make them individual NOTE: These instructions are for one pocket. I have made 2 and included the santa face applique design in the product links


    Step 1:
    Gather the materials and read through the instructions before beginning. Have a copy of the color sequence on hand to refer to.

    (Click Image to Enlarge)


    Step 2:
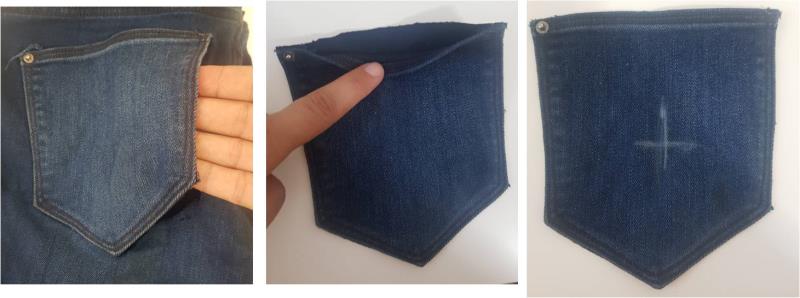
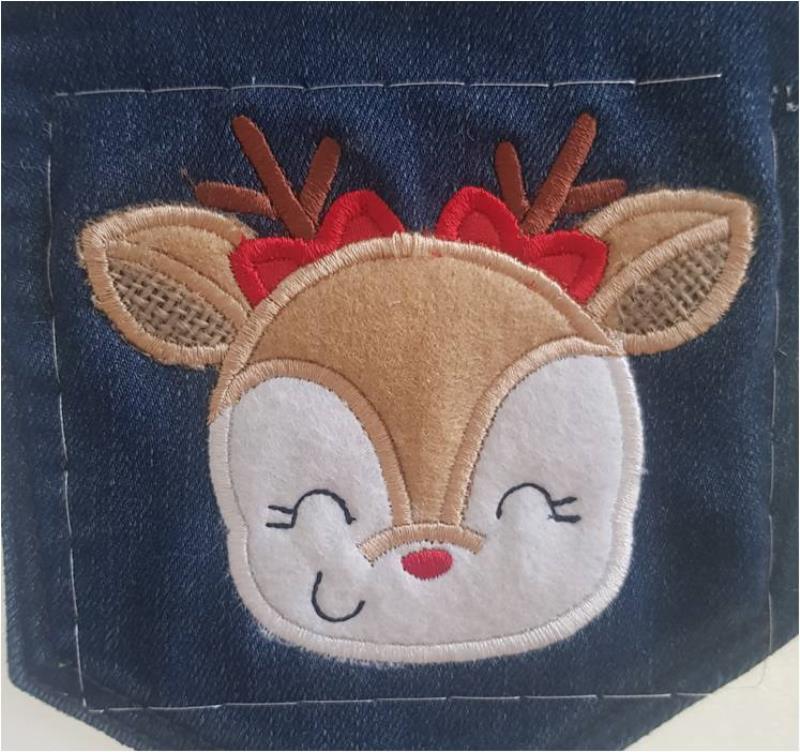
    Cut your back pockets from the jeans, I found it best to keep both layers. Mark the centre of your pocket to indicate the middle of the embroidery design

    (Click Image to Enlarge)


    Step 3:
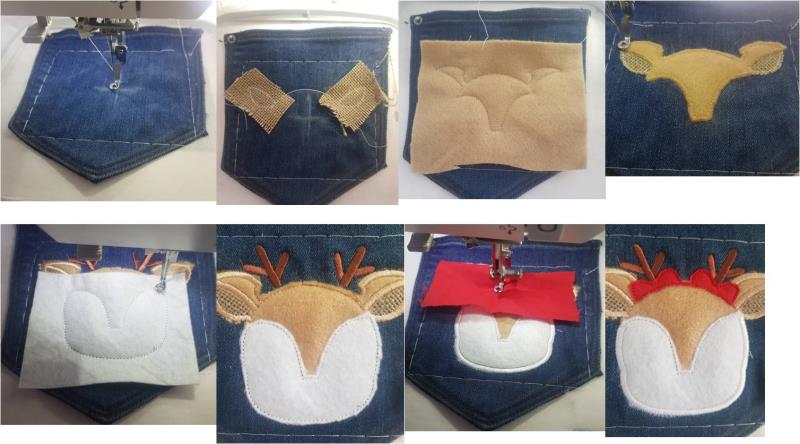
    Secure the pocket to your stabilizer, either by pinning or sewing a tack down stitch. Use the appropriate materials to complete each appliqué step.

    (Click Image to Enlarge)


    Step 4:
    Once all the fabric is stitched down, complete the satin stitch to finish the design

    (Click Image to Enlarge)


    Step 5:
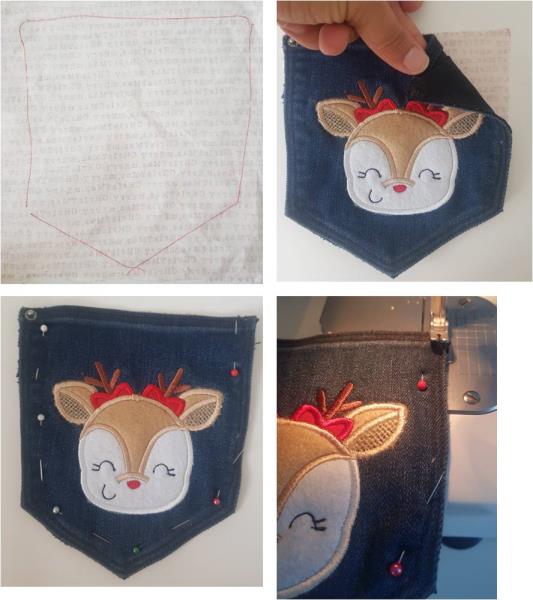
    Remove the design from your hoop and place the pocket onto your chosen backing fabric, wrong sides facing. Trace around the jean pocket to give you the exact shape. Now you can either cut around this with pinking shears or if you don’t mind a rustic look, just use straight scissors. Note: the fabric may fray overtime. Pin the backing fabric to the pocket and stitch around the edges, leaving the top of the pocket open.

    (Click Image to Enlarge)


    Step 6:
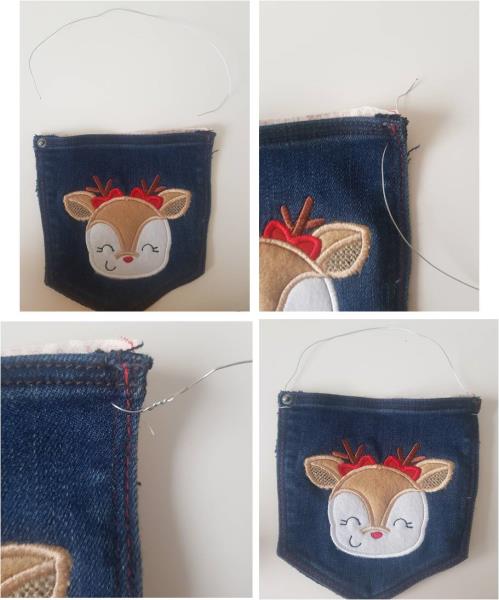
    Cut a 25cm length of beading wire. Poke it through the top corners of the pocket and twist the end around to secure. Loop over to the other side of the pocket and repeat to form a hanger.

    (Click Image to Enlarge)


    Step 7:
    Add additional embellishments if you wish such as ribbons. Your pocket is complete and ready to use a gift card holder to hang on your tree, or just as a decorative piece in your Christmas décor.

    (Click Image to Enlarge)

    Meet the Author: Kylie Burke
    Kylie Burke
    Kylie is based in Australia and loves creating and sharing her unique pieces.
    More From This Author
    Link is Broken, Please check the URL
    Exclusive Embroidery Offers!
    Copyright © {{ currentDate | date:'yyyy'}} - EmbroideryDesigns.com
    GET 50% OFF! ×