{{superHeaderAds.title}}
Live Chat
Embroidery Designs
Welcome, Embroiderer
Login
Calories Don't Count Apron
{{mainImageAlt || (productInfo._source && productInfo._source.name) || ''}}

Calories Don't Count Apron Embroidery Project

By   Marisa Littleton   on   October 02, 2019

PROJECT DETAILS

SKILL LEVEL
Some Experience
TIME REQUIRED
01:30
Description

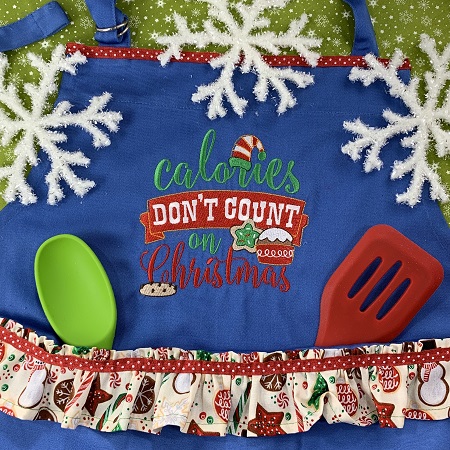
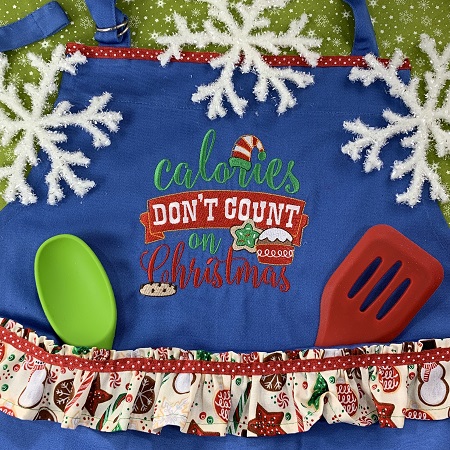
Calories Don't Count... especially at Christmas time! Cookie baking day just got tastier when you're wearing this festive apron.

Project Preview Video

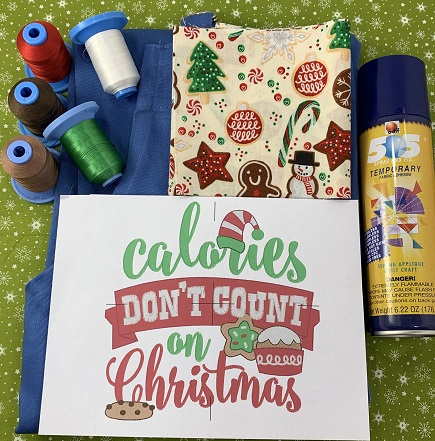
Materials
  • 8x8 hoop
  • Design Template
  • 75/11 embroidery needle
  • 40 wt. embroidery thread (Robison-Anton poly) per color chart
  • One commercial apron
  • 1 yard 1/2" grosgrain ribbon for trim
  • 4"x 60" strip of 100% quilter's cotton for trim
  • Sewing machine, needle, thread & matching bobbin
  • 505 Temporary Adhesive spray
  • Medium weight (2.5) cutaway stabilizer

  • Designs used in this project

    Final Product: What You Will Create

    Preface:
    'Calories Don't Count' especially at Christmas time!  A cute seasonal apron perfect to wear on those cookie baking days!  Some basic sewing is used in this project.


    Step 1:
    Read the directions carefully before beginning.  Gather and prepare the materials needed for this project.  Iron the fabrics.  Print a design template.  


    Step 2:
    (Click Image to Enlarge)
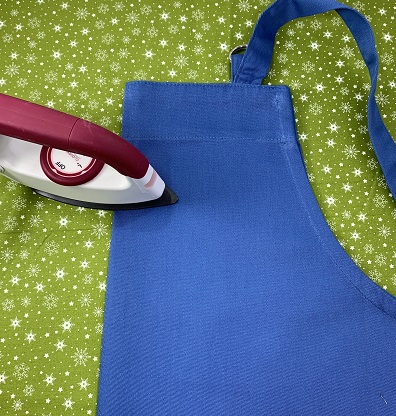
    Fold the apron in half matching the top and sides.  Press along the center fold with an iron.


    Step 3:
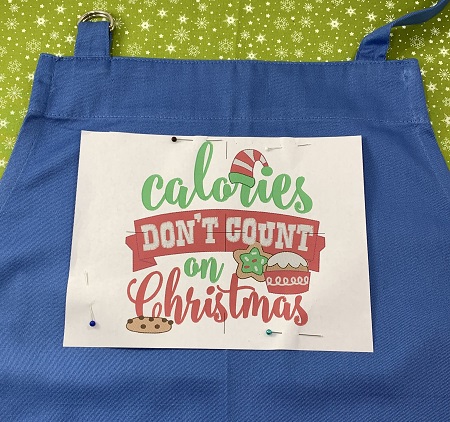
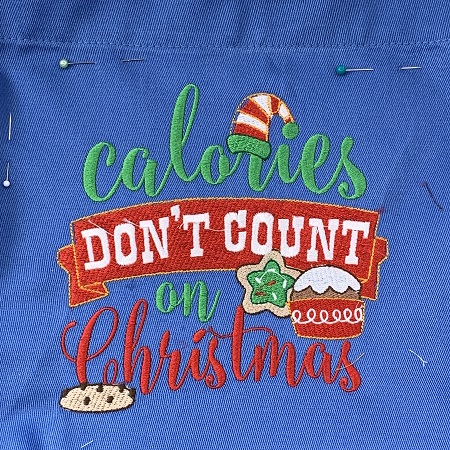
    Use the design template as a placement guide on the apron.  Pin the template to the apron when finished centering the design.


    Step 4:
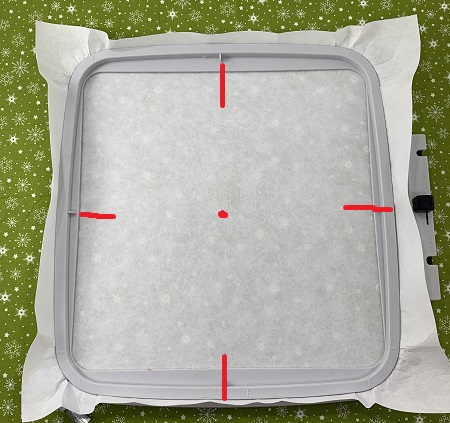
    Hoop one piece of medium (2.5) cutaway stabilizer.  Mark the center and axis points on the stabilizer.


    Step 5:
    Load the embroidery design on the machine.  Attach the hoop to the machine.  Check the needle.  Embroider the design using the color chart as a guide.


    Step 6:
    (Click Image to Enlarge)
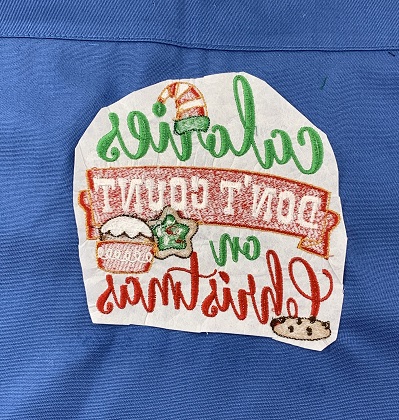
    Remove the hoop from the machine.  Trim the excess stabilizer from the back of the design leaving about a 1/4" margin.


    Step 7:
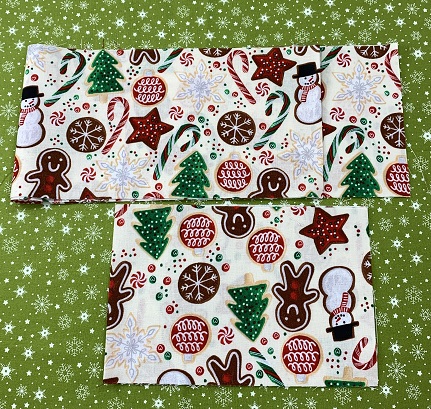
    Cut the fabric 4" x 60" for the trim.  You may need to sew two pieces together to get the needed length.


    Step 8:
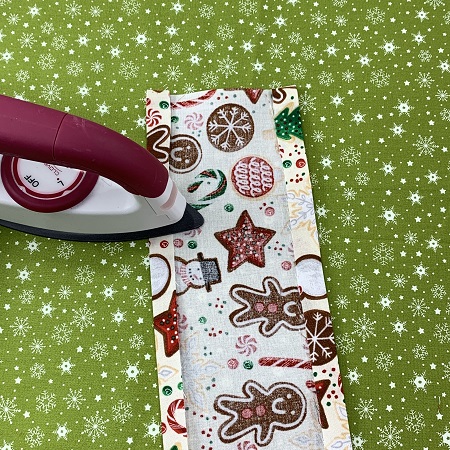
    Fold 1/2" along all sides.  Press with an iron.  Fold again and pin in place.  Using the sewing machine, sew a seam around the edges of the trim.


    Step 9:
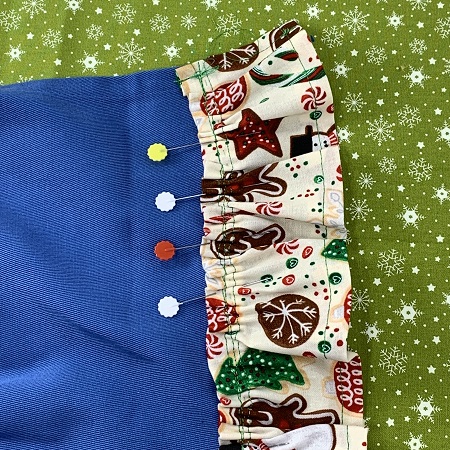
    Using a needle and thread, sew a running stitch along one of the long sides of the trim.  Gently slide the fabric along the thread to gather the trim.  Continue gathering the trim until it is the width of the bottom of the apron.  
     
    Pin the trim to the bottom of the apron.  Sew the trim onto the apron.   


    Step 10:
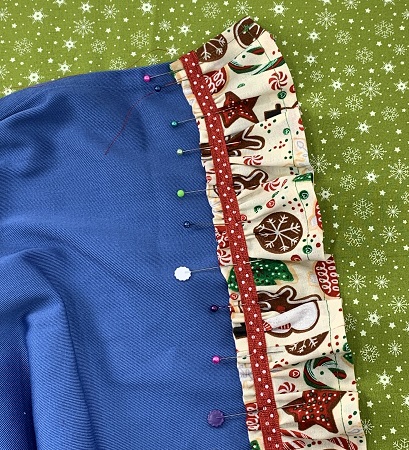
    Pin a piece of ribbon along the top of the trim.  Sew the ribbon onto the apron.


    Step 11:
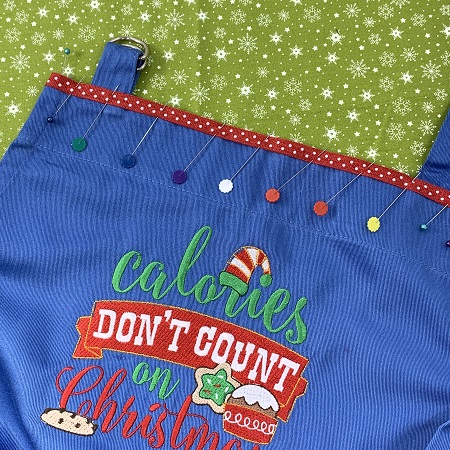
    Measure the top width of the apron.  Add 2" to that number.  Cut a piece of ribbon that length for trim.  
     
    Pin the ribbon to the top of the apron.  Sew the ribbon to the apron. 


    Step 12:
    Congrats!  You have completed an ideal apron for Christmas!  

    learn by teaching...
     
     
    Marisa Littleton 
    Meet the Author: Marisa Littleton
    Marisa Littleton
    Marisa Littleton is a retired educator with a love for teaching and learning. Interests include machine embroidery, hand embroidery, quilting, cooking, and antiques.
    More From This Author
    Link is Broken, Please check the URL
    Exclusive Embroidery Offers!
    Copyright © {{ currentDate | date:'yyyy'}} - EmbroideryDesigns.com
    GET 50% OFF! ×