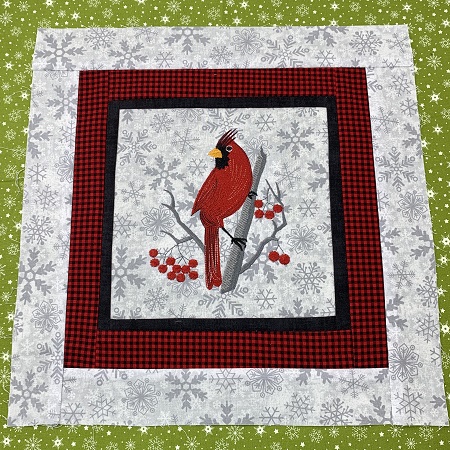
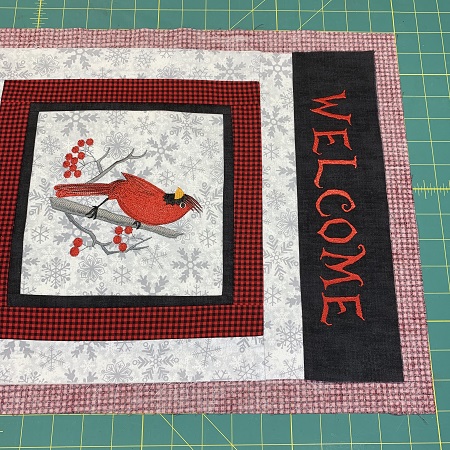
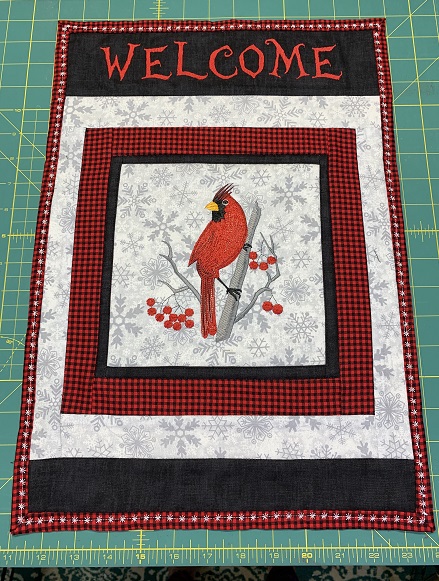
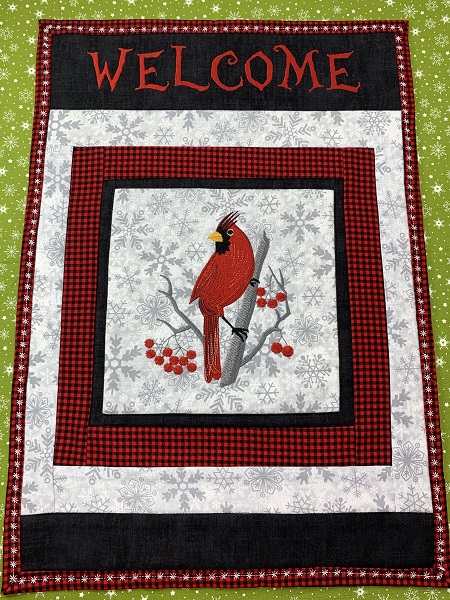
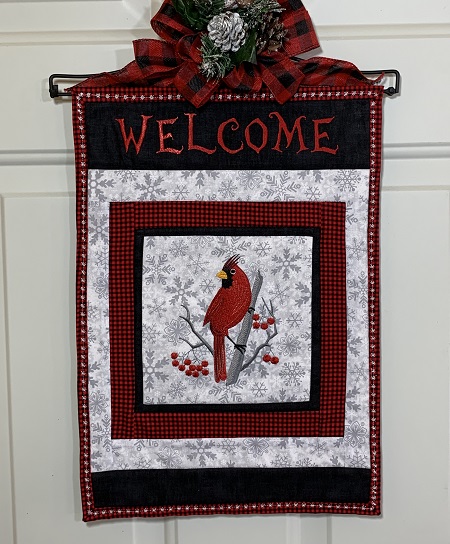
A cardinal in winter time is the focal point of this wall hanging. The project combines machine embroidery with basic sewing and quilting skills.
Step 1:
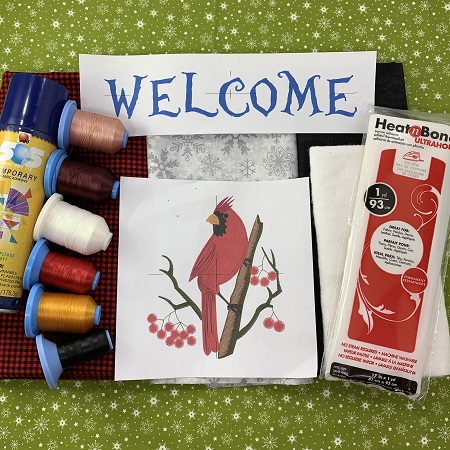
Collect the materials needed to make this project. Read the directions before starting the project. Iron all fabric. Print a design template for reference if needed.
Step 2:
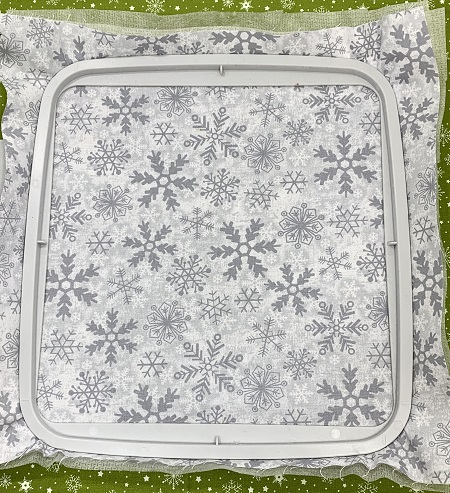
Cut a 12"x12" piece of the neutral fabric. Hoop the fabric with two pieces of No Show Mesh cutaway stabilizer.
Step 3:
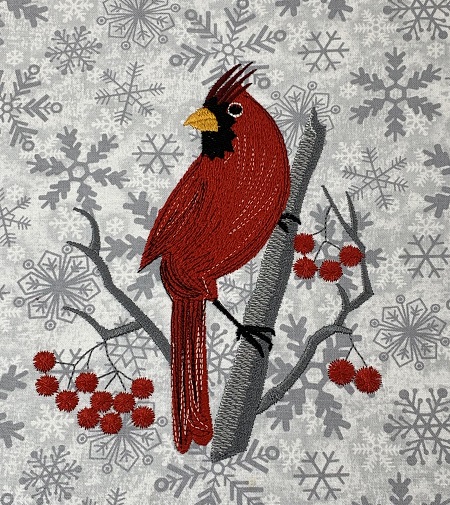
Load the cardinal design onto your embroidery machine. Attach your hoop. Use the color chart as a guide during stitching. Embroider the cardinal.
Step 4:
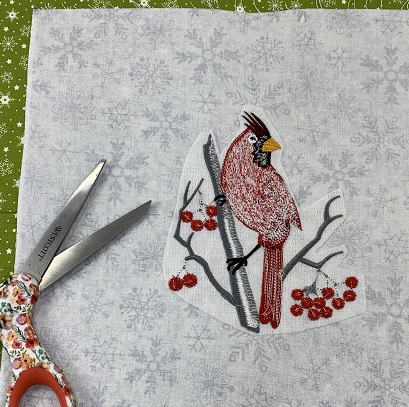
Trim the extra stabilizer from the back of the fabric leaving about a 1/4" margin.
Step 5:
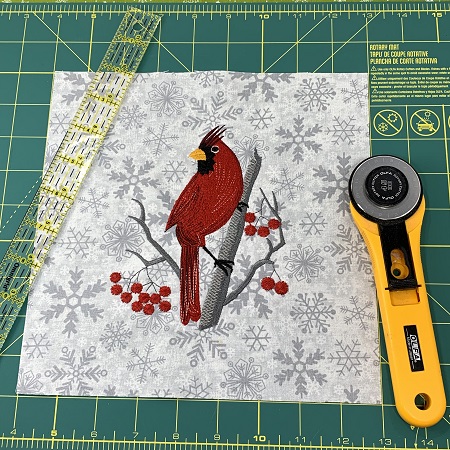
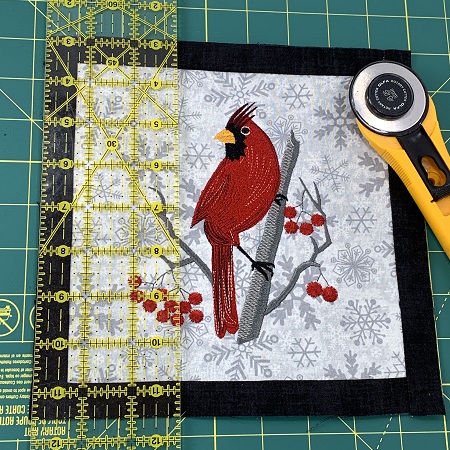
Trim the cardinal block to 8"x8" using a rotary cutter and cutting mat. The cardinal should be in the center of the block.
Step 6:
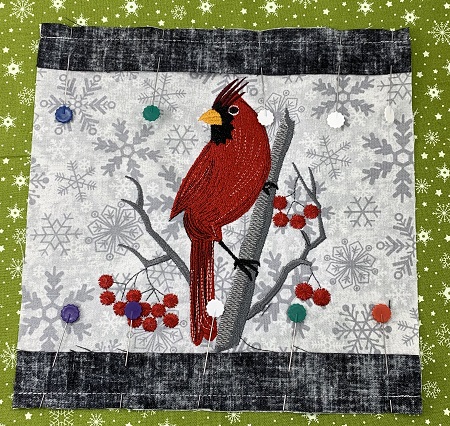
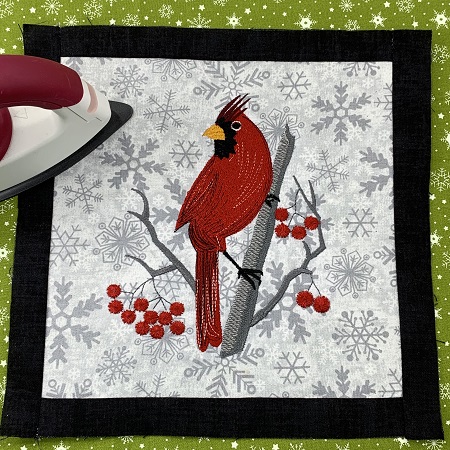
Cut 4 strips in the black fabric 10"x1". Pin one strip of fabric to the top and bottom of the neutral fabric. Trim the excess fabric on the ends of the strips if needed. Sew the strips using a 1/4" seam.
Step 7:
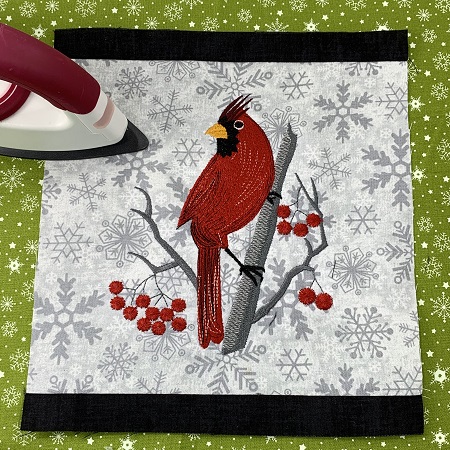
Press the seams toward the darker fabric to avoid having the darker fabric show through the lighter fabric in the seam allowance.
Step 8:
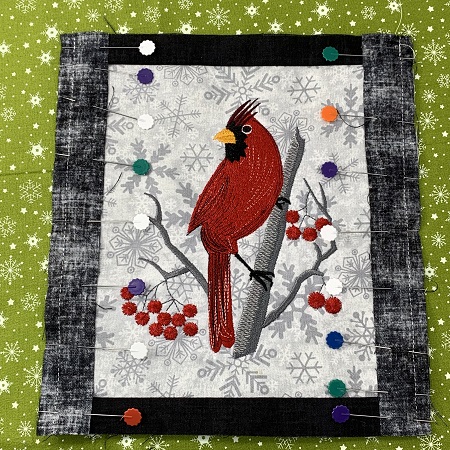
Pin one strip of fabric to each side of the neutral fabric. Trim the excess fabric on the ends of the strips if needed. Sew the strips using a 1/4" seam.
Step 9:
Press the seams.
Step 10:
Square up the sides of the block if needed. Check to make sure that all sides are the same size and even.
Step 11:
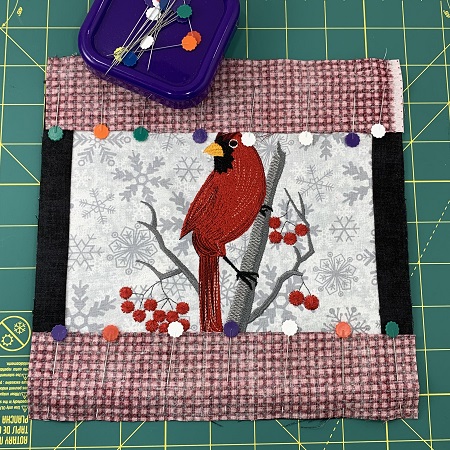
Cut 2 strips with the buffalo check fabric 2" x width of the block. Pin the strips to the top and bottom ends of the square. Sew the pieces together using a 1/4" seam allowance. Press the seams with an iron.
Step 12:
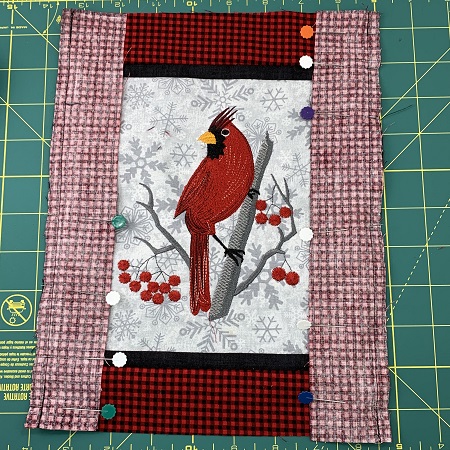
Cut 2 strips with the buffalo check fabric 2" x height of the block. Pin the strips to the sides of the square. Sew the pieces together using a 1/4" seam. Press the seams with an iron.
Square up the sides of the block if needed. Check to make sure that all sides are the same size and even.
Step 13:
Cut 2 strips of the neutral fabric 2"x width of the block. Pin the neutral strips to the top and bottom ends of the block. Sew the pieces together using a 1/4" seam allowance. Press the seams.
Cut 2 strips of the neutral fabric 2" x height of the block. Pin the neutral strips to the sides of the block. Sew the pieces together using a 1/4" seam allowance. Press the seams.
Square up the sides of the block if needed. Check to make sure that all sides are the same size and even.
Step 14:
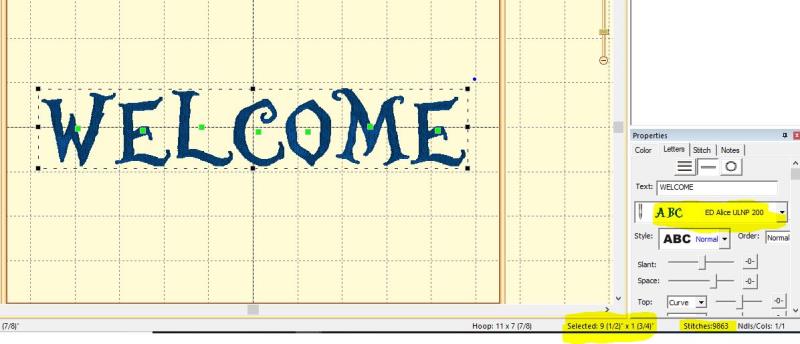
The caption 'WELCOME' was made using Embrilliance Essentials software with the Alice & Wonderland font. The dimensions of the caption are 1.75" x 9.5".
(Click Image to Enlarge)
Step 15:
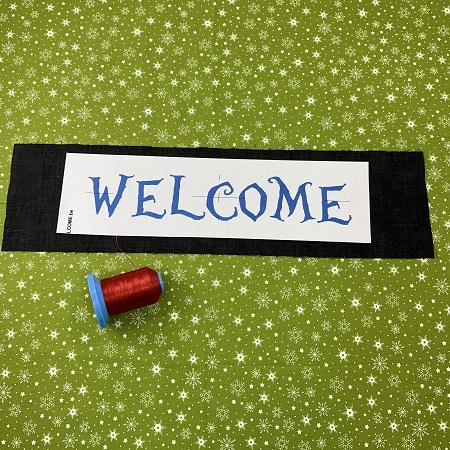
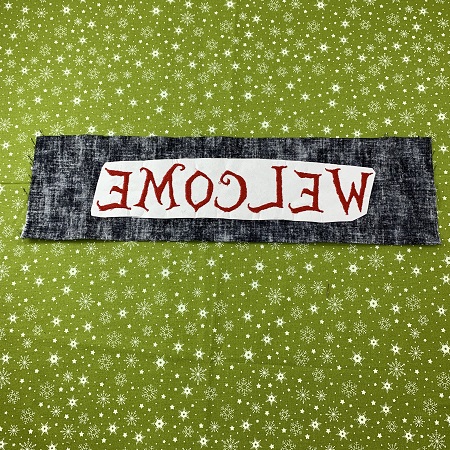
Cut one piece of black fabric 4" x width of the block (approximately 19"). Center the WELCOME design template on the fabric. Pin the template in place. Trim the sides if needed.
Step 16:
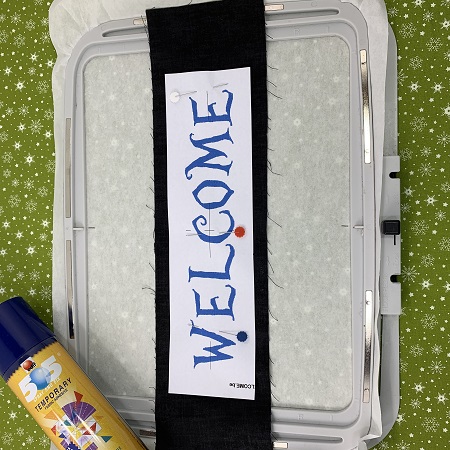
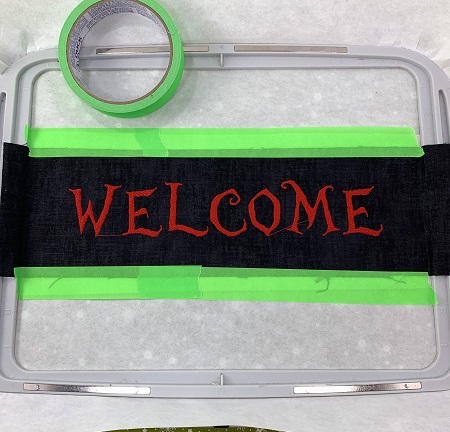
The WELCOME caption was embroidered in an 8 x 12 hoop. Hoop 2 pieces of medium weight cutaway stabilizer. Float the black strip on the stabilizer. Pin in place. NOTE: I also used painter's tape along the edge of the fabric before stitching. The tape helped stabilize the fabric. Look at the picture in the next step.
Step 17:
Embroider the caption WELCOME. Notice the green painter's tape along the edge of the fabric.
Step 18:
Trim the excess cutaway stabilizer from around the design leaving about a 1/4" margin.
Step 19:
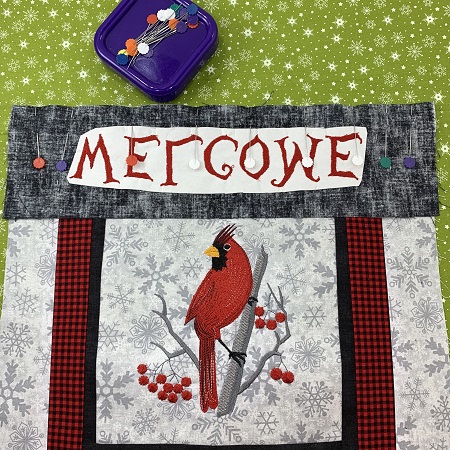
Pin the caption fabric to the top of the block. Make sure that the caption is centered on your block. Sew the pieces together using a 1/4" seam allowance. Press the seam.
Step 20:
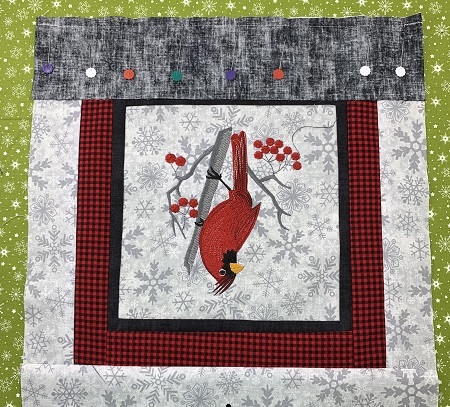
Cut a 3" piece of black fabric the width of the block. Pin the pieces together. Sew the pieces together using a 1/4" seam allowance. Press the seams.
Square up the sides of the block if needed. Check to make sure that all sides are the same size and even.
Step 21:
Measure the dimensions of the block. Cut one piece of low nap quilt batting.
The backing for the wall hanging will be self-binding. After measuring the block, add 2" to each number in the dimension. For example, if your block measured 13"x18"; then you would cut your fabric 15"x20". Using the red buffalo plaid fabric, cut one piece of fabric for the backing.
Step 22:
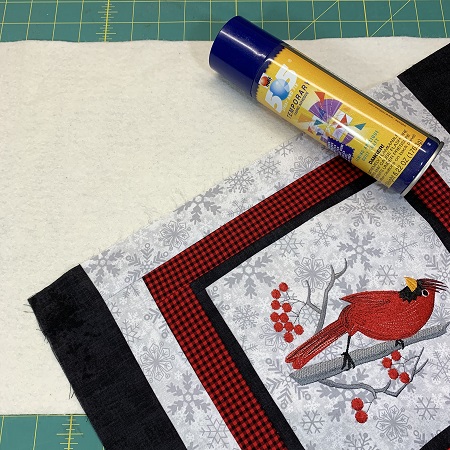
Lay the backing fabric on a flat surface with the wrong side facing you. Use a fabric pen and mark 1" from the edges on the wrong side of the fabric to make assembling easier. Lightly mist the fabric with temporary adhesive spray. Surface should be smooth and wrinkle free.
Place the low nap quilt batting on the fabric using the lines as a guide. Lightly spray the batting with temporary adhesive spray, place the block on top of the batting. Surface should be smooth and wrinkle free.
Step 23:
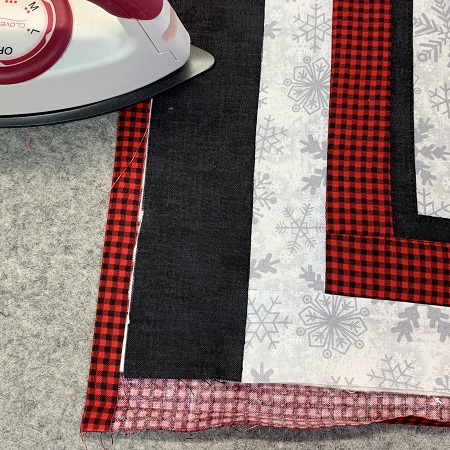
Fold the edge of the backing to the edge of the block. Press with an iron on the fold line.
Step 24:
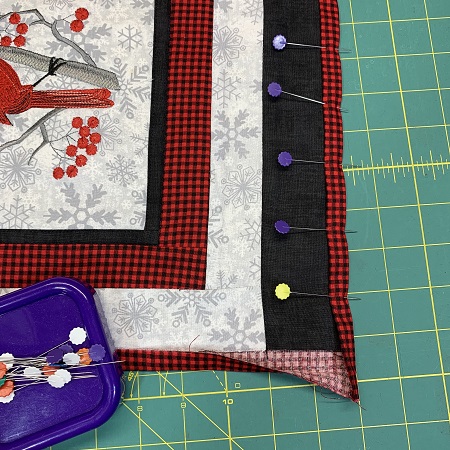
Fold the edge of the trim again and pin in place.
Step 25:
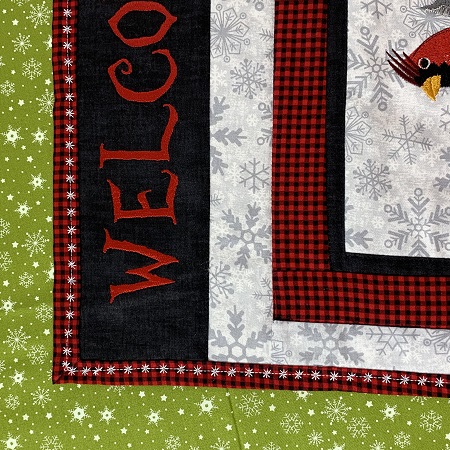
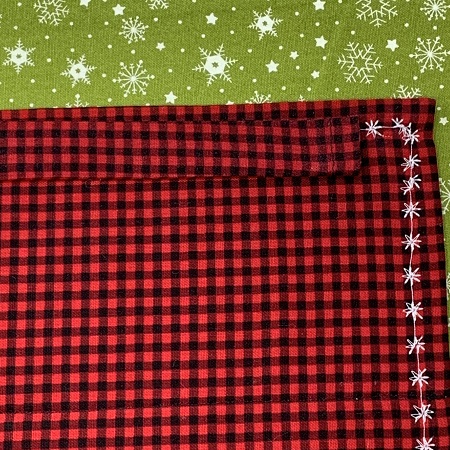
Stitch along the edges of the binding either with a top stitch or decorative stitch.
Step 26:
In this step, you will stitch the front and back together. An easy way is a simple top stitch along the sides of the blocks. These stitches will be visible. Another option is using a 'Stitch in a Ditch' attachment and sewing in the seam lines. These stitches are not visible on the top. 'Stitch in a Ditch' was used in the example.
(Click Image to Enlarge)
Step 27:
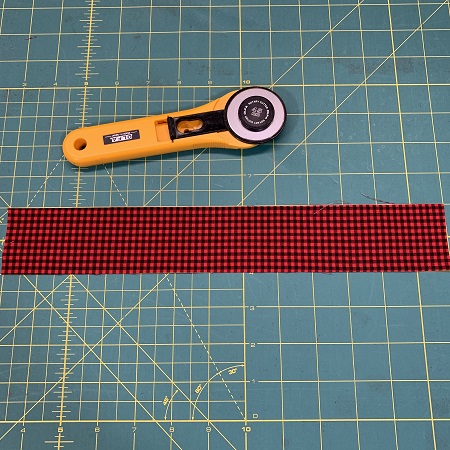
The last part of the wall hanging is the placket on the back so the project can be displayed. Cut one piece of the red buffalo 2" x width of the project.
Step 28:
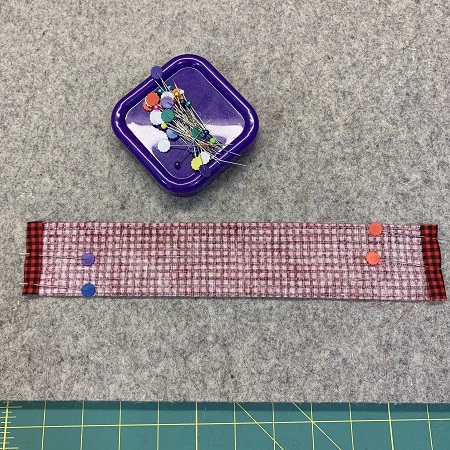
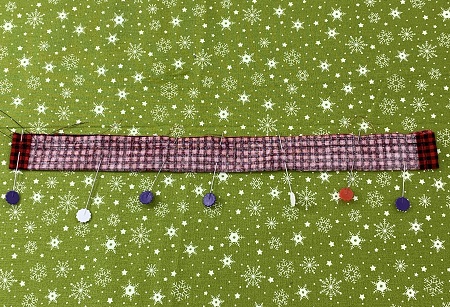
Fold the short sides of the fabric about 1/2" and press. Stitch a seam using about 1/4" seam allowance.
Step 29:
Fold the fabric in half lengthwise. Pin in place and sew using about a 1/4" seam allowance. When completed, you will have a tube. Turn the fabric so that it is right side out.
Step 30:
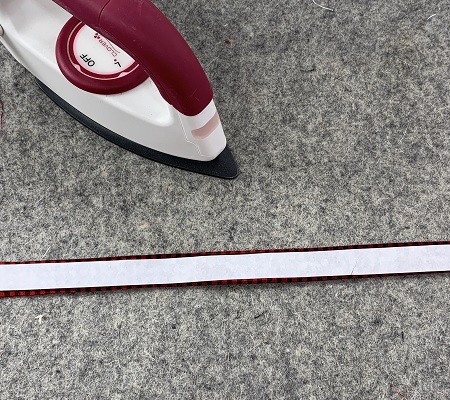
Cut one piece of the Heat n Bond, ultra strong the width and length of the tube. Follow the directions to adhere the Heat n Bond to the fabric. Once cool, remove the paper.
Step 31:
On the back side of the wall hanging, place the tube about 1/2 to 1" from the top. Bond the tube to the back of the wall hanging.
Step 32:
Congrats! You have completed a Cardinal Wall Hanging! WTG!
Marisa Littleton is a retired educator with a love for teaching and learning. Interests include machine embroidery, hand embroidery, quilting, cooking, and antiques.