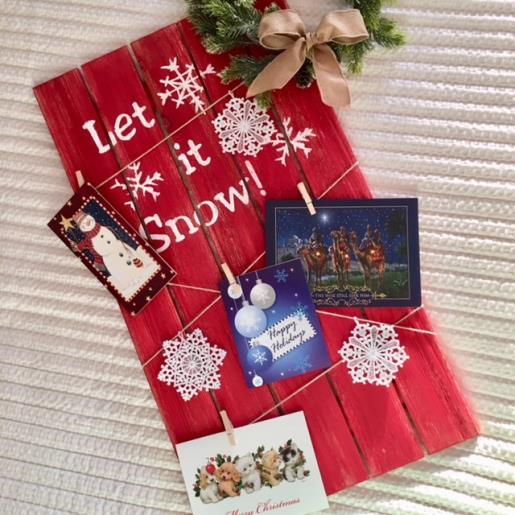
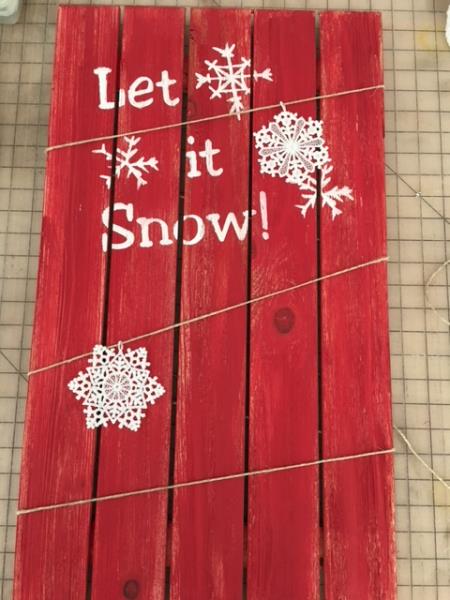
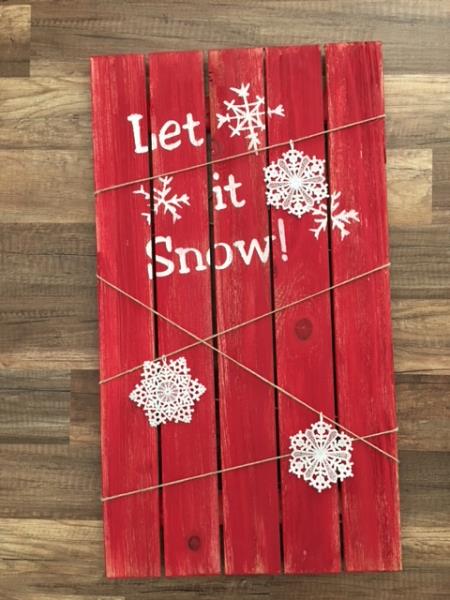
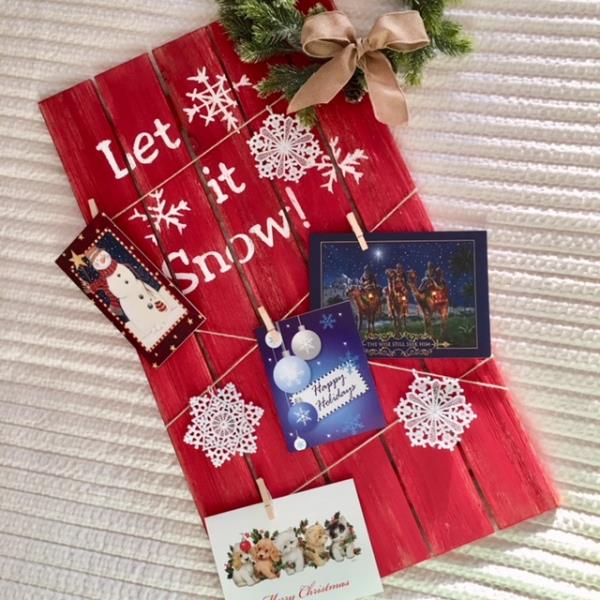
This wooden pallet plaque Holiday Card Holder is a great way to display your cards this season and will make for a wonderful addition to your home holiday décor.
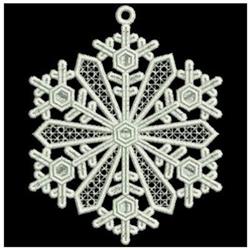
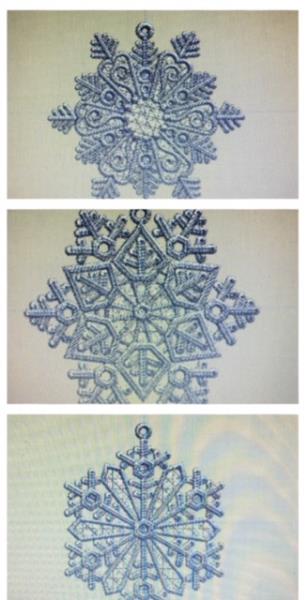
This project incorporates together SVG/Print Art and Embroidery . Create a stencil using the Let It Snow SVG/Print Art design and embroider FSL(Free Standing Lace) snowflakes that will be attached to the twine that wraps around your wood pallet plaque to bring it all together . Display your cards by hanging with mini clothespins . Each snowflake design will take approximately 45 minutes to stitch out based on a 600 SPM. Paint drying time is not included in the time stated for this project.
Step 1:
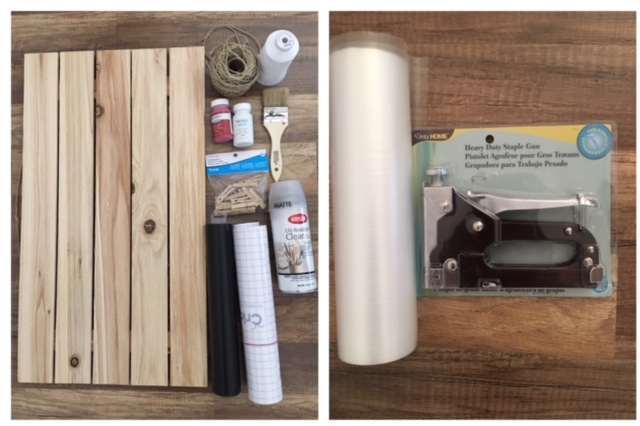
Gather all supplies and review instructions before beginning.
*BASIC KNOWLEDGE OF CUTTING MACHINE AND HOW TO PREPARE VINYL FOR STENCIL IS NEEDED.
(Click Image to Enlarge)
Step 2:
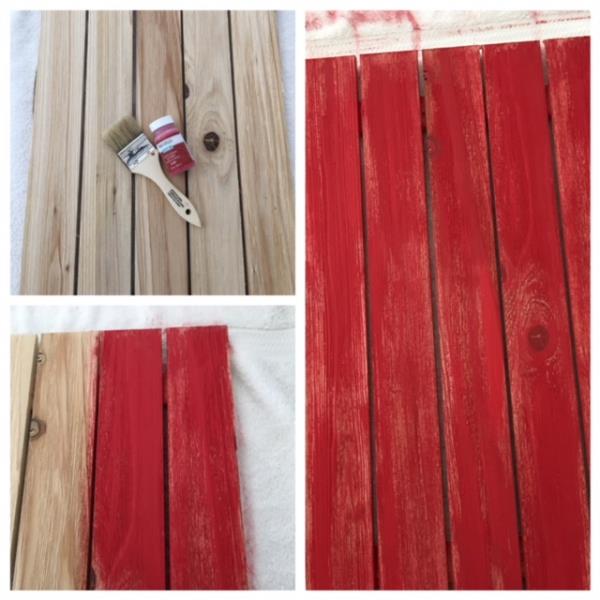
Paint wood pallet plaque using your red paint color. ( I lightly applied the paint as I wanted a more distressed look and only painted the front,sides and in between the pallet boards) Allow to dry.
(Click Image to Enlarge)
Step 3:
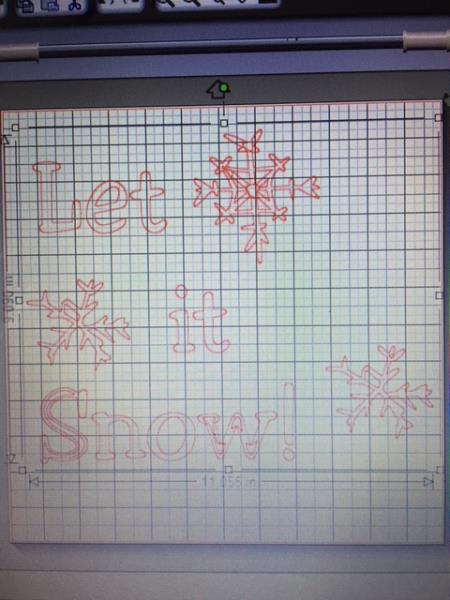
While your pallet board is drying… bring the SVG/Print Art design “Let It Snow” in to your cutting machine software program. Resize design to 9” x 11”. Make any adjustments to sizing if your pallet board is of a different size.
*FOR SILHOUETTE CAMEO OWNERS/USERS: IF YOUR SILHOUETTE MACHINE HAS NOT BEEN UPDATED TO ALLOW WORKING WITH AN SVG ( CUTTABLE ) FILE. YOU CAN WORK AROUND THIS BY DOWNLOADING THE PRINT ART DESIGN AS A JPEG OR PNG FILE. YOU WILL FIND INSTRUCTIONS ON HOW TO WORK AROUND TO “CUT” YOUR DESIGN BY REVIEWING STEP 4 OF MY THANKSGIVING THEMED WOOD ART/SVG PROJECT TUTORIAL.
(Click Image to Enlarge)
Step 4:
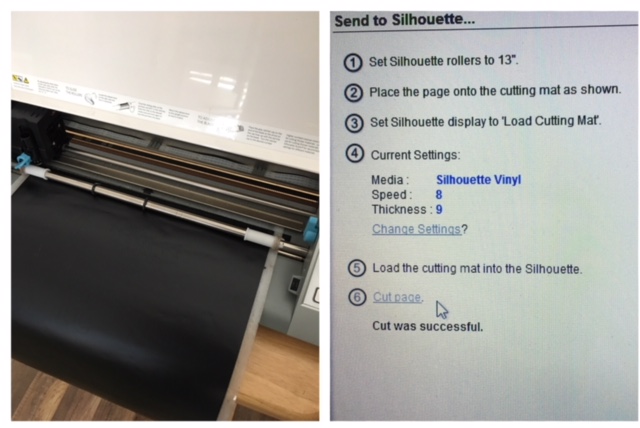
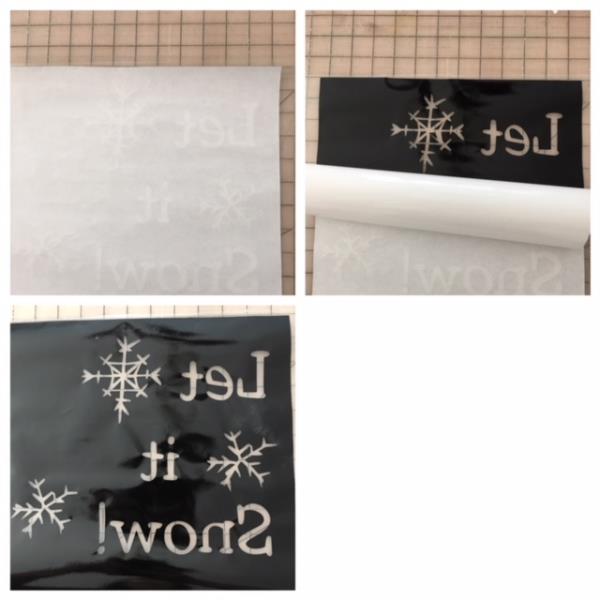
PER YOUR CUTTING MACHINES INSTRUCTIONS: Prepare your adhesive vinyl for cutting. Load your vinyl into your cutting machine. Cut design
(Click Image to Enlarge)
Step 5:
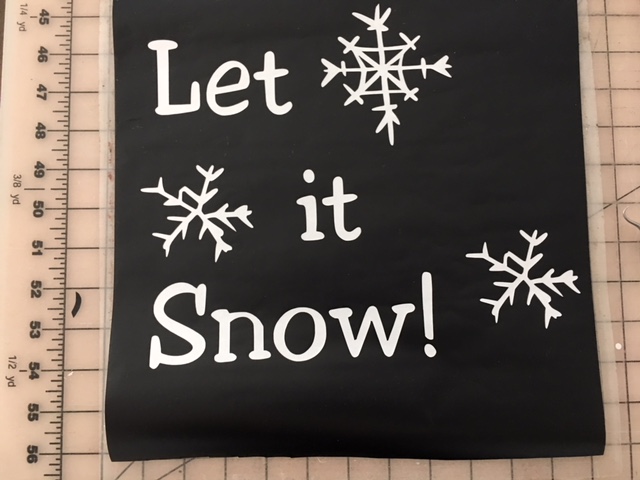
Design cut complete. Weed your design for a stencil using the reverse weeding technique.
REVERSE WEEDING: REMOVING THE AREA OF THE VINYL THAT WOULD NORMALLY BE LEFT BEHIND. THIS TECHNIQUE IS MAINLY USED WHEN MAKING A STENCIL.
(Click Image to Enlarge)
Step 6:
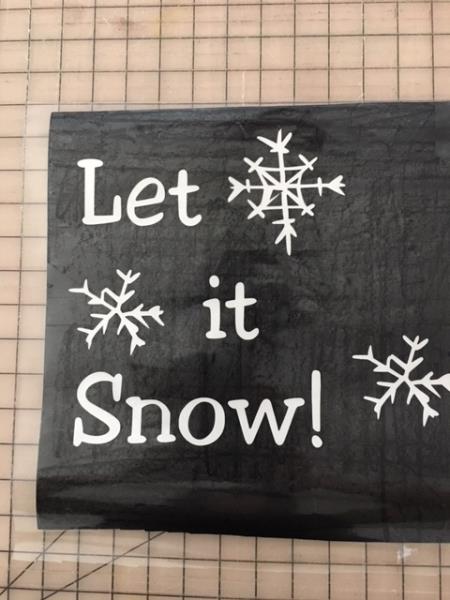
Apply transfer paper to top of weeded stencil per manufacturer’s instructions or using your favorite method.
(Click Image to Enlarge)
Step 7:
Remove adhesive back from your stencil.
(Click Image to Enlarge)
Step 8:
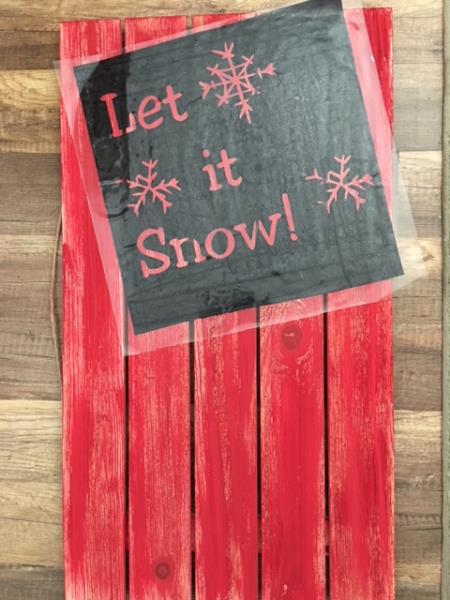
Position stencil on top of your wood painted pallet board at a slight angle as shown in picture . When you have positioned to your liking, fingertip press and smooth out pushing out the air bubbles. Remove transfer paper while ensuring the stencil stays adhered to your pallet board. Smooth out any bubbles from around the lettering/design to help avoid paint/ink seepage from going under the stencil.
(Click Image to Enlarge)
Step 9:
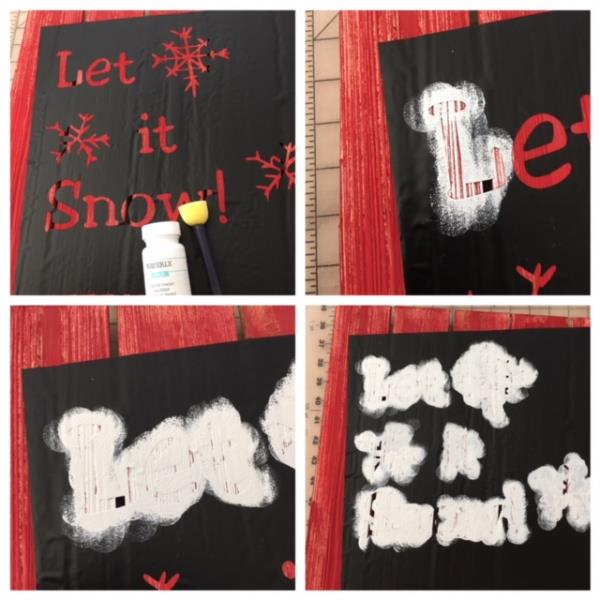
Using your white color paint and your dabber sponge brush. Dab the open weeded areas of your stencil. ( by using the dabbing method this will help prevent most paint seepage under your stencil.) Allow paint to completely dry before removing stencil from your board.
(Click Image to Enlarge)
Step 10:
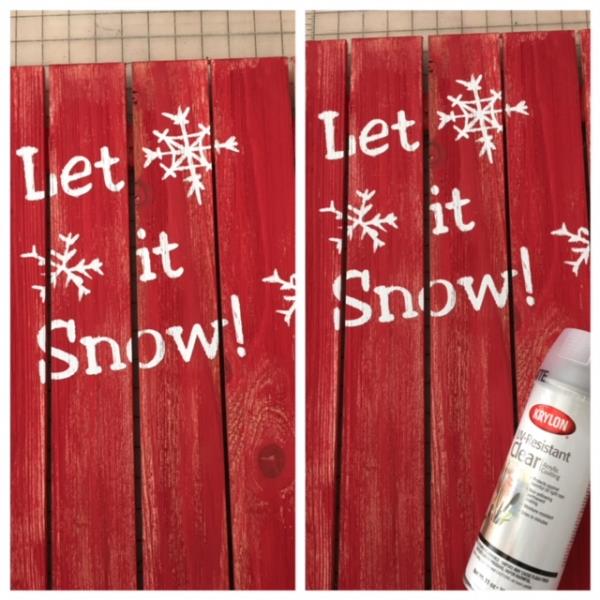
Remove stencil. If there are pieces of vinyl still left on your pallet board remove using your hook weeding tool. Spray pallet board with the clear acrylic coating to seal in the paint. Set board aside to dry.
(Click Image to Enlarge)
Step 11:
(Click Image to Enlarge)
EMBROIDERING OF SNOWFLAKES You will be embroidering one each of the snowflake designs.
Step 12:
(Click Image to Enlarge)
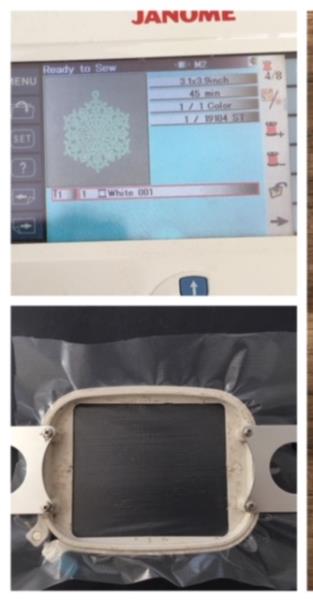
Load one of the snowflake design into your embroidery machine. Cut and hoop a piece of water soluble stabilizer. Attach hoop to machine.
Step 13:
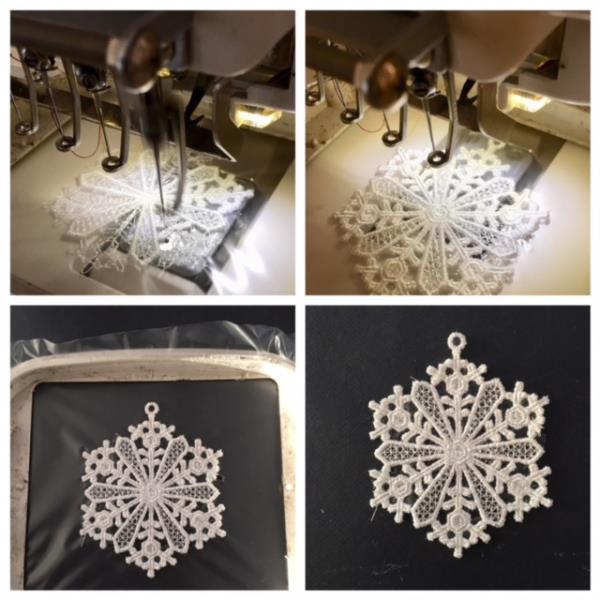
Using white thread to stitch out and white thread in your bobbin begin the embroidering process. ( Each design will take approx. 45 min as this is based on 600 SPM) When embroidering complete remove hoop. Tear away stabilizer and submerge stitched design in running cold water to remove any excess stabilizer. Hand press flat and let air dry. Repeat steps for the other two snowflake designs.
(Click Image to Enlarge)
Step 14:
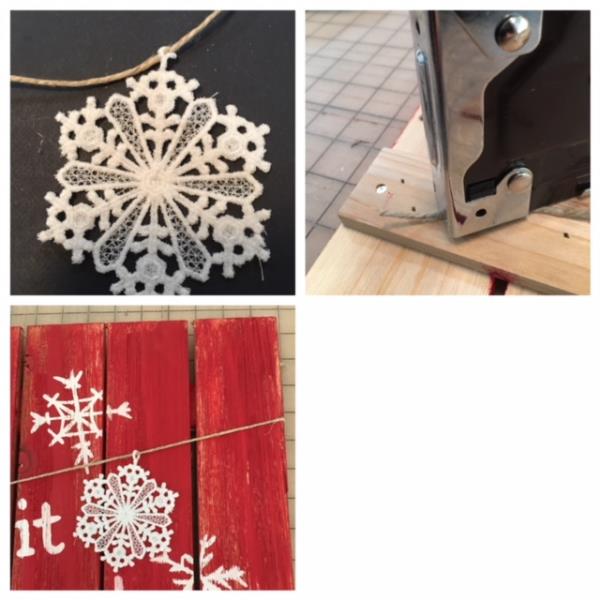
WRAPPING THE TWINE AROUND THE BOARD: Thread the end of the twine through eyelet of two of your snowflakes. Stable end of twine to backside of your board at the top . Bring twine around to the front of your board along with the snowflakes.( you will be wrapping from right to left). Position one of the snowflakes as shown in picture.
(Click Image to Enlarge)
Step 15:
Wrap twine for a second time bring around to the front and position the second snowflake in front. Refer to picture. As you are wrapping the twine around the board make sure the twine is taut. Wrap around again for the third time and staple twine to back of your board and cut end.
(Click Image to Enlarge)
Step 16:
With a new piece of twine thread through the eyelet of your third snowflake. We will be wrapping this twine from left to right and only once around. Staple end to back of board at top. Bring twine and snowflake around to the front angling downward. ( Refer to picture) Position snowflake in front. Wrap twine around to the back. Staple .Cut end.
(Click Image to Enlarge)
Step 17:
Stand back and admire your talent as your Holiday Card Holder is finished. Congratulations!