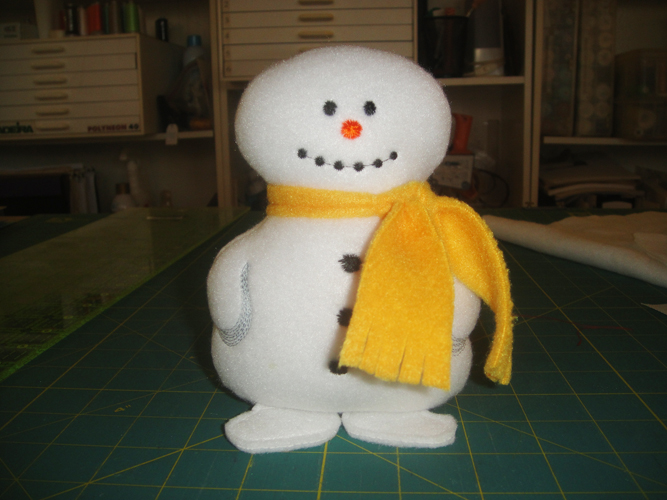
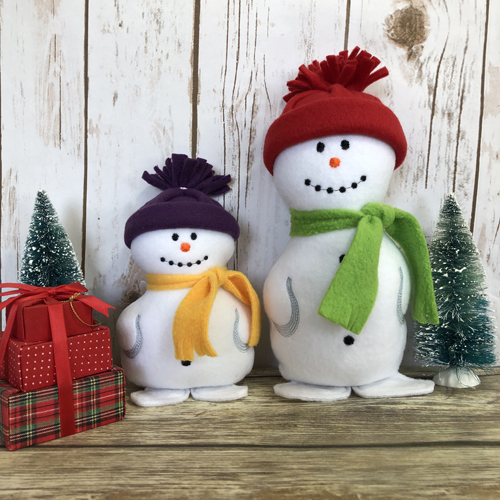
These cute snowman softies are made in the hoop with two hoopings. Their hats are made with one seam at your sewing machine and his scarf is a strip of fleece. They are available in two sizes! Decorate your whole house with these fun snowmen.
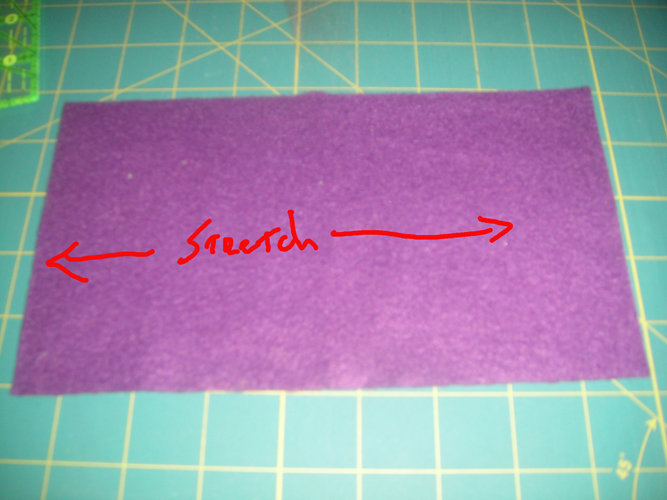
Fleece fabric has greater stretch across the width of the fabric. Make sure when you cut out your fleece that this greater stretch will go across the body. That is that the 6” measurement for the small snowman and the 8” measurement for the larger snowman is cut across the width of the fabric. These snowmen are intended to be holiday décor, but if you are going to give them to a small child to play with you may want to consider slip stitching the hat to the head and the scarf to the neck to insure that they do not come off. The embroidery file come as one file, but require two hoopings. Sew the felt feet first in the hoop then re-hoop stabilizer to sew the body and attach the feet. Both sizes are made with the same steps listed below.
Step 1:
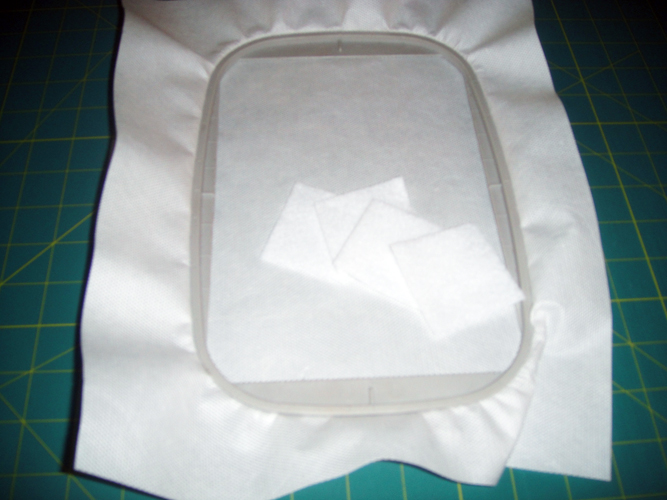
For the first hooping you need tear away stabilizer tautly hooped and the 4 pieces of felt cut to the size listed above for the feet.
(Click Image to Enlarge)
Step 2:
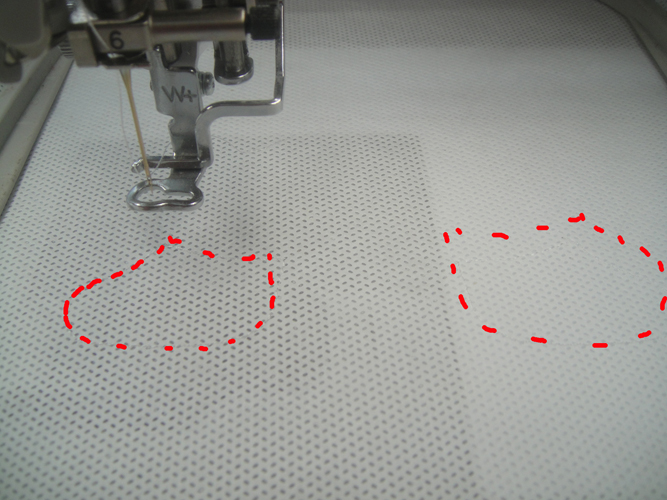
Run the 1st color stop (CS) as a placement line for the felt in white.
(Click Image to Enlarge)
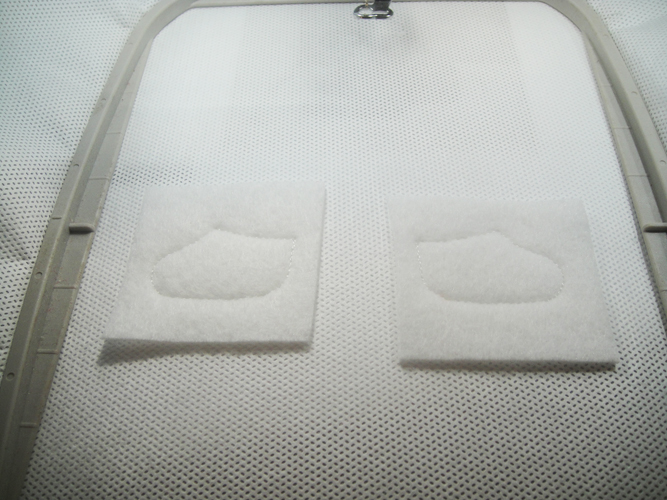
Step 3:
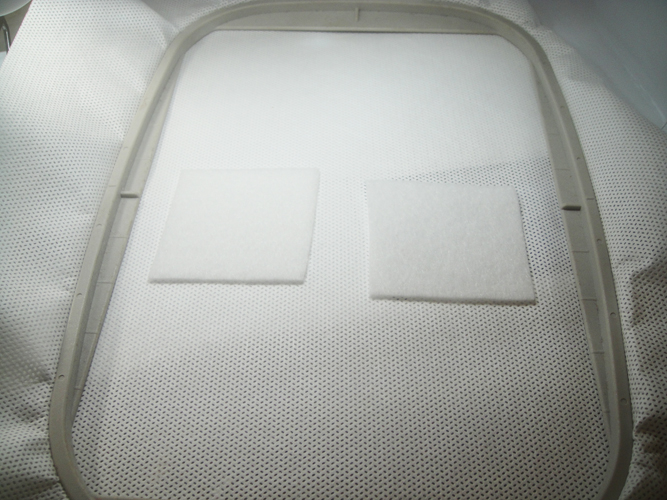
Spray adhesive on two of the felt squares and position over the placement lines on the top of the hoop.
(Click Image to Enlarge)
Step 4:
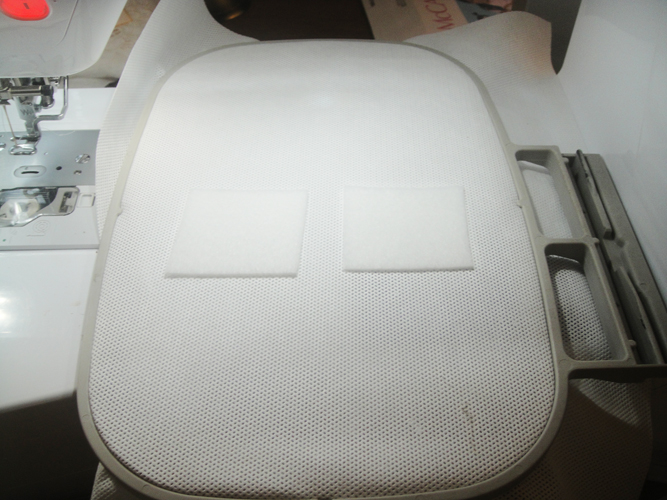
Spray adhesive on two of the felt squares and position over the placement lines on the back of the hoop.
(Click Image to Enlarge)
Step 5:
Run the 3rd CS in white to stitch the layers of felt together.
(Click Image to Enlarge)
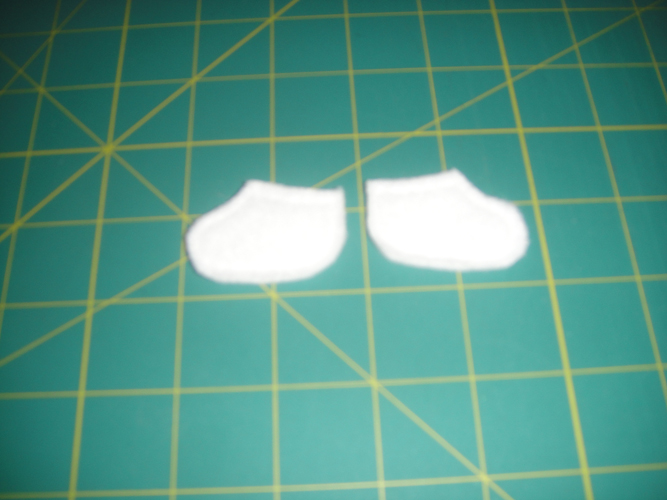
Step 6:
Cut out the feet leaving about an 1/8th from the stitched lines around the feet and about 1/4 “ away from the top of the foot where it will attach to the body.
(Click Image to Enlarge)
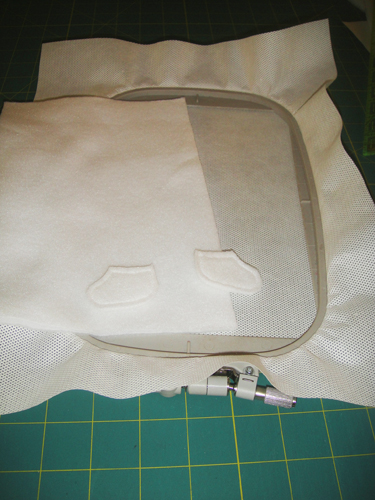
Step 7:
(Click Image to Enlarge)
Re-hoop stabilizer in your hoop and take the two rectangles of white fleece and the feet to your embroidery machine.
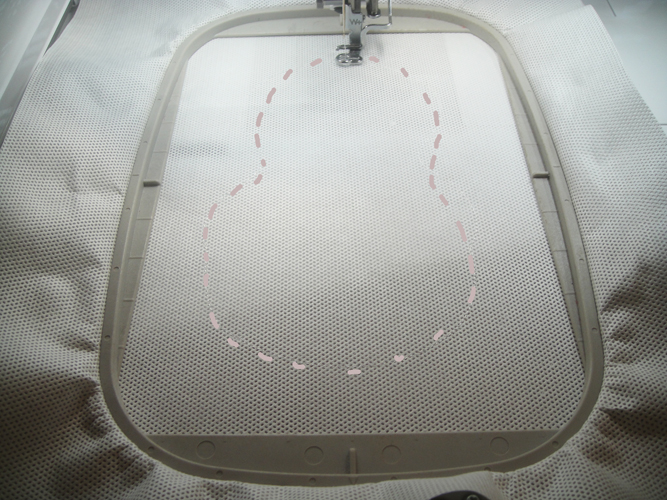
Step 8:
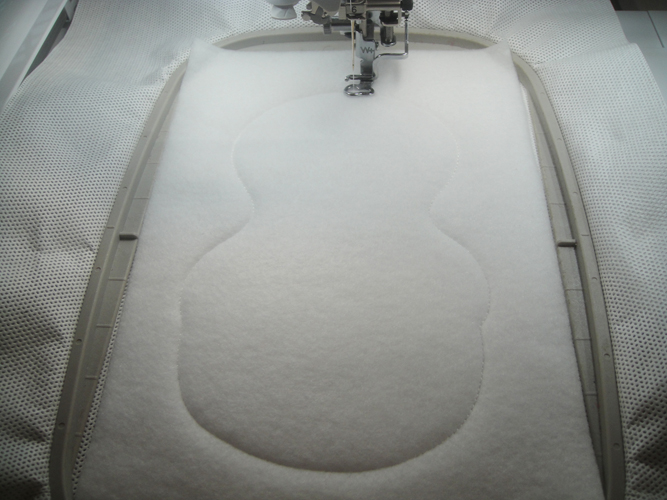
Run CS 3 as a placement line for the snowman.
(Click Image to Enlarge)
Step 9:
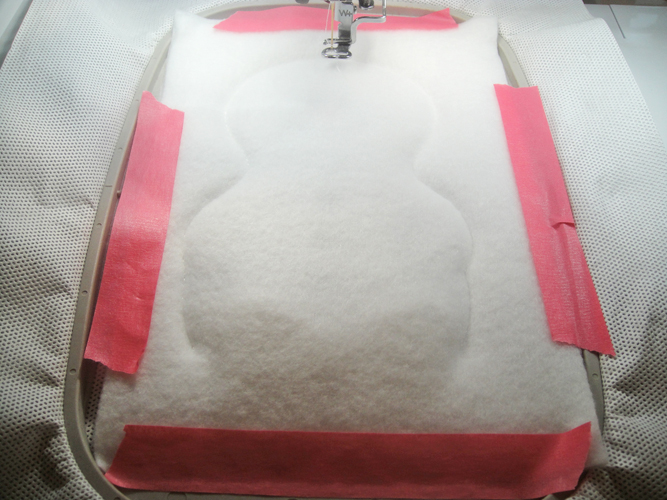
Position one piece of fleece over the placement line. Do not use spray adhesive as we will want to tear away the stabilizer later. You may tape it in place if desired, but it should be fine just being smoothed over the placement line. Run CS 4 in white to tack down the fleece.
(Click Image to Enlarge)
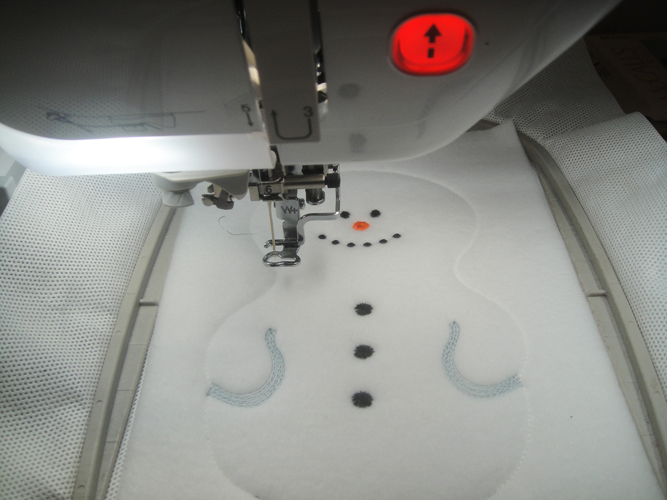
Step 10:
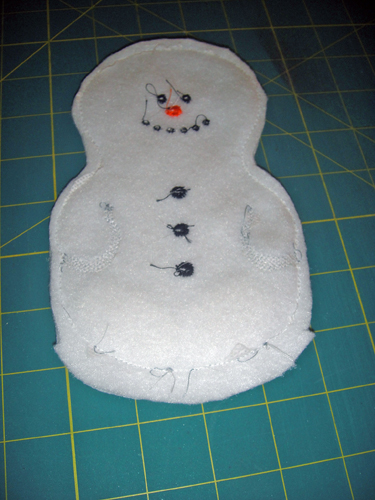
Run CS 5, 6 and 7 in the colors indicated in the color chart to embroider the details of the snowman.
(Click Image to Enlarge)
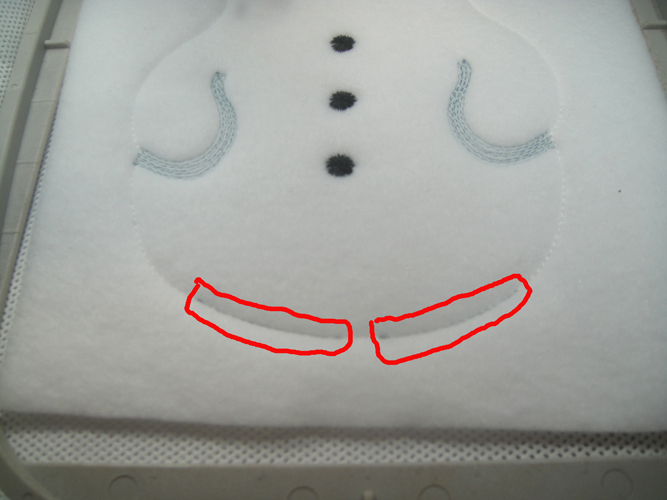
Step 11:
Run CS 8 as placement lines for the feet. Use the Steel green that you just used for the shadows under the arms as you won’t be able to see these if stitched in white.
(Click Image to Enlarge)
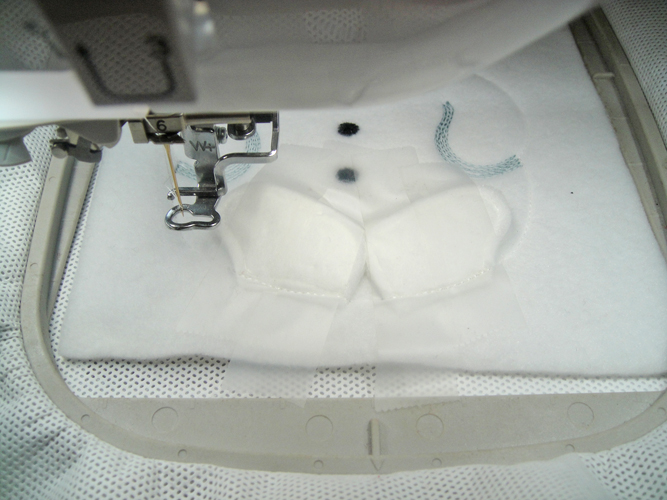
Step 12:
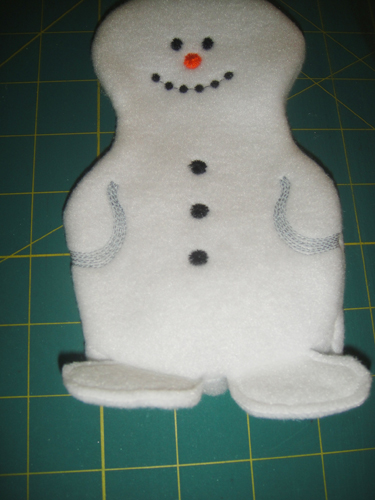
Position the feet upside down over the placement lines having the top edge of the feet extend about ¼” over the placement line. Be sure the feet are away from the sides of the snowman so they do not get caught when the final seam is sewn. Cover the feet with cellophane tape to hold them in place. Run CS 9 in white to tack down the feet. Remove the cellophane tape.
(Click Image to Enlarge)
Step 13:
Lay the second piece of fleece face down over the project. Tape the fleece in place along the edges with embroidery tape to prevent shifting. Stitch the last CS in white to stitch the final seam.
(Click Image to Enlarge)
Step 14:
(Click Image to Enlarge)
Cut around the opening with a ½” seam allowance, but around the remainder of the body with a ¼” seam allowance.
Step 15:
(Click Image to Enlarge)
Turn the snowman right side out and stuff with the poly fiber fill.
Step 16:
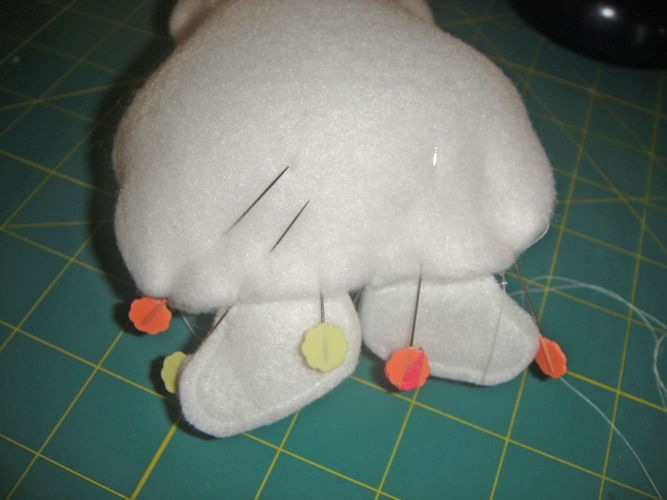
Turn in the seam allowances of the opening and whip stitch together.
(Click Image to Enlarge)
Step 17:
Cut the required length of fleece for the scarf. Tie around the neck with a square knot. Trim the ends if necessary and then fringe the ends by cutting about ¾” into the ends spacing the cuts about ¼” apart. Note, the snowman does not stand up by himself, he has to be leaning against something. For this picture he was propped up against my pin holder.
(Click Image to Enlarge)
Step 18:
Cut the fleece for the hat with the stretch of the fabric going across the greater length of the fabric.
(Click Image to Enlarge)
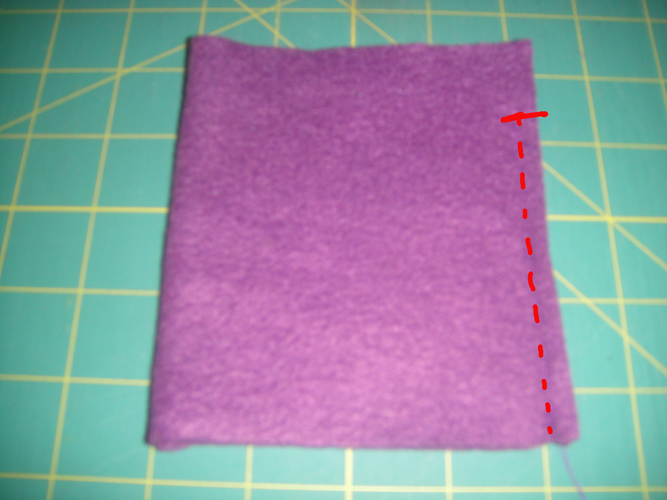
Step 19:
Fold the fabric in half and starting about 1” below the top edge seam the fabrics with a ¼” seam allowance.
(Click Image to Enlarge)
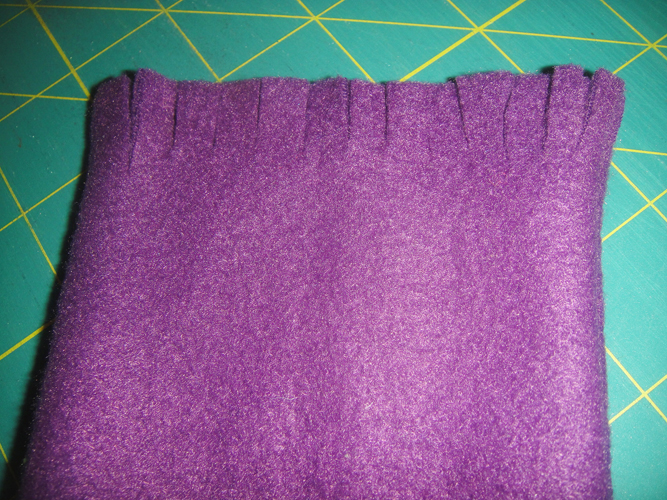
Step 20:
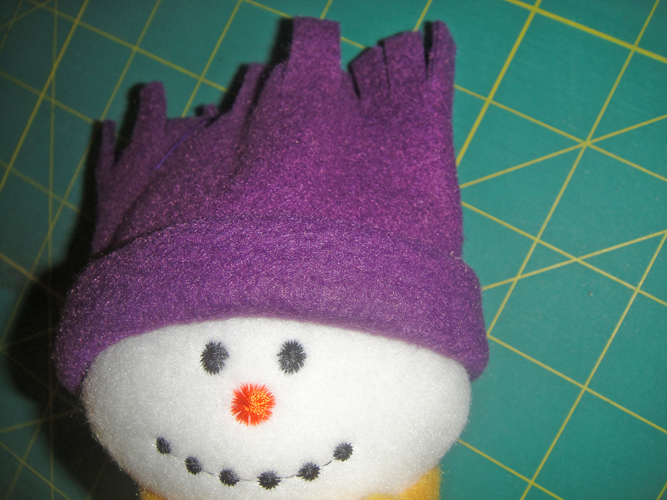
Turn the hat right side out. Fringe the top edge by cutting slashes into the materials in ¼” intervals and about ¾” in depth for the smaller snowman and 1” in depth for the larger snowman.
(Click Image to Enlarge)
Step 21:
Fold up the bottom of the edge twice about ½” for the small snowman and about 1” for the larger snowman and stretch the hat over the head.
(Click Image to Enlarge)
Step 22:
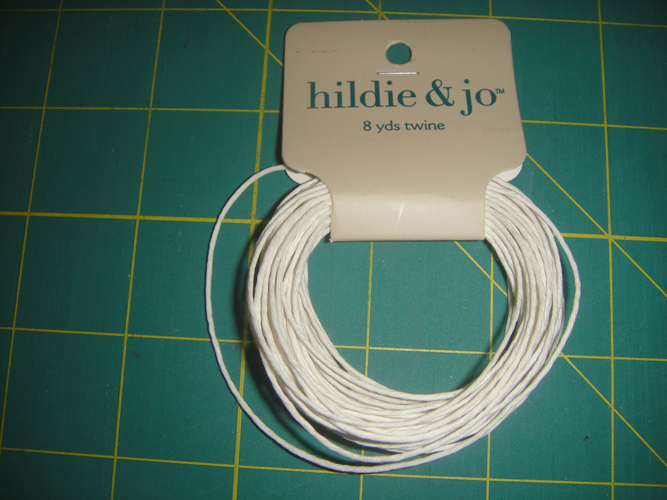
You will want some strong twine to tie off the top of the hat. In the samples this twine, purchased from Joann’s jewelry making section was used.
(Click Image to Enlarge)
Step 23:
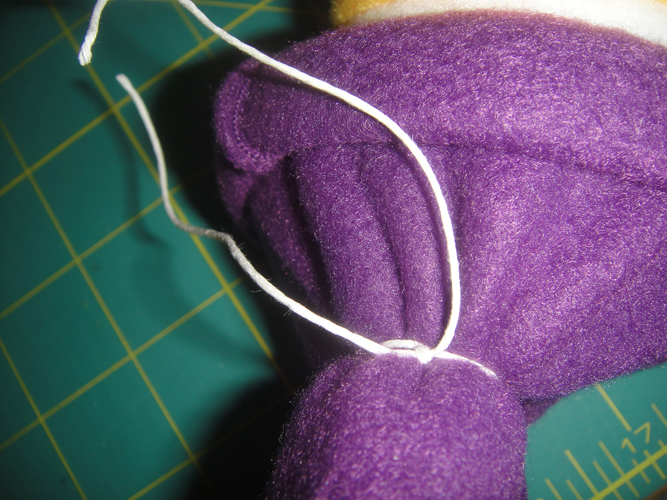
Pull together the top edge of the hat and wrap the twine around the fabric to gather and knot. Wrap around the gathers again and knot the string again, finishing off with a couple of knots and then trim the strings ends off.
Award winning Digitizer, Embroidery Educator, Author and a Consultant to the Industry, Pat Williams has 30 years of experience in the embroidery industry. Pat has won multiple awards for her digitizing expertise including the 2007 Impressions Awards Grand Championship, Best of Show as well as the 1st and 2nd Place Awards. Pat’s love of digitizing has afforded her the opportunity to write numerous articles for Impressions magazine in the United States and Images Magazine in Europe. In 2001 Pat was named “Embroidery Educator of the Year.” For many years Pat taught digitizing seminars at the ISS Shows in Long Beach, CA and for Compucon software. She now resides in Tucson, AZ.