






PROJECT INSTRUCTIONS


PROJECT INSTRUCTIONS

FSL Halloween Ornaments Embroidery Project
By
Marisa Littleton
on
September 05, 2019
Description
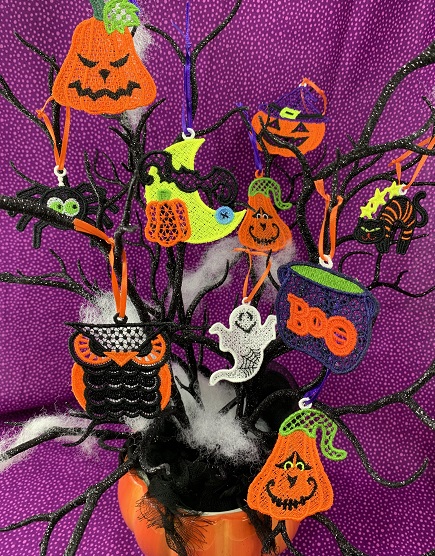
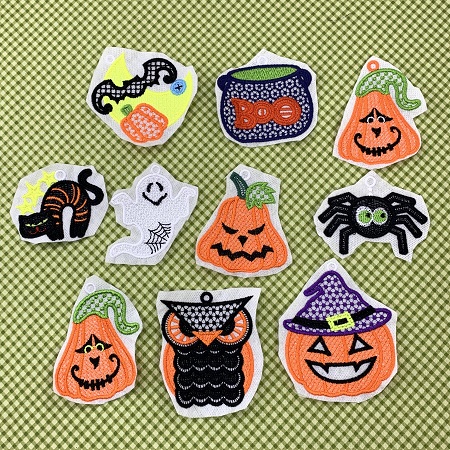
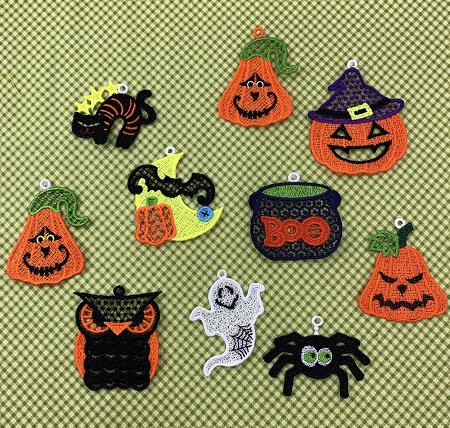
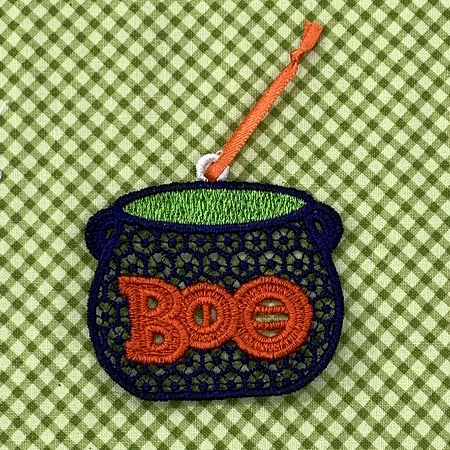
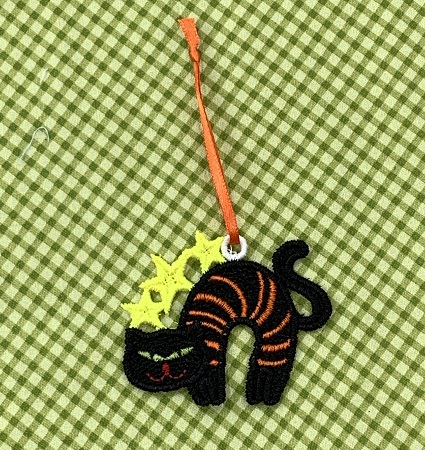
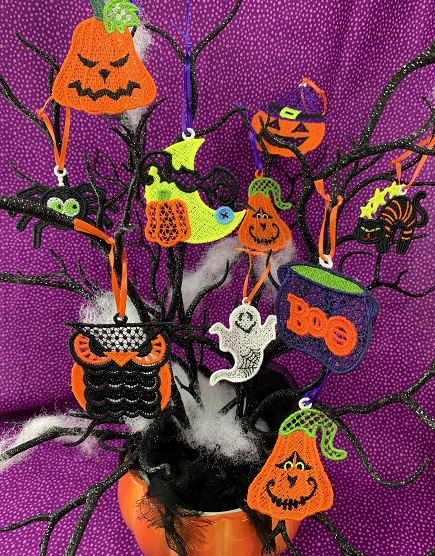
Let a little black magic happen for Halloween! Spiders, ghosts, black cats, and pumpkins are part of this 10 piece assortment of FSL Halloween Ornaments.
Step
of
Materials
Project Preview Video

QUICK VIEW
FSL Halloween Embellishment Embroidery Bundle – Jack-O'-Lantern, Ghost, Witch Hat & More (10 Designs)
$25.00
$15.00
Circle Price: $15.00

Embrilliance Essentials - Software Download
$139.00
Circle Price: $134.10

Water Soluble Stabilizer - 12" x 25 Yds
$32.46
Circle Price: $29.21
{{ item.name }}
{{ item.listPriceDisplay }}{{ item.salePriceDisplay }}
Circle Price:
{{ item.clubPriceDisplay }}



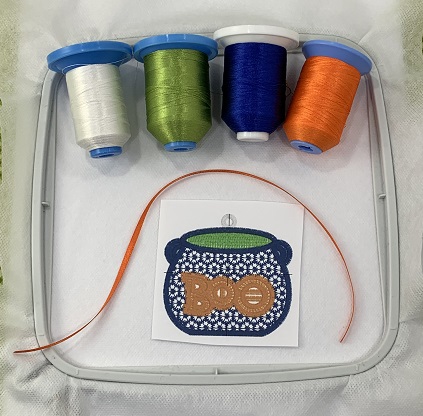
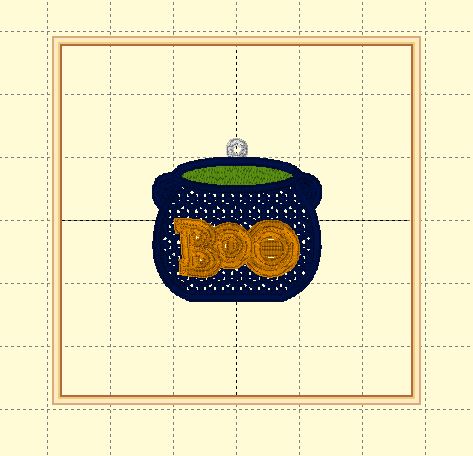
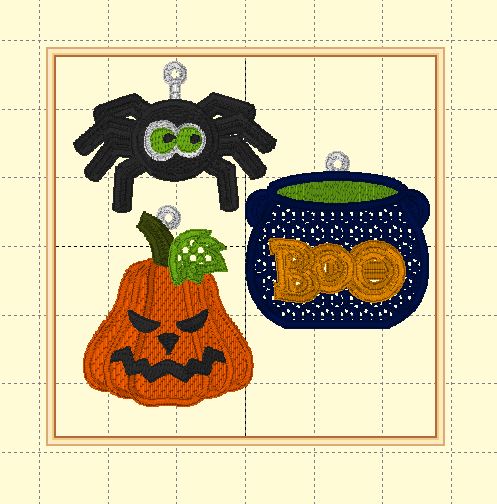
| Materials Design Template 4x4 hoop or larger 2 sheets Vilene water soluble stabilizer per hooping 40 wt. embroidery thread with matching bobbin per color chart (Robison-Anton poly) 1/4"x 8" piece ribbon per ornament 75/11 Embroidery Needle Embroidery software program, optional |
| Designs used in this project |
| Final Product: What You Will Create |
 |
|
learn by teaching and sharing... Marisa Littleton |
Projects You May Like
Meet the Author:
Marisa Littleton

Marisa Littleton is a retired educator with a love for teaching and learning. Interests include machine embroidery, hand embroidery, quilting, cooking, and antiques.
Feedback
Characters Remaining
Please Login to Submit a Feedback
Invalid Characters, Please enter a valid Comment
Please enter a valid Comment
Reviewed On
Link is Broken, Please check the URL