{{superHeaderAds.title}}
Live Chat
Embroidery Designs
Welcome, Embroiderer
Login
Pumpkin Coasters
{{mainImageAlt || (productInfo._source && productInfo._source.name) || ''}}

Pumpkin Coasters Embroidery Project

By   Marisa Littleton   on   August 26, 2019

PROJECT DETAILS

SKILL LEVEL
Some Experience
TIME REQUIRED
00:30
FINISHED SIZE
4.5 x 4.5 inches
Description

Pumpkins! Pumpkins! And more pumpkins! It's all about pumpkins. A set of six different pumpkin themed coasters.

Project Preview Video

Materials
  • 5.5"x5.5" hoop
  • Design Template (Pumpkin Coasters Monograms)
  • Jacoba font 1"
  • 75/11 Embroidery Needle
  • 40 wt. Embroidery Thread (Robison-Anton poly)
  • Sulky Ultra Solvy water soluble stabilizer
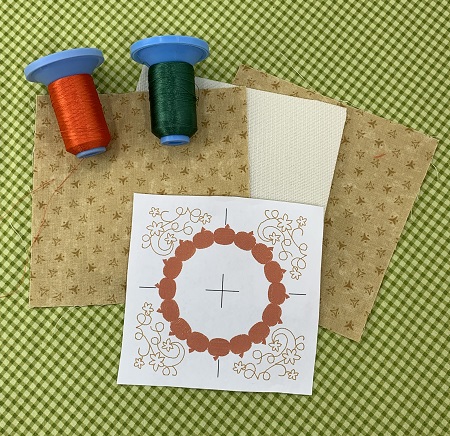
  • Two 5"x5" pieces of 100% cotton fabric (neutral fall color)per coaster
  • One 5"x5" piece Bosal In-R-Form double sided fusible foam per coaster
  • Sewing machine, thread, & matching bobbin
  • Embroidery software, optional

  • Designs used in this project

    Final Product: What You Will Create

    Preface:
    Pumpkins! Pumpkins! And more pumpkins!  It's all about pumpkins.  A set of six different pumpkin themed coasters.  The pumpkin coasters are designed to be monogrammed if you prefer.  The example has not been monogrammed, but I have included monogram directions in the steps.  The Bosal In-R-Form double sided foam was used to give the coasters more form.  Project time is for one coaster.  


    Step 1:
    Read the directions before beginning the project.  Gather and prepare the materials.  Fabric should be ironed before cutting.  


    Step 2:
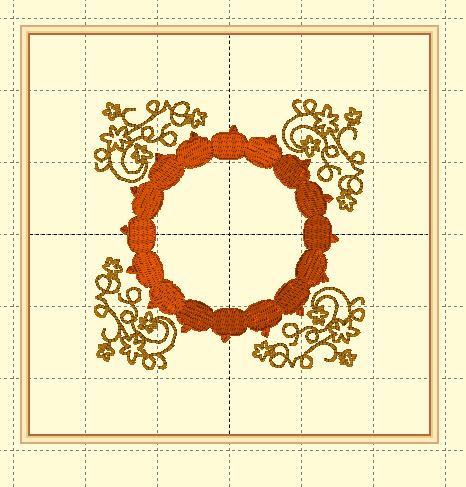
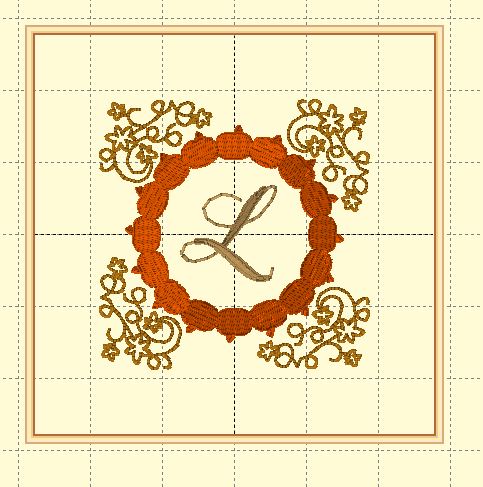
    A template of the design was printed using Embrilliance Essentials embroidery software program. 


    Step 3:
    A monogram may be added to the design.  Embrilliance Essentials embroidery software was used to add a monogram.  The simplest way is copying and pasting the monogram onto the template.  Many embroidery machines have fonts that may be added to designs.  Jacoba font was used for the monogram. 
     
    NOTE:  Skip this step if you are not monogramming the coasters. 


    Step 4:
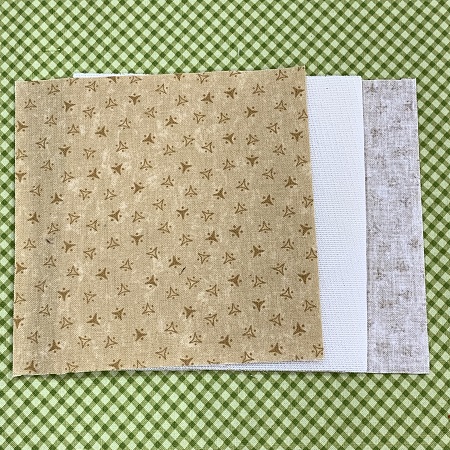
    Simple square coasters were made for the project.  Begin by cutting two pieces of fabric 5"x 5".  Cut one piece of the Bosal foam 5"x 5".
     
    NOTE:  A neutral fall color fabric works best for the coaster so that you can see the design. 


    Step 5:
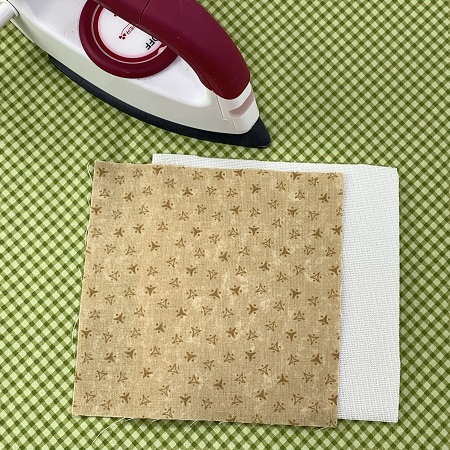
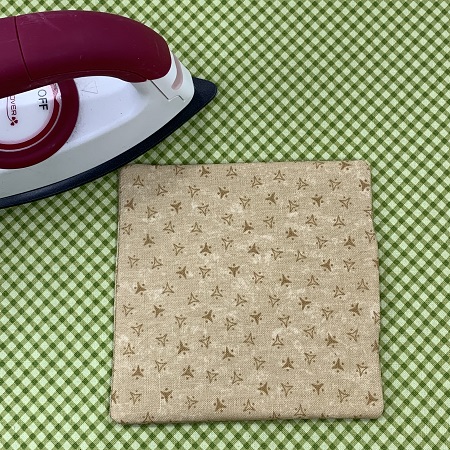
    Lay one piece of the fall fabric wrong side down on the Bosal foam.  Use a dry, hot iron to fuse the fabric to the foam.  Be careful not to over iron the fabric.  You do not want to activate the bonding on the other side of the Bosal foam.   


    Step 6:
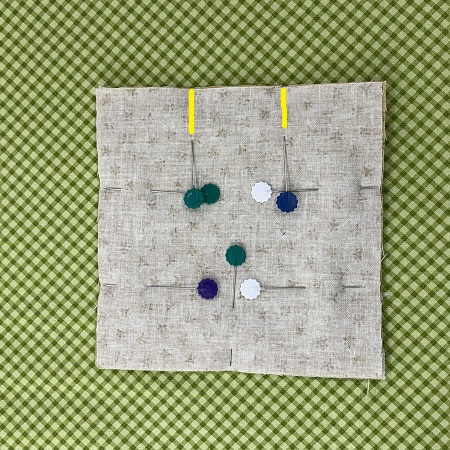
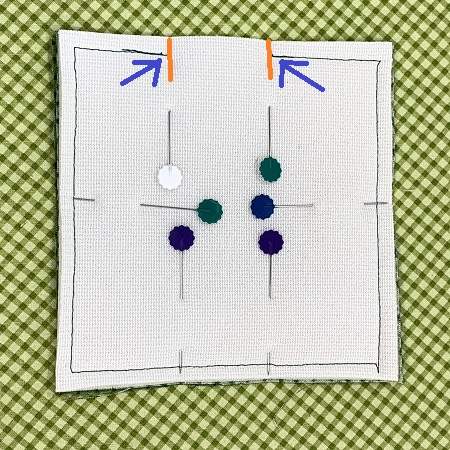
    Lay the second piece of fall fabric on top of the piece that you ironed with right sides together.   Pin the pieces together.  Mark a 2-3" space on the block for the opening for turning the coaster.


    Step 7:
    Stitch a 1/4" seam around the outer edge of the square.  Be sure to leave an opening for turning the coaster.


    Step 8:
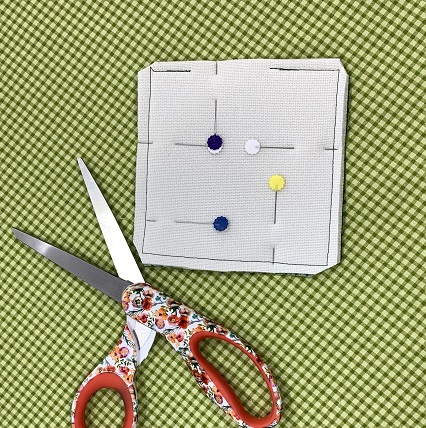
    Carefully clip the corners at an diagonal.  Be careful not to cut the stitches on the seams.  This step removes bulk from the corners.  


    Step 9:
    Turn the coaster right sides out.  Fold the fabric inward at the opening on the coaster.  Pin the opening closed.  Press along the seam lines.  Iron the coaster.  The ironing will bond the fabric to the Bosal fusible foam.  
     
    Topstitch closely (about 1/8") along the outer edge of the coaster.   


    Step 10:
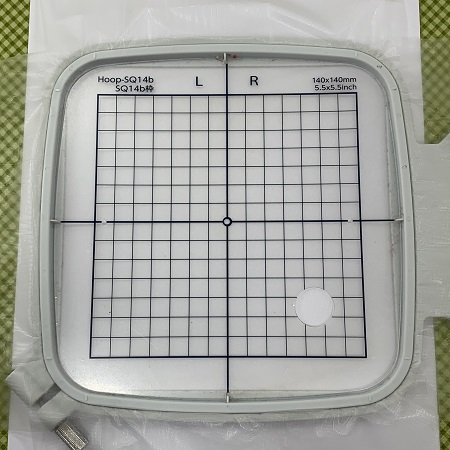
    Hoop your stabilizer.  Sulky Ultra Solvy was used for the project.  An easy tear away stabilizer would work also; but may leave some debris on the back of the coaster.  The Solvy can be removed using the honey comb tip on a Fix-a-Seam easily.  


    Step 11:
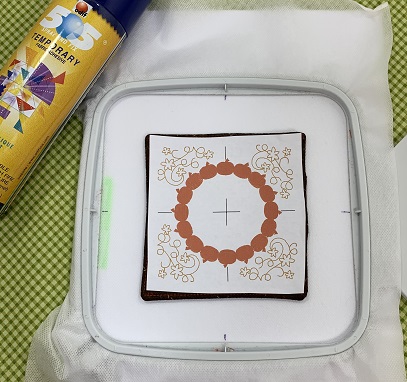
    Center the coaster on the stabilizer.  Lightly mist the back of the coaster with 505 Temporary Adhesive spray.  Secure the coaster on the stabilizer.


    Step 12:
    Load the design on the machine.  Check the needle and bobbin before beginning.  I used a matching bobbin thread.  Attach the hoop.  Stitch the design.  
     
    Remove the stabilizer from the coaster.  The honey comb shaped tip on a Fix-a-Seam works very well removing the stabilizer.  


    Step 13:
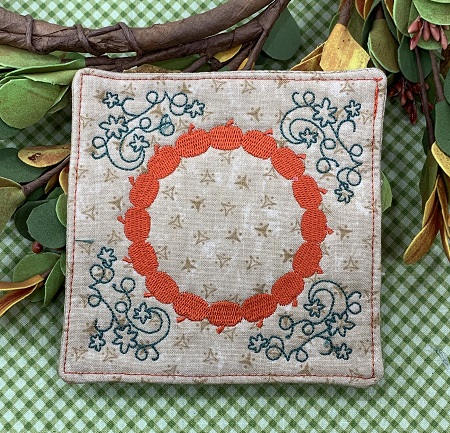
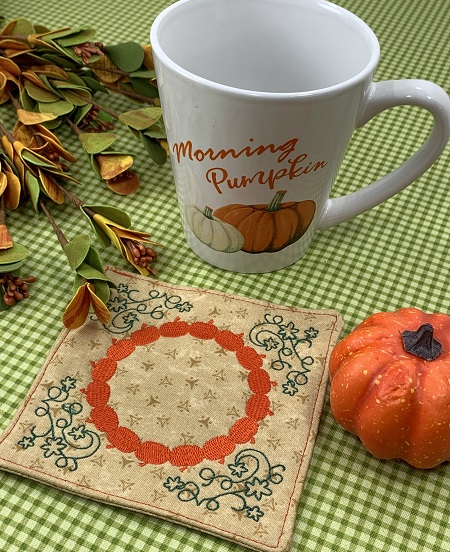
    You have completed the Pumpkin Coaster.  Great job!  

    (Click Image to Enlarge)


    Step 14:
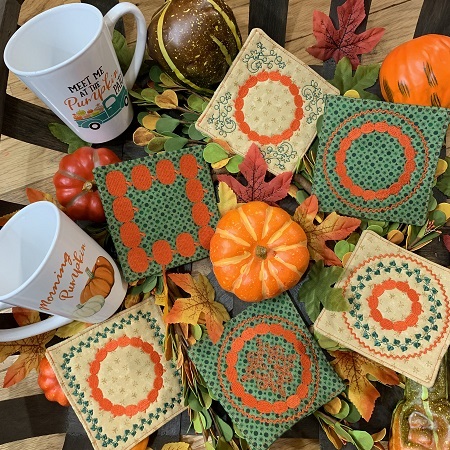
    An example of each design in the Pumpkin Coasters Monograms set.  

    learn by teaching...
     
     
    Marisa Littleton 
    Meet the Author: Marisa Littleton
    Marisa Littleton
    Marisa Littleton is a retired educator with a love for teaching and learning. Interests include machine embroidery, hand embroidery, quilting, cooking, and antiques.
    More From This Author
    Link is Broken, Please check the URL
    Exclusive Embroidery Offers!
    Copyright © {{ currentDate | date:'yyyy'}} - EmbroideryDesigns.com
    GET 50% OFF! ×