Software is used to separate out one of the embroidery designs. If you do not have embroidery design editing software, just choose another design that will work for the project. Designs are stitched on felt using fall colors, cut out, and then glued to a plastic white pumpkin. Add beautiful fall ribbon and a berry stem to complete the look.
Step 1:
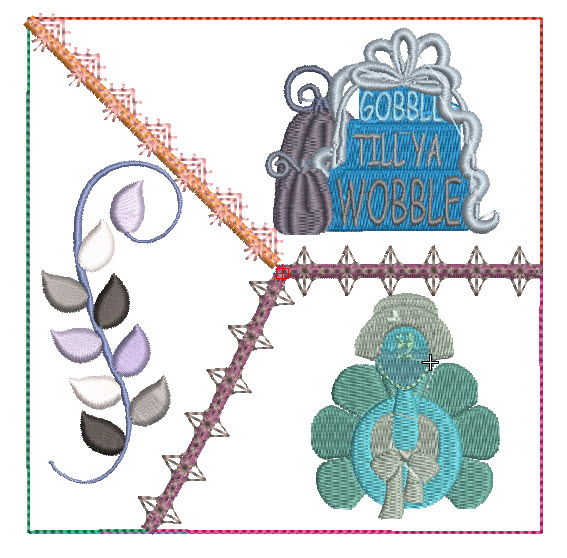
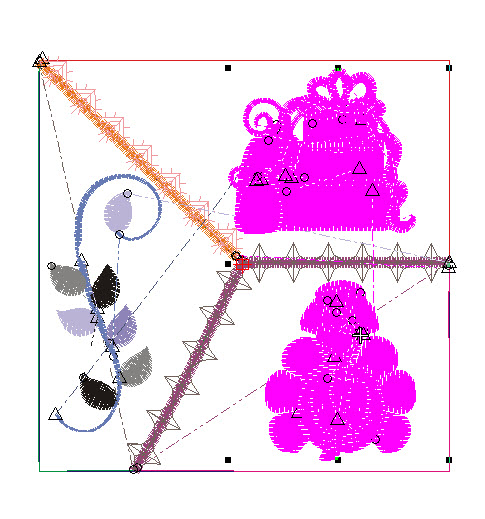
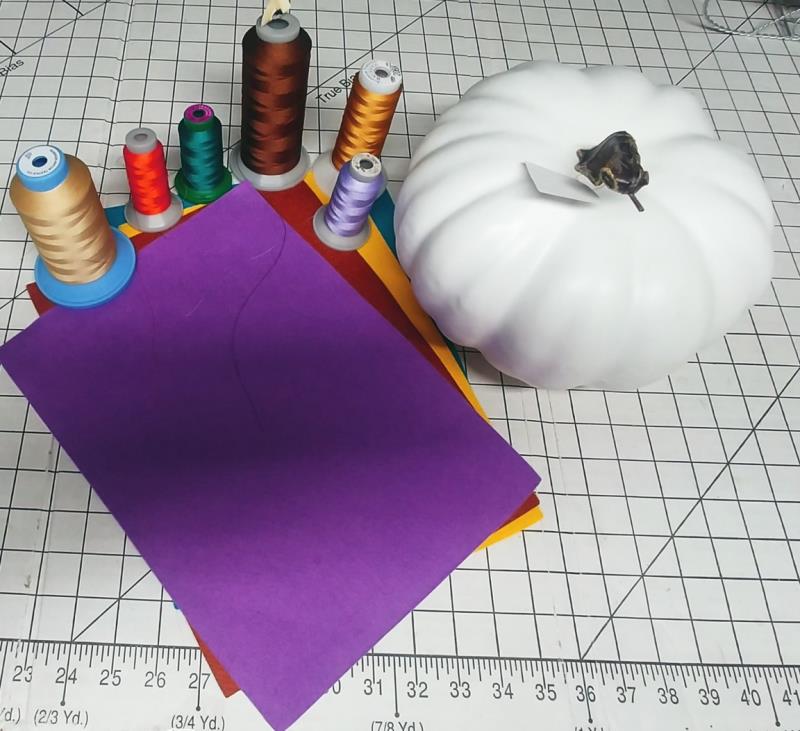
Read through the instructions thoroughly before beginning and assemble all the materials needed to complete the project. In embroidery editing software, load the “Thanksgiving Quilt Block”(td3862) design. Save the design as a new file. To do this go to the file tab and then scroll down to Save As. This keeps the original file in tact and let’s us alter the new file. Name the new file and save it.
(Click Image to Enlarge)
Step 2:
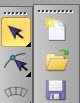
Use the Select tool
Step 3:
and highlight the block. For most, the setting in the software has the design grouped upon adding. Click anywhere in the block and all the objects will be highlighted.
(Click Image to Enlarge)
Step 4:
(Click Image to Enlarge)
Now look at the Group/Ungroup icons. Here you can see the entire block is grouped, because the icon is grayed out, leaving only the Ungroup icon to be selected. Click the Ungroup icon.
Step 5:
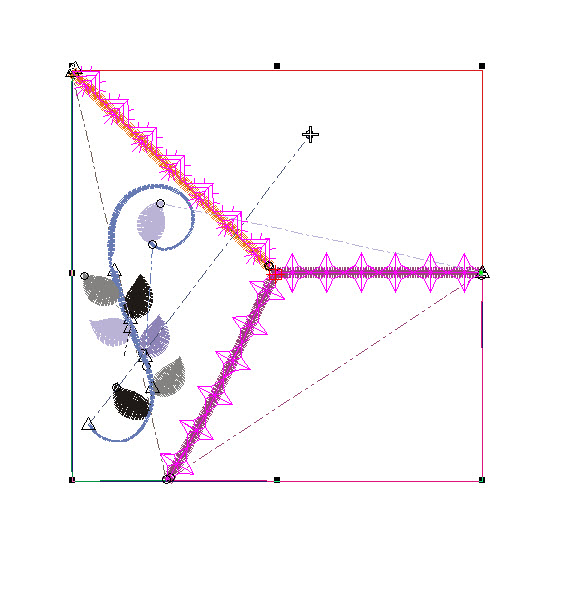
Use the select tool and draw a box around as much of the block as you can, excluding the leaves part.
(Click Image to Enlarge)
Step 6:
Let go of the mouse and you’ll see what has been selected. Hit delete on your keyboard.
(Click Image to Enlarge)
Step 7:
The sections selected will disappear from the screen. Now use the select tool and click on all the remaining parts and pieces, leaving the leaves section untouched and delete those. Continue until all you have left are just the connecting leaves and swirl.
(Click Image to Enlarge)
Step 8:
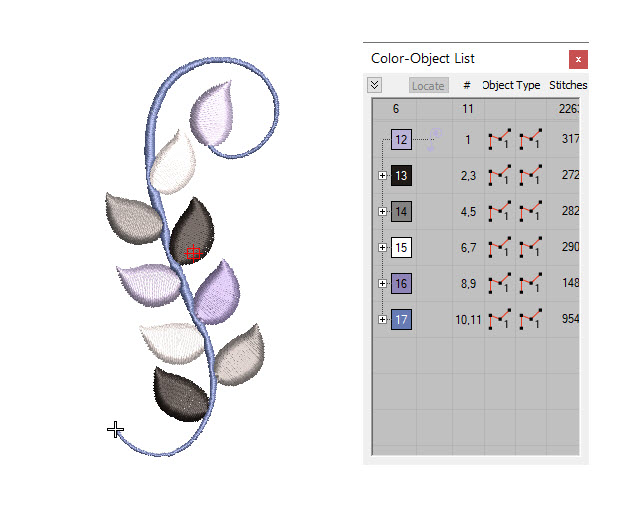
Another option is to open the Color-Object List and select all the parts and pieces from the list and then hit Delete on the keyboard. Be sure to check that you’ve deleted even the tiniest parts, leaving just the leaves section as shown.
(Click Image to Enlarge)
Step 9:
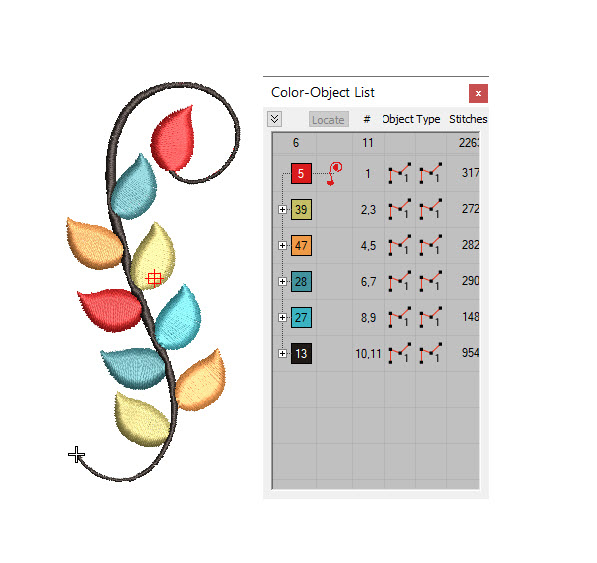
Now in your color bar, change each leaf section to a color you’d like to stitch. This is where you can have fun playing in software. Just change the colors to see what you like. For the project, the colors were chosen to coordinate and contrast with the colors of felt used to stitch on.
(Click Image to Enlarge)
Step 10:
Once you are happy with your choices, save the file on your computer and also save it in the format needed for machine stitching.
Step 11:
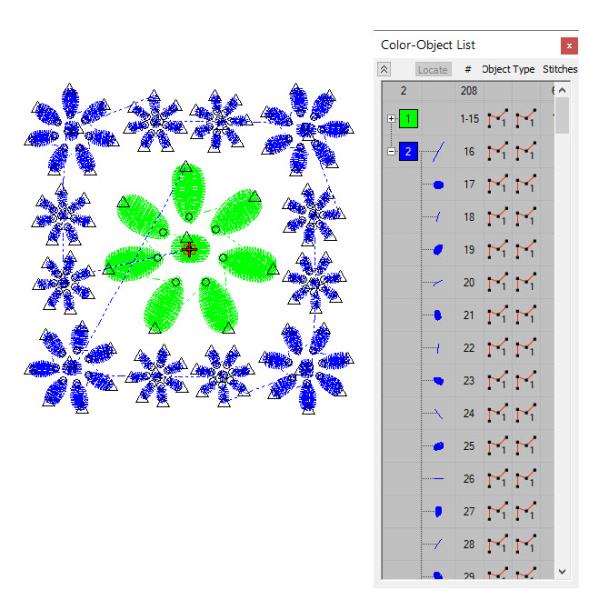
Follow the same steps of saving the design and renaming it for AFC677C Daisy Quilt Block. Select all the outer border flower and delete them.
(Click Image to Enlarge)
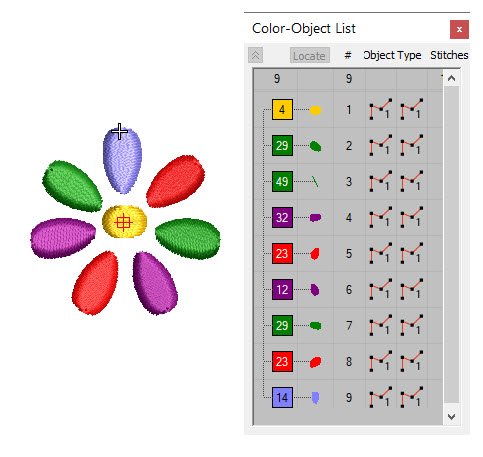
Step 12:
Change the petals to the colors you’d like for stitching, and save the file.
Step 13:
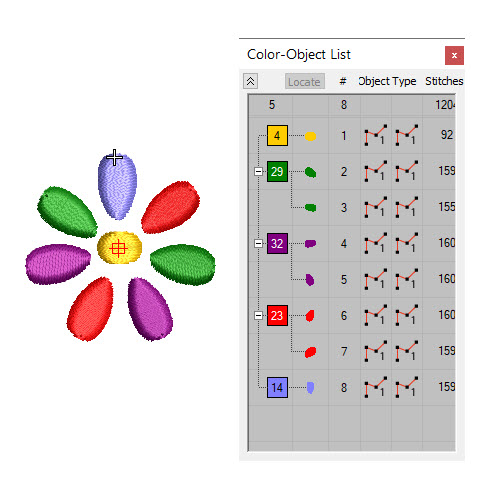
If you want, you can choose a minimal number of colors and then color sort the sections so they are grouped together for stitching.
Step 14:
Select the thread colors as chosen in the software—be sure they coordinate with the felt colors you have chosen.
(Click Image to Enlarge)
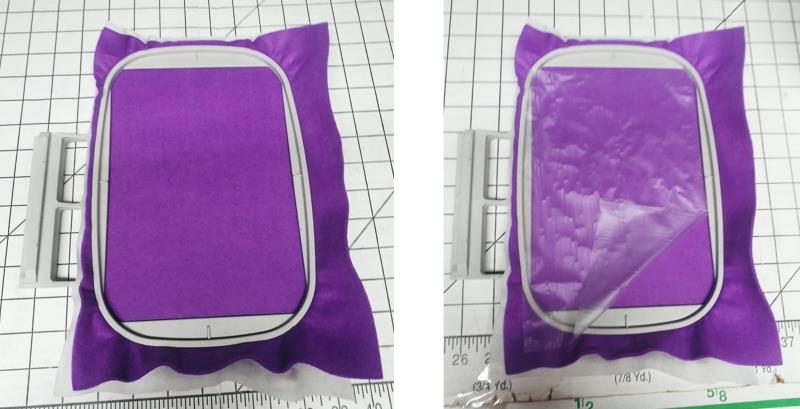
Step 15:
Hoop one layer of felt with one layer of lightweight cutaway stabilizer. Place a piece of water-soluble topper on top of the felt. Several designs can be stitched in a single hooping.
(Click Image to Enlarge)
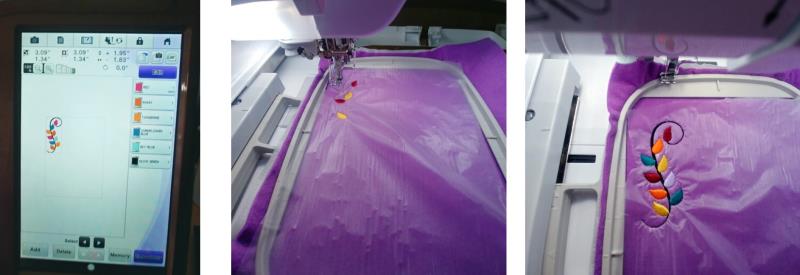
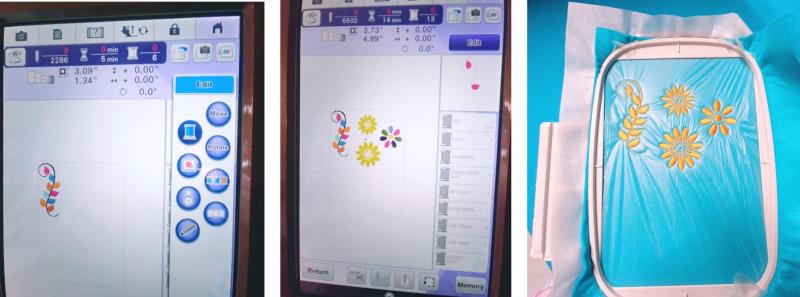
Step 16:
Load the leaf design for stitching. Move the design into the upper left-hand corner of the hoop and stitch in the chosen colors.
(Click Image to Enlarge)
Step 17:
One design may be loaded at a time and stitched, moving the design to a free spot in the hoop; or, many designs may be loaded and then stitched. Just remember, they stitch in the order you bring them onto the screen. Be sure to leave about ½” between designs so there is a little felt left around the designs when they are trimmed to be put on the pumpkin. Continue adding designs and stitching.
(Click Image to Enlarge)
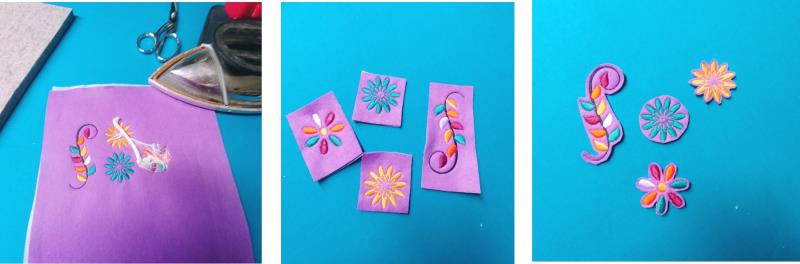
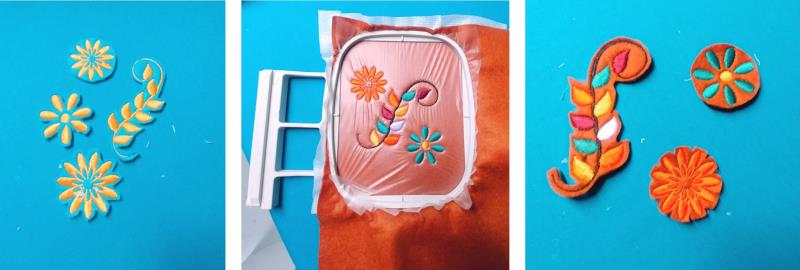
Step 18:
After stitching the designs, remove the fabric from the hoop. To remove the water-soluble topper, hold a steam iron just above the surface without touching it, and in a circular motion, use steam and watch the topping curl up on itself and then just remove the balled-up topper. Cut apart the designs and then trim the excess felt away, leaving about 1/8” all around.
(Click Image to Enlarge)
Step 19:
Hoop the next colored felt piece to stitch more pieces. If you’d like, at the machine, choose to stitch all in one color. For this machine, all I did was tapped the spool icon. The colors are grayed out in the list, but the color shows what is being stitched.
(Click Image to Enlarge)
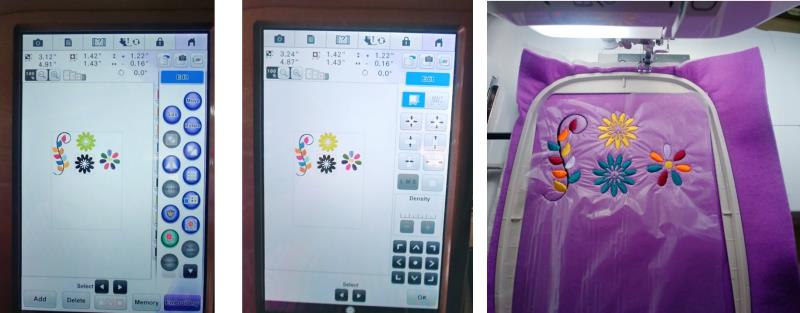
Step 20:
Just continue hooping and stitching and trimming until you feel you have enough pieces to go around the pumpkin.
(Click Image to Enlarge)
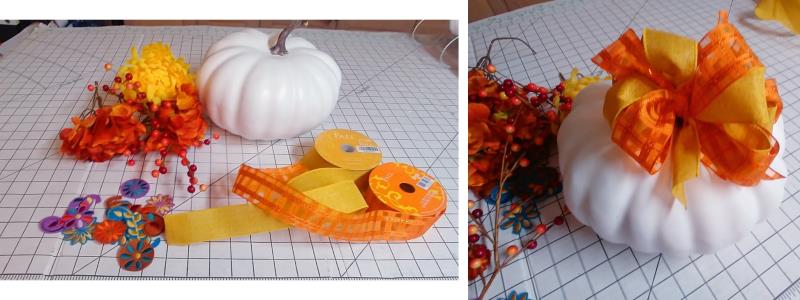
Step 21:
I did not do much pre-planning. I just stitched until I felt I had enough pieces and then started planning.
(Click Image to Enlarge)
Step 22:
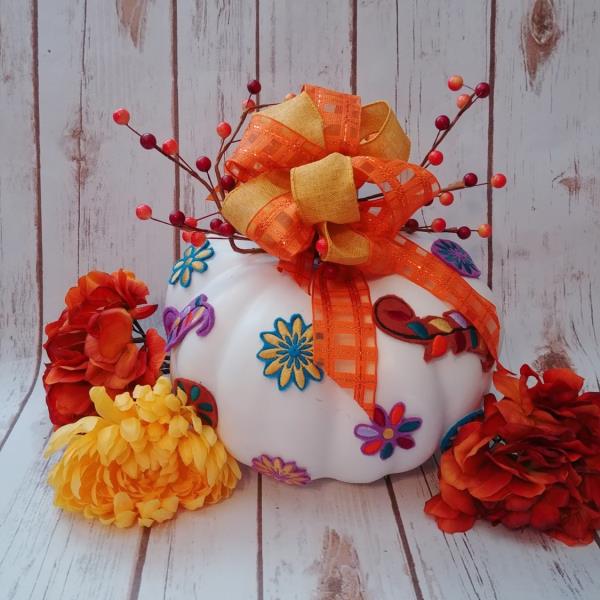
I used two spools of 2” ribbon—one solid gold and the other a plaid orange and created a bow at the top of the pumpkin.
(Click Image to Enlarge)
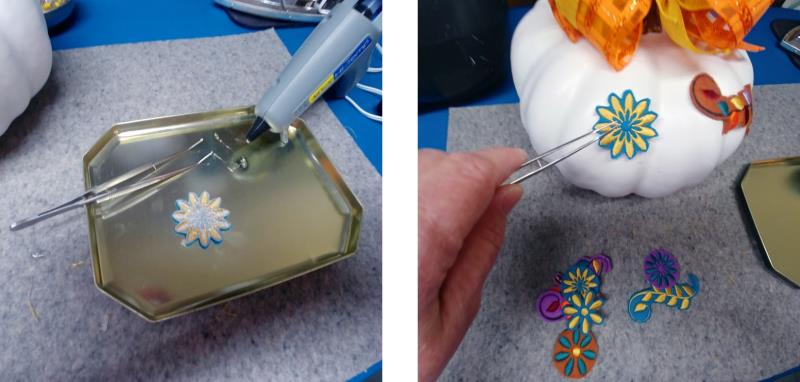
Step 23:
Heat the glue gun. Turn each embroidered piece of felt over and place a very small amount of hot glue around the back of the embroidered piece. Use tweezers to position the embroidered piece on the pumpkin as desired. Continue gluing the pieces. If needed, stitch more until the pumpkin is decorated to your liking. Add the berry stem to the top, wrapping it around the pumpkin stem under the bow.
(Click Image to Enlarge)
Step 24:
Congratulations on completing your beautifully decorated pumpkin. It’s non-traditional but it is a colorful addition to your home décor.
Ramona Baird has been in the embroidery industry for over 23 years. She and her husband owned a commercial and retail embroidery store in Arizona for many years. She is an experienced digitizer having been mentored by award-winners Pat Williams and Lindee Goodall. Ramona is a contributor to “Creative Machine Embroidery” magazine having 5 covers to her credit. Ramona has worked for Wilcom America and served many years as Education Director for the American Sewing Guild. With a degree in fashion design, she is able to design and execute patterns which Pat Williams says are “out of the box” in creativity and application. Ramona likes to challenge the boundaries of embroidery and bring new and exciting designs, ideas, and projects to EmbroideryDesigns.com. She wants embroiderers of all levels to increase their skills and enjoyment in using their embroidery machine for gift-making and personal pleasure.