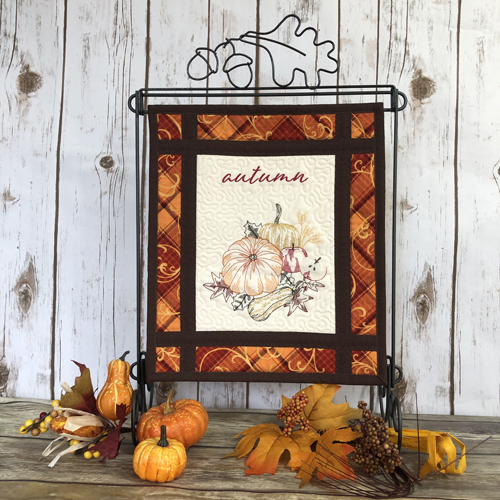
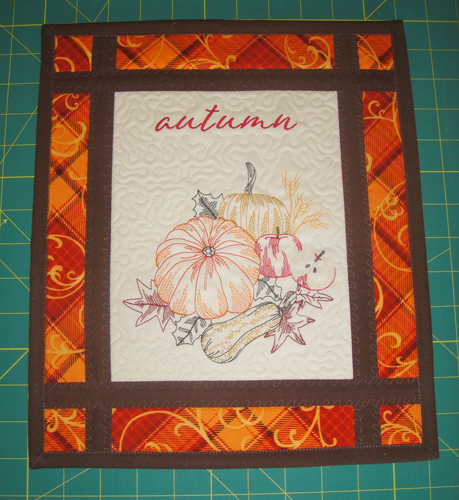
A wonderfully easy mini quilt to celebrate Autumn. The center block is embroidered and quilted in the hoop. The borders and sashing are added at your sewing machine.
Choose your border fabric first and feel free to change the colors of the embroidery threads used to coordinate with the colors in your autumn themed border print. The design itself looks good on either a white, natural or ivory background. The quilt frame is the same one that we have used in all of the mini quilts. Additional themed toppers for these frames can be purchased through Ackfeld Manufacturing’s website.
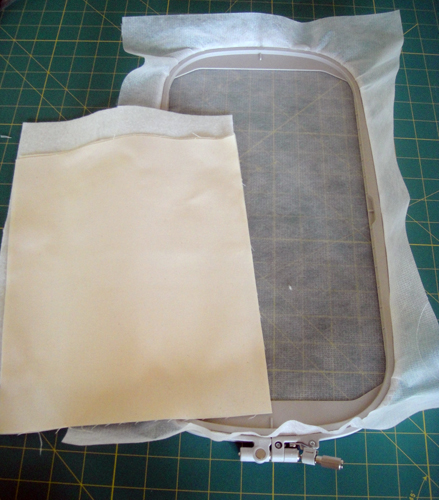
Step 1:
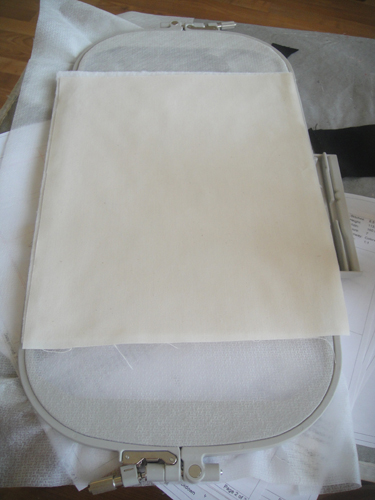
Cut two rectangles of the background fabric and one of the Battilizer® into 8” x 11” rectangles. Tautly hoop no show stabilizer in your hoop.
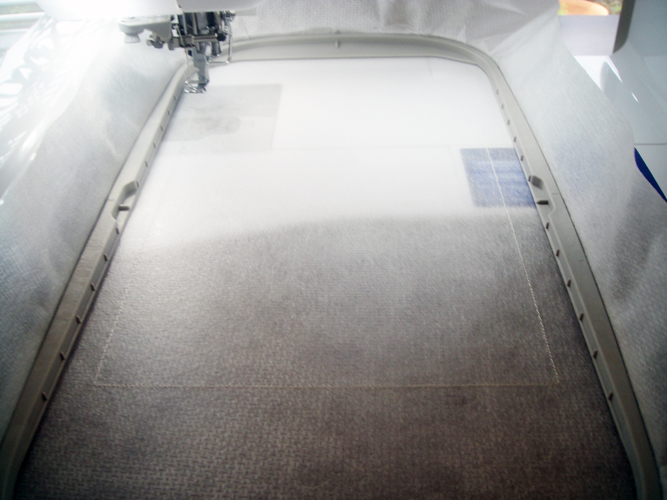
Step 2:
Run color stop (CS) 1 in a neutral thread as a placement line.
(Click Image to Enlarge)
Step 3:
Spray adhesive on the background fabric and position over the placement line so that the fabric exceeds the placement line by ½” on all side. Run CS 2 in water soluble thread to tack down the fabric.
(Click Image to Enlarge)
Step 4:
(Click Image to Enlarge)
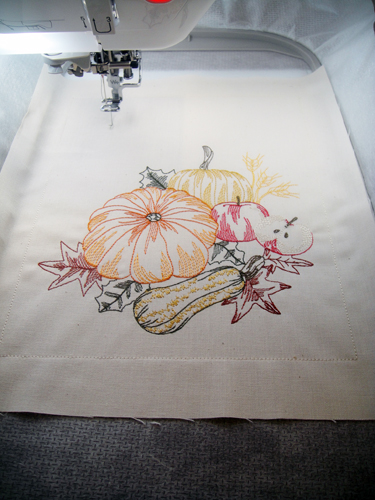
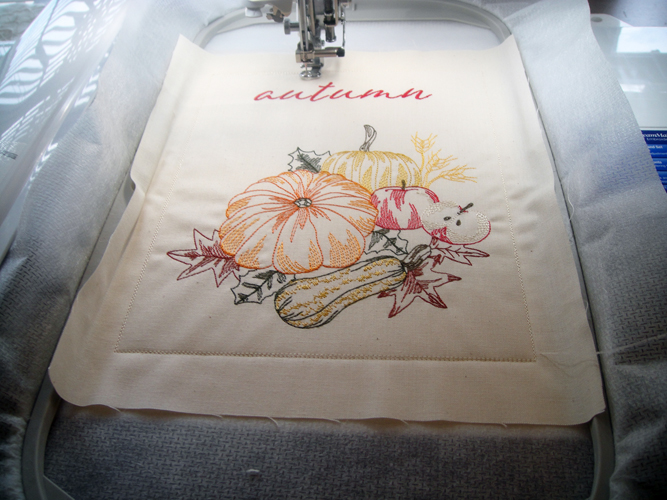
Follow the color chart through CS 15 to embroider the design.
Step 5:
(Click Image to Enlarge)
Remove the hoop from the machine, do not unhoop, and place the hoop face down on a flat surface. Spray adhesive on the Battilizer® rectangle and position over the back of the embroidery lining up the top edge with the top edge of the fabric showing through the stabilizer. Spray adhesive on the wrong side of the back fabric and place right side over the Battilizer®.
Step 6:
Run CS 16 in water soluble thread to tack the Battilizer® and back fabric to the front.
(Click Image to Enlarge)
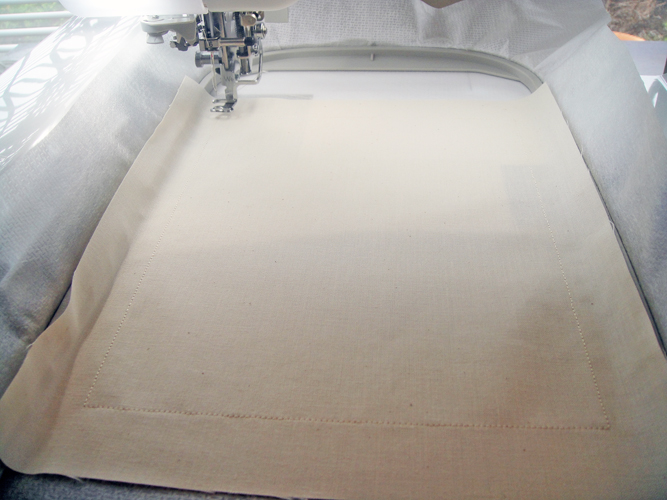
Step 7:
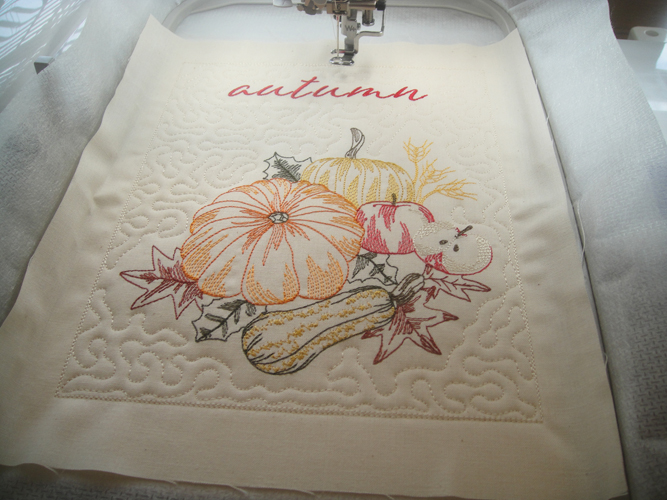
Run CS 17 in White or Coconut Cream thread to quilt the block.
(Click Image to Enlarge)
Step 8:
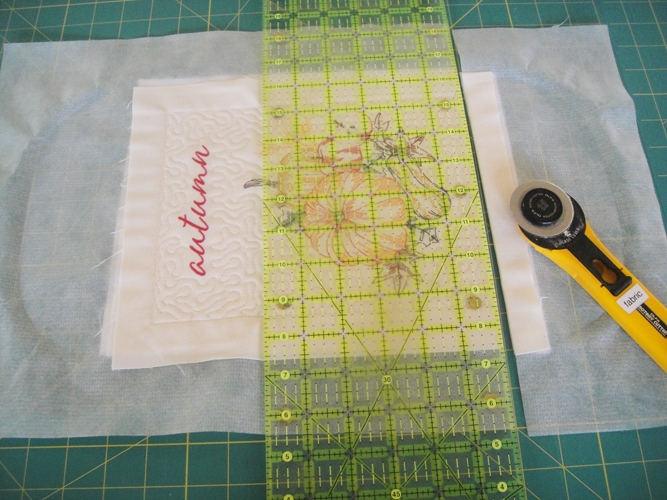
Lay the ¼” mark of a see through quilt ruler along the outside water soluble thread tack down line and trim all edges of the block to ¼”.
(Click Image to Enlarge)
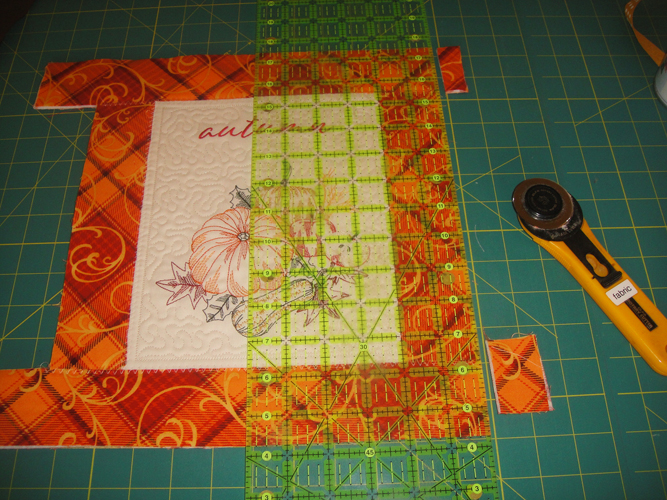
Step 9:
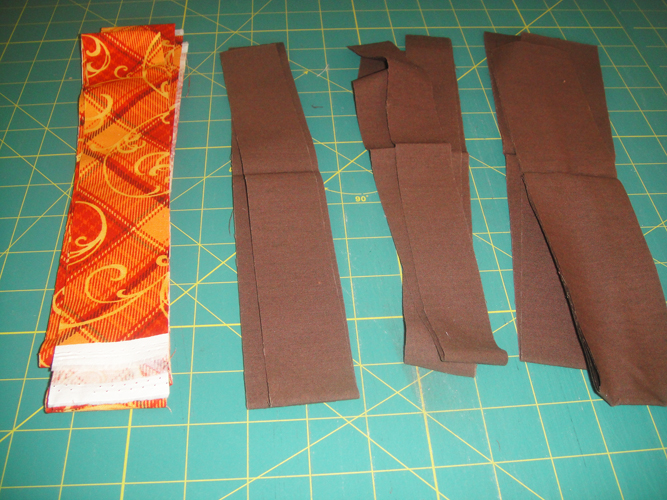
Cut 4 2” x 10” and 4 2” x 14 rectangles of the border fabric. From the brown fabric cut 2 1.25” and 2 1.5” strips of sashing the width of the fabric and 2 2.25 strips for the binding. Also cut 2 2” x 10” and 2 2” x 14” of Battilizer®.
(Click Image to Enlarge)
Step 10:
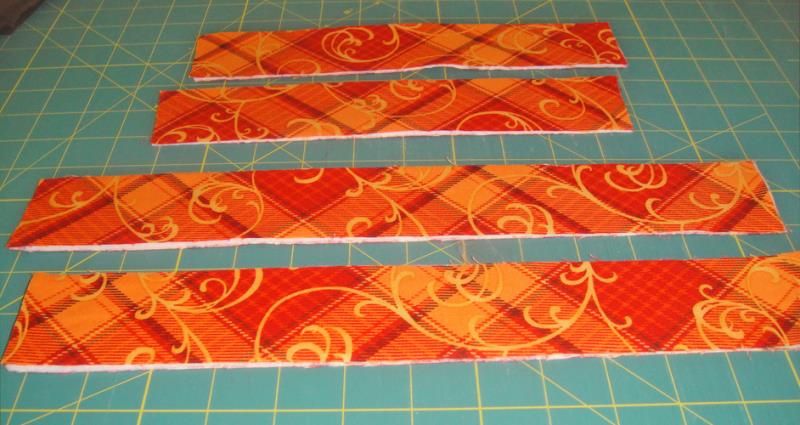
Spray adhesive on a Battilizer® strip and smooth a corresponding fabric strip over the Battilizer®; spray adhesive on the other side of the Battilizer® and smooth a corresponding fabric strip over it making a quilt sandwich of the border pieces. Repeat for the other three sets of border strips.
(Click Image to Enlarge)
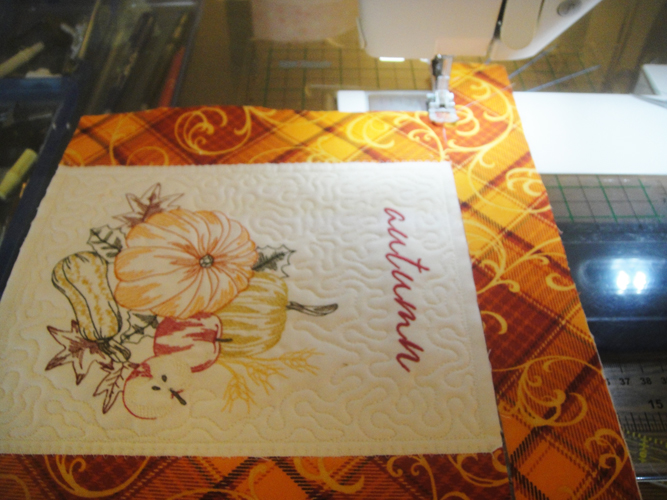
Step 11:
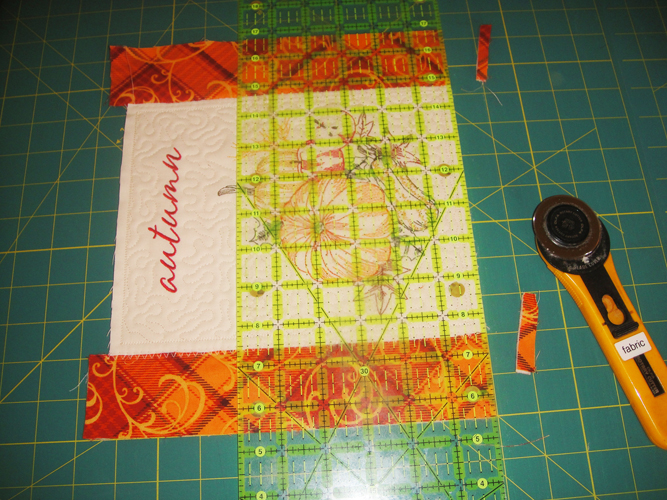
Butt a 10” border strip to the side edge of the center block, do not overlap, having the top and bottom edges extending just a little over the top and bottom of the block, zigzag the borders to the sides of the center block. Use a zigzag stitch about 5mm wide and with spacing of about 3mm. Add the other side border strip to the center block in the same way.
(Click Image to Enlarge)
Step 12:
Trim the side borders even with the top and bottom of the center block.
(Click Image to Enlarge)
Step 13:
Zigzag the top and bottom strips to the quilt as you did the side borders.
(Click Image to Enlarge)
Step 14:
Trim the excess top and bottom borders even with the side borders.
(Click Image to Enlarge)
Step 15:
Spray the sashing strips with spray starch; fold the lengthwise edges to the center and press. Keep the 1.25” strips separate from the 1.5” strips as the narrow strips will be applied to the back of the quilt and the wider strips will be applied to the front of the quilt.
(Click Image to Enlarge)
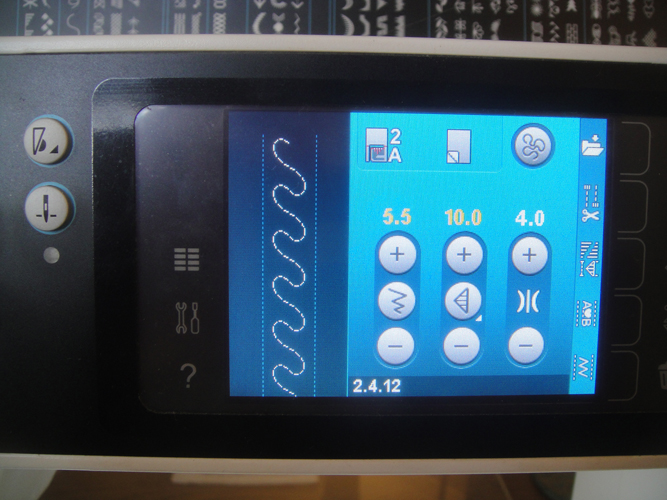
Step 16:
Though a straight stitch can be used, a Serpentine stitch is a good choice for stitching down the sashing as it works well with the stipple quilting in the center block.
(Click Image to Enlarge)
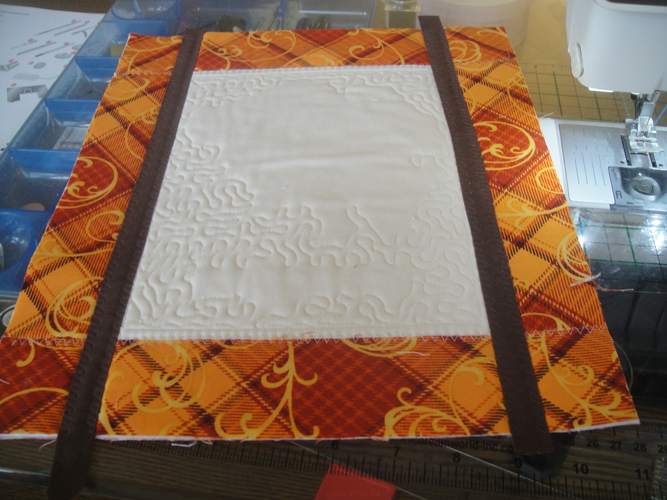
Step 17:
Center the narrow sashing strips over zigzag side seams of the quilt extending the sashing slightly beyond the top and bottom of the quilt. Stitch down both sides of each sashing strip with the serpentine stitch.
(Click Image to Enlarge)
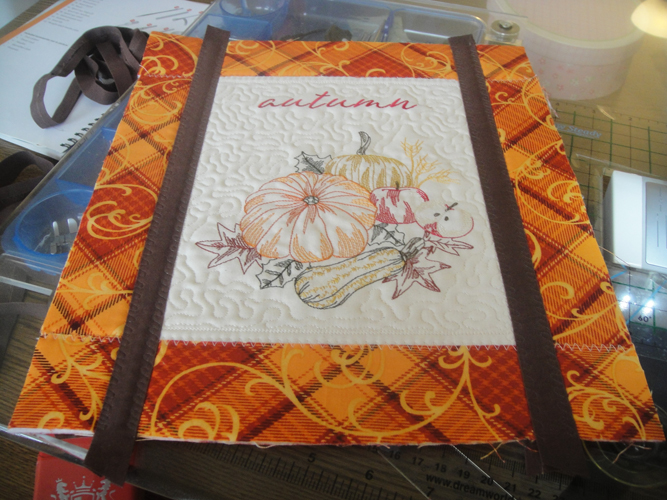
Step 18:
Turn the quilt right side up. Center the wider sashing strips over the side seam lines extending over and past the top and bottom of the quilt. Stitch down both sides of each sashing strip with the serpentine stitch.
(Click Image to Enlarge)
Step 19:
Return to the back of the quilt, attach the narrow sashing strips across the top and bottom seams of the quilt in the same way.
(Click Image to Enlarge)
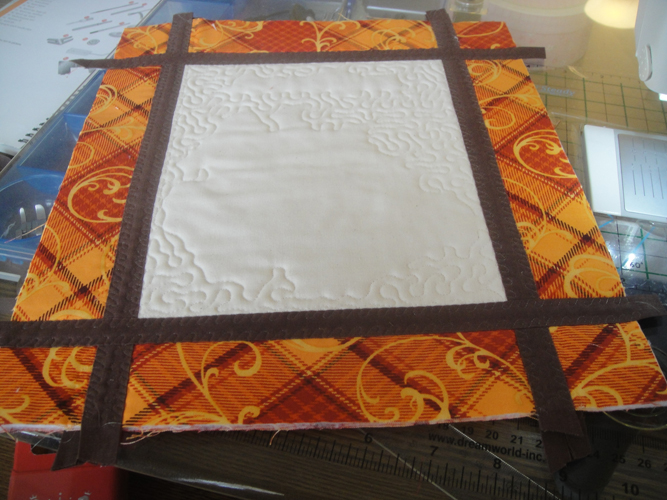
Step 20:
Return to the front of the quilt, attach the wider sashing strips in the same way.
(Click Image to Enlarge)
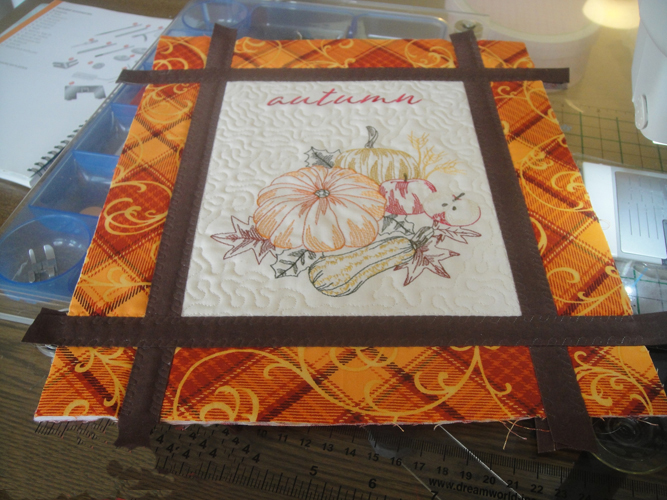
Step 21:
Trim all sashing strips even with the quilt borders.
(Click Image to Enlarge)
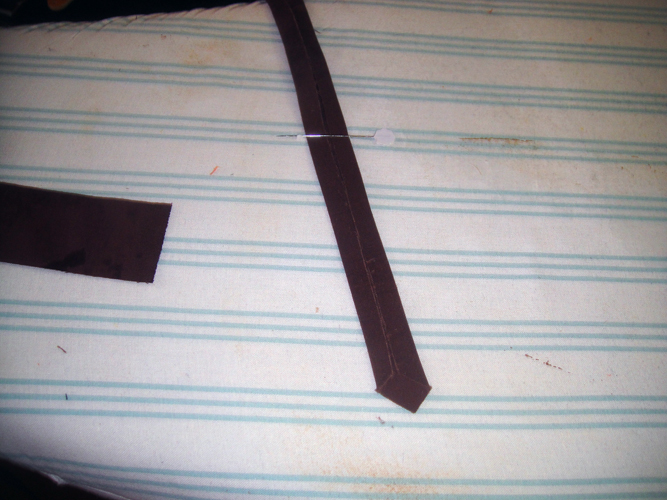
Step 22:
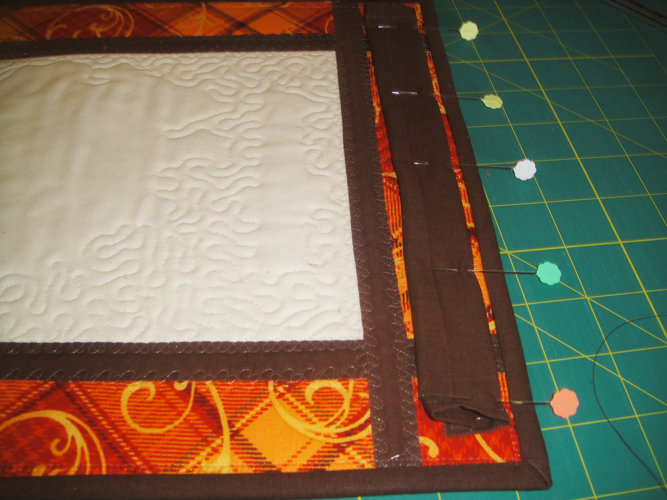
Join the two binding strips together and bind the mini quilt using your preferred method.
The hanging sleeve for this mini quilt was cut at 3” wide by the width of the quilt. If you are using a different frame or hanging method the sleeve can be cut wider to accommodate your dowel or rod.
(Click Image to Enlarge)
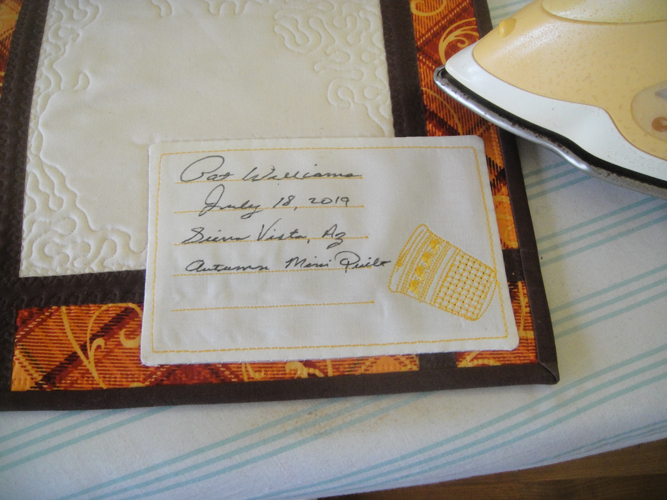
Step 24:
For a final finishing touch add a quilt label to the back of your quilt. The project for making quilt labels is at ITH Quilt Labels.
(Click Image to Enlarge)
Step 25:
Congratulations your Autumn Mini Quilt is complete!
Award winning Digitizer, Embroidery Educator, Author and a Consultant to the Industry, Pat Williams has 30 years of experience in the embroidery industry. Pat has won multiple awards for her digitizing expertise including the 2007 Impressions Awards Grand Championship, Best of Show as well as the 1st and 2nd Place Awards. Pat’s love of digitizing has afforded her the opportunity to write numerous articles for Impressions magazine in the United States and Images Magazine in Europe. In 2001 Pat was named “Embroidery Educator of the Year.” For many years Pat taught digitizing seminars at the ISS Shows in Long Beach, CA and for Compucon software. She now resides in Tucson, AZ.