{{superHeaderAds.title}}
Live Chat
Embroidery Designs
Welcome, Embroiderer
Login
Unicorn Embellished Back Pack
{{mainImageAlt || (productInfo._source && productInfo._source.name) || ''}}

Unicorn Embellished Back Pack Embroidery Project

By   Linda Mills   on   July 24, 2019

PROJECT DETAILS

SKILL LEVEL
Some Experience
TIME REQUIRED
01:00
Description

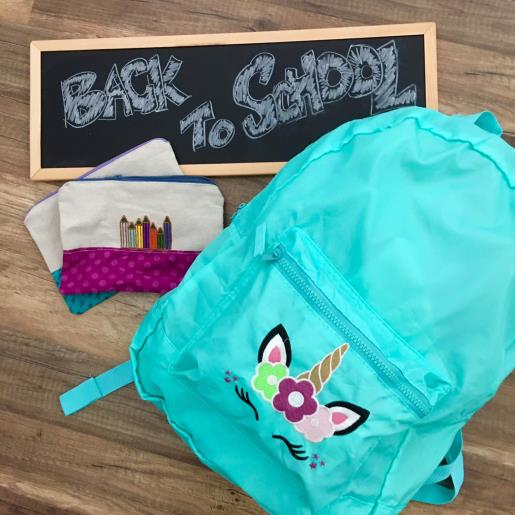
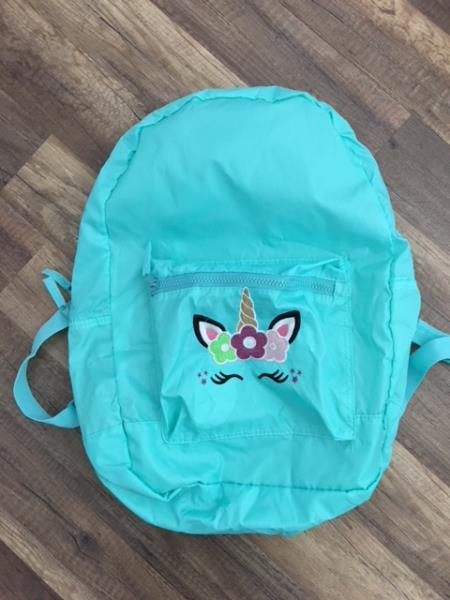
Make the new school year magical with a plain store bought backpack and this charming unicorn embroidery design embroidered on the pocket.

Project Preview Video

Materials
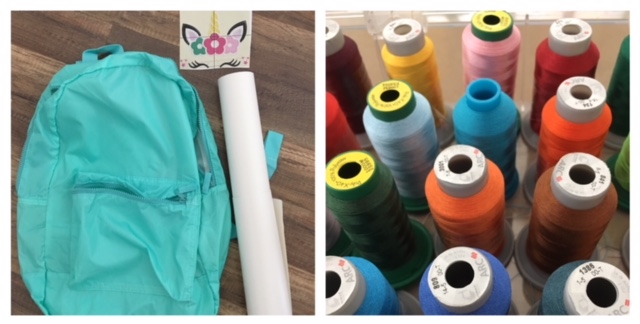
  • PURCHASED BACKPACK
  • STICKY BACK STABILIZER
  • EMBROIDERY THREAD ( EITHER FOLLOW THREAD color CHART OR YOUR CHOICE OF COLORS)
  • EMBROIDERY SOFTWARE PROGRAM (OPT)
  • MAGNETIC SNAP HOOPS (OPT)

  • Designs used in this project

    Final Product: What You Will Create

    Preface:
     A simple and straight forward project tutorial using a store bought backpack and embroidering this unique unicorn embroidery design on the pocket. 


    Step 1:
    Gather all materials and review instructions before beginning. Print out embroidery design template for review of design and thread colors.


    (Click Image to Enlarge)


    Step 2:
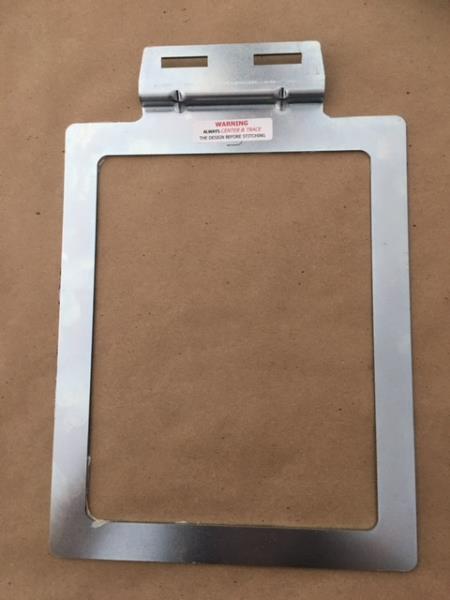
    * Please note : A magnetic snap hoop was used in this tutorial as the pocket on this backpack was hard to hoop using a standard hoop. If you do not have this type of hoop and unable to hoop your backpack pocket using your standard hoops, consider placement of design on the front opening flap of the backpack for easier hooping.    If interested in learning about magnetic hoops you will find in the products department of the ED website Snap Hoop Monster kit. 

    (Click Image to Enlarge)


    Step 3:
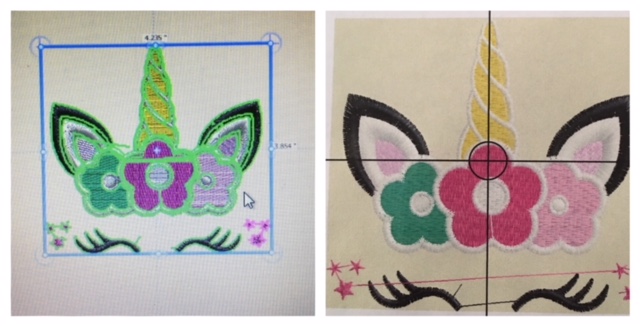
    Bring unicorn design into your software program and enlarge to size approx 4.2” x 3.8 ”.
    Print out template. If not using a software program, load design into your machine and enlarge following your machine's manufacturer's instructions. 

    (Click Image to Enlarge)


    Step 4:
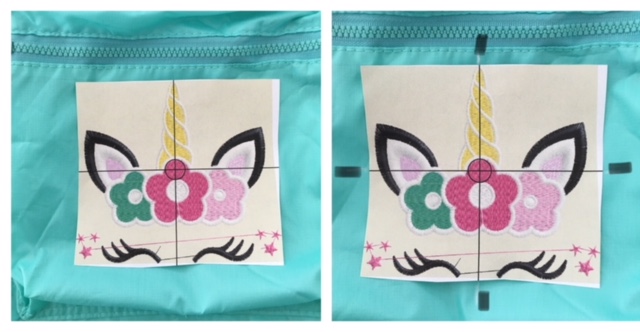
    Center design template onto backpack pocket/ flap. Mark axis points. 

    (Click Image to Enlarge)


    Step 5:
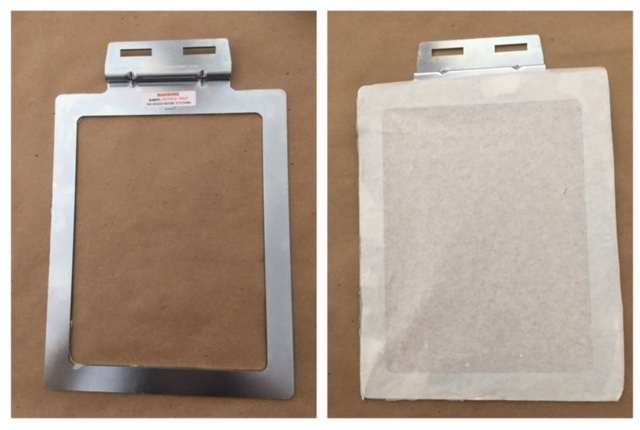
    If using a metal magnetic hoop for easier hooping of the pocket cut a piece of sticky stabilizer, remove paper and apply to back frame of hoop following your hoop manufacturer’s instructions. If using a standard hoop cut a piece of stabilizer larger than your hoop. Hoop stabilizer and remove top paper to reveal sticky side. 

    (Click Image to Enlarge)


    Step 6:
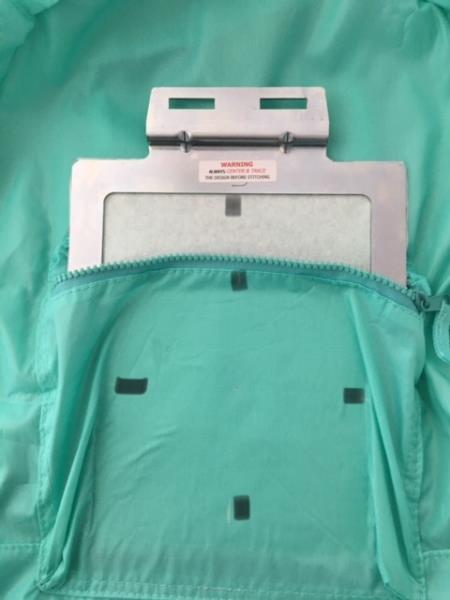
    Mark axis points on stabilizer. Center place your backpack pocket/flap matching axis points. 

    (Click Image to Enlarge)


    Step 7:
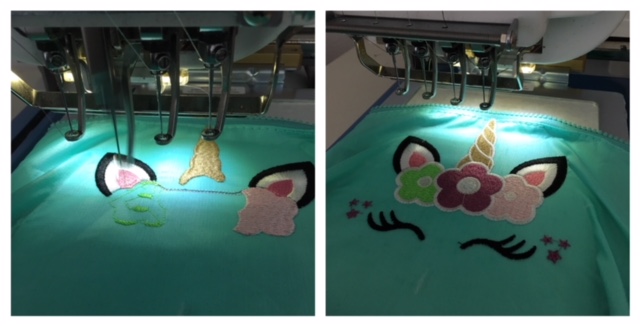
    Load design into your machine per your machines instructions if not already done so.   Attach hoop . Confirm center needle placement. Begin embroidering process. When embroidering is complete. Remove hoop. Cut and trim all jump stitches and loose thread ends.   Remove stabilizer from back of  pocket/flap.  

    (Click Image to Enlarge)


    Step 8:
    Congratulations! Your Unicorn Embellished Pocket/flap Backpack is complete.  Good job!

    (Click Image to Enlarge)

    Meet the Author: Linda Mills
    Linda Mills
    Linda loves to create by sharing her different sewing and machine embroidery techniques so others can utilize their machines to the fullest
    More From This Author
    Link is Broken, Please check the URL
    Exclusive Embroidery Offers!
    Copyright © {{ currentDate | date:'yyyy'}} - EmbroideryDesigns.com
    GET 50% OFF! ×