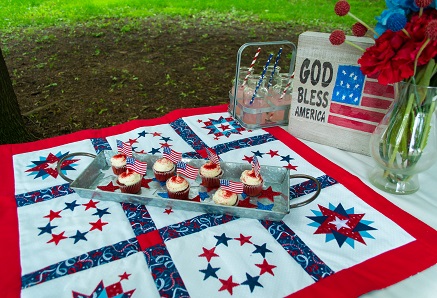
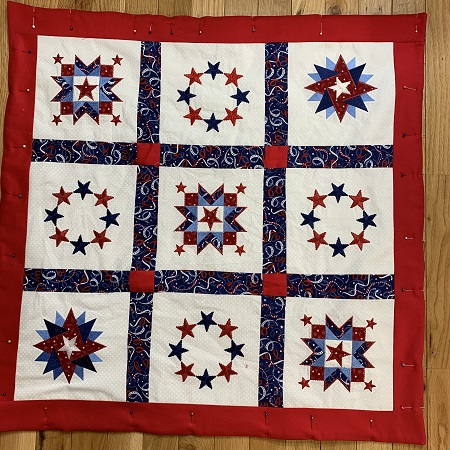
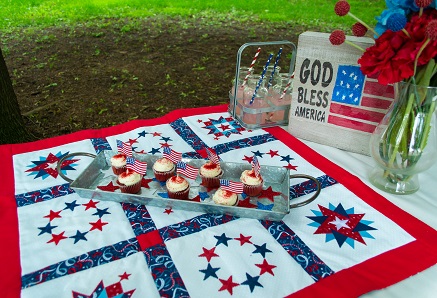
A patriotic themed table topper will have you seeing stars. A star themed set of quilt blocks stitched with red, white, and blue patriotic fabrics. The table topper would look really pretty with other color themes such as Christmas or fall.
A patriotic themed table topper will have you seeing stars. A star themed set of quilt blocks stitched with red, white, and blue patriotic fabrics. The table topper would look really pretty with other color themes such as Christmas or fall. The blocks are available in two sizes. The 5"x5" size was used for this project.
Step 1:
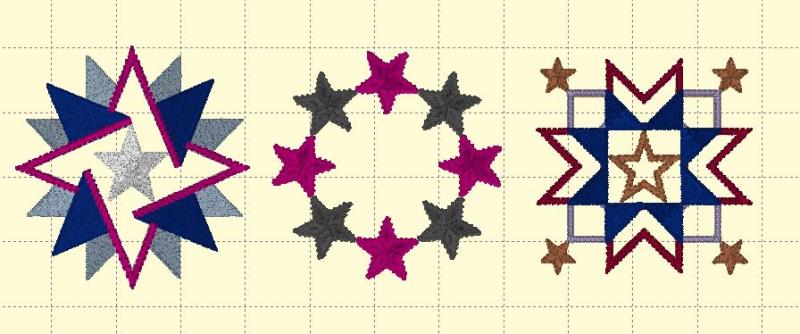
The 'Patriotic Table Topper' is made up of 9 blocks using 3 patriotic quilt designs. Print a design template of each block.
(Click Image to Enlarge)
Step 2:
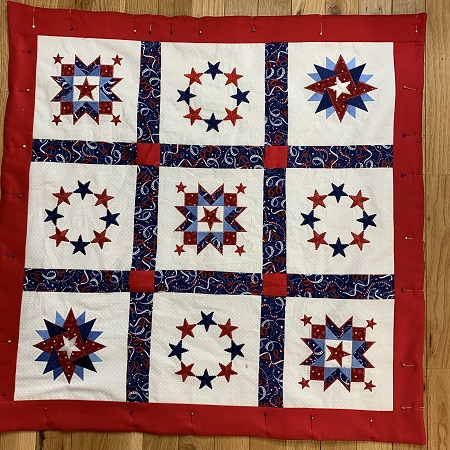
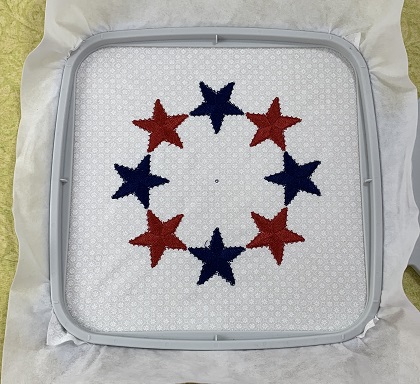
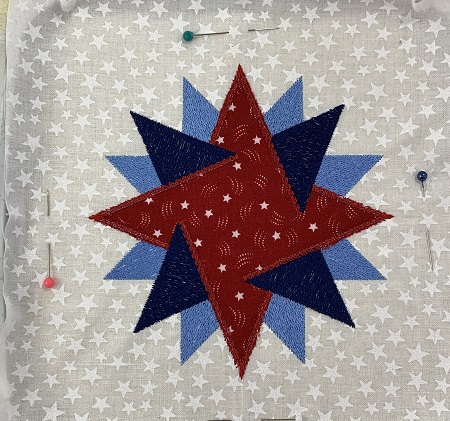
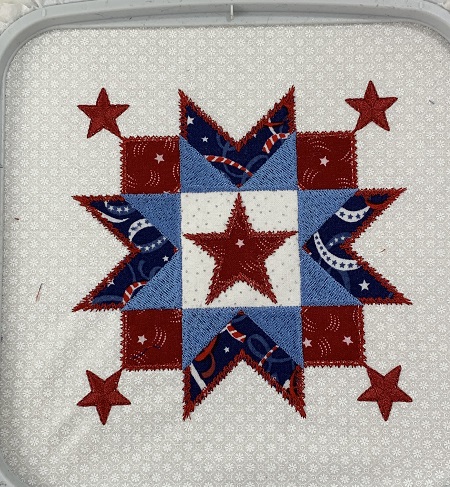
Decide how many blocks you are making with each design. The example uses four 'Ring of Stars' blocks, three 'Five Star Applique' blocks', and two 'Star Applique' blocks.
Step 3:
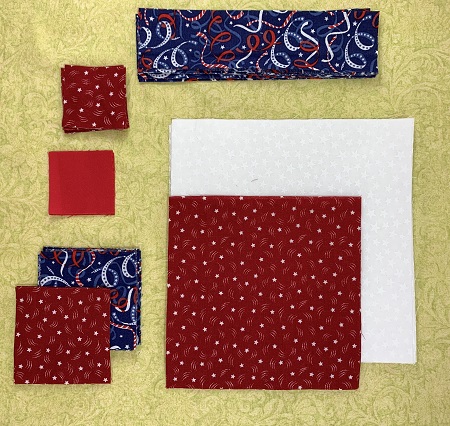
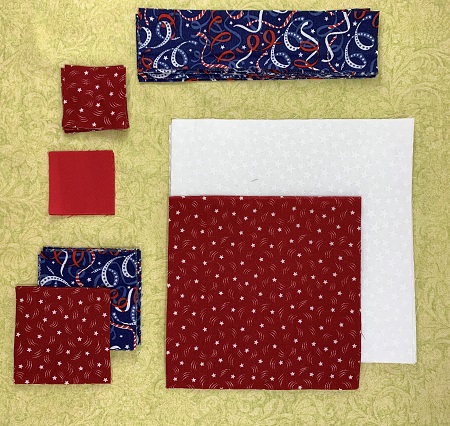
Fabric requirements will depend on design choices. Each block will use one 8.5" white square.
The 'Circle of Stars' block does not need any other fabric.
The 'Five Star Applique' block uses 4 2"x2" fabric pieces, 4 3"x3" fabric pieces, one 3"x3" fabric piece for the center, one 3"x3" for the center star.
The 'Star Applique' block uses one 6"x6" piece of fabric.
Step 4:
Hoop one piece of No-show Mesh stabilizer. Float the 8.5" white square of fabric.
Load the 'Circle of Stars' design on the machine. Stitch the design. Square the block to 7.5". Make the desired number of blocks using this design.
Step 5:
Hoop one piece of No-show Mesh stabilizer. Float the 8.5" white square of fabric. Load the 'Star Applique' design on the machine. This design is a combination of stitching and applique. Stitch the design. Square the block to 7.5". Make the desired number of blocks using this design.
Step 6:
Hoop one piece of No-show Mesh stabilizer. Float the 8.5" white square of fabric. Load the 'Five Star Applique' design on the machine. This design is a combination of stitching and applique. Stitch the design. Square the block to 7.5". Make the desired number of blocks using this design.
Step 7:
Cut twelve 2.5" x 7.5" pieces from the sashing fabric.
Cut four pieces of red 2.5" x 2.5" for the center corners.
Cut four pieces of red 2.5" x length of topper sides.
Step 8:
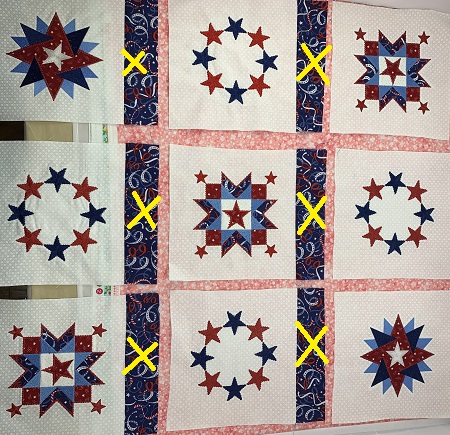
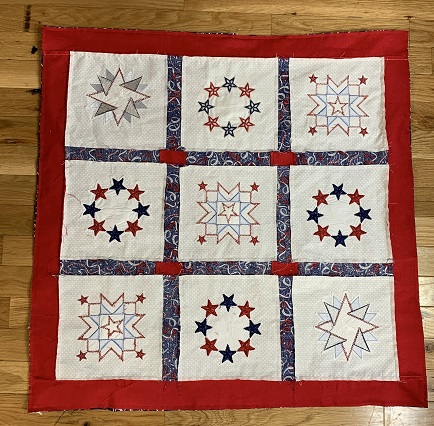
Arrange the finished blocks on a flat surface. Place the 2.5"x7.5" sashing on each side of the center row. Refer to the pictures for guidance.
Sew a 2.5x7.5" strip to each block in the row using a 1/4" seam. Repeat for each row. When finished, you will have 3 rows of blocks sewn together. Trim the strips if needed.
Step 9:
(Click Image to Enlarge)
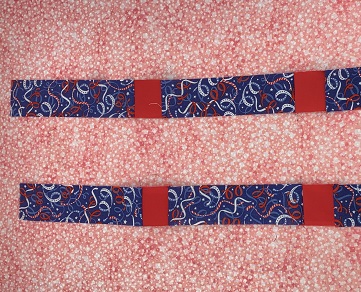
Sew a 2.5"x2.5" red square between three 2.5"x7.5" strips using a 1/4" seam. Make two strips.
Step 10:
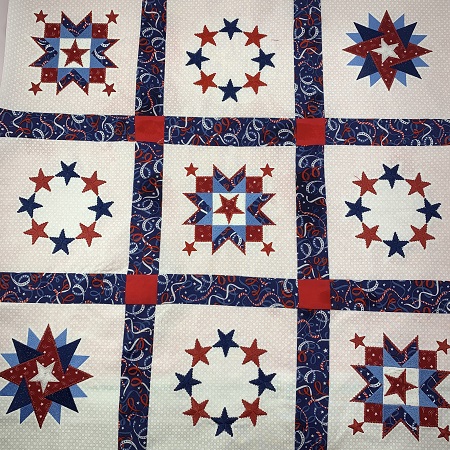
Sew the sashing strips to each block strip using a 1/4" seam.
Step 11:
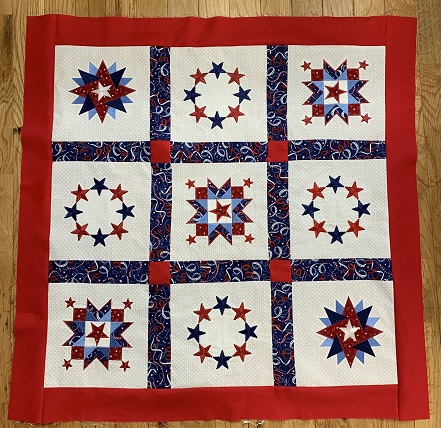
Sew the 2.5" x length of each side (border fabric) to the outer edge of the topper using a 1/4" seam.
Step 12:
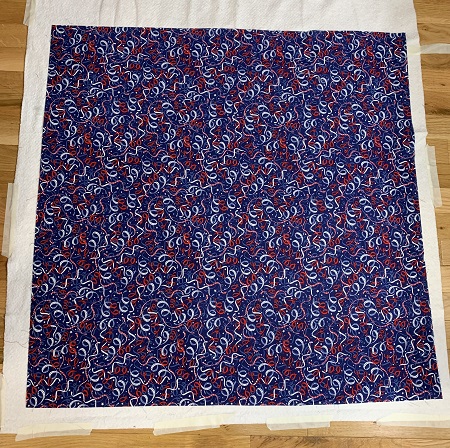
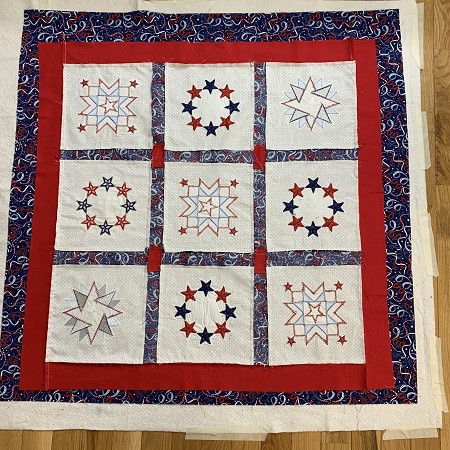
Measure the dimensions of the topper. Cut a piece of low nap quilt batting the size of the topper. Tape a piece of low nap quilt batting to a flat surface. Place the back fabric with the right side up on top of the batting.
Step 13:
Place the pieced top right side down on top of the back fabric. Pin the pieces together. Trim excess fabric/batting if needed.
Step 14:
Stitch a 1/4" seam around the outer edges of the topper. Leave a 3" opening for turning the topper.
Clip the corners of the topper. Turn the topper. Press with an iron. Pin around the edges of the topper. Tuck the raw edges inside at the opening and pin in place.
Step 15:
Stitch a 1/4" seam around the outer edges of the topper.
Marisa Littleton is a retired educator with a love for teaching and learning. Interests include machine embroidery, hand embroidery, quilting, cooking, and antiques.