{{superHeaderAds.title}}
Live Chat
Embroidery Designs
Welcome, Embroiderer
Login
Melon Napkins
{{mainImageAlt || (productInfo._source && productInfo._source.name) || ''}}

Melon Napkins Embroidery Project

By   Marisa Littleton   on   July 02, 2019

PROJECT DETAILS

SKILL LEVEL
Some Experience
TIME REQUIRED
01:00
Description

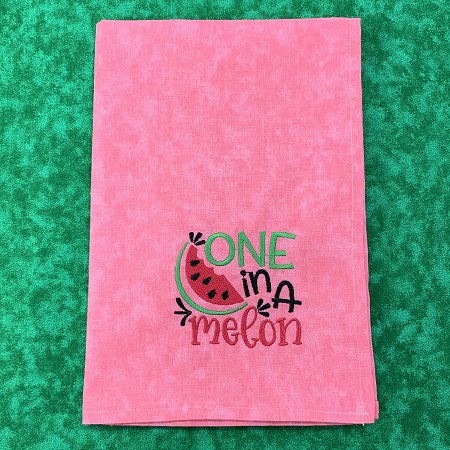
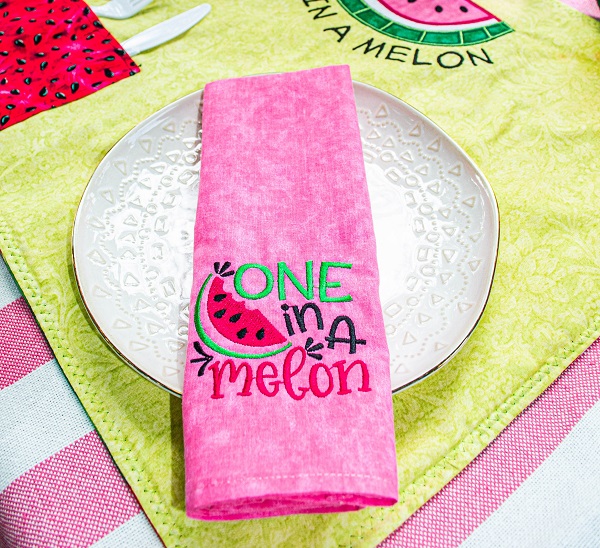
'One in a Melon' is a popular decorating theme for birthdays, picnics, celebrations, etc. A set of 'One in a Melon' napkins makes a great addition to a display.

Project Preview Video

Materials
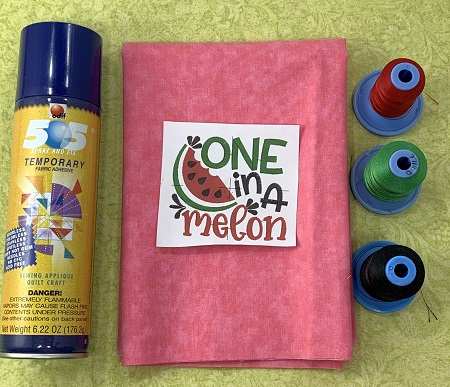
  • 100% quilter's cotton or premade napkins
  • Design Template
  • 40 wt. embroidery thread
  • 75/11 embroidery needle
  • No-show mesh stabilizer
  • 505 Temporary Adhesive Spray
  • Sewing Machine, Thread, & Matching Bobbin

  • Designs used in this project

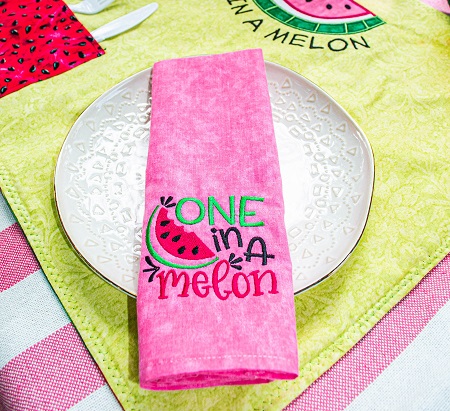
    Final Product: What You Will Create

    Preface:
    'One in a Melon' is a popular decorating theme for birthdays, picnics, celebrations, etc.  A set of  'One in a Melon' napkins makes a great addition to a display.  


    Step 1:
    Gather the materials needed for this project.  Read the directions BEFORE you begin the project.  Print a paper design templates.  


    Step 2:
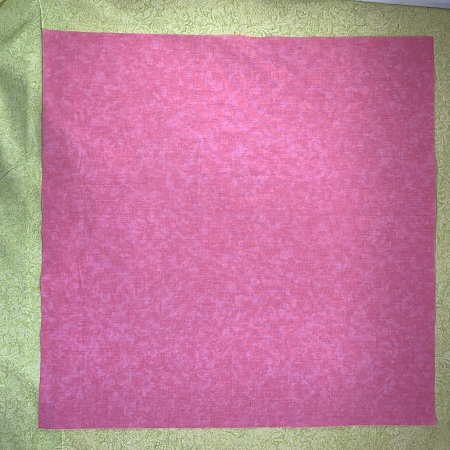
    If you are making the napkins, cut four 20" squares of fabric.


    Step 3:
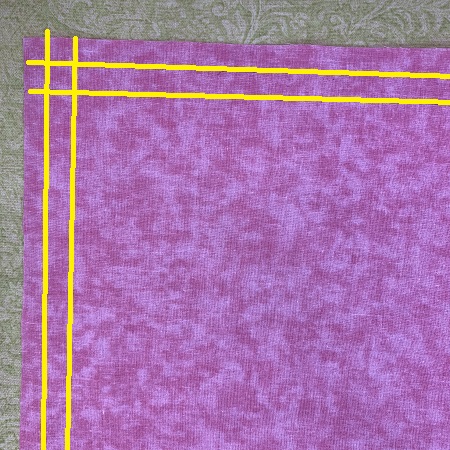
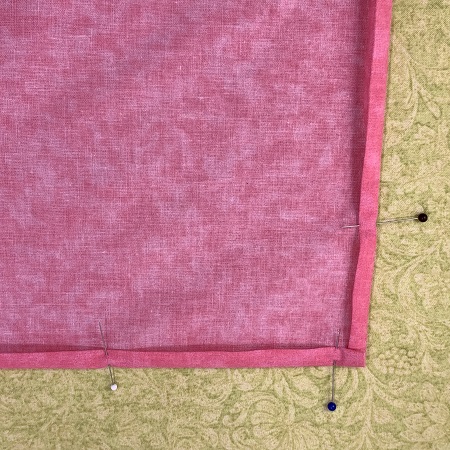
    Hem each napkin.  Place each napkin on a flat surface with the right side of fabric down.  Using a frixion pen, mark a line 1" from the edge of the fabric.  Repeat on all sides of the square.  
     
    Then mark a 1/2" line from the edge of the fabric.  Repeat for all sides of the square.  
     
    You now have parallel lines 1/2" and 1" from the edge of the fabric. 


    Step 4:
    Fold raw edge of the fabric to the 1/2" line.  Press with an iron.  Fold again so that the folded edge is at the 1" line.  Press with an iron.  Pin folded edges in place.
     
    Sew a 1/8" seam along the edges of the napkin.  Repeat these steps for each napkin. 


    Step 5:
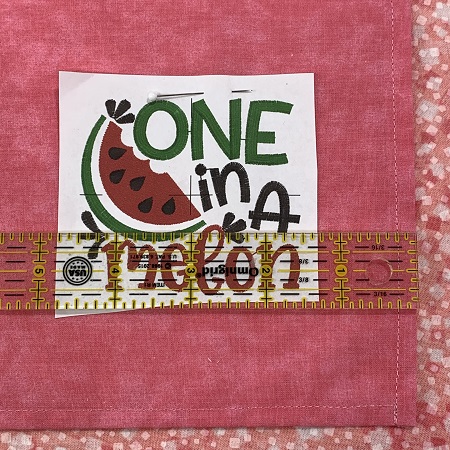
    Use the design template as a placement guide.  Measure 3" from the center of the design template for placement.  


    Step 6:
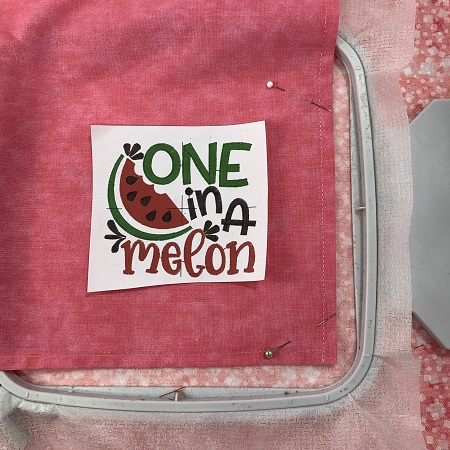
    Hoop one piece of No-Show stabilizer.  Use the center and axis points to align the napkin on the stabilizer.  Lightly mist the stabilizer with a temporary adhesive spray, gently press the napkin onto the stabilizer.  Pins may be used for more stability.


    Step 7:
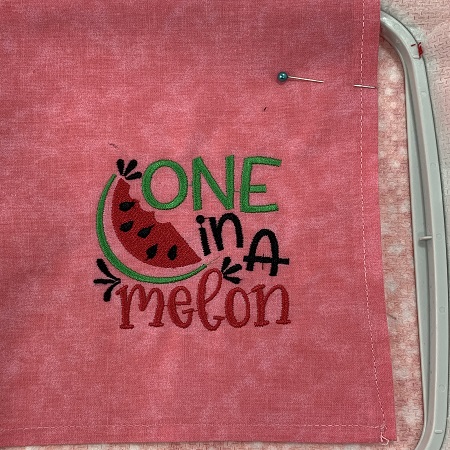
    Load the design onto the machine.  Stitch the design.    Remove the napkin from the hoop.  Trim the excess stabilizer to about 1/4" from the stitching.  Repeat these steps for each napkin in your set.


    Step 8:
    You have finished a 'One in a Melon' napkin.  WTG!


    Step 9:
    Awesome!  Great job!

    Happy Stitching!
     
    Marisa Littleton 
    Meet the Author: Marisa Littleton
    Marisa Littleton
    Marisa Littleton is a retired educator with a love for teaching and learning. Interests include machine embroidery, hand embroidery, quilting, cooking, and antiques.
    More From This Author
    Link is Broken, Please check the URL
    Exclusive Embroidery Offers!
    Copyright © {{ currentDate | date:'yyyy'}} - EmbroideryDesigns.com
    GET 50% OFF! ×