{{superHeaderAds.title}}
Live Chat
Embroidery Designs
Welcome, Embroiderer
Login
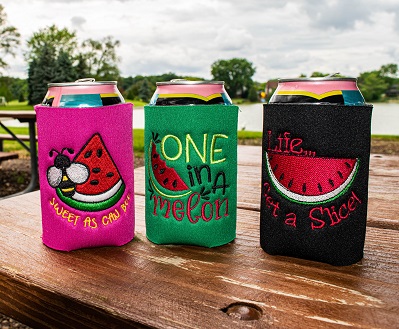
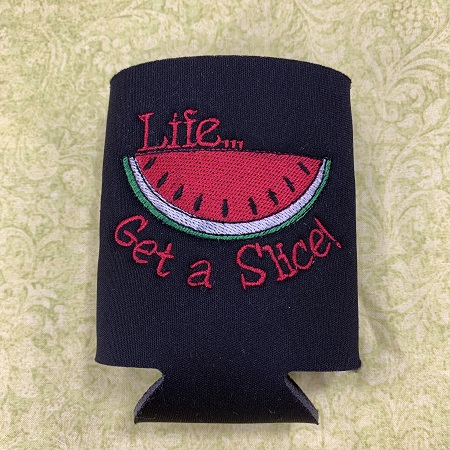
Watermelon Koozie
{{mainImageAlt || (productInfo._source && productInfo._source.name) || ''}}

Watermelon Koozie Embroidery Project

By   Marisa Littleton   on   June 27, 2019

PROJECT DETAILS

SKILL LEVEL
Some Experience
TIME REQUIRED
01:00
Description

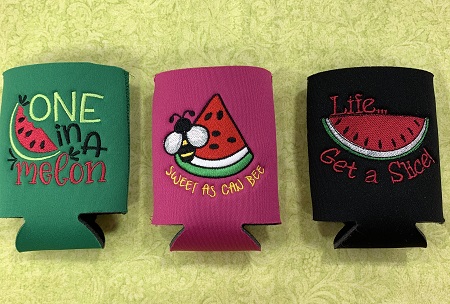
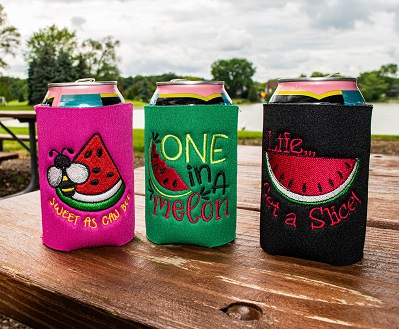
Whether the message is 'Life...Get A Slice' or you're 'Sweet as Can Bee', a koozie is sure to keep your canned drink cold.

Project Preview Video

Materials
  • Design Template & Color Chart
  • Blank unsewn koozie
  • 4 x 4 embroidery hoop
  • Size 90/14 ball point embroidery needle
  • 40 wt embroidery thread
  • Cut-away stabilizer
  • Temporary Adhesive Spray
  • Snips
  • Sewing Machine
  • Sewing Thread

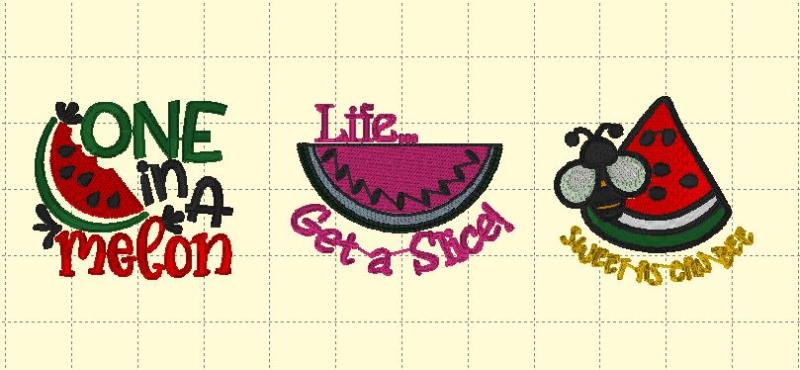
  • Designs used in this project

    Final Product: What You Will Create

    Preface:
    Embroider an unsewn neoprene koozie with watermelon designs.  Finish by sewing the sides together to make a fun and interesting project. Stitching must be reinforced as you start and finish each seam. Otherwise, the seams will come apart from use quickly.  


    Step 1:
    Print out a copy of the Design Templates for each design.

    (Click Image to Enlarge)


    Step 2:
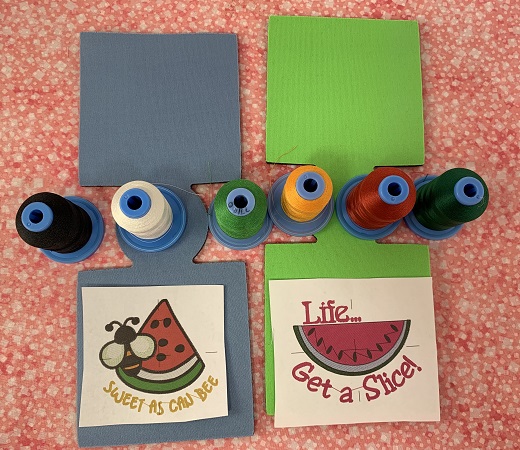
    Gather the materials.  You need one koozie, embroidery thread, and one piece of cut-away stabilizer per embroidery design.  Read through the instructions before beginning. 
     
    The size of the needle is very important for this project.  A 90/14 embroidery needle was used due to the thickness and texture of the koozie. 
     
    Koozies come in a variety of colors.  Blank koozies can be purchased at a local craft store.

    (Click Image to Enlarge)


    Step 3:
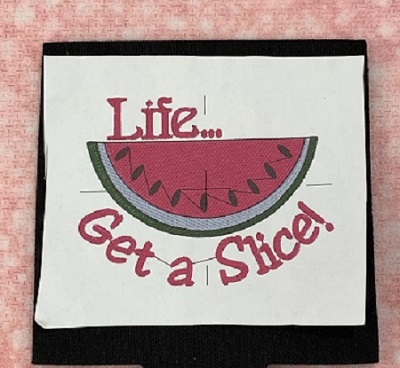
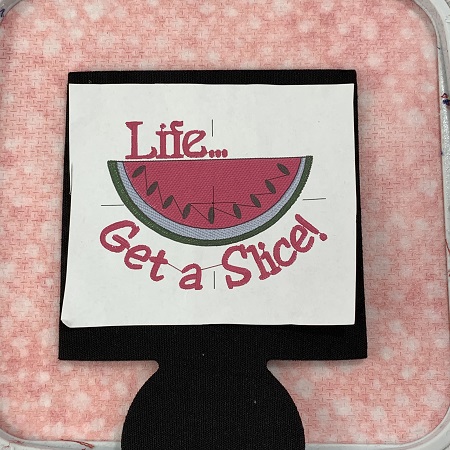
    The paper template is the actual size of the stitch out.  Use the paper design template as a guide for placement on the koozie.
     
    Pay special attention to the direction you are placing the paper template.  
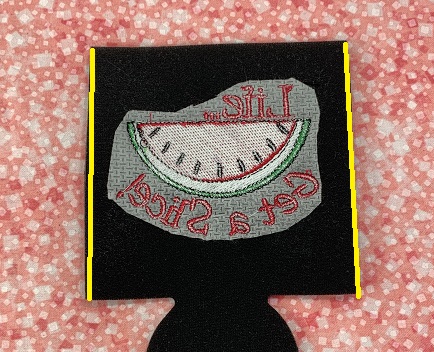
    Leave the same distance from each edge of the koozie on the top and bottom of the design.  


    Step 4:
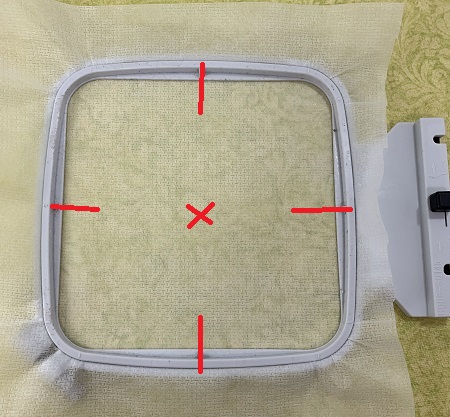
    Hoop one piece of cut-away stabilizer.  Label the center point and axis on the stabilizer.


    Step 5:
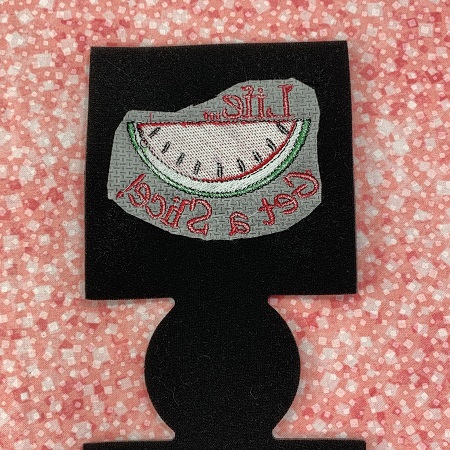
    Match the center points and axis on the koozie with the ones on the stabilizer.  
    Temporarily attach the koozie onto the stabilizer using a very light spray of temporary adhesive.  


    Step 6:
    Load the embroidery design onto the machine.  Stitch the design.  Use your color chart as a guide.
     
    Remove the koozie from the hoop.  Trim the excess stabilizer about 1/4" from the stitching.   


    Step 7:
    Fold the koozie with right sides facing each other.  Line the sides up so that the top and bottom edges match.  
     
    Sew a 1/8” zig zag seam along the edge.

    Reinforce the stitching as you start and stop on the seam.  


    Step 8:
    Turn the koozie right sides out.  Smooth along the seam lines.  


    Step 9:
    Follow the same steps to embroidery the other designs.  


    Step 10:
    (Click Image to Enlarge)
    Congrats!  The koozies are great to keep your drinks cool on those hot summer days!

    Learn by teaching...
     
     
    Marisa Littleton 
    Meet the Author: Marisa Littleton
    Marisa Littleton
    Marisa Littleton is a retired educator with a love for teaching and learning. Interests include machine embroidery, hand embroidery, quilting, cooking, and antiques.
    More From This Author
    Link is Broken, Please check the URL
    Exclusive Embroidery Offers!
    Copyright © {{ currentDate | date:'yyyy'}} - EmbroideryDesigns.com
    GET 50% OFF! ×