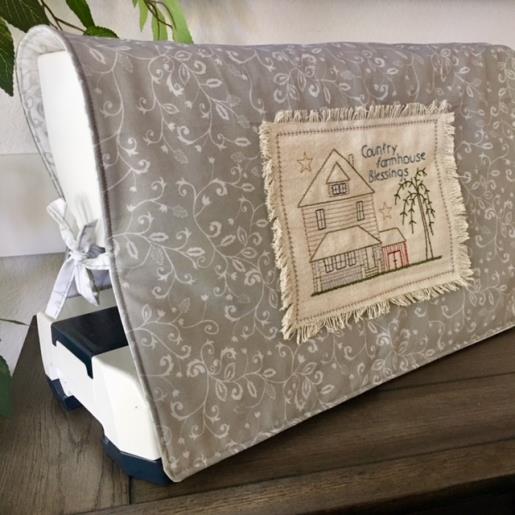
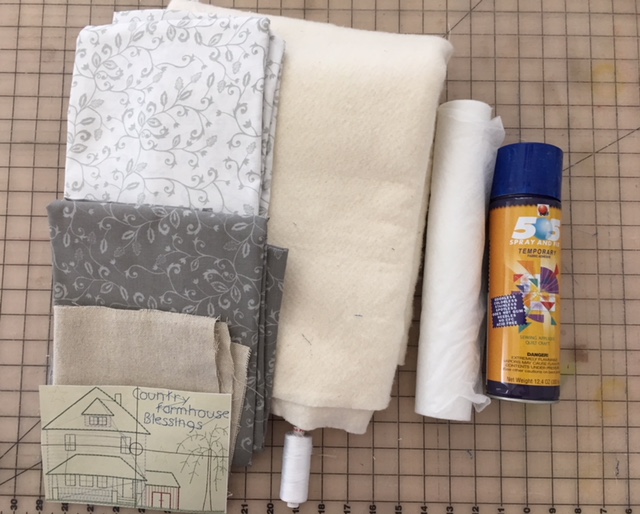
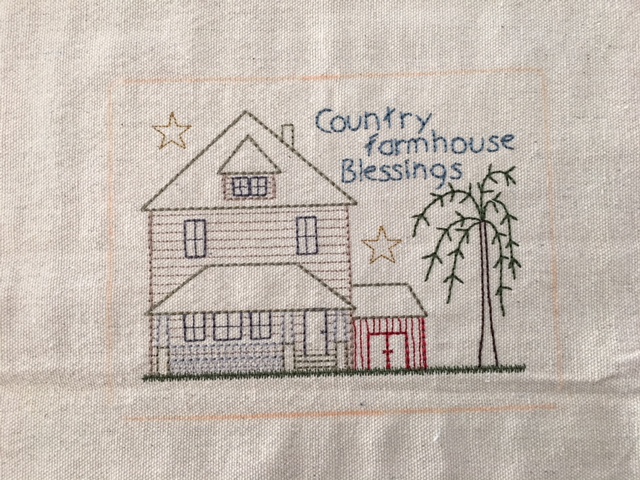
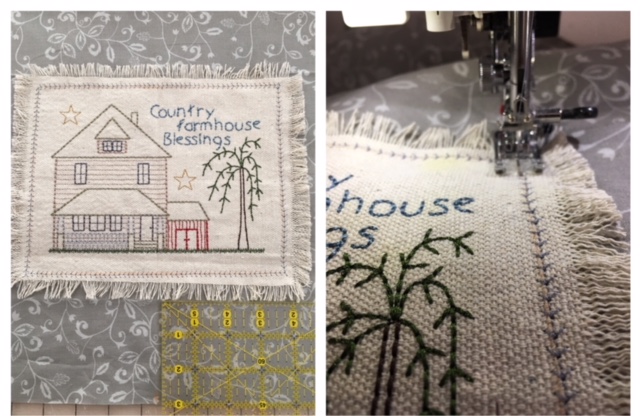
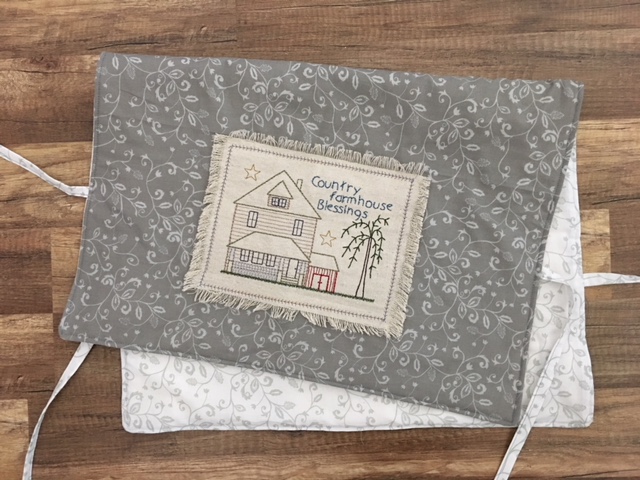
You’ll be taking a couple of measurements of your sewing machine to customize the fit. Panel pieces sandwiching your cotton batting ( almost like stitching together a small quilt) along with a delightful embroidery design label to add charm to your sewing machine cover.
Step 1:
Gather all materials and review instructions before beginning. Print out embroidery design template for review.
(Click Image to Enlarge)
Step 2:
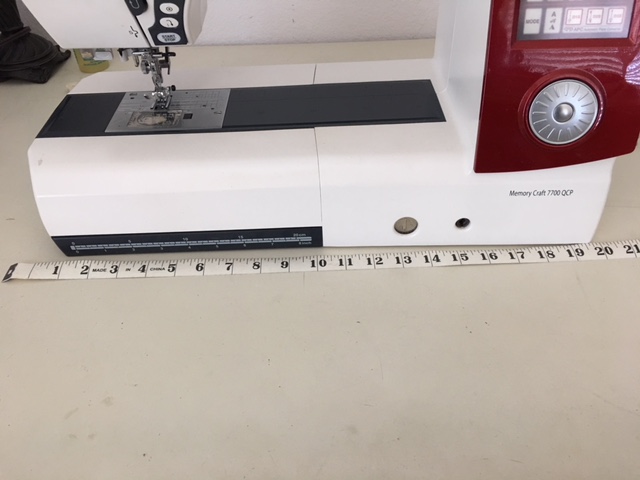
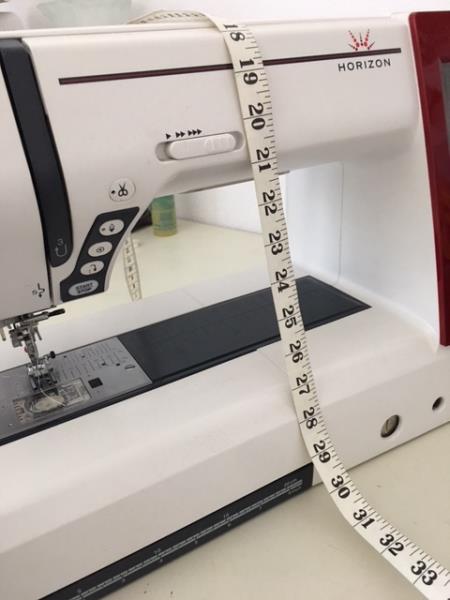
With your measuring tape, measure across the widest part of your machine. (mine measured 19 ½” ). Add 1 ½” to your measurement. (my final width measurement is 21”)
(Click Image to Enlarge)
Step 3:
Take your tape measure up and over your machine, front to back, touching table to table. (My measurement is 30”). Add 1” to your measurement. (my final measurement is 31”)
(Click Image to Enlarge)
Step 4:
Cut your primary fabric, lining, and cotton batting using your final measurements.
Step 5:
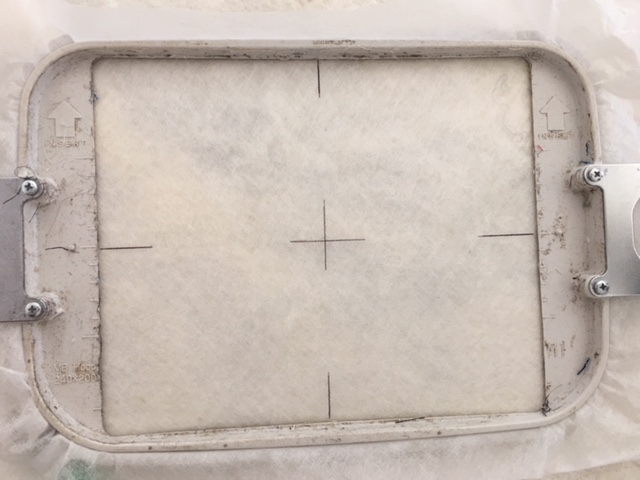
EMBROIDERING DESIGN Cut a piece stabilizer larger than your hoop. Hoop stabilizer. Mark center with cross hair and your side axis points. ( in this tutorial I used a lightweight mesh stabilizer)
(Click Image to Enlarge)
Step 6:
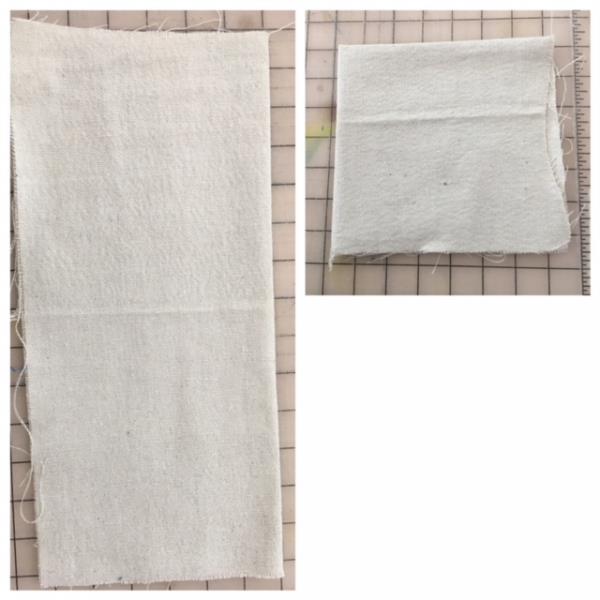
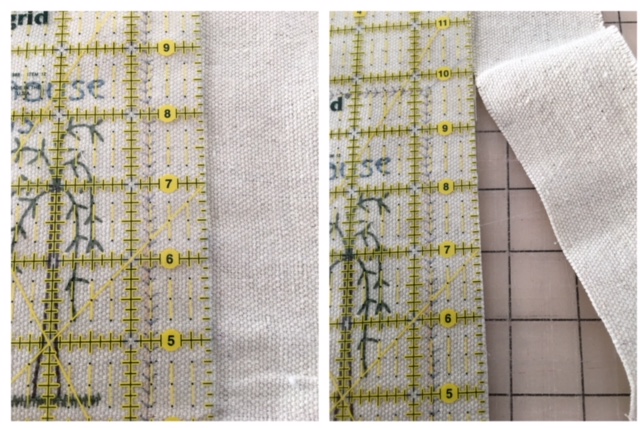
Using your cut 14” x 14” heavy cotton fabric. Fold in half. Fingertip press. Then quarter fold in half. Fingertip press. This will create a creased cross hair.
(Click Image to Enlarge)
Step 7:
Lightly spray temporary adhesive spray onto your stabilizer. Keeping your cut fabric folded in half match center cross hairs and side axis points with fold. Unfold and fingertip press to secure.
(Click Image to Enlarge)
Step 8:
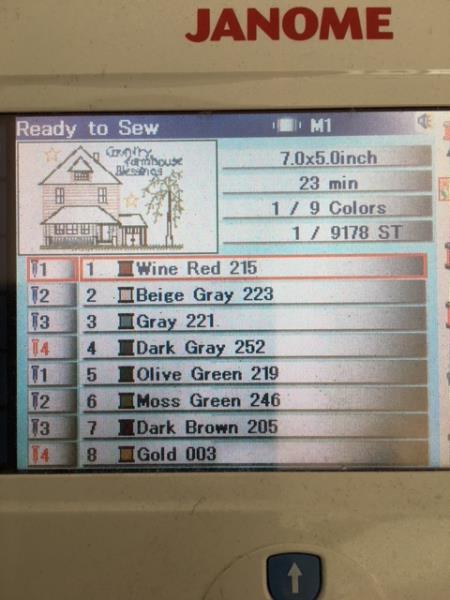
Load embroidery design into your machine per your machine’s instruction. There are 9 thread color changes.
(Click Image to Enlarge)
Step 9:
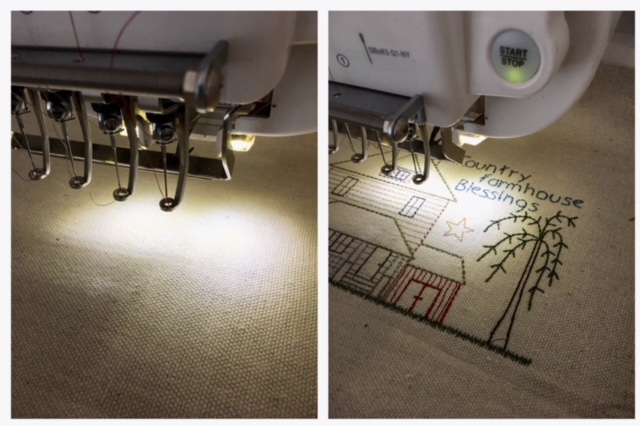
Attach hoop to your machine. Confirm center needle placement per your machine’s instructions. Begin the embroidering process. When embroidering is complete. Remove hoop. Cut all jump stitches and loose thread ends. Cut away stabilizer approx ½” from stitched design.
(Click Image to Enlarge)
Step 10:
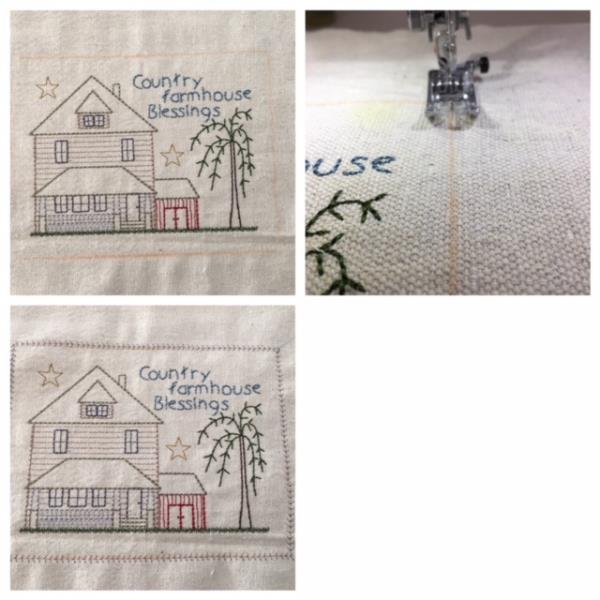
Frame your embroidery design by drawing an outline around the design approx ½” away from stitched design.
(Click Image to Enlarge)
Step 11:
Stitch with a straight stitch or using one of your machine’s decorative stitches on the drawn frame line.
(Click Image to Enlarge)
Step 12:
Trim away ¾”-1” from stitched outline.
(Click Image to Enlarge)
Step 13:
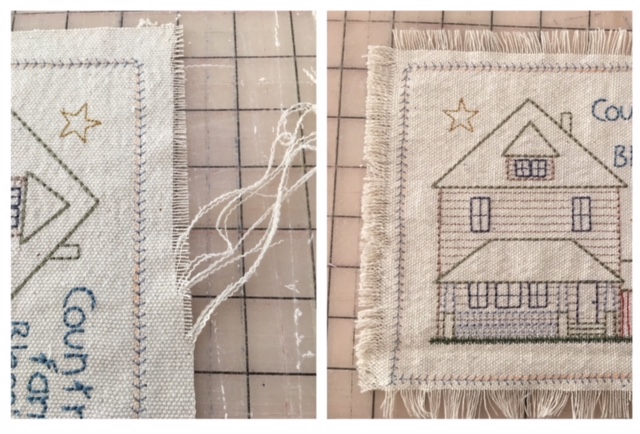
Fringe all side edges by using a straight pin and carefully remove weaved threads to create “fringe”. Set aside as we prepare cover panel
(Click Image to Enlarge)
Step 14:
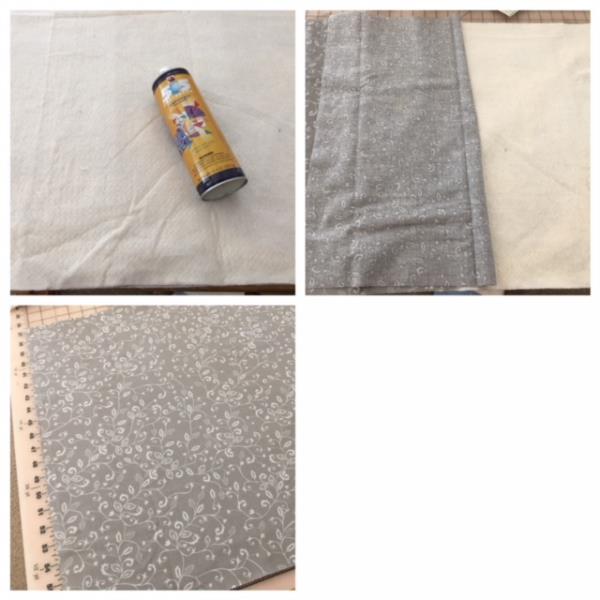
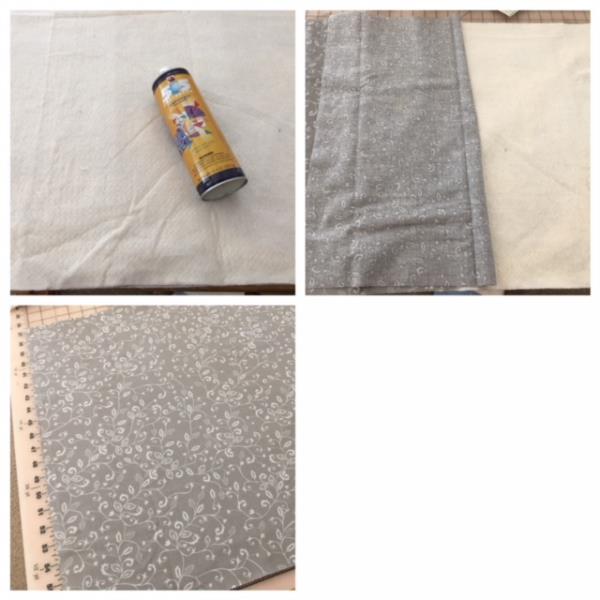
With your cut front primary fabric and batting. Lightly spray temporary adhesive spray onto batting . Lay your cut primary fabric panel on top right side up. Fingertip press and smooth out matching all raw edges.
(Click Image to Enlarge)
Step 15:
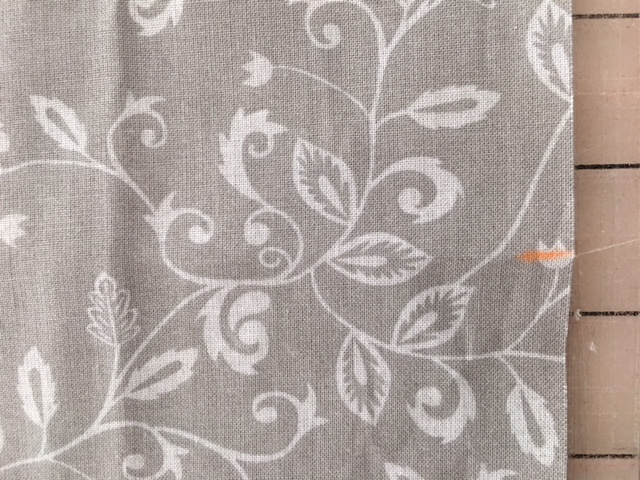
Fold your panel in half and mark center of panel at bottom edge.
(Click Image to Enlarge)
Step 16:
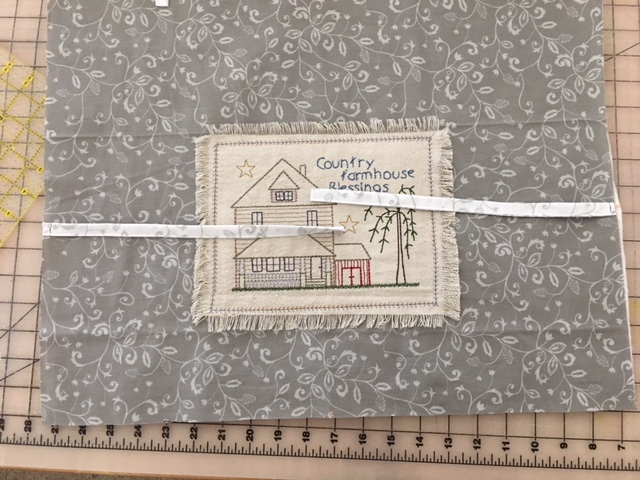
Fold embroidered label in half to find center. Position label 3” up from bottom of panel. ( this will be the front side of your machine cover). Match center marks. Straight stitch directly over the outline framing stitch.
(Click Image to Enlarge)
Step 17:
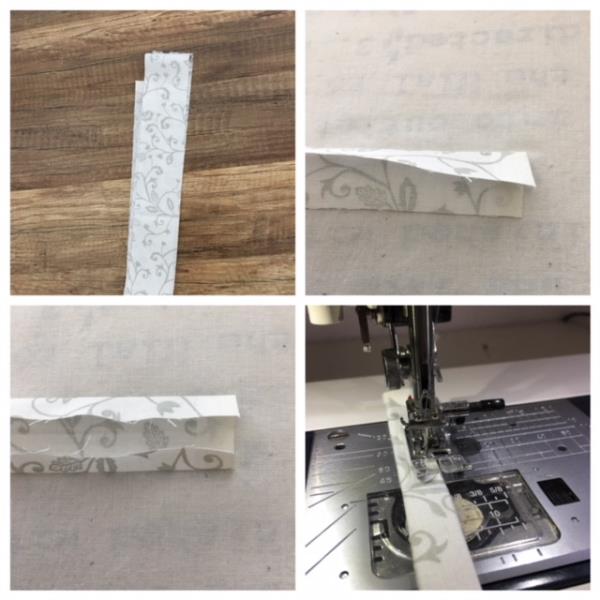
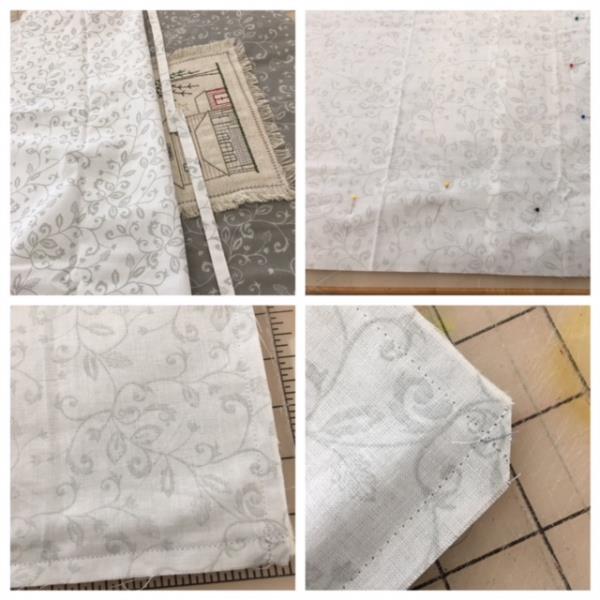
MAKING THE TIES Cut a strip 2 ½” x 44” using your lining fabric. Making a bias tape by folding in half and then quarter fold each sides. Iron press. Straight stitch in place. You can skip this step if you are using ribbon or purchased bias tape.
(Click Image to Enlarge)
Step 18:
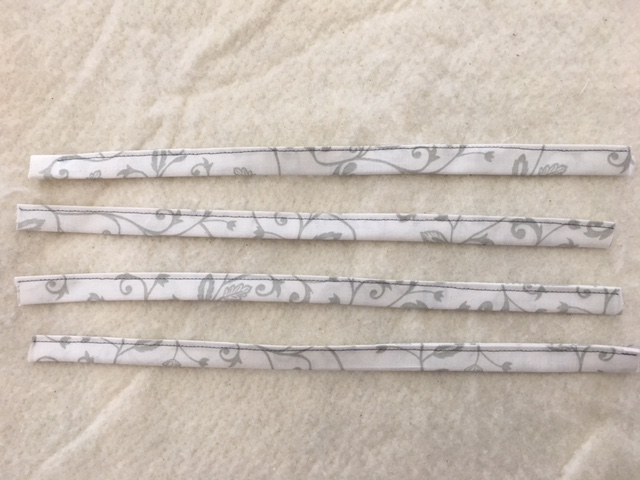
Cut in four equal lengths.
(Click Image to Enlarge)
Step 19:
Position two ties on each side 7” from bottom edges. Stitch/Tack in place
(Click Image to Enlarge)
Step 20:
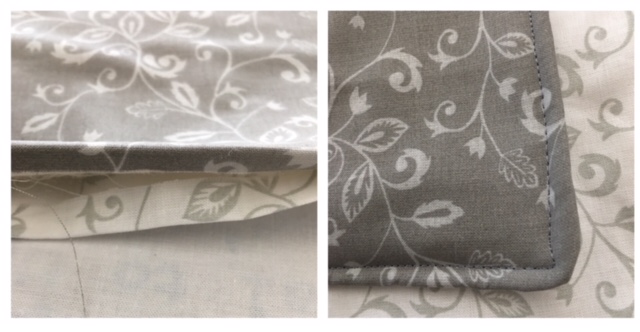
Lay your lining on top right sides together matching up raw edges. Pin in place. (make sure your ties are laying inside atop your panel. ) straight stitch all sides using ½” seam allowance. Leave an opening to turn right side out. Cut corners to reduce corner bulk.
(Click Image to Enlarge)
Step 21:
Turn right side out. Push out corners. Iron press cover and opening seams inwards. Top stitch all around sides. This will also close opening.
(Click Image to Enlarge)
Step 22:
Congratulations! Your sewing machine cover is now finished..