{{superHeaderAds.title}}
Live Chat
Embroidery Designs
Welcome, Embroiderer
Login
Beach Bound Cami/TankTop
{{mainImageAlt || (productInfo._source && productInfo._source.name) || ''}}

Beach Bound Cami/TankTop Embroidery Project

By   Linda Mills   on   June 18, 2019

PROJECT DETAILS

SKILL LEVEL
Beginner
TIME REQUIRED
00:30
Description

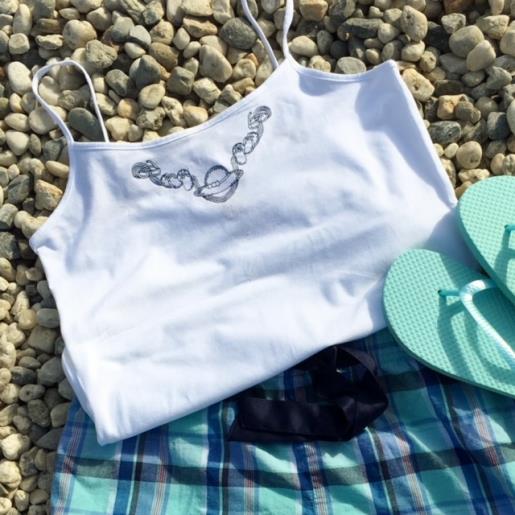
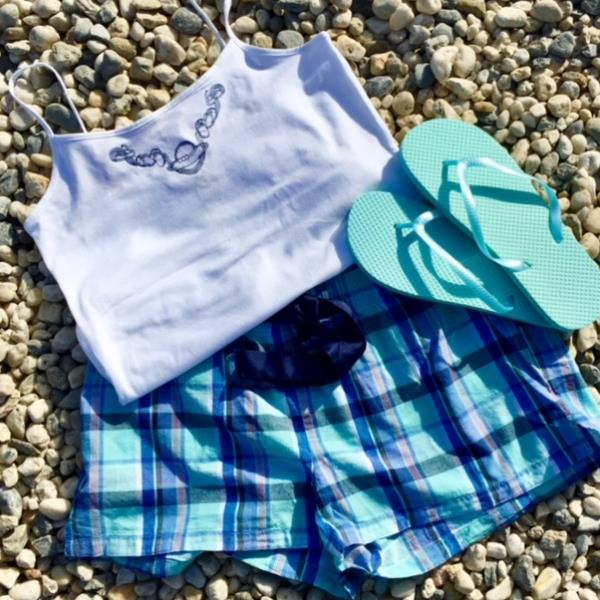
Accessorize the neckline of a cami/tank top with a beach themed redwork embroidery design. Match with pant/shorts for a complete beach ensemble to relax after a day in the sun.

Project Preview Video

Materials
  • SOLID COLOR CAMI TOP ( Purchased)
  • EMBROIDERY THREAD ( 1 COLOR OF CHOICE)
  • CUTAWAY STABILIZER
  • TEMPORARY ADHESIVE SPRAY
  • AIR ERASE/CHALK PEN

  • Designs used in this project

    Final Product: What You Will Create

    Preface:
    An easy beginners machine embroidery project . Adding a one thread color embroidery design to the neckline of a purchased cami or tank top.


    Step 1:
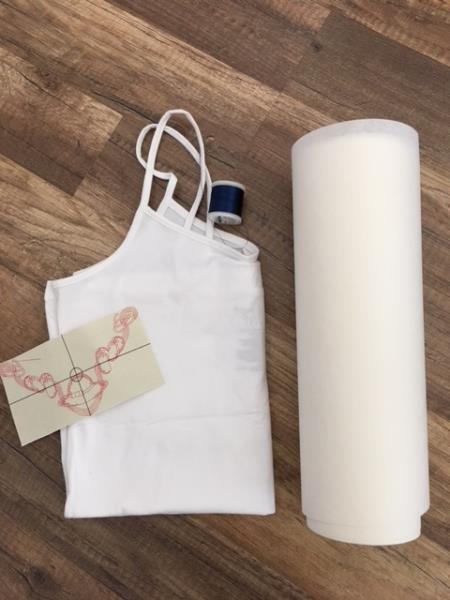
    Gather all materials and review instructions before beginning

    (Click Image to Enlarge)


    Step 2:
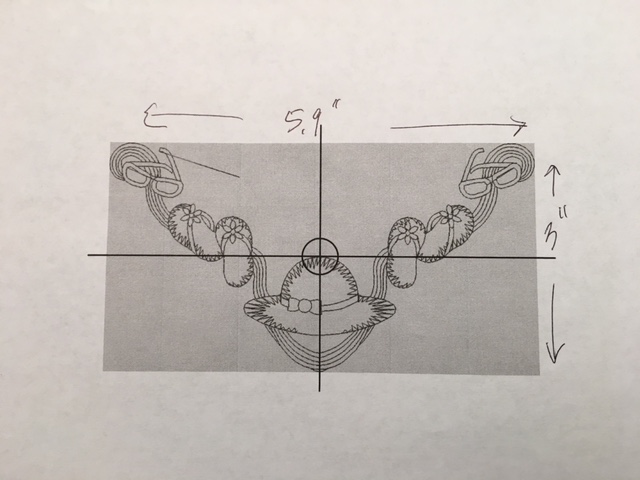
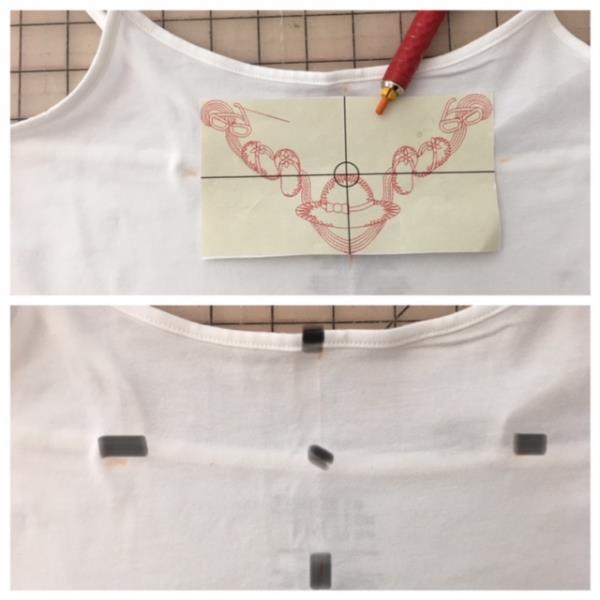
    Print out a template of design.(  It is useful to have a paper template of the design to help with the placement on the garment.)  If you do not have a software program to print a template cut a piece of paper to the approx size and shape of the design.( this design is approx. 5.9”x 3”) 

    (Click Image to Enlarge)


    Step 3:
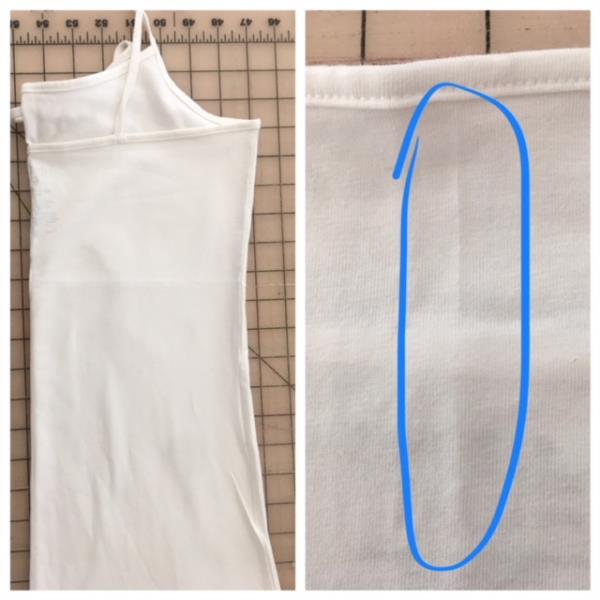
    Find the center of your top by folding in half lengthwise. Fingertip press to make a center crease line. 

    (Click Image to Enlarge)


    Step 4:
    Center place template below the top hem. Using air erase/chalk pen mark center and axis points. 

    (Click Image to Enlarge)


    Step 5:
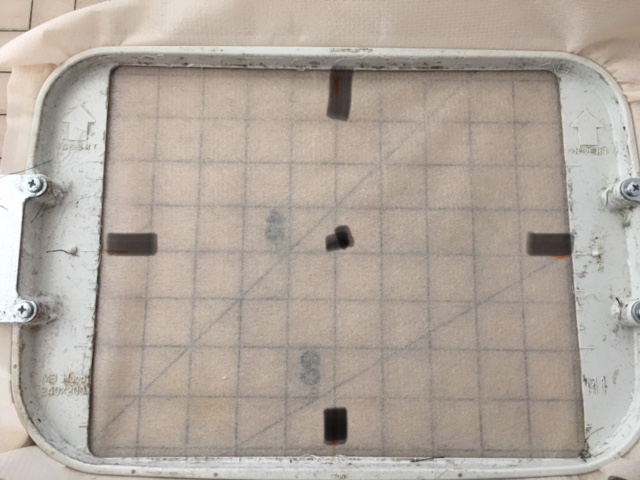
    Cut a piece of tear away stabilizer larger than your hoop.( No show mesh stabilizer was used in this project tutorial)  Hoop stabilizer. Mark center and axis points atop stabilizer.

    (Click Image to Enlarge)


    Step 6:
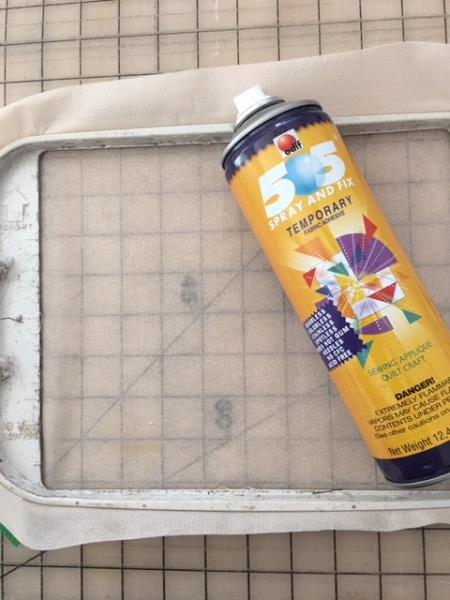
    Lightly spray temporary adhesive spray onto your marked stabilizer. 

    (Click Image to Enlarge)


    Step 7:
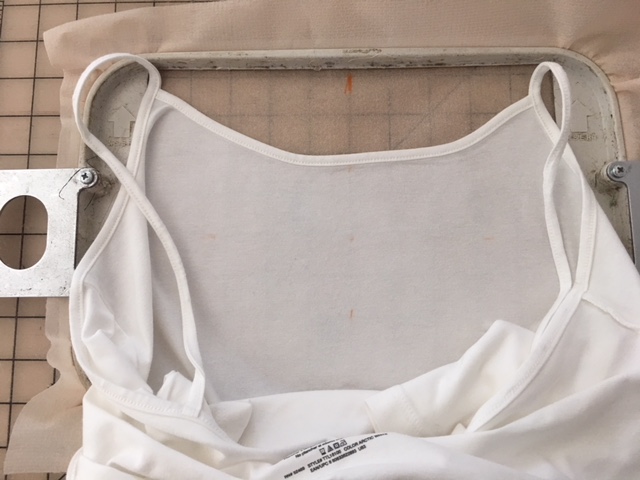
    Turn your cami/tank top inside out and center place the marked right side up of your top onto stabilizer matching up marked axis points to your hoop. Roll any excess fabric up towards the side(s) of the hoop to keep it away from the stitching area.  You can secure to the sides with clip(s) if needed. 

    (Click Image to Enlarge)


    Step 8:
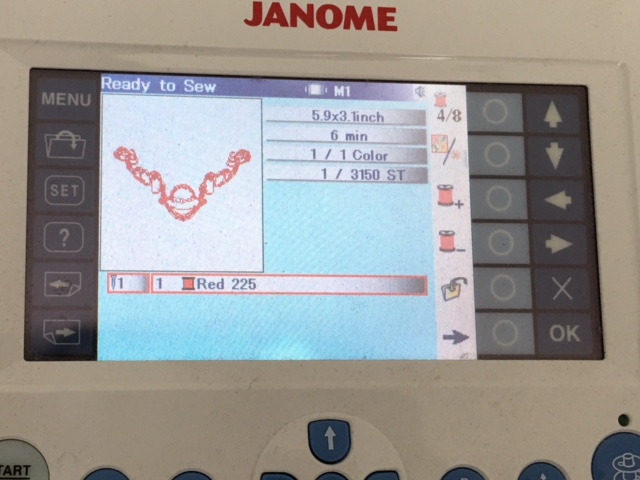
    Load embroidery design into your machine per your machine’s instructions. 

    (Click Image to Enlarge)


    Step 9:
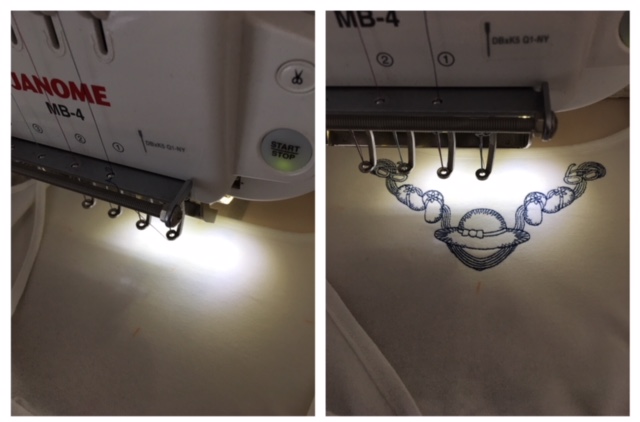
    Attach hoop to machine. Confirm center needle placement per your machine’s instructions. Begin the embroidering process.

    (Click Image to Enlarge)


    Step 10:
    Embroidering complete. Remove hoop. Cut and trim any jump stitches and loose thread ends. Trim back stabilizer about ½” away from design. Remove any markings on top. Viola! Congratulations you did it! Your cami/tank top is done. Match it with a pair of pants/shorts and relax on the beach or poolside!

    (Click Image to Enlarge)

    Meet the Author: Linda Mills
    Linda Mills
    Linda loves to create by sharing her different sewing and machine embroidery techniques so others can utilize their machines to the fullest
    More From This Author
    Link is Broken, Please check the URL
    Exclusive Embroidery Offers!
    Copyright © {{ currentDate | date:'yyyy'}} - EmbroideryDesigns.com
    GET 50% OFF! ×