Live Chat
Embroidery Designs
Welcome, Embroiderer
Login
World's Best Dad Tablet Cover
{{mainImageAlt || (productInfo._source && productInfo._source.name) || ''}}

World's Best Dad Tablet Cover Embroidery Project

By   Linda Mills   on   June 06, 2019
  • SKILL LEVELSome Experience
  • TIME REQUIRED01:15
  • FINISHED SIZE8.5 x 11 inches
Description

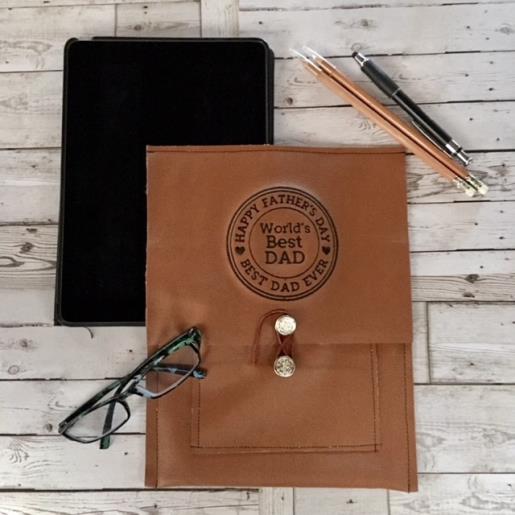
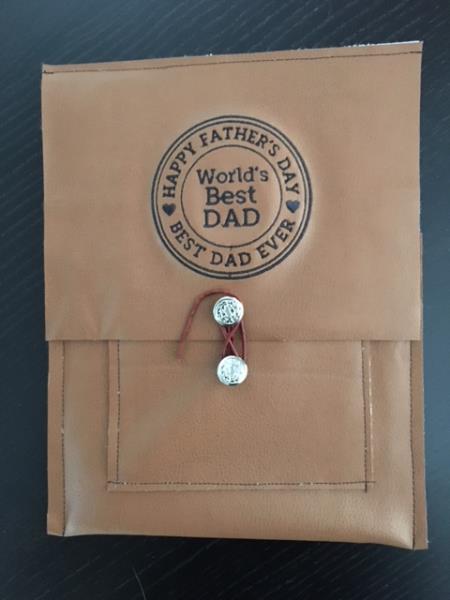
A faux leather tablet cover with a one of a kind embroidery design to let dad know he’s the “World's Best Dad”.

Step of

Materials

Project Preview Video

A faux leather tablet cover with a one of a kind embroidery design to let dad know he is the World's Best Dad!
Materials
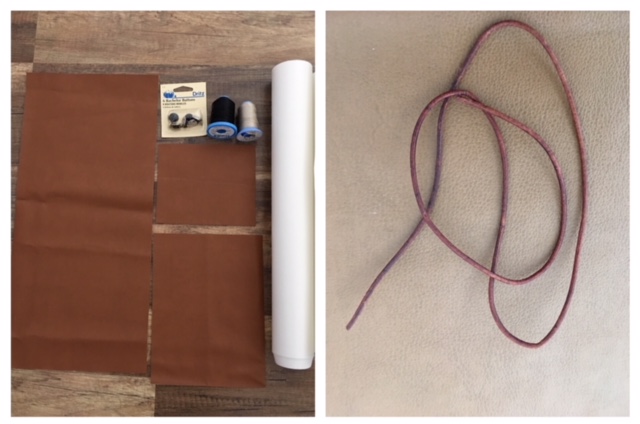
  • EMBROIDERY THREAD ( 1 COLOR OF CHOICE)
  • SEWING THREAD
  • (1) 18” X 8 ½” CUT PIECE OF FAUX LEATHER ( BODY)
  • (1) 6”X 8 ½” CUT PIECE OF FAUX LEATHER ( FLAP)
  • (1) 6” X 5” CUT PIECE OF FAUX LEATHER ( POCKET)
  • LEATHER CORDING ( 12” LENGTH)
  • STICKY HOOP STABILIZER
  • 2 BUTTONS ( IN THIS TUTORIAL BACHELOR BUTTONS WERE USED)
  • CHALK PEN

  • Designs used in this project

    Final Product: What You Will Create

    Preface:
    A simple starter project, ideal for sewing and embroidery beginners with some experience. Three cut pieces to sew together along with an embroidery design that brings this Father’s Day project all together. 


    Step 1:
     Gather all materials and review instructions before beginning.  Please have on a hand a sheet of gift tissue paper.  Note "tip" below.
     
     
     Tip: The faux leather tends to stick to your pressure foot as well as your bobbin plate, so when stitching on faux leather lay a piece of gift wrap tissue paper on top of area that is being stitched and float a piece underneath . The needle will perforate tissue for easy removal.

    (Click Image to Enlarge)


    Step 2:
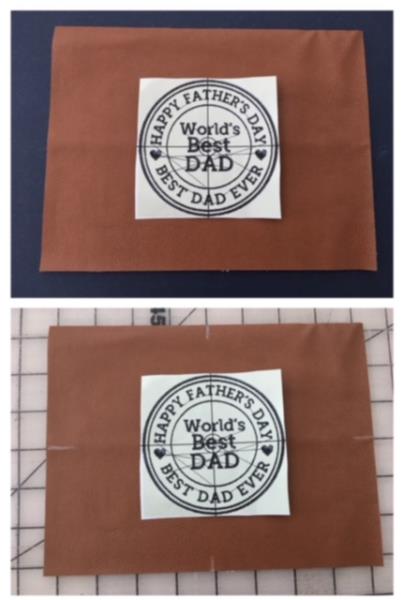
    Print out template of embroidery design. Using your 6” x 8 ½” cut piece which is the flap. Center your design template and mark top, bottom and side axis points.  

    (Click Image to Enlarge)


    Step 3:
    (Click Image to Enlarge)
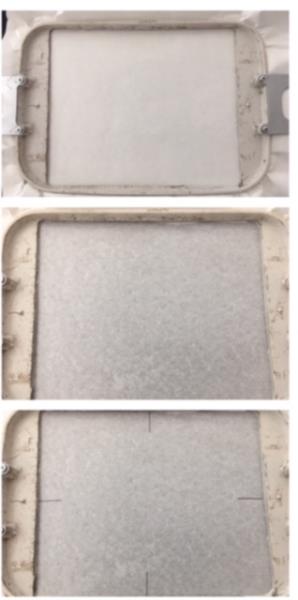
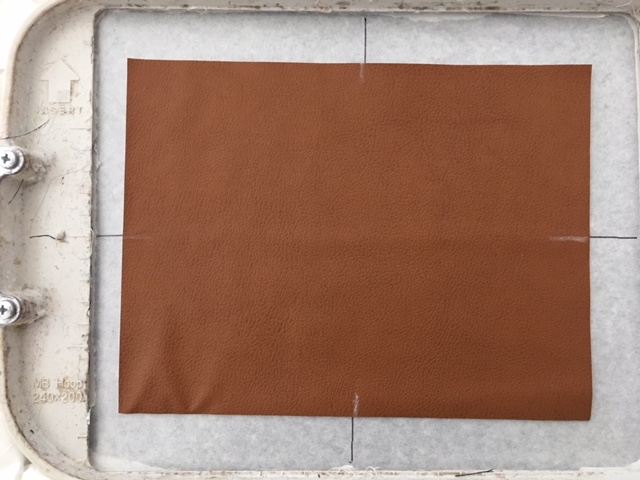
    Cut a piece of stabilizer a bit larger than your hoop.   Hoop the sticky stabilizer. Score the top paper with a straight pin. Remove the top paper to reveal the sticky side. Mark your center axis points onto stabilizer.


    Step 4:
    Center your cut flap piece ( 6" x 8 1/2") on top of stabilizer matching up axis points. Fingertip press to secure. 

    (Click Image to Enlarge)


    Step 5:
    (Click Image to Enlarge)
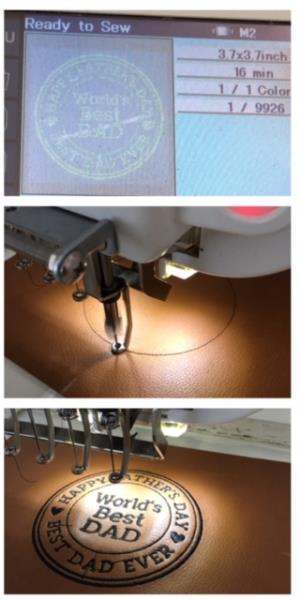
    Load the embroidery design into your machine. Attach hoop. Begin the embroidering process per your machine’s instructions. 


    Step 6:
    (Click Image to Enlarge)
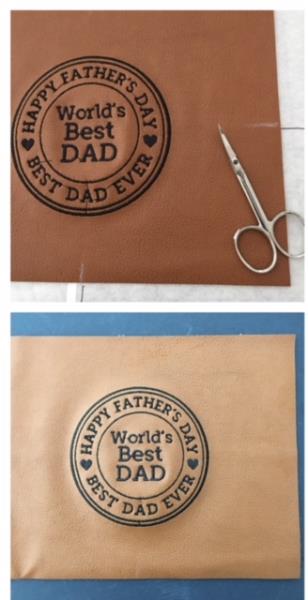
    Embroidering complete. Remove hoop. Cut and trim all jump stitches and loose thread ends front and back. Remove stabilizer.


    Step 7:
    Placement of pocket

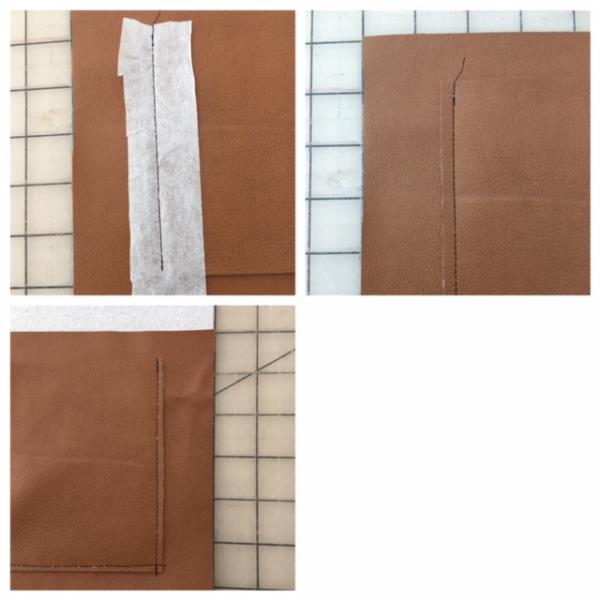
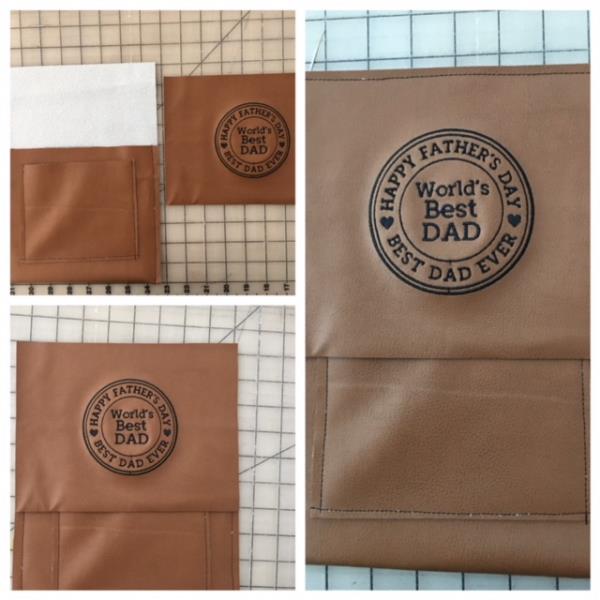
    Center and place cut pocket piece ( 6" x 5") 1” down from top edge of body. Attach by sewing a straight stitch from top to bottom of pocket on each side using a ¼” seam allowance. Stitch bottom of pocket edge using ¼” seam allowance.
     
    Tip: The faux leather tends to stick to your pressure foot as well as your bobbin plate, so when stitching on faux leather lay a piece of gift wrap tissue paper on top of area that is being stitched and float a piece underneath . The needle will perforate tissue for easy removal. 

    (Click Image to Enlarge)


    Step 8:
    Place body with sewn pocket face down and bring up bottom 7”. (See pic.) Sew both sides using ½”seam allowance. Place flap atop. Line up top edges. Sew flap and body top edges together using ¼” seam allowance.   
     
    Tip: The faux leather tends to stick to your pressure foot as well as your bobbin plate, so when stitching on faux leather lay a piece of gift wrap tissue paper on top of area that is being stitched and float a piece underneath . The needle will perforate tissue for easy removal. 

    (Click Image to Enlarge)


    Step 9:
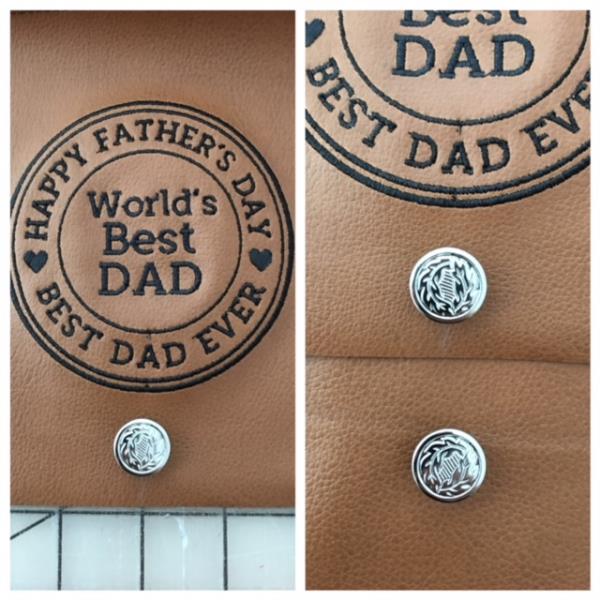
    Center and attach buttons. One on the flap and on the pocket. ( sew by hand) If using Bachelor Buttons follow manufacturer’s instructions. 

    (Click Image to Enlarge)


    Step 10:
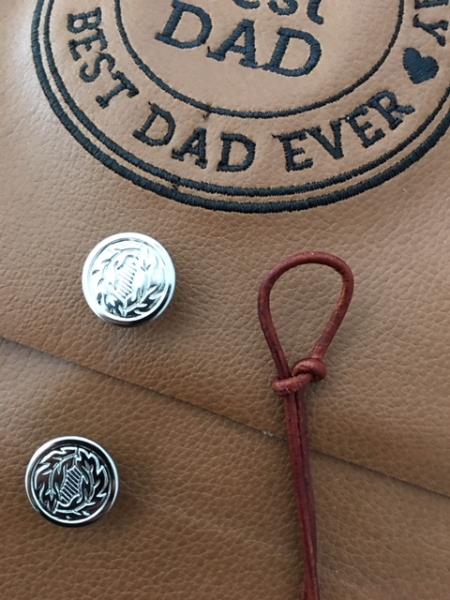
    Make a slip knot at one end of  the leather cording. Slip it over the flap button and pull taut to secure. Use this cording to wrap around the buttons to keep tablet cover closed. 

    (Click Image to Enlarge)


    Step 11:
    Woohoo! Congrats! Your tablet cover is finished! Slide in the tablet and use the pocket for tablet accessories.  

    (Click Image to Enlarge)

    Meet the Author: Linda Mills
    Linda Mills
    Linda loves to create by sharing her different sewing and machine embroidery techniques so others can utilize their machines to the fullest
    More From This Author
    Link is Broken, Please check the URL
    Exclusive Embroidery Offers!
    Copyright © {{ currentDate | date:'yyyy'}} - EmbroideryDesigns.com
    GET 50% OFF! ×