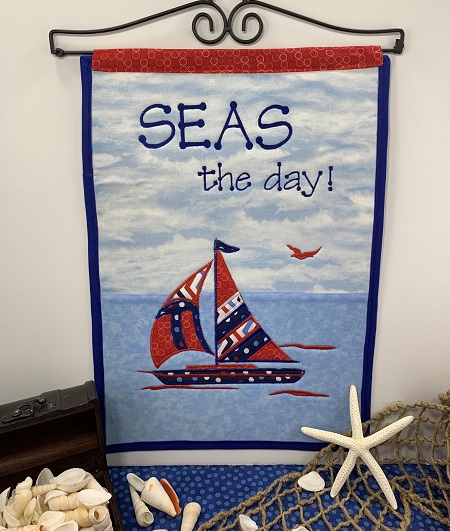
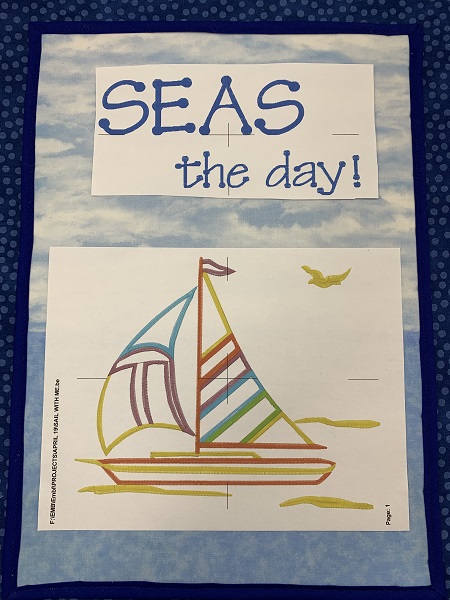
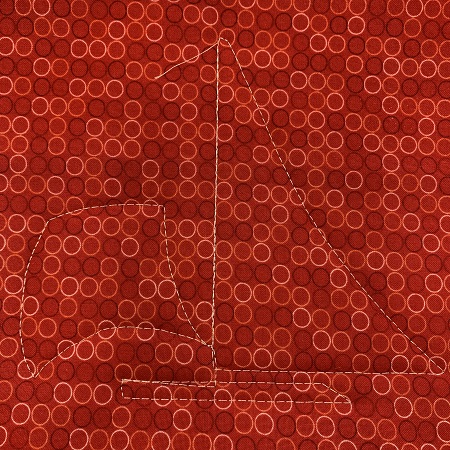
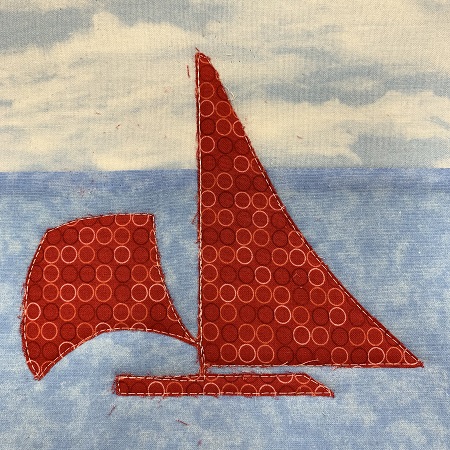
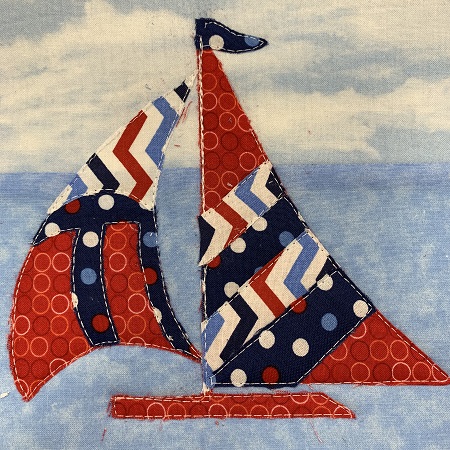
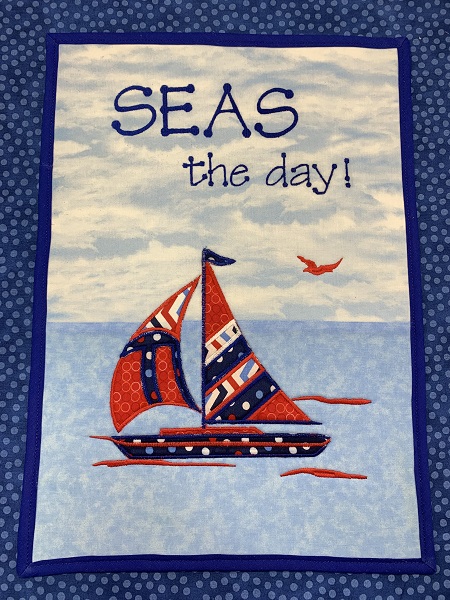
SEAS THE DAY! While drifting afloat on the ocean in an sailboat... Such a peaceful, calming experience! An appliqued sailboat with a caption that is a play on words. Some very basic sewing skills are used to complete the project. The designer did not put in placement stitches for the appliqued boat. So you will need to pay close attention to the stitching guide on the sailboat.
Step 1:
Gather the materials needed for the project.
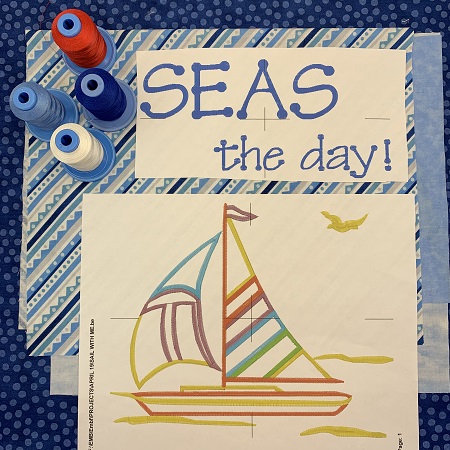
Use a computer software program and make a stitch file for the caption. Remember to save the file when finished. Print out a design template of the appliqued sailboat and the caption.
Iron and starch the fabrics used in this project. Check your needle size.
Read the directions before beginning the project.
Step 2:
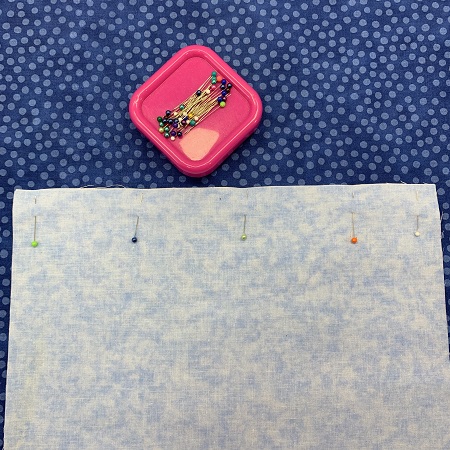
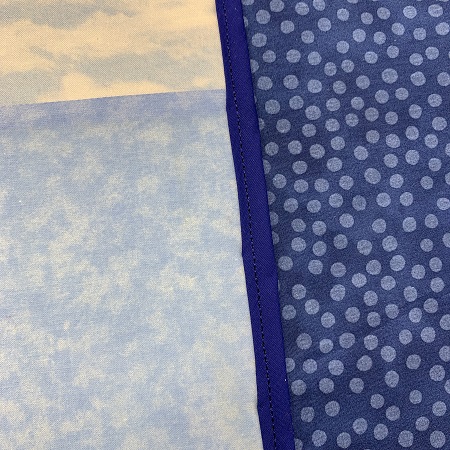
Place the fabric piece for the clouds and the water with right sides together. Pin the fabric together. Stitch a 1/4" seam along one edge.
Step 3:
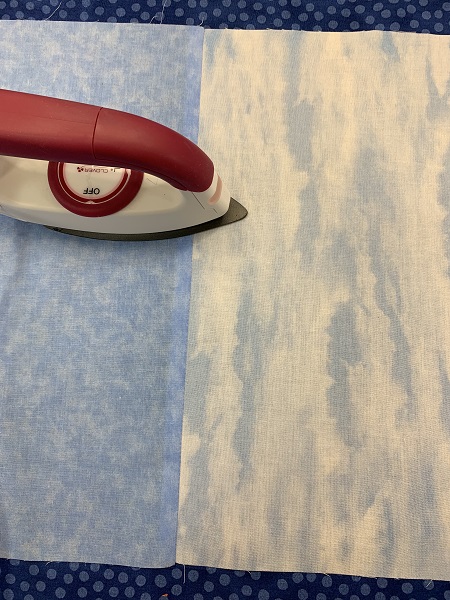
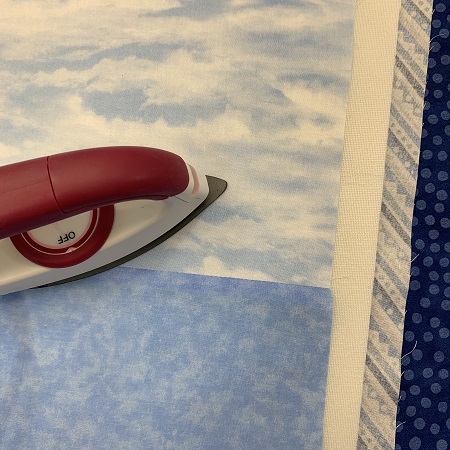
Press the seam.
(Click Image to Enlarge)
Step 4:
Sandwich the Bosal foam between the 13"x21 backing piece and the 13"x21" cloud/sea piece. Follow package directions to fuse the fabric to the foam.
NOTE: If using low nap quilt batting, sew a seam along the seam line where the water/clouds meet. Sew another seam about 1/3 of the way from the top.
Step 5:
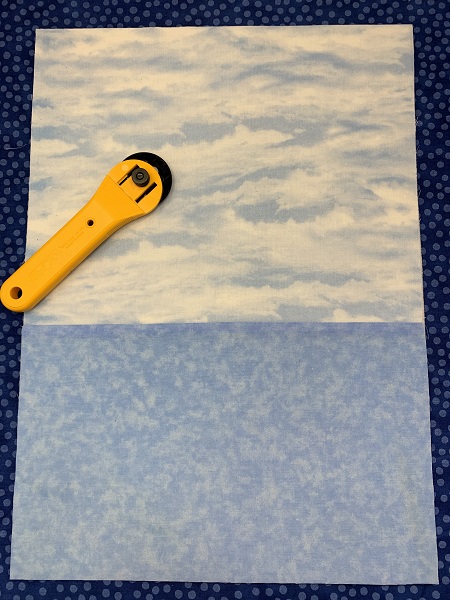
Trim the sides of the rectangle to make them even if needed.
(Click Image to Enlarge)
Step 6:
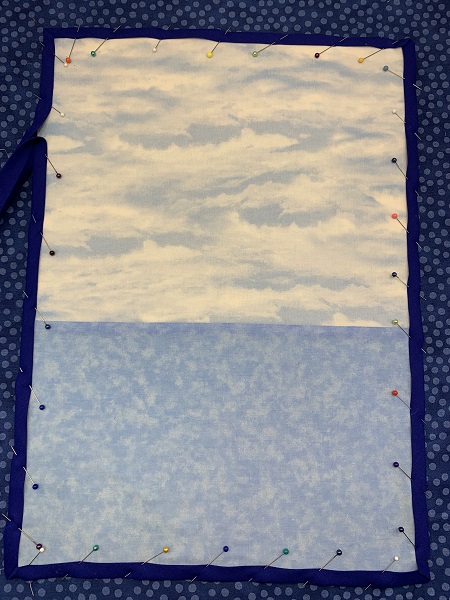
Pin double folded quilt binding around the edges of the wall hanging.
(Click Image to Enlarge)
Step 7:
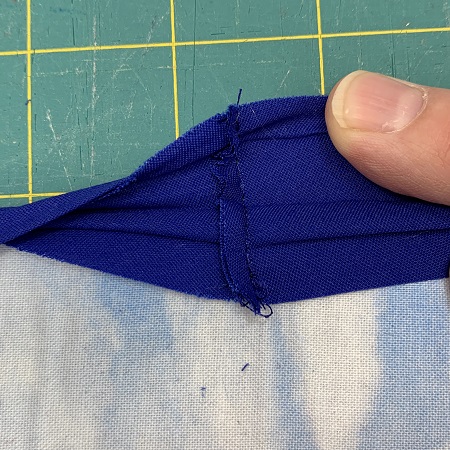
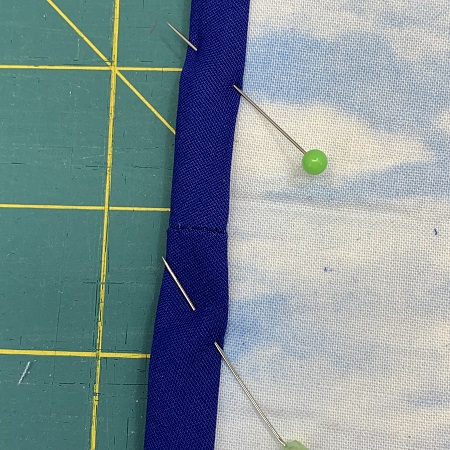
Stitch a 1/4" seam where the ends of the quilt binding meet. Trim the seam.
Step 8:
Finish pinning the binding in place.
Step 9:
Stitch the binding in place.
Step 10:
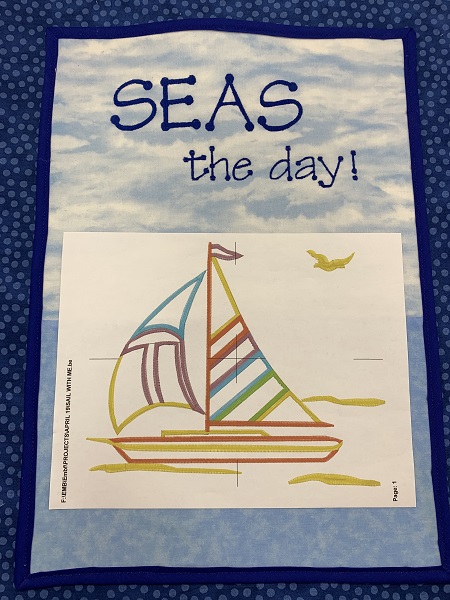
Use the design templates as a placement guide on the wall hanging.
(Click Image to Enlarge)
Step 11:
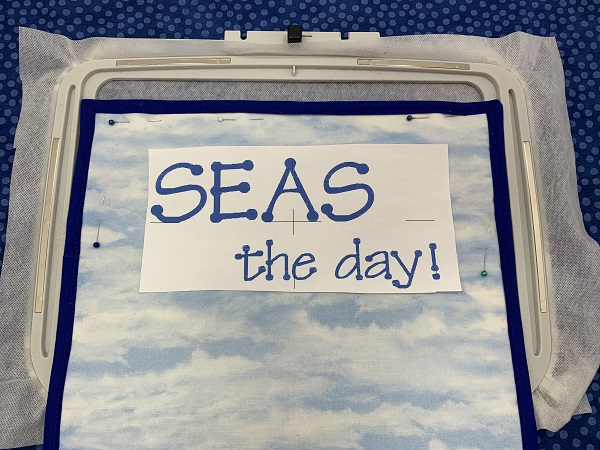
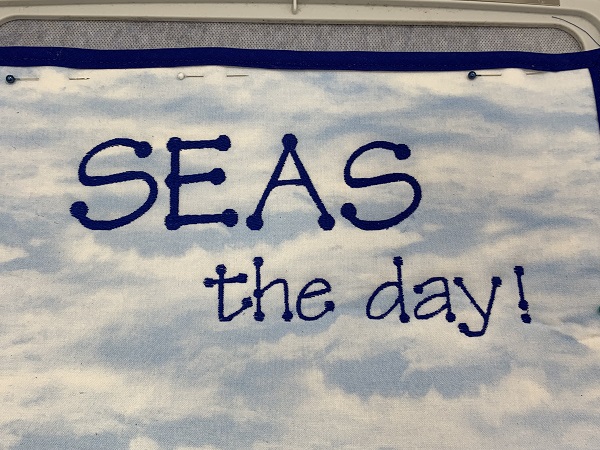
Hoop one piece of water soluble stabilizer. Center the section of wall hanging for the caption on the stabilizer. Lightly mist the stabilizer with 505 Temporary Adhesive spray. Press the wall hanging onto the stabilizer. Use pins for added security.
(Click Image to Enlarge)
Step 12:
Load the caption file onto the machine. Stitch the caption. Remove the hoop from the machine.
(Click Image to Enlarge)
Step 13:
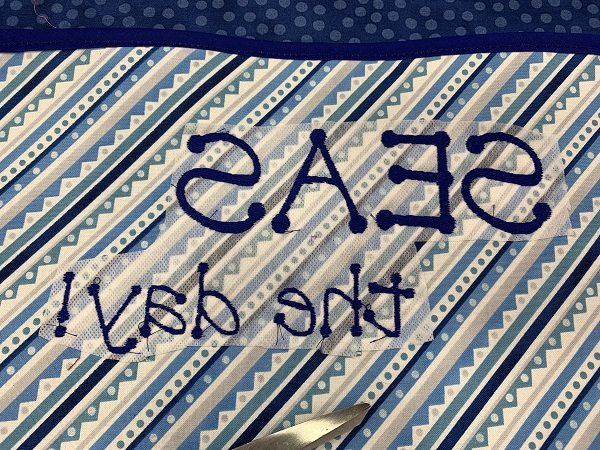
Trim the stabilizer around the stitching.
(Click Image to Enlarge)
Step 14:
Hoop one piece of water soluble stabilizer. Center the section of the wall hanging where the sailboat will be stitched on the stabilizer. Lightly mist 505 Temporary Adhesive spray on the stabilizer. Gently press the wall hanging onto the stabilizer. Pin for added security.
(Click Image to Enlarge)
Step 15:
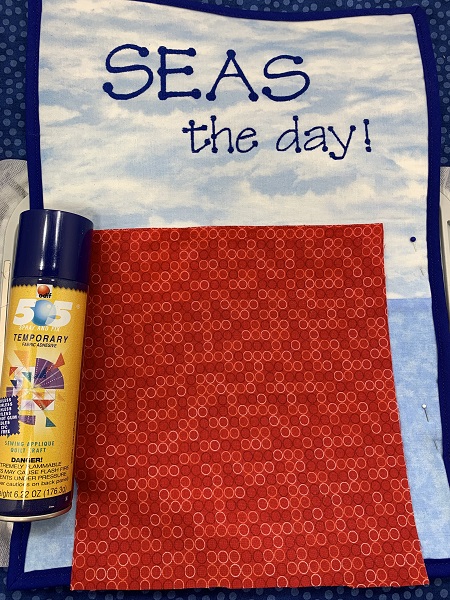
There is not placement stitches for this design. So, we have to guess where to place the fabric. Center a piece of 9"x9" fabric on the stitching field. Lightly mist the fabric with 505 Temporary Adhesive spray. Gently press the fabric onto the wall hanging. Surface should be smooth and wrinkle free.
(Click Image to Enlarge)
Step 16:
Load the sailboat applique design. Recommend using the thread the same color as the fabric for the tack down stitching. Stitch the first step.
Step 17:
Trim the extra fabric from around the seam line being careful not to clip the stitches.
Step 18:
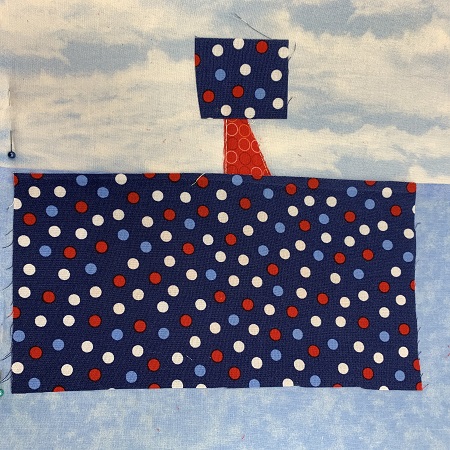
Place a 4" x 7" contrasting fabric on the boat. Place a 2"x2" piece of fabric where the flag will go. Use 505 Temporary Adhesive Spray to secure the applique fabric. Surface should be smooth and wrinkle free.
NOTE: Use the stitching chart as a guide for placing fabric.
Step 19:
Stitch the tack down stitches. Trim around the stitching. You will need to remove some basting stitches while trimming so that you can remove all the extra fabric.
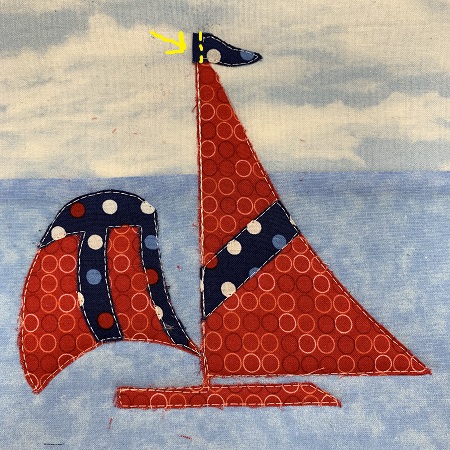
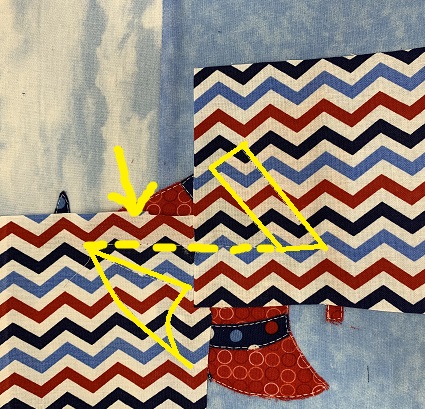
NOTE: A section of the flag does not any have any stitches. Trim the fabric edge to match the length on the sail.
Step 20:
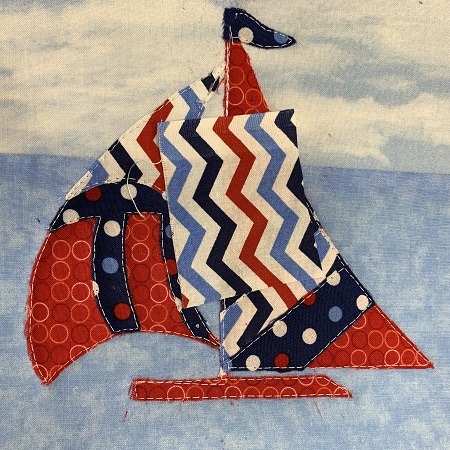
Place contrasting fabric over the next section to be appliqued. Use temporary adhesive spray to secure the fabric. Surface should be smooth and wrinkle free. Reference the design template and stitching chart for placement. Stitch the next section. You will need to remove some basting stitches when trimming the fabric.
Step 21:
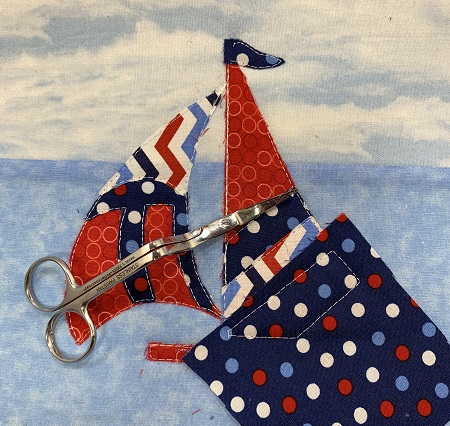
Trim the fabric being careful not to cut the stitching.
Step 22:
Place contrasting fabric over the next section to be appliqued. Use temporary adhesive spray to secure the fabric. Surface should be smooth and wrinkle free. Reference the design template and stitching chart for placement. Stitch the next section. Trim the fabric from around the stitching.
Step 23:
Place contrasting fabric over the next section to be appliqued. Use temporary adhesive spray to secure the fabric. Surface should be smooth and wrinkle free. Reference the design template and stitching chart for placement. Stitch the next section.
Step 24:
Trim the fabric around the stitching.
Step 25:
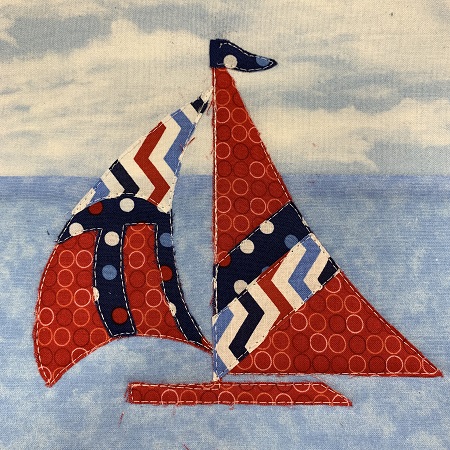
The last step will be the finishing stitching around the appliqued pieces. Finish stitching the design. Remove the wall hanging from the hoop. Trim the stabilizer around the stitching. Remove the water soluble stabilizer according to package directions.
(Click Image to Enlarge)
Step 26:
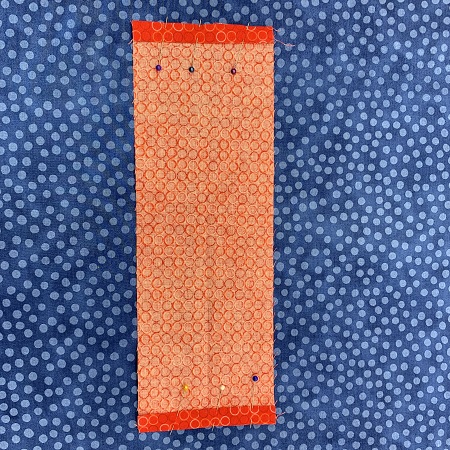
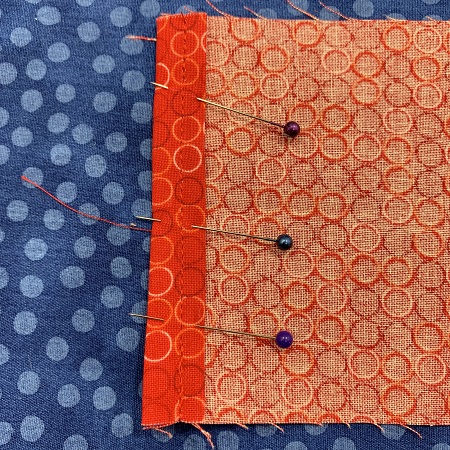
Press the end edges of the 4"x13" pieces of contrasting fabric 1/4" down. Fold the edges again and press. Pin in place.
Step 27:
Stitch a seam along the end edges of the fabric.
Step 28:
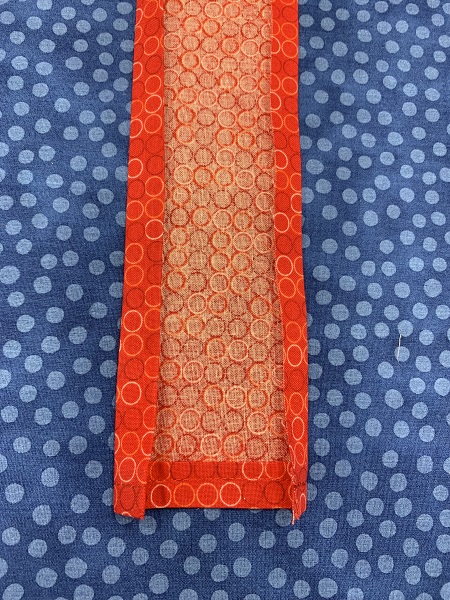
Press the sides of the hanger down 1/4". Fold again 1/4" and press. Fold the fabric in half lengthwise and press.
(Click Image to Enlarge)
Step 29:
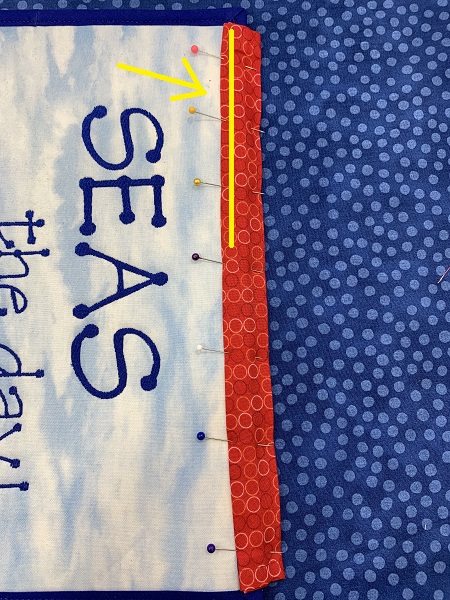
Pin the hanger to the top edge of the wall hanging. Stitch a seam along the edge of the hanger.
(Click Image to Enlarge)
Step 30:
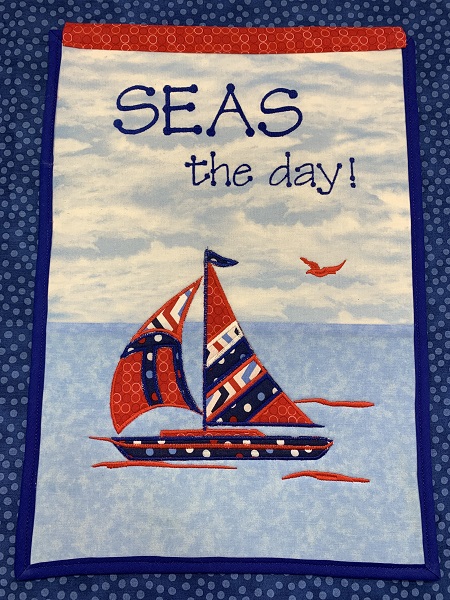
Congrats! Very neat job! Happy Stitch-a-long!
(Click Image to Enlarge)
Step 31:
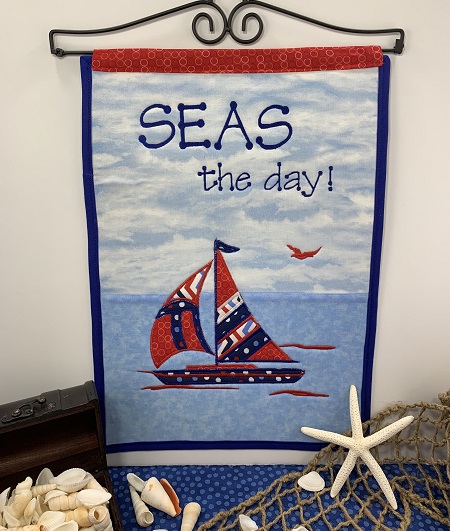
The 'Seas the Day!' wall hanging could also be used as a flag, on a door, or in a table top stand.
Marisa Littleton is a retired educator with a love for teaching and learning. Interests include machine embroidery, hand embroidery, quilting, cooking, and antiques.