I have used cotton drill for this project as it is more stable than homespun cotton.
Step 1:
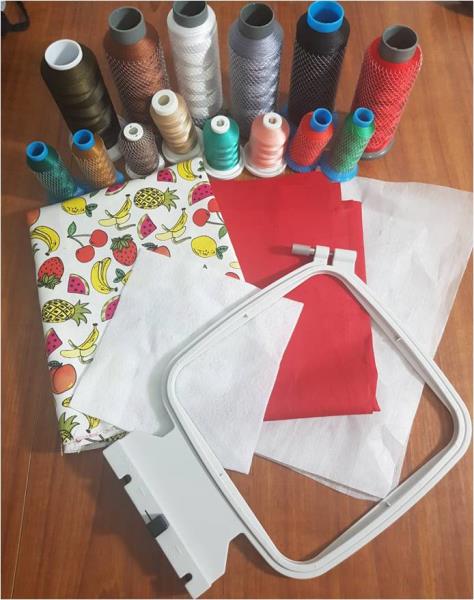
Gather the materials and read through the instructions before beginning. Have a copy of the color sequence on hand to refer to.
(Click Image to Enlarge)
Step 2:
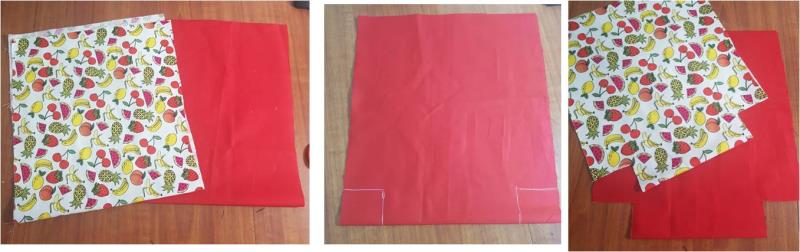
From both pieces of fabric, cut a 32cm wide x 72cm long rectangle. Fold them in half lengthwise. In the corners, along the folded edge, mark in 6cm and up 5cm to form a square in the each corner. Cut along the lines on both pieces of fabric.
(Click Image to Enlarge)
Step 3:
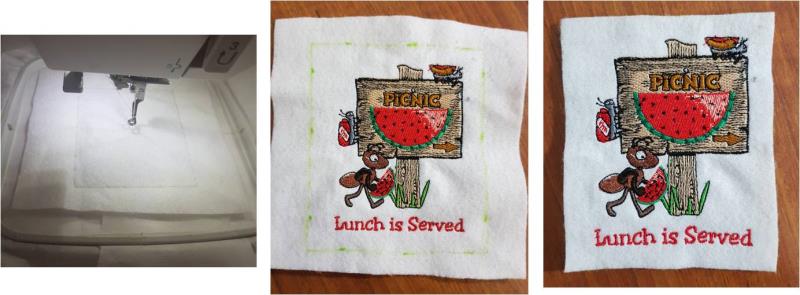
Hoop the stabilizer then float the felt square and stitch out the design. Once the design is stitched out, remove the felt from the stabilizer and mark out a rectangle around the design which is 10cm wide x 12cm long. cut down the felt.
(Click Image to Enlarge)
Step 4:
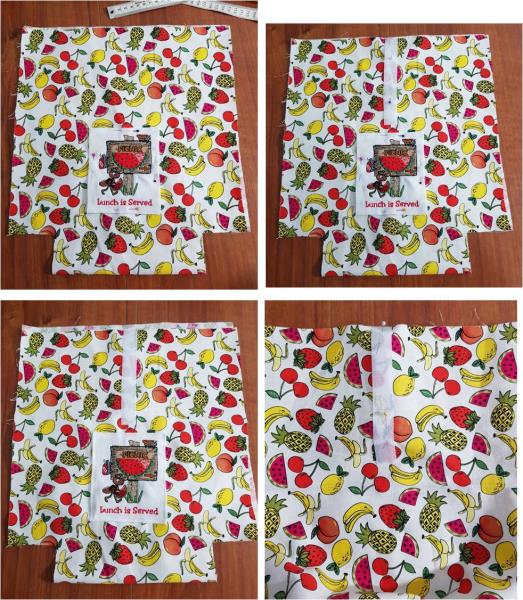
With the printed fabric folded in half with the right side up, from the top of the panel mark down 8 ¾” then at this point measure across the width of the panel and mark the centre which will be at 6 ¼”. This indicates the centre of your embroidered felt piece. Position the felt in place, pin down to the top layer of the printed cotton. The with the loop tape, position it in the centre at the top of the panel and pin in place. Edge stitch around both pieces. On the back panel, place the hook tape, pin then stitch that down.
(Click Image to Enlarge)
Step 5:
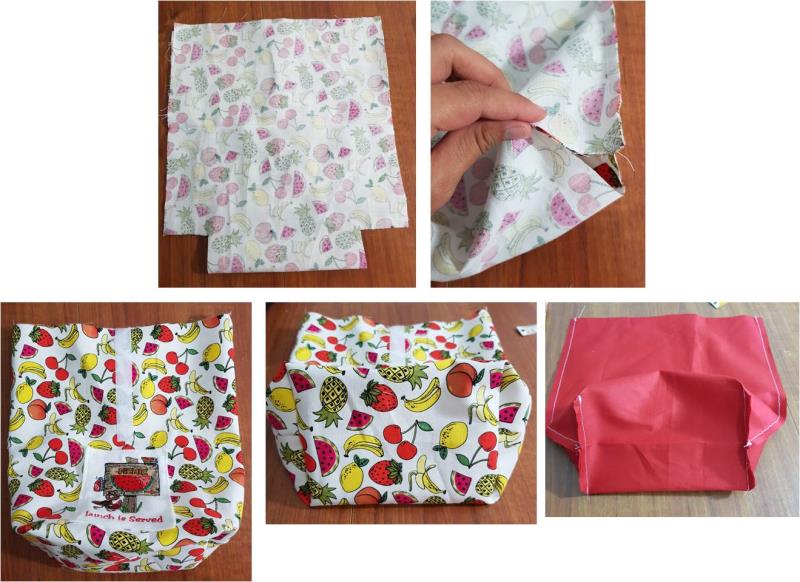
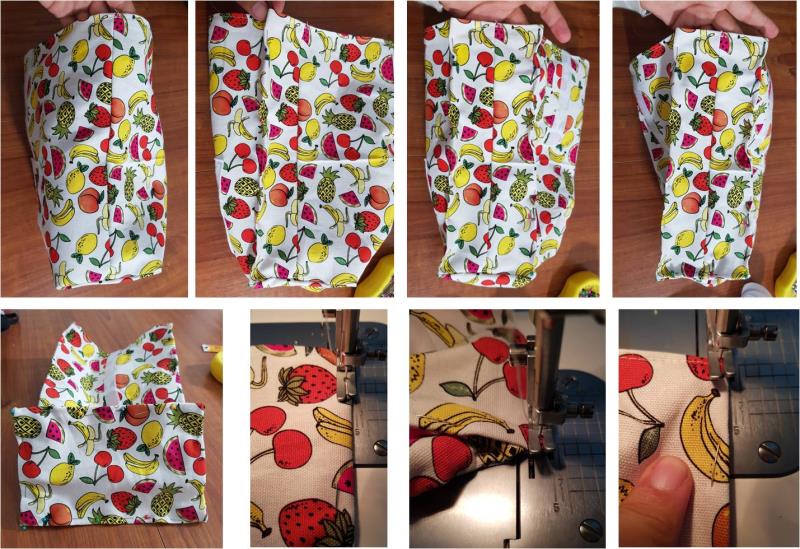
Now turn the panel so right sides are facing and stitch down each side of the panel, not stitching around the square cutouts. Now open up the square cutouts and match the bottom fold line with the side seam to form an angled seam. Stitch along that line using a ¼” seam and do the same with the square cutout on the other side. This forms the base of your bags. Repeat this step for the plain panel.
(Click Image to Enlarge)
Step 6:
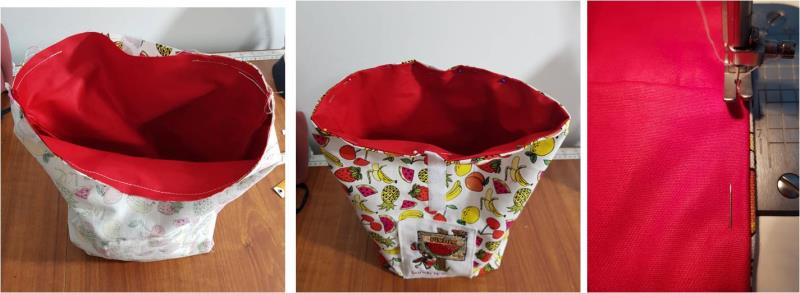
With the printed bag still inside out, insert the plain bag into the printed bag ensuring right sides of the fabrics are facing. Stitch around the top edge and leave an opening to allow you to turn the bags right side out. Turn the bags out, inserting the red into the printed bag and aligning seams. Pin around the top edge and edge stitch all the way around, also making sure to close the opening you left.
(Click Image to Enlarge)
Step 7:
Now to stitch the sides to form the structure of the bag. Ensure the inner bag is aligned with the printed bag seams then along the top edge of the bag, mark out 2” on each side of the side seam and pinch and pin that seam all the way down to the base of the bag ensuring you catch the inner bag also. Do that for both sides of the seam and both sides of the bag and along the base of the bag. You can see it forms a firm rectangular base. Now edge stitch all of those seams, making sure when you stitch down the side seam and met the base that you pivot the needle and move the under seam out of the way.
(Click Image to Enlarge)
Step 8:
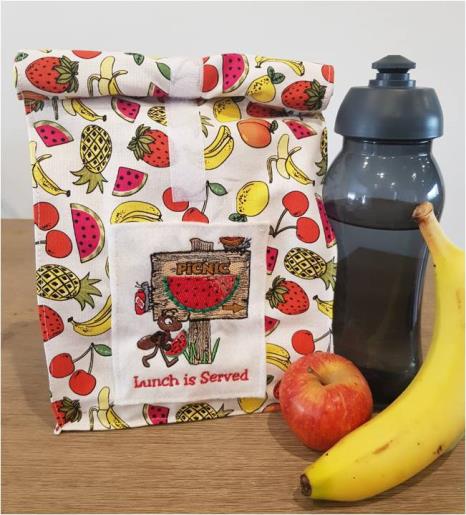
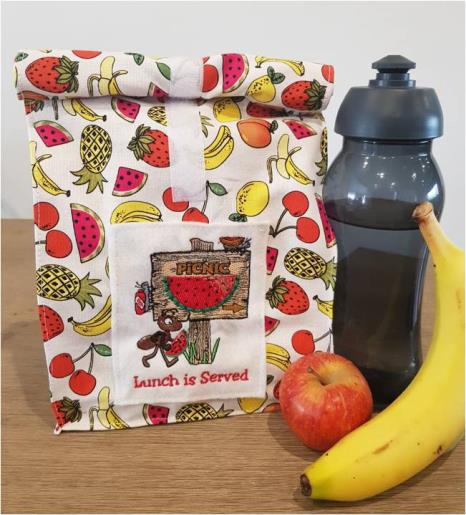
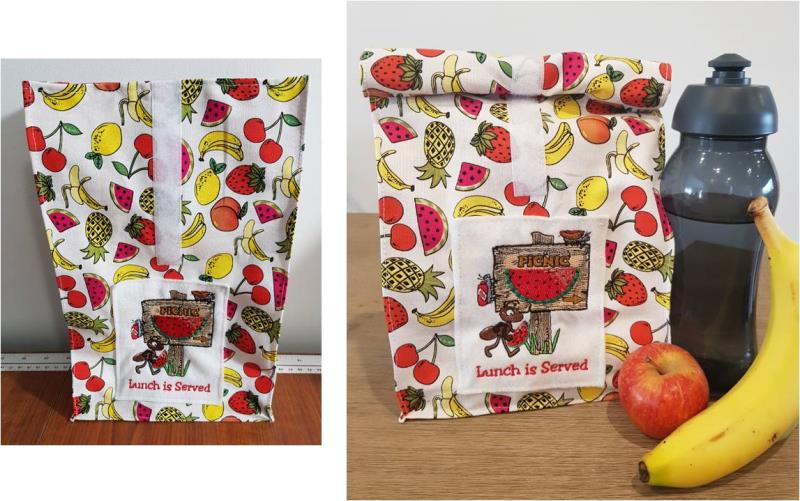
Give the bag a good press and fill it up with some yummy lunch! The idea with the hook and loop tape is that you can now roll the top down and it acts as the closure for the bag. Enjoy your handmade lunchbag!