{{superHeaderAds.title}}
Live Chat
Embroidery Designs
Welcome, Embroiderer
Login
Sewing Wall Organizer
{{mainImageAlt || (productInfo._source && productInfo._source.name) || ''}}

Sewing Wall Organizer Embroidery Project

By   Marisa Littleton   on   May 23, 2019

PROJECT DETAILS

SKILL LEVEL
Some Experience
TIME REQUIRED
01:00
Description

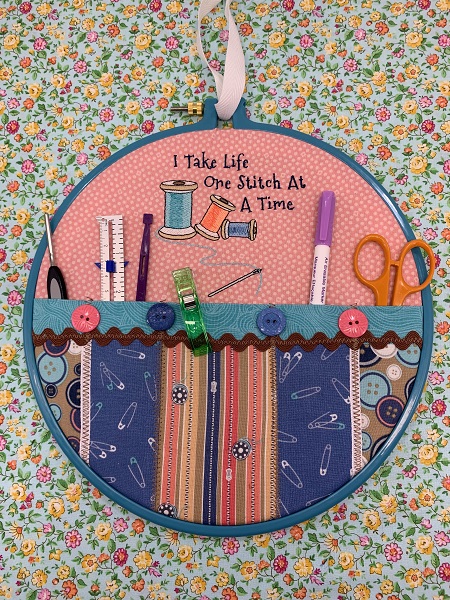
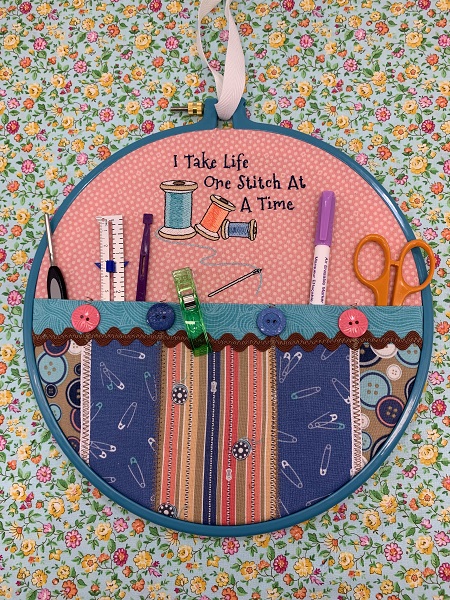
'I Take Life One Stitch at a Time' most definitely when your happy place is a sewing room. A Wall Organizer that is both functional and decorative. The embroidery design caption and graphics compliment sewing themed fabrics.

Project Preview Video

Materials
  • Design Template
  • 4x4 Machine Embroidery Hoop
  • 40 wt. Embroidery Thread (Robison-Anton)
  • 75/11 Embroidery Needle
  • No-show mesh stabilizer (to fit hoop)
  • 13"x13" 100% cotton fabric (background fabric)
  • Three 3.5"x7 100% cotton fabric (pocket)
  • Two 2.5"x7" 100% cotton fabric (pocket)
  • One 2"x13" 100% cotton fabric (pocket)
  • One 6"x 13" 100% cotton fabric (pocket)
  • Light weight fusible interfacing 6"x13"
  • 10" traditional embroidery hoop (wood or plastic)
  • Hot glue gun & glue sticks
  • Assorted Buttons
  • 14" jumbo size rick rack
  • 1 yard (1/2") grosgrain ribbon
  • Embroidery Software (optional) Embrilliance Essentials

  • Designs used in this project

    Final Product: What You Will Create

    Preface:
    'I Take Life One Stitch at a Time' is most definitely when your happy place is your sewing room.  A wall organizer that is both functional and decorative.  The design caption and graphics compliments the sewing theme of the project.   


    Step 1:
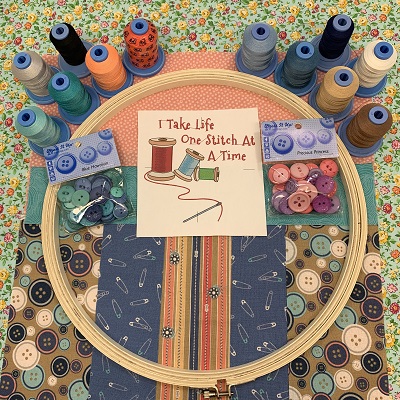
    Gather the supplies needed for the project.  Starch and iron the fabrics.  The design was reduced slightly because the pocket was covering part of the graphics.  Print a design template.   Read the directions before starting the project.


    Step 2:
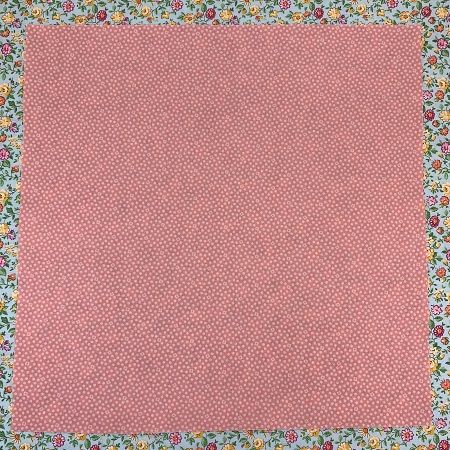
    Cut one blender fabric 13"x13".  This piece will be the background for the embroidery design.  


    Step 3:
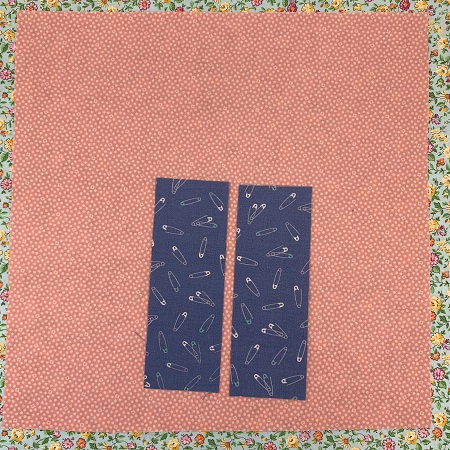
    Cut three pieces of fabric 3.5" x 7".  These three pieces will be part of the pocket.


    Step 4:
    Cut two pieces of fabric 2.5" x 7".  These two pieces will be part of the pocket.


    Step 5:
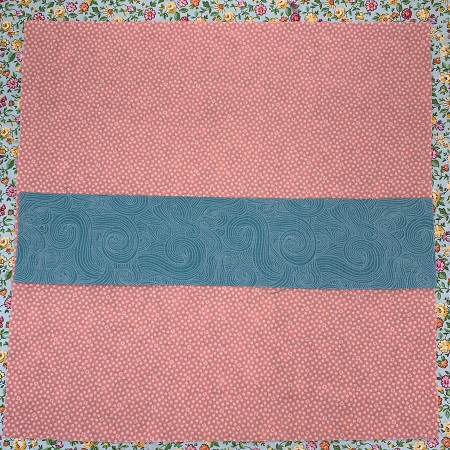
    Cut one piece 2.5" x 13".  


    Step 6:
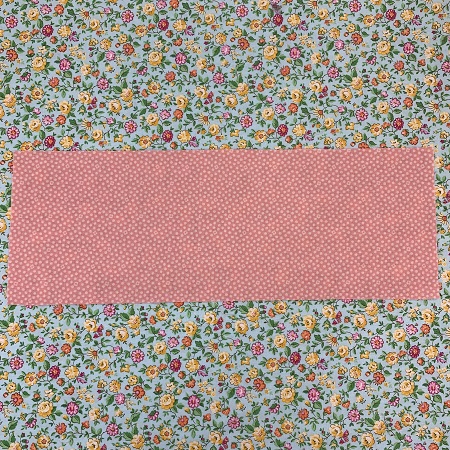
    Cut one piece 6" x 13".


    Step 7:
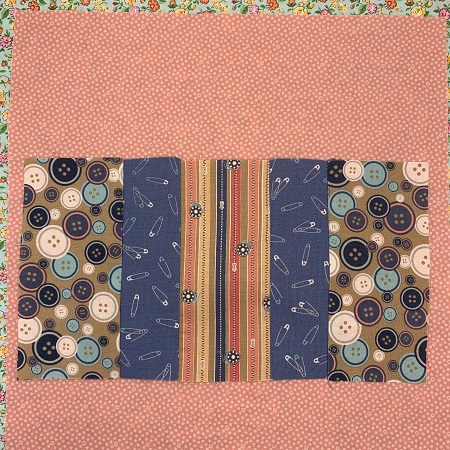
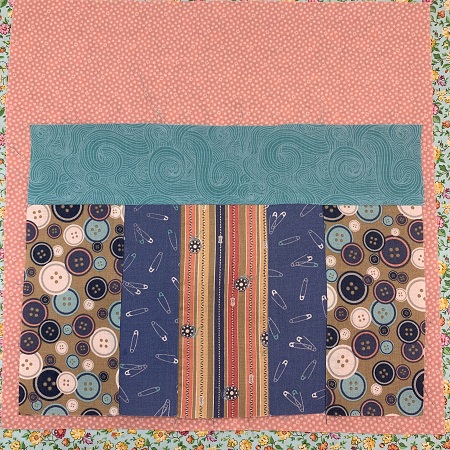
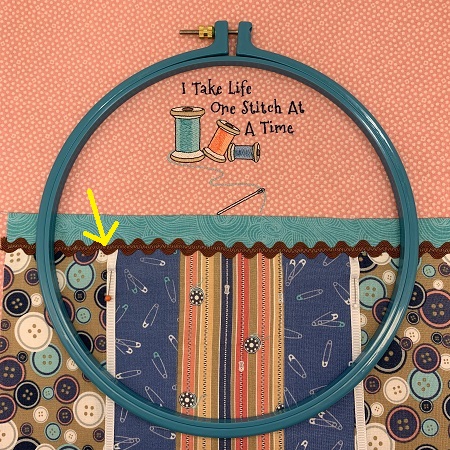
    Line pocket pieces in this order:  3.5x7; 2.5x7; 3.5x7; 2.5x7; 3.5x7.  Stitch a 1/4" seam along the adjoining sides.  Reinforce stitching at the start and end of each seam.  Use the picture as a reference guide.  Press the seams with an iron.


    Step 8:
    Place the 2.5"x7" piece with the right side down on top of the pocket piece.  Pin in place.  Stitch a 1/4" seam along the edge.  Reinforce stitching at the start and finish of the seam.   Press the seam with an iron.


    Step 9:
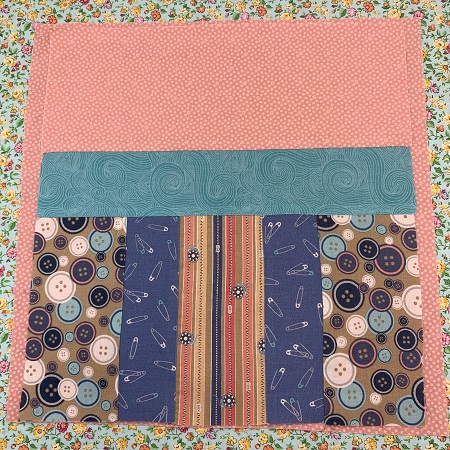
    Place the 6"x13" piece on the top edge of the pocket piece right side down.  Pin in place.  Stitch a 1/4" seam along the edge.  Reinforce stitching at the start and finish of the seam.  Finished piece should measure approximately 12.5"x13".    Press the seam with an iron. 


    Step 10:
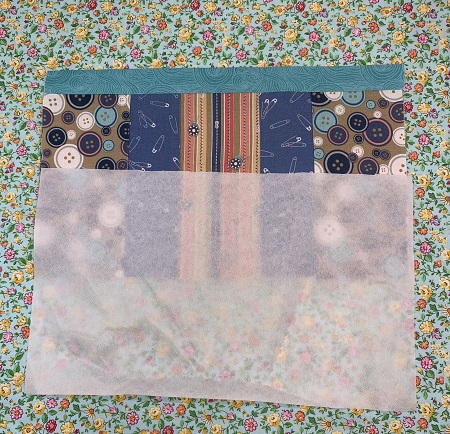
    Fold the pocket piece in half with wrong sides together.   Press.  Cut a piece of light weight fusible interfacing to match the size of the folded fabric.


    Step 11:
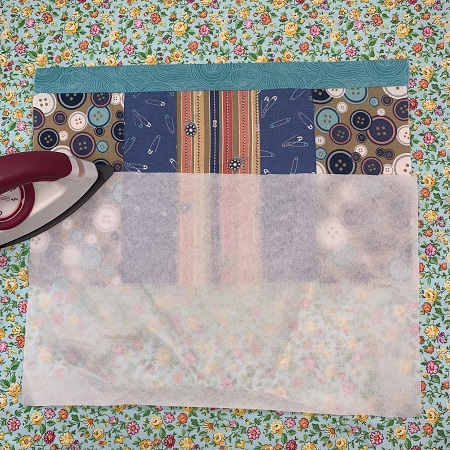
    Place the interfacing inside the folded fabric.  Follow package directions to fuse the interfacing to the fabric.


    Step 12:
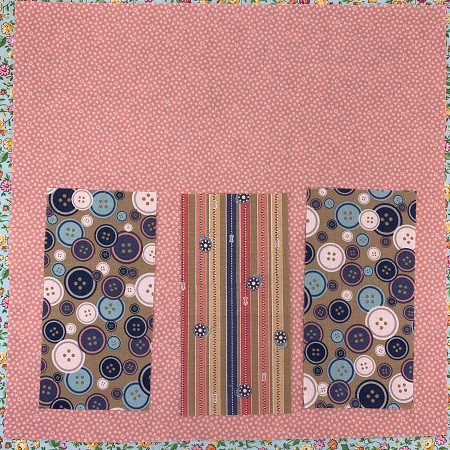
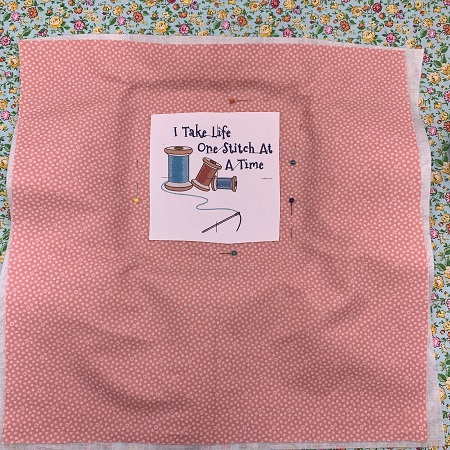
    Decide placement of the design on the 13"x13" blender fabric.  Place the unfinished pocket on the bottom half of the blender fabric.  Use the standard embroidery hoop as a reference. 
     
    Hoop 1 piece of No-Show mesh stabilizer.  Float blender fabric on top of the stabilizer.  


    Step 13:
    Check the size of your needle.  Load the embroidery template.  Stitch the design.  


    Step 14:
    Stitch the rick rack trim along the seam line on the top of the pocket.


    Step 15:
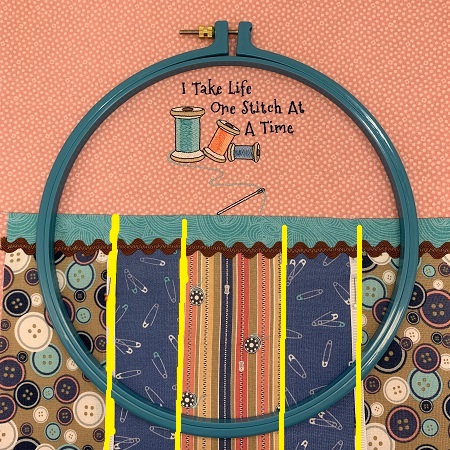
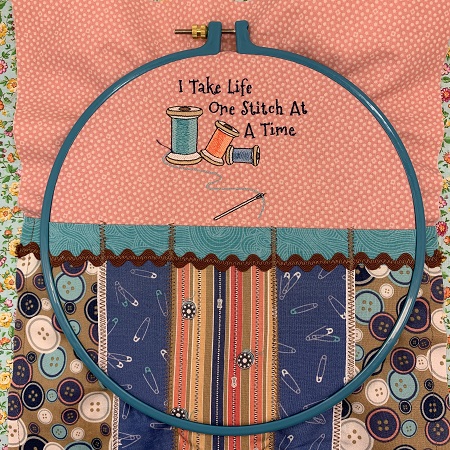
    Attach the pocket to the background fabric.  Place the pocket on the lower half of the blender fabric.  Pin in place.  Sew along the seam line for each fabric piece.  Reinforce the stitching at the beginning and ending of each seam.


    Step 16:
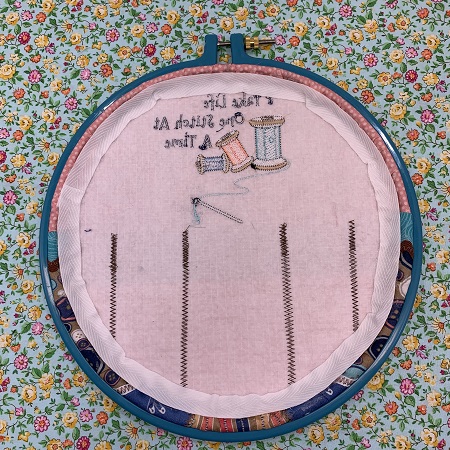
    Hoop the finished piece in the traditional/standard embroidery hoop.  Trim the extra fabric leaving enough to fold to the back of the hoop.  (approximately 1.5")   Fasten the hoop securely.


    Step 17:
    Use hot glue to glue the fabric edge to the underside of the hoop.  Next, hot glue the 5/8" ribbon over the raw edges of the fabric.  Turn hoop over to the front side.   Glue buttons along the top edge of the pocket.   


    Step 18:
    Cut a 6" piece of the ribbon.  Thread the ribbon through the hole where the screw is at on the hoop.  Tie a knot in the end of the ribbon.   
     
    WTG!  Great job!  Need a space saver at your desk?  This wall organizer is a great way to tidy up!  Any theme would work...

    (Click Image to Enlarge)


    Learn by teaching...
     
    Marisa Littleton 
    Meet the Author: Marisa Littleton
    Marisa Littleton
    Marisa Littleton is a retired educator with a love for teaching and learning. Interests include machine embroidery, hand embroidery, quilting, cooking, and antiques.
    More From This Author
    Link is Broken, Please check the URL
    Exclusive Embroidery Offers!
    Copyright © {{ currentDate | date:'yyyy'}} - EmbroideryDesigns.com
    GET 50% OFF! ×