{{superHeaderAds.title}}
Live Chat
Embroidery Designs
Welcome, Embroiderer
Login
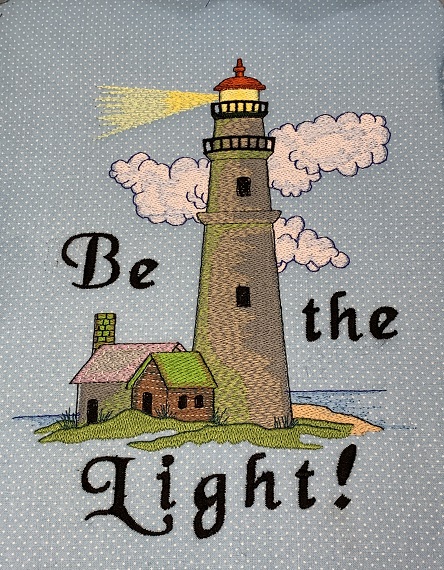
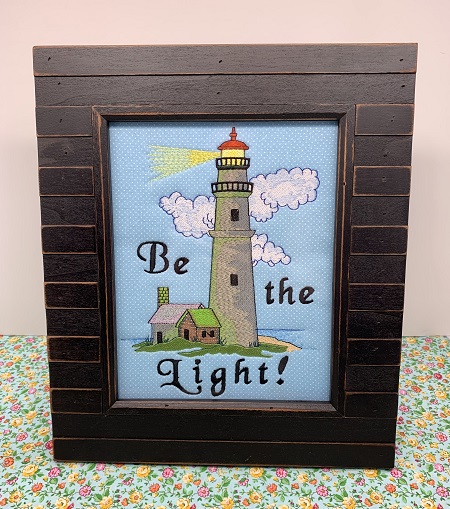
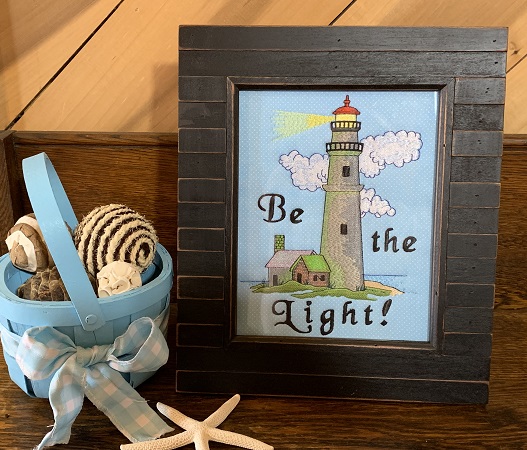
Lighthouse Picture in Frame
{{mainImageAlt || (productInfo._source && productInfo._source.name) || ''}}

Lighthouse Picture in Frame Embroidery Project

By   Marisa Littleton   on   May 01, 2019

PROJECT DETAILS

SKILL LEVEL
Some Experience
TIME REQUIRED
01:30
FINISHED SIZE
8 x 10 inches
Description

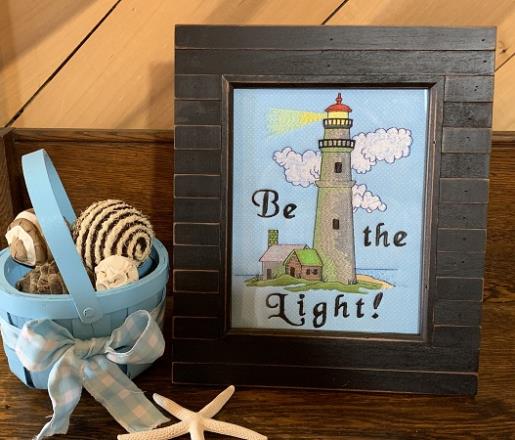
Inspire to 'Be the Light'. A scenic lighthouse that reminds you of windy beaches, sailing ships, and far away places.

Project Preview Video

Materials
  • Design Template
  • Font
  • 90/14 Embroidery needle
  • One 12"x 16" piece of neutral blender fabric (quilt shop quality)
  • One 8"x12" piece of fusible fleece
  • One piece of No Show mesh stabilizer to fit hoop
  • 8"x12" embroidery hoop
  • 40 wt. embroidery thread (Robison-Anton) per color chart or preference
  • Embroidery Software program (Embrilliance Essentials)
  • 8"x10" picture frame

  • Designs used in this project

    Final Product: What You Will Create

    Preface:
    Inspire to 'Be the Light' for yourself and others.  A scenic lighthouse reminds viewers of windy beaches, sailing ships, and far way places.  


    Step 1:
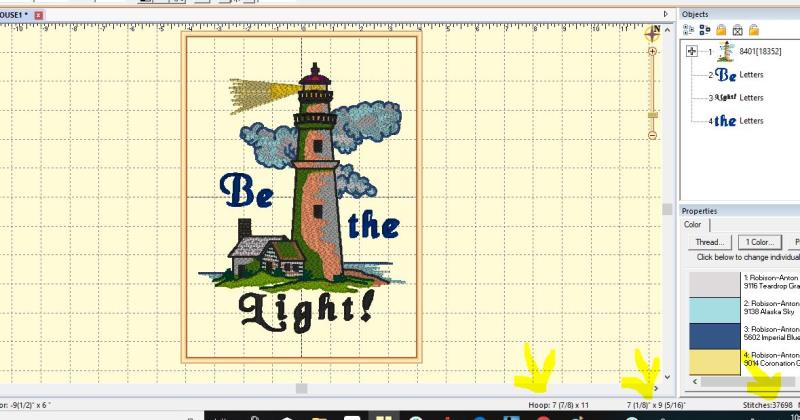
    Use embroidery software to add text to the lighthouse scene.  

    (Click Image to Enlarge)


    Step 2:
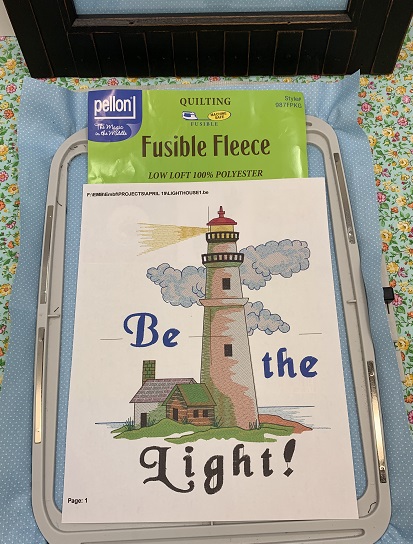
    Read the directions for the project.  Gather and prepare the materials.

    (Click Image to Enlarge)


    Step 3:
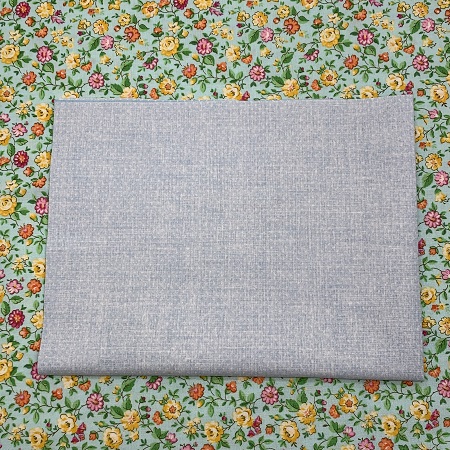
    Fold the fabric in half and then in half again.  Lightly press along the folded edges.


    Step 4:
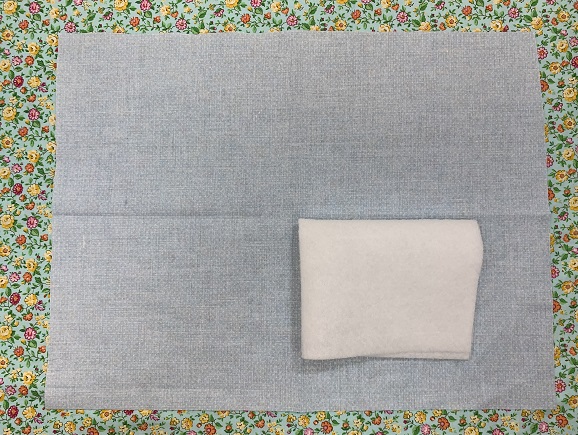
    Open the fabric and place right side down on a flat surface.  Fold the fusible fleece in half.  Fold in half again.  Place the folded fusible fleece onto the fabric.  Use the picture as a guide for placement.

    (Click Image to Enlarge)


    Step 5:
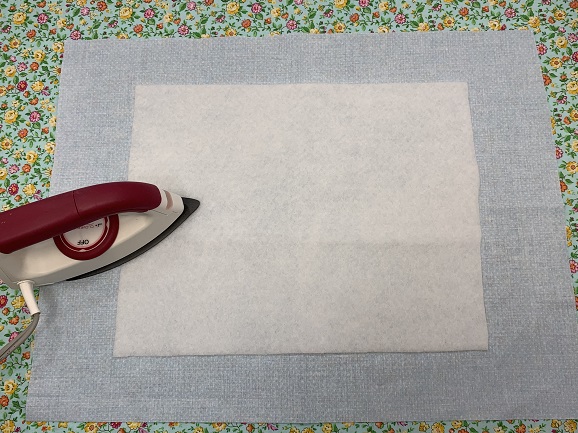
    Follow package directions to fuse the fleece to the fabric.

    (Click Image to Enlarge)


    Step 6:
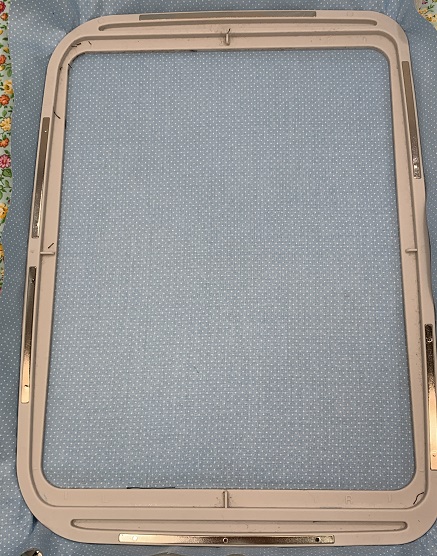
    Place the No Show mesh stabilizer on the hoop.  Place the fused fabric on top of the stabilizer and hoop.  Make sure the fused fleece covers the 8"x12" stitching area.

    (Click Image to Enlarge)


    Step 7:
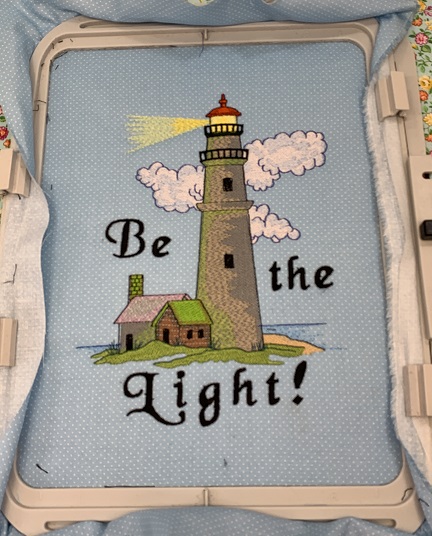
    Load the design template onto the embroidery machine.  Attach the embroidery hoop.  Make sure you are using a 90/14 embroidery needle.  Stitch the design.
     
    NOTE:  The design has a high stitch count with a combination of satin and fill stitches.  Watch your thread tension as you begin stitching.  You may need to loosen the tension to help prevent puckering.  However, the fusible fleece adds more stabilizer and support to the stitching and worked well. 

    (Click Image to Enlarge)


    Step 8:
    Remove the stitched design from the hoop.  Use the clear glass from the picture frame as a guide before trimming to 8"x10".  

    (Click Image to Enlarge)


    Step 9:
    Assemble the picture.


    Step 10:
    Congrats!  Awesome! 

    (Click Image to Enlarge)


    Learn by teaching...
     
     
    Marisa Littleton 
    Meet the Author: Marisa Littleton
    Marisa Littleton
    Marisa Littleton is a retired educator with a love for teaching and learning. Interests include machine embroidery, hand embroidery, quilting, cooking, and antiques.
    More From This Author
    Link is Broken, Please check the URL
    Exclusive Embroidery Offers!
    Copyright © {{ currentDate | date:'yyyy'}} - EmbroideryDesigns.com
    GET 50% OFF! ×