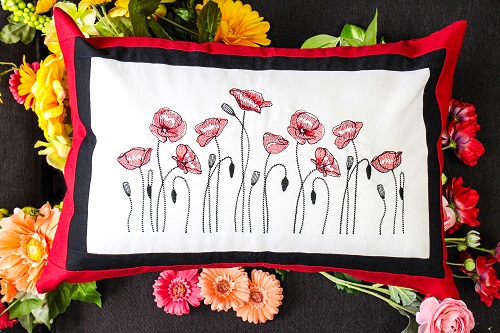
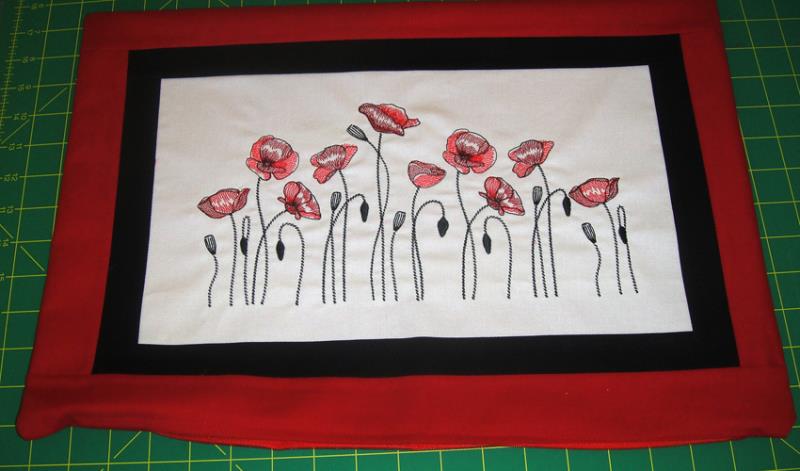
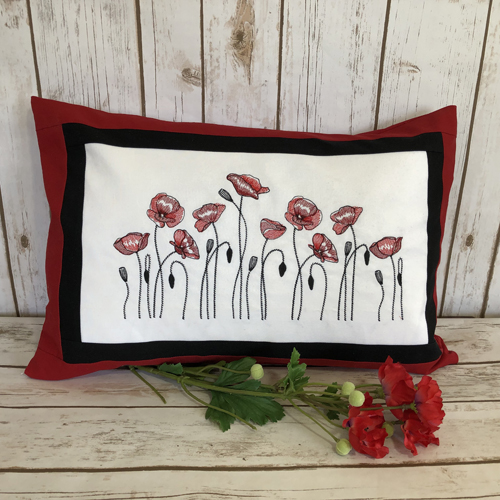
This pillow top is pieced first and then embroidered. Piecing it first allows the top to be large enough to fit perfectly in your large hoop. This pillow cover has a zipper inserted in the bottom. If you wish to make an envelope back purchase a ¾ yard of the red Kona Cloth®.
Step 1:
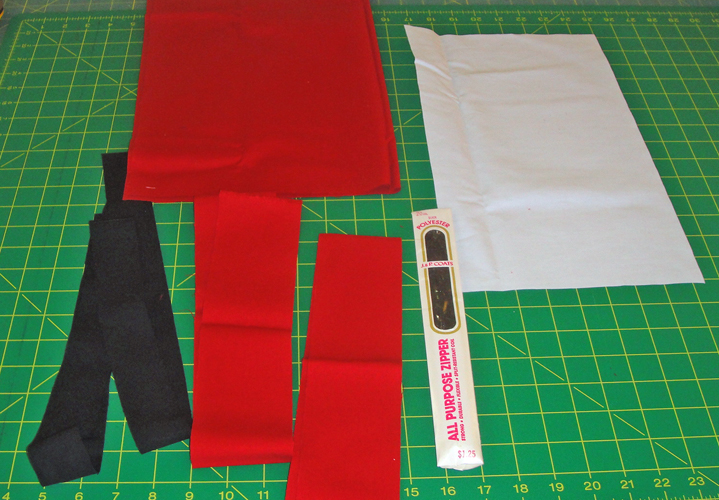
Cut your fabrics: a. Red 1 14” x 20” b. Red 2 2 ¾” x the width of the fabric c. White 1 8 ½” x 14 ½” d. Black 2 1 ½” x width of the fabric e. Knit interfacing 15” x 21”
(Click Image to Enlarge)
Step 2:
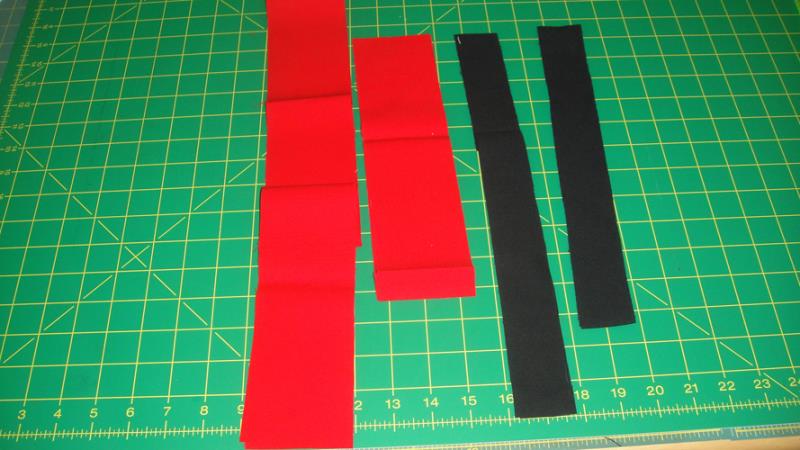
Sub cut from each a. black strip a 12” strip and an 18” strip b. red strip a 12” strip and a 23” strip
(Click Image to Enlarge)
Step 3:
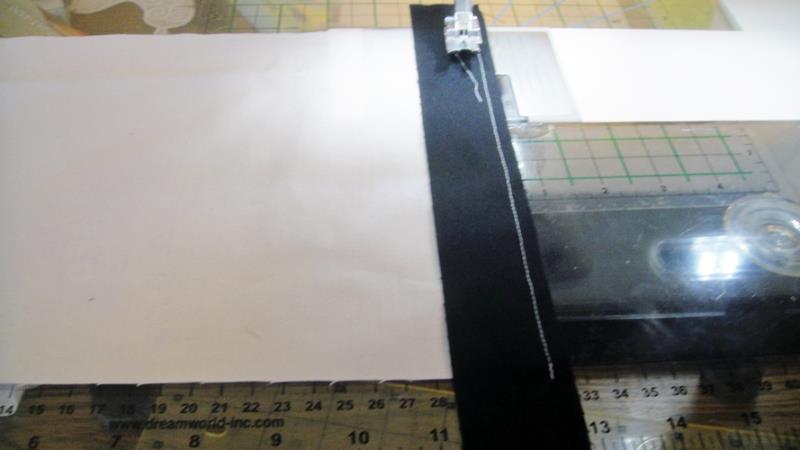
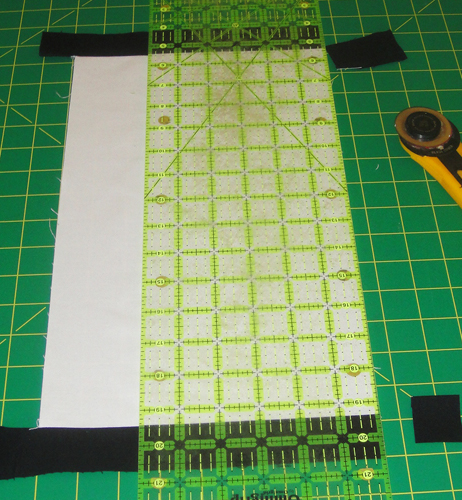
With a ¼” seam allowance stitch a black 12” strip down each short side of the white fabric having at least ½” of fabric extend beyond the top and bottom of the white fabric.
(Click Image to Enlarge)
Step 4:
Press the seams towards the black. Trim the excess black strip even with the white fabric.
Step 5:
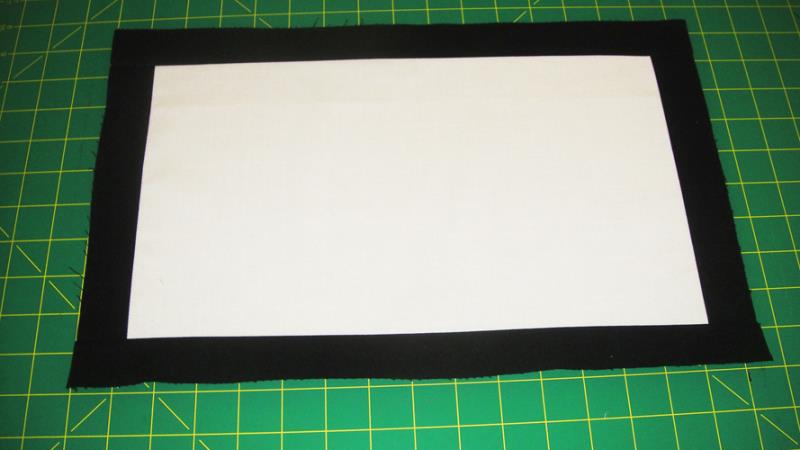
Stitch the top and bottom black strips, press and trim as you did the side strips.
(Click Image to Enlarge)
Step 6:
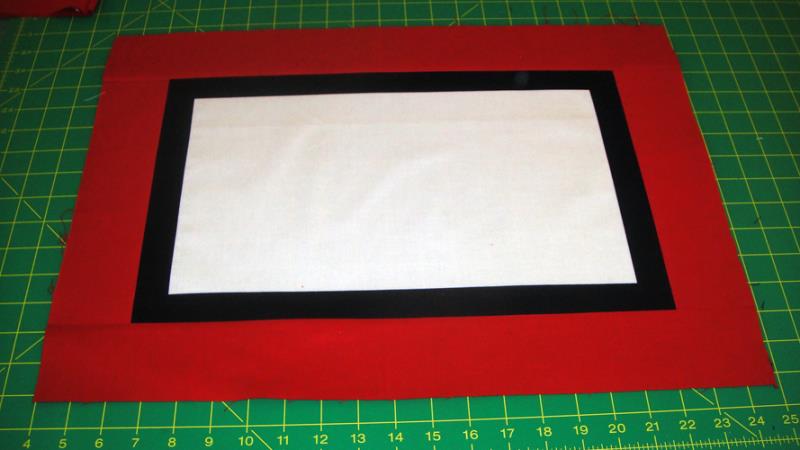
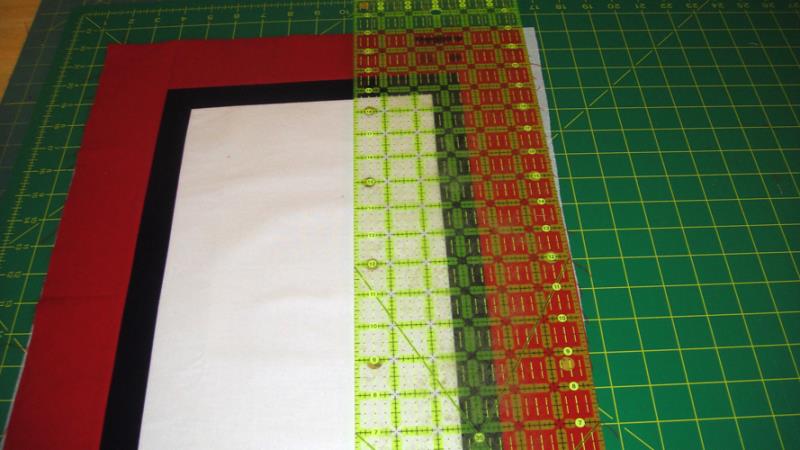
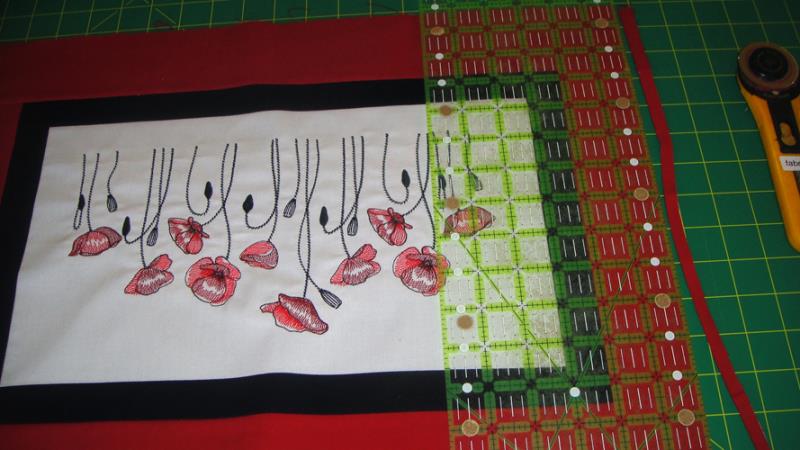
Stitch the red strips to the sides of the panel, press the seam towards the red strip and trim as you did for the black strips. Then stitch the red top and bottom strips, press and trim as before. The pillow top should now measure 15” x 21”.
(Click Image to Enlarge)
Step 7:
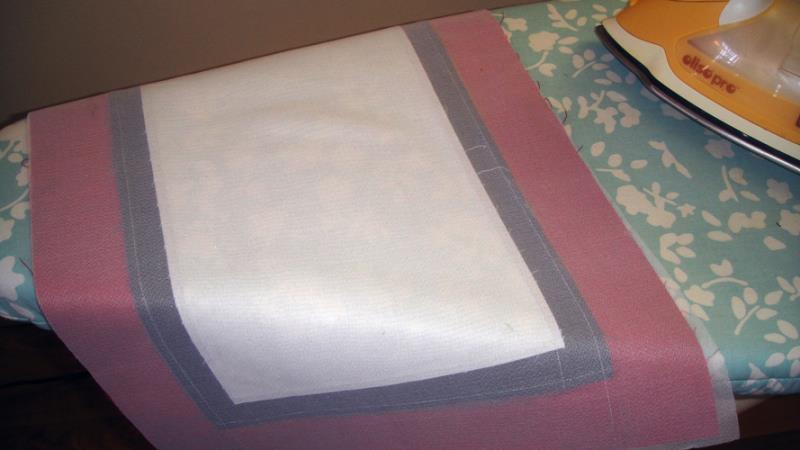
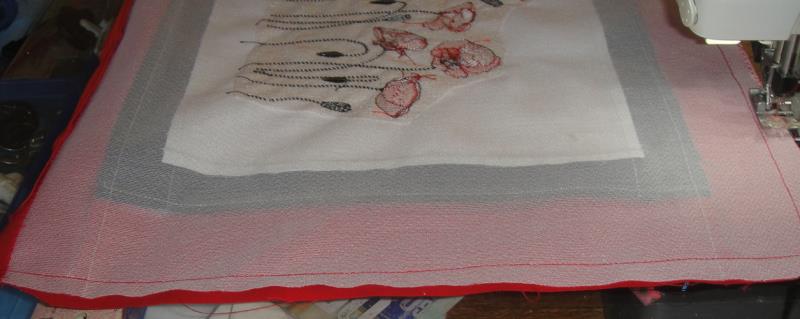
Fuse the knit interfacing to the back of pillow top following the manufacturer’s instructions.
(Click Image to Enlarge)
Step 8:
The light weight fusible knit interfacing seems to grow as it is fused to the fabric. Trim off any excess.
(Click Image to Enlarge)
Step 9:
(Click Image to Enlarge)
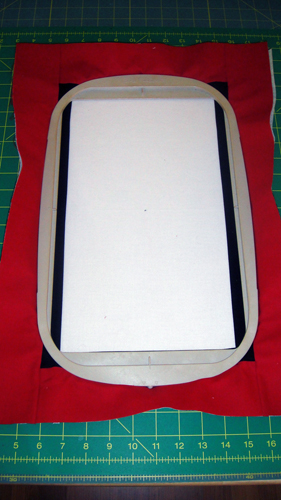
Fold the panel in half lengthwise and finger press to create a guideline for hooping purposes. Fold the panel in half width wise and finger press too. With a heat removable fabric marker make a dot in the center of the panel. Hoop carefully with, the no-show stabilizer, aligning the guidelines with the center marks on your hoop. We need the panel to be very straight in the hoop.
Step 10:
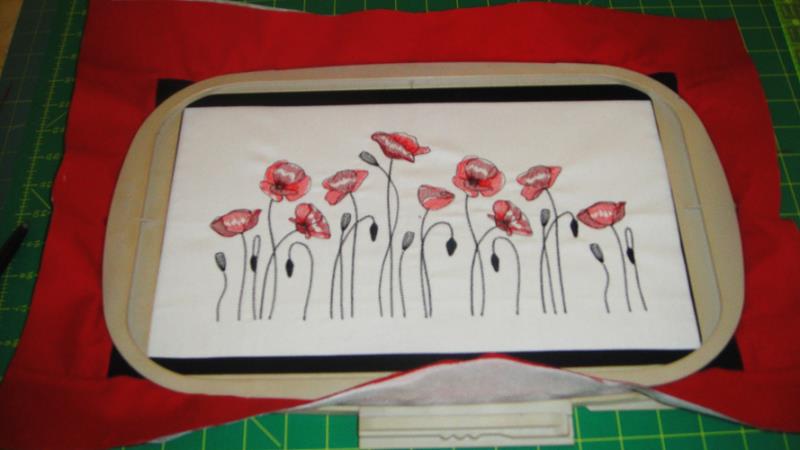
Embroidery the Poppy Field design following the color chart.
(Click Image to Enlarge)
Step 11:
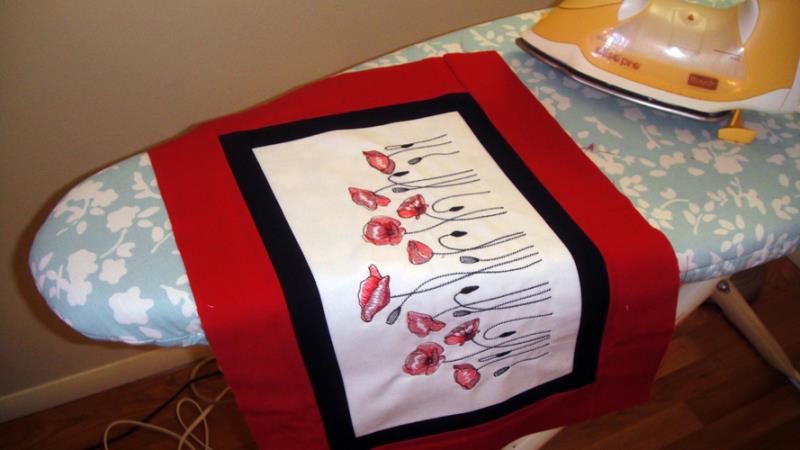
Press the pillow top to remove any hoop marks and the center mark you made with the pen.
(Click Image to Enlarge)
Step 12:
The pillow top is 1” wider and taller than we need. This extra allowance was made to compensate for any fluctuations in seam allowances. Trim the pillow top to 14” x 20” by trimming approximately ½” from each edge.
(Click Image to Enlarge)
Step 13:
(Click Image to Enlarge)
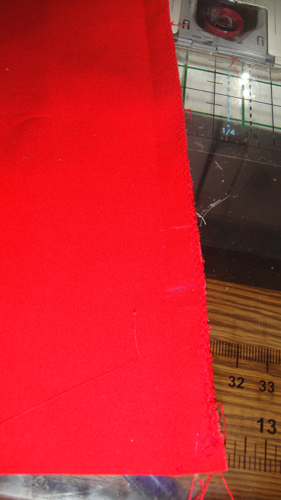
Zigzag down the bottom edge of the pillow cover and the bottom of the back fabric to prevent it from unraveling after the zipper is inserted.
Step 14:
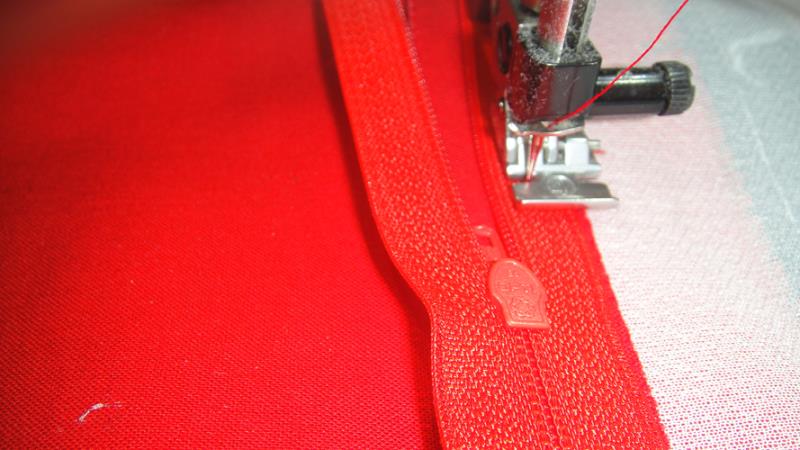
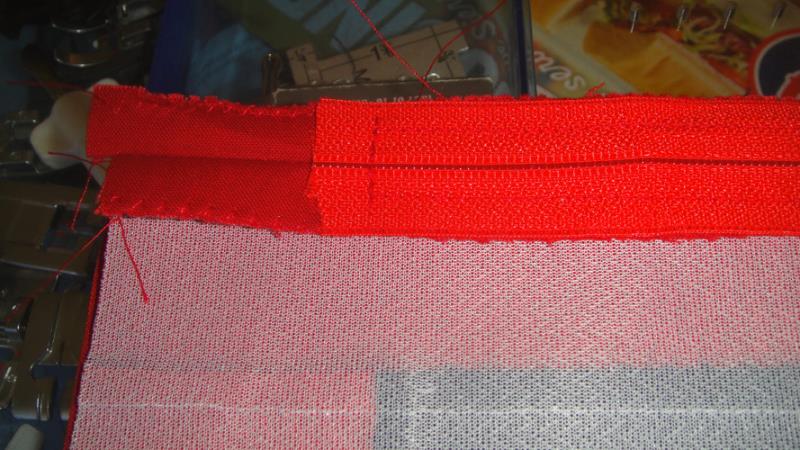
Insert the zipper at the bottom of the cover. There are many video tutorials and instructions for this on YouTube and the internet. I suggest that you watch a few of those to choose your favorite method. The bottom edge of the seam was sewn in three inches from each end in the sample and the zipper was installed in the remaining 16” of the pillow cover bottom.
(Click Image to Enlarge)
Step 15:
Trim off any excess zipper at the top and bottom of the zipper.
(Click Image to Enlarge)
Step 16:
Open the zipper, fold the pillow cover in half right sides together aligning the bottom edges. Stitch around the 3 sides of the cover with a ½” seam allowance. Trim the corners and Zigzag or serge around the seam allowances to prevent raveling.
(Click Image to Enlarge)
Step 17:
Turn the cover right side out through the zipper and press.
(Click Image to Enlarge)
Step 18:
Insert the pillow form. Congratulations your Poppy Field Pillow is complete!
Award winning Digitizer, Embroidery Educator, Author and a Consultant to the Industry, Pat Williams has 30 years of experience in the embroidery industry. Pat has won multiple awards for her digitizing expertise including the 2007 Impressions Awards Grand Championship, Best of Show as well as the 1st and 2nd Place Awards. Pat’s love of digitizing has afforded her the opportunity to write numerous articles for Impressions magazine in the United States and Images Magazine in Europe. In 2001 Pat was named “Embroidery Educator of the Year.” For many years Pat taught digitizing seminars at the ISS Shows in Long Beach, CA and for Compucon software. She now resides in Tucson, AZ.