{{superHeaderAds.title}}
Live Chat
Embroidery Designs
Welcome, Embroiderer
Login
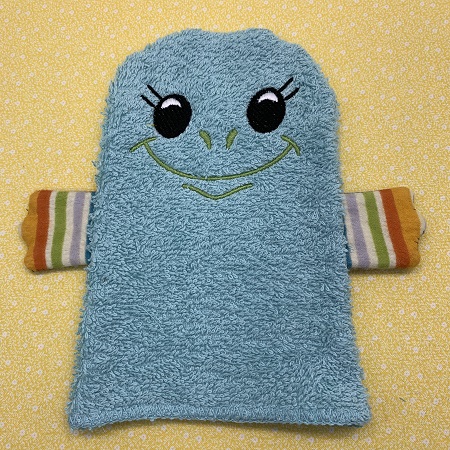
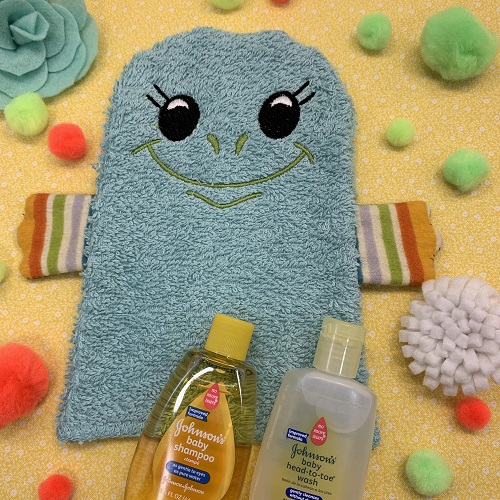
Frog Bath Puppet
{{mainImageAlt || (productInfo._source && productInfo._source.name) || ''}}

Frog Bath Puppet Embroidery Project

By   Marisa Littleton   on   April 01, 2019

PROJECT DETAILS

SKILL LEVEL
Some Experience
TIME REQUIRED
01:00
FINISHED SIZE
5 x 8 inches
Description

Ribbbbittt! Hear the sounds of frogs in the spring time or your bath...

Project Preview Video

Materials
  • 4”X4” hoop
  • Design template & color chart
  • Frog Bath Puppet pattern (pdf file)
  • Two pieces of 8”x5” terry cloth (washcloth)
  • Four pieces 3”x3” flannel
  • Two pieces 3”x3” of Bosal foam
  • Lightweight (2.0) cut-away stabilizer
  • Water soluble topping
  • 40 wt. Embroidery thread (Robison-Anton super brite poly)
  • 505 Temporary Adhesive Spray
  • Sewing Machine, thread

  • Designs used in this project

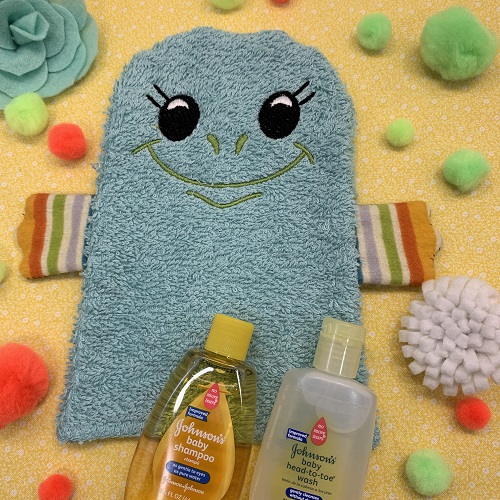
    Final Product: What You Will Create

    Preface:
    Rrribbbitt!  Hear the sounds of frogs croaking in the springtime OR in the tub with this fun bath puppet.  


    Step 1:
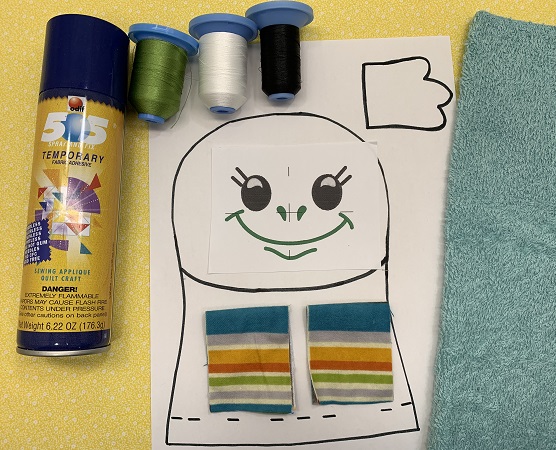
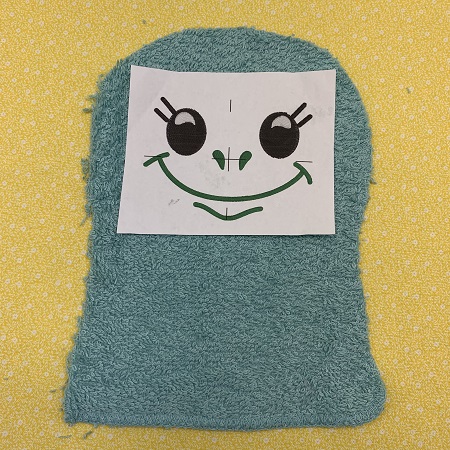
    Gather and prepare the materials needed for the Frog Bath puppet.  Read the directions.  Print out a design template.  Print the pdf. Frog Bath puppet pattern found with the directions.

    (Click Image to Enlarge)


    Step 2:
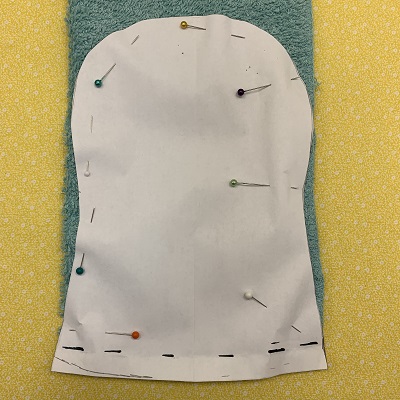
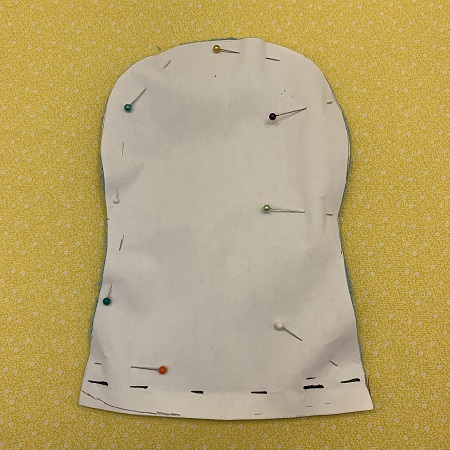
    Pin the body of the frog puppet onto the fabric.  If using a washcloth, you can skip hemming by using the bottom edge of the washcloth.  


    Step 3:
    Cut out the body of the Frog Bath puppet.


    Step 4:
    Place one piece of the body fabric on a flat surface with the right fabric side facing you.  Use the design template to help with finding the placement of the face on the body.  


    Step 5:
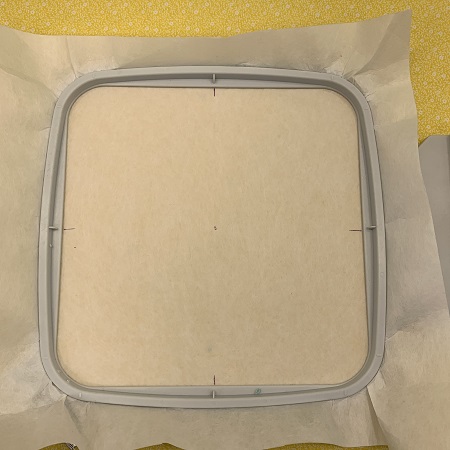
    Hoop one piece of lightweight (2.0) cut-away stabilizer.


    Step 6:
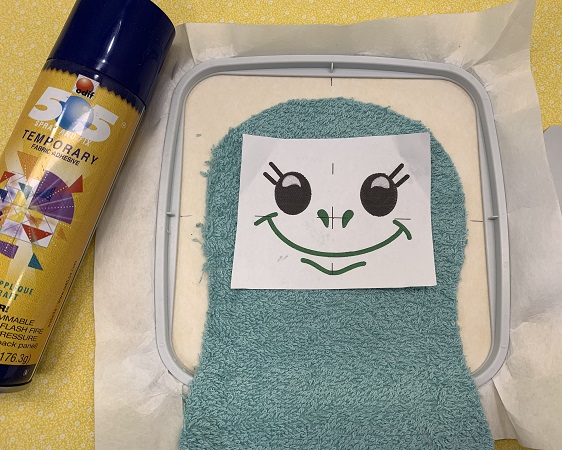
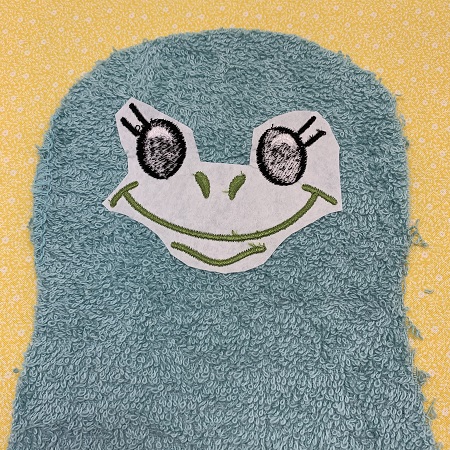
    Float the fabric on the stabilizer.  Use the center and axis points on the design template and hoop to center the fabric/design.  Use a light mist of temporary adhesive spray to hold the fabric in place on the stabilizer.   Place one piece of water soluble topping over the fabric in the hoop.

    (Click Image to Enlarge)


    Step 7:
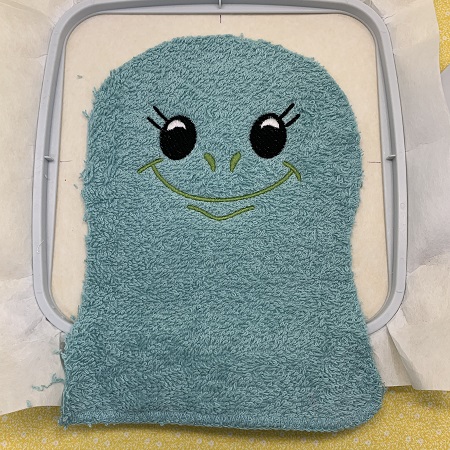
    Load the design onto the machine.  Stitch the design.  Gently remove the water soluble topping from the stitching using a soft eraser tip or the white tip on a Seam-Fix.


    Step 8:
    Trim the cut-away stabilizer from around the stitched design leaving about a 1/2" margin.


    Step 9:
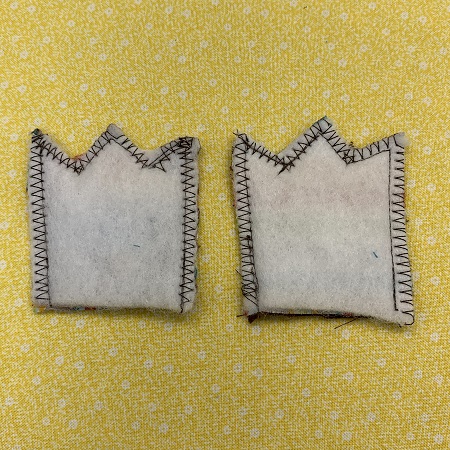
    Layer two pieces of flannel for a frog leg together with right sides facing each other.  Lay a piece of the Bosal foam or low nap quilt batting on top.  Pin the fabric in place.  Stitch a 1/4" seam around the outer edges of the leg leaving the bottom open for turning.  Stitch a zigzag or serge around the edge of each leg.  Turn the legs.  


    Step 10:
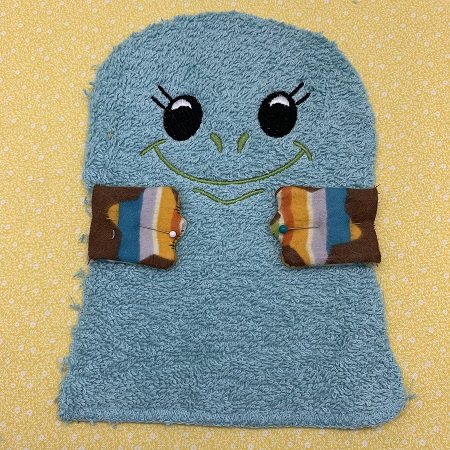
    Measure 3" from the hemmed bottom edge (measure 3.5" if not using the hem from a washcloth).  Pin the leg in place on each side.


    Step 11:
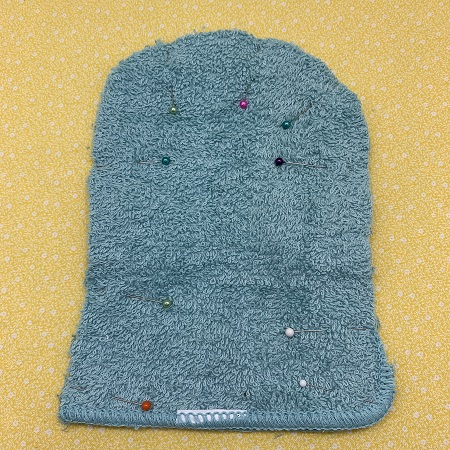
    Place the second piece of terry cloth on the frog with right sides facing each other.  Pin the pieces together.


    Step 12:
    Stitch a 1/4" seam around the outer edge of the frog.  Use a zig-zag stitch or a serger around the edge again.  Turn the frog right side out.


    Step 13:
    Good job!  Hope you enjoyed making the Frog Bath puppet.  Check out all the other cool animal faces in the collection!

    Learn by teaching and sharing...
     
     
    Marisa Littleton 
    Meet the Author: Marisa Littleton
    Marisa Littleton
    Marisa Littleton is a retired educator with a love for teaching and learning. Interests include machine embroidery, hand embroidery, quilting, cooking, and antiques.
    More From This Author
    Link is Broken, Please check the URL
    Exclusive Embroidery Offers!
    Copyright © {{ currentDate | date:'yyyy'}} - EmbroideryDesigns.com
    GET 50% OFF! ×