{{superHeaderAds.title}}
Live Chat
Embroidery Designs
Welcome, Embroiderer
Login
Chick Teether
{{mainImageAlt || (productInfo._source && productInfo._source.name) || ''}}

Chick Teether  Embroidery Project

By   Marisa Littleton   on   April 01, 2019

PROJECT DETAILS

SKILL LEVEL
Some Experience
TIME REQUIRED
01:00
FINISHED SIZE
6 x 6 inches
Description

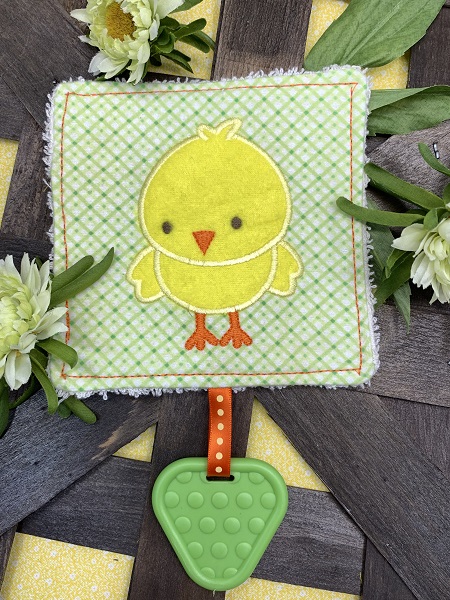
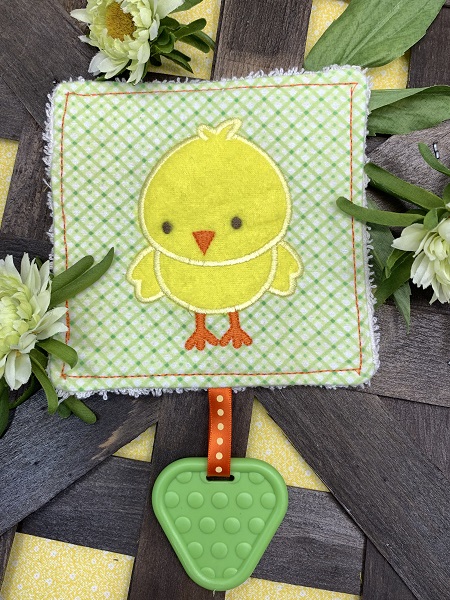
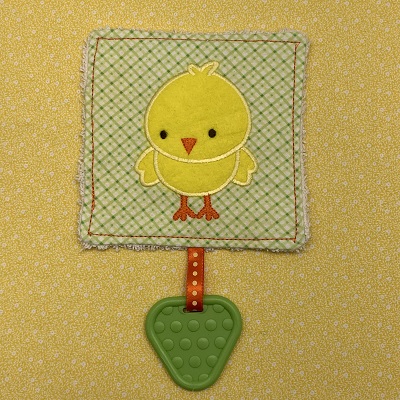
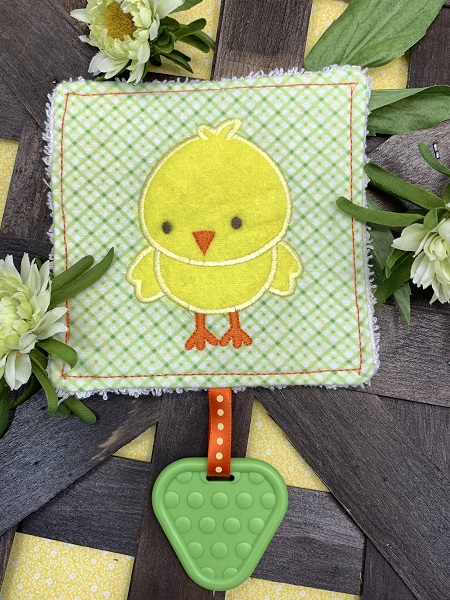
A soft, fuzzy chick on flannel with a terry cloth back.

Project Preview Video

Materials
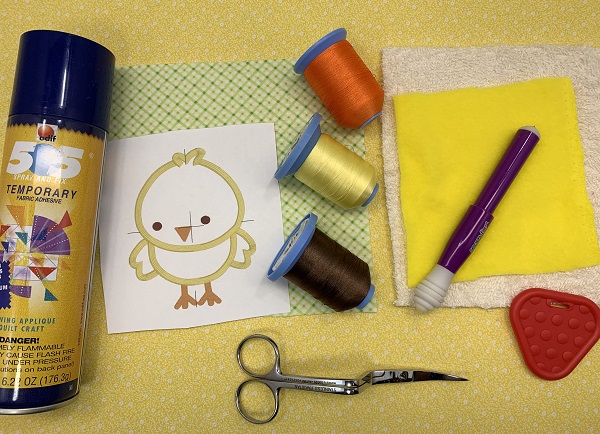
  • 4”X4” hoop
  • Design template & color chart
  • No Show mesh stabilizer
  • Water soluble topping
  • 40 wt. Embroidery thread (Robison-Anton super brite poly)
  • 6.5”x6.5” piece of flannel
  • 6.5”x6.5” piece of terry cloth (wash cloth)
  • 4”x4” piece of yellow fleece
  • Silicon teether (local craft store or Etsy)
  • 3.5" piece of grosgrain ribbon (width depends on opening in teether)
  • 505 Temporary Adhesive Spray
  • Applique scissors
  • Sewing Machine, thread

  • Designs used in this project

    Final Product: What You Will Create

    Preface:
    A soft, fuzzy baby chick on flannel with a terry cloth back adds to the sensory experience for a baby.  The baby chick is appliqued on flannel.  Very basic sewing skills needed to complete the project.


    Step 1:
    Gather and prepare the materials needed for the 'Chick Teether'.  Read the directions carefully.  

    (Click Image to Enlarge)


    Step 2:
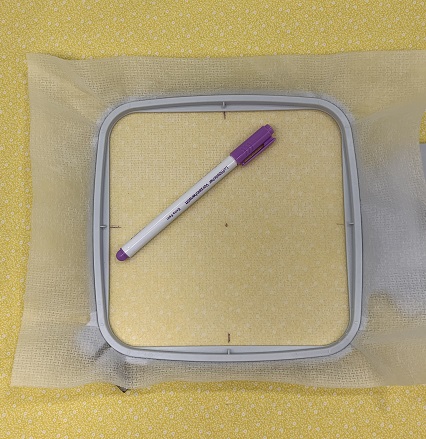
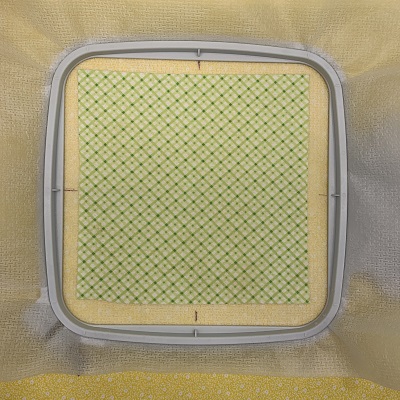
    Hoop one piece of No-Show mesh stabilizer.   Mark the center and axis points on the stabilizer.


    Step 3:
    Float the piece of flannel on the stabilizer.  Mark the center and axis points on the flannel.    Match the centers and axis points on the flannel and stabilizer.  Lightly mist the back of the flannel with 505 Temporary Adhesive spray and gently press in place.  Make sure the flannel surface is smooth and wrinkle free.


    Step 4:
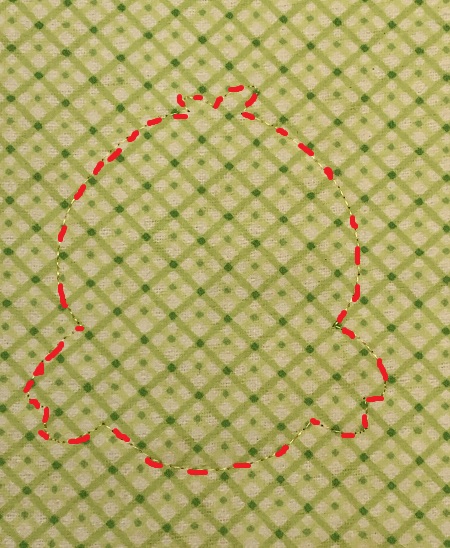
    Load the embroidery design in the machine.  1.1 on the Color Guide is the placement stitch for the yellow fleece.

    (Click Image to Enlarge)


    Step 5:
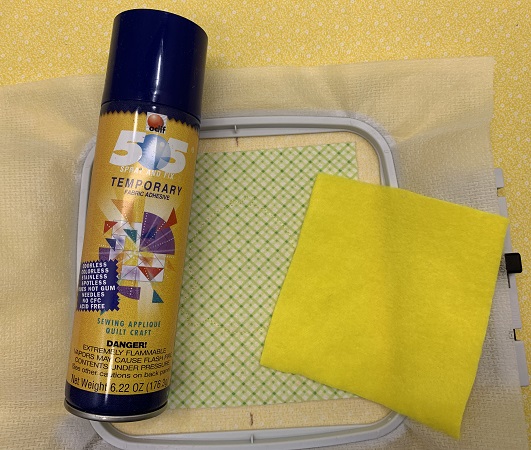
    Lightly spray the back of the fleece with 505 Temporary Adhesive.  Place the fleece over the placement stitches.   Place one piece of Water Soluble topping over the fleece.

    (Click Image to Enlarge)


    Step 6:
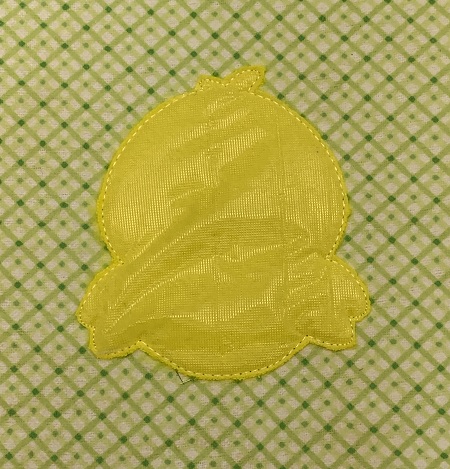
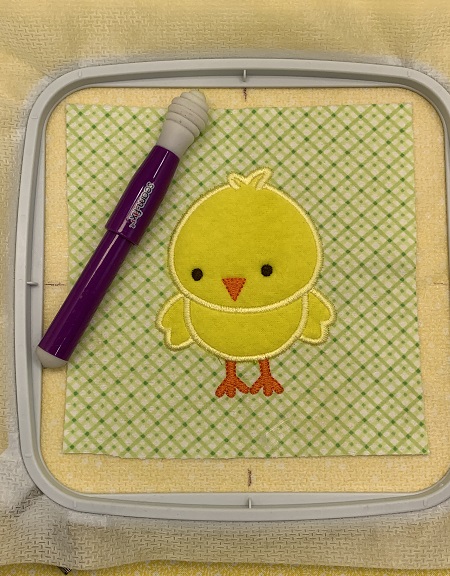
    1.2 on the Color chart will tack down the fleece.  Remove the hoop from the machine but DO NOT remove the fabric from the hoop.  Trim around the chick as close as you can without clipping any stitches.  Reattach the hoop.


    Step 7:
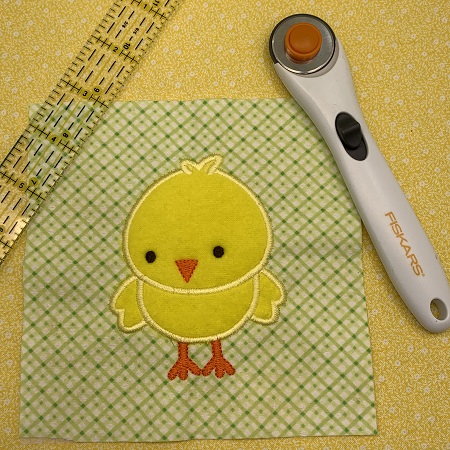
    Finishing stitching the chick.  Remove the hoop from the machine.  Gently remove the Water Soluble topping from the chick.  An eraser tip is a quick easy way to remove the water soluble topping.  

    (Click Image to Enlarge)


    Step 8:
    Trim off the stabilizer to match the size of the flannel.


    Step 9:
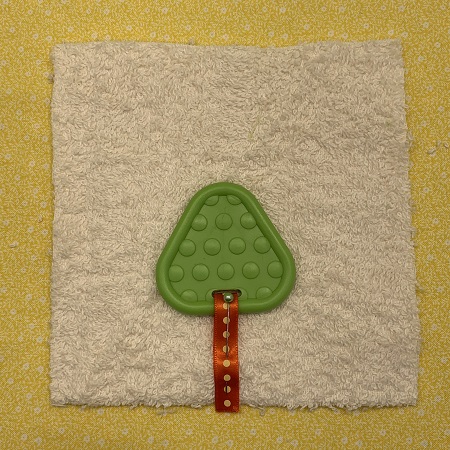
    Place the 6.5"x6.5" piece of terry cloth on a flat surface.  Find the center at the bottom of the terry cloth.  Loop the ribbon through the teether.  Place the ribbon with the teether on the center at the bottom of the terry cloth.  Pin in place.   Stitch a 1/4" seam two times over the ribbon.  


    Step 10:
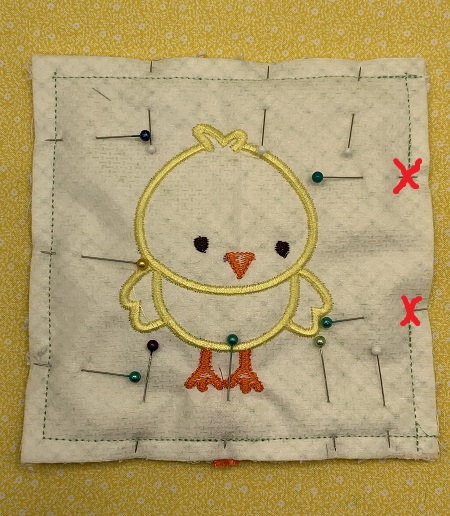
    Place the flannel piece with right side down on over the terry cloth.  Make sure that the teether piece is on the inside.  Pin the two pieces together leaving a 3" section open for turning.  Stitch a 1/4" seam around the edges.  

    (Click Image to Enlarge)


    Step 11:
    Turn the fabric to the right side.  Fold the fabric inward at the opening and pin in place.  Topstitch around the edge of the fabric.


    Step 12:
    You have finished!  Great job!

    (Click Image to Enlarge)


    Learn by teaching...
     
     
    Marisa Littleton 
    Meet the Author: Marisa Littleton
    Marisa Littleton
    Marisa Littleton is a retired educator with a love for teaching and learning. Interests include machine embroidery, hand embroidery, quilting, cooking, and antiques.
    More From This Author
    Link is Broken, Please check the URL
    Exclusive Embroidery Offers!
    Copyright © {{ currentDate | date:'yyyy'}} - EmbroideryDesigns.com
    GET 50% OFF! ×