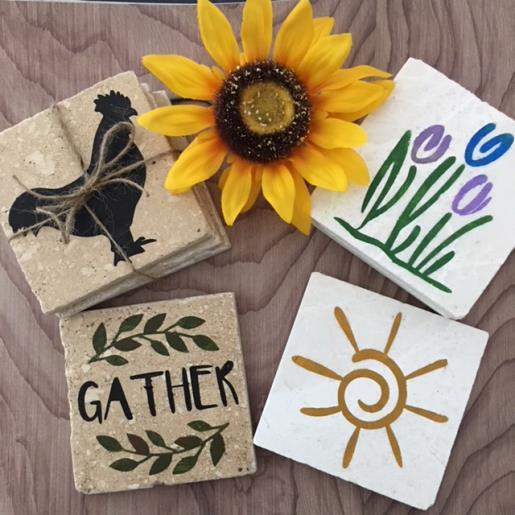
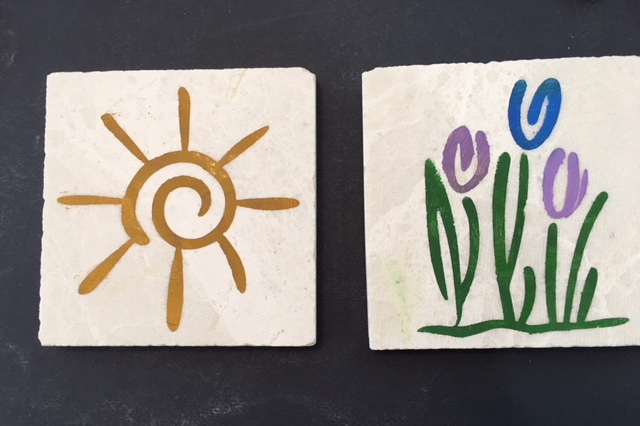
With your artistic creativity you can make a decorative tile coaster by creating a stencil using your cutting machine and adding a little paint to make your design “POP”! With so many SVG/Print Art designs to choose from you can make an array of themed decorative tile coasters as a set for yourself or to match any one’s décor as well as personalize for a special occasion.
* BASIC KNOWLEDGE OF CUTTING MACHINE AND HOW TO PREPARE VINYL FOR STENCIL IS NEEDED.
Step 1:
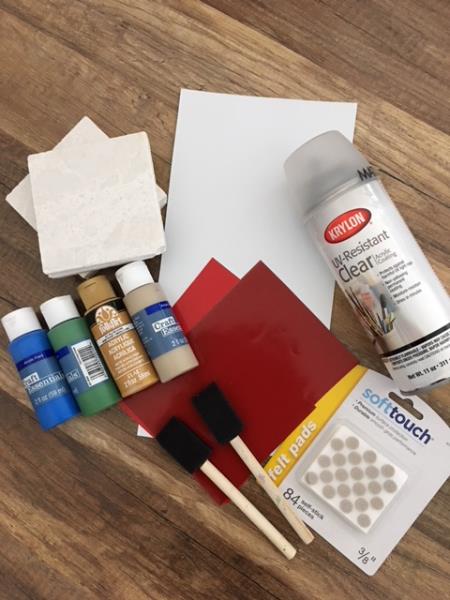
Gather all materials and review instructions before beginning. Time stated is for 4 coasters and includes drying time.
(Click Image to Enlarge)
Step 2:
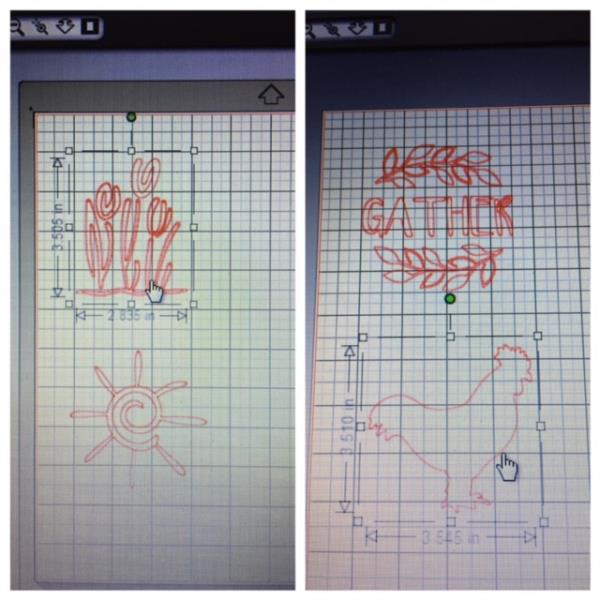
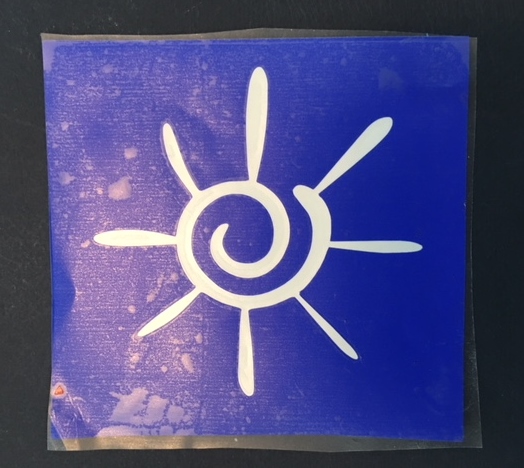
Bring the SVG/Print Art design into your cutting machine software. Resize designs to approximately 3.5” x 3.5 . (You may have to cut the designs individually depending on your vinyl scrap size)
For Silhouette Cameo owners/users: If your Silhouette machine has not been updated to allow working with an SVG (cuttable) file. you can work around this by downloading the Print Art design as a JPEG or PNG file. You will find instructions on how to work around to “cut” your design by reviewing Step 4 of my Thanksgiving Themed Wood Art/SVG project tutorial.
(Click Image to Enlarge)
Step 3:
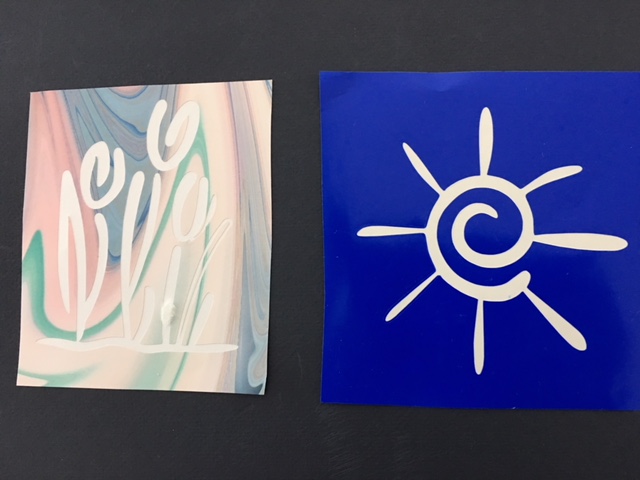
Bring the SVG/Print Art design into your cutting machine software. Resize designs to approximately 3.5” x 3.5 . (You may have to cut the designs individually depending on your vinyl scrap size)
For Silhouette Cameo owners/users: If your Silhouette machine has not been updated to allow working with an SVG (cuttable) file.. you can work around this by downloading the Print Art design as a JPEG or PNG file. You will find instructions on how to work around to “cut” your design by reviewing Step 4 of my Thanksgiving Themed Wood Art/SVG project tutorial.
(Click Image to Enlarge)
Step 4:
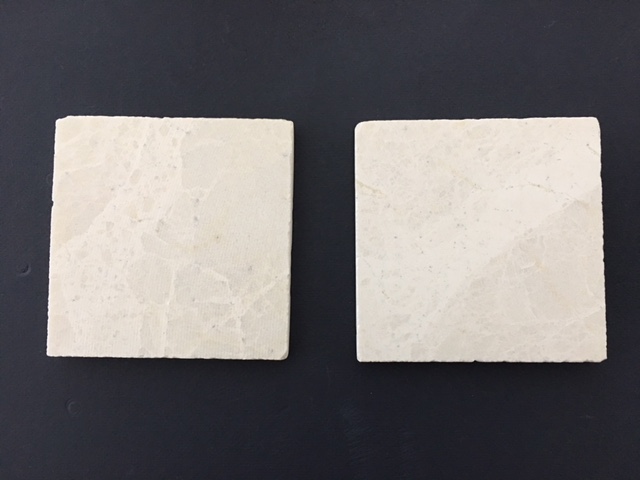
Wipe your tile surface from any dust.
(Click Image to Enlarge)
Step 5:
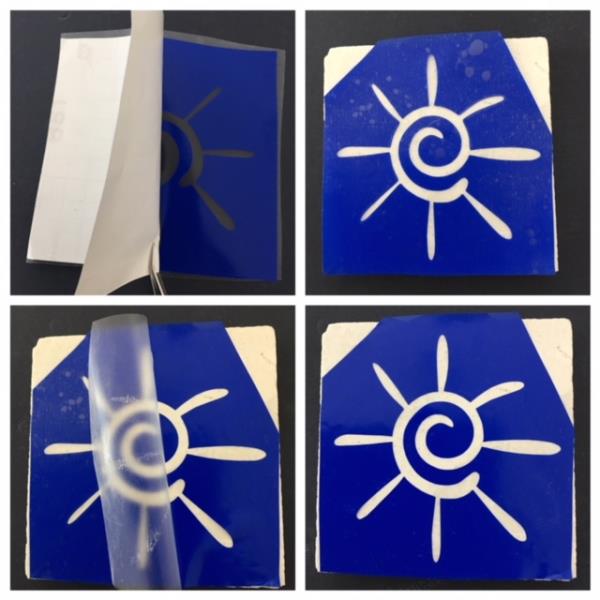
Apply transfer tape to your stencil per manufacturer’s instructions.
(Click Image to Enlarge)
Step 6:
Remove back adhesive, center and apply to tile. (You may have to cut corners of the vinyl to give you a better view to center) Fingertip press to adhere smoothing out the bubbles from around the lettering/design. Remove your top layer transfer paper slowly. If any of the design/ vinyl lettering sticks to your transfer paper just slowly push it back down onto the tile using your finger or tool.
(Click Image to Enlarge)
Step 7:
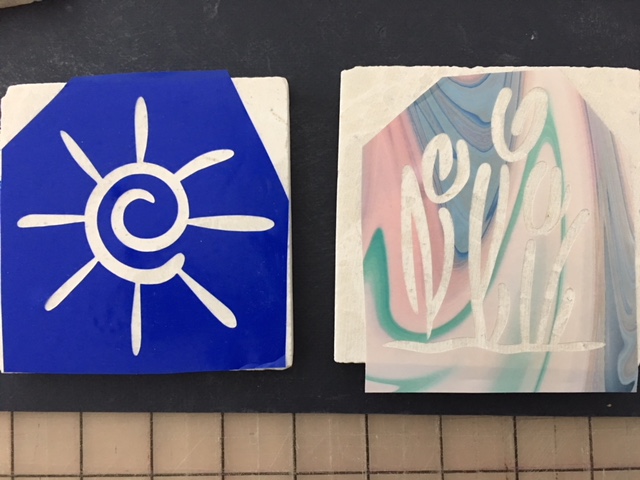
Your stenciled tile is complete and ready to paint. . (Picture shows two tiles that have been prepared for painting)
(Click Image to Enlarge)
Step 8:
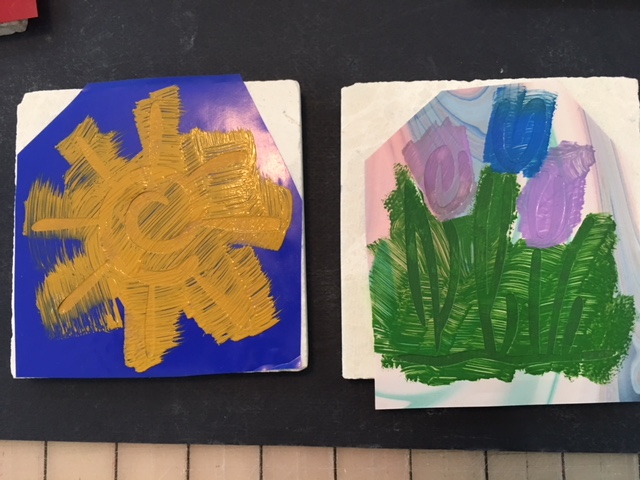
Using your desired choice of colors, paint the open areas of your stencil. Let dry.
(Click Image to Enlarge)
Step 9:
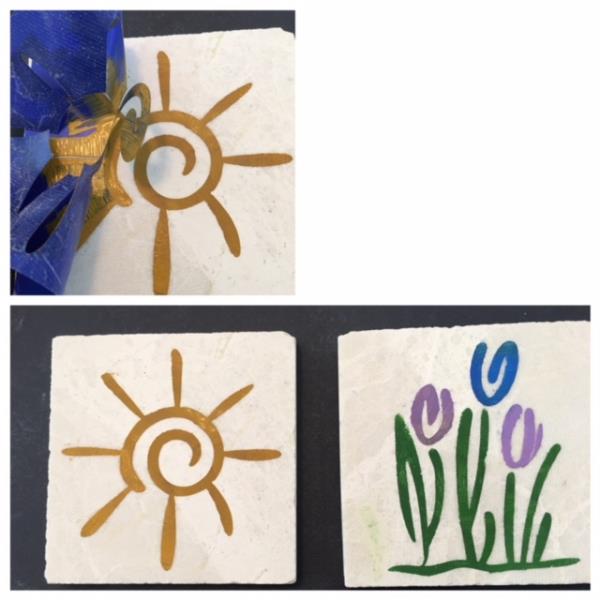
When dry, slowly remove the stencil from the tile. If there are any pieces of vinyl adhered to your tile, remove with your tool pick. The acrylic paint is very forgiving so if some of the paint seeped under your stencil, using a wet wipe, carefully remove the excess paint from the outlined area.
(Click Image to Enlarge)
Step 10:
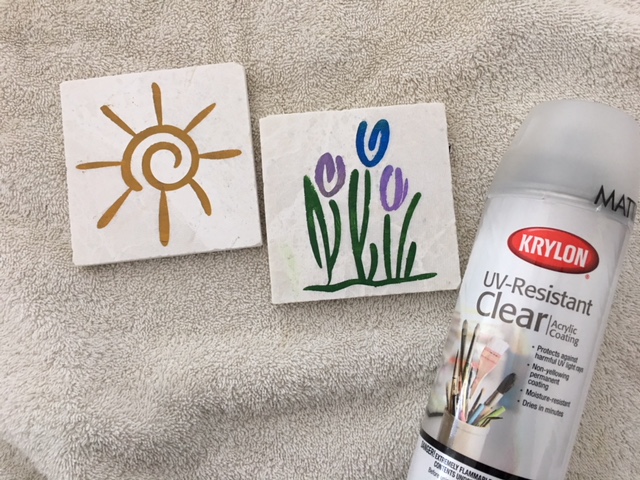
Spray the painted tile with the clear acrylic coating spray. Let dry. (This will help “seal” the tile coaster from any moisture when using.)
(Click Image to Enlarge)
Step 11:
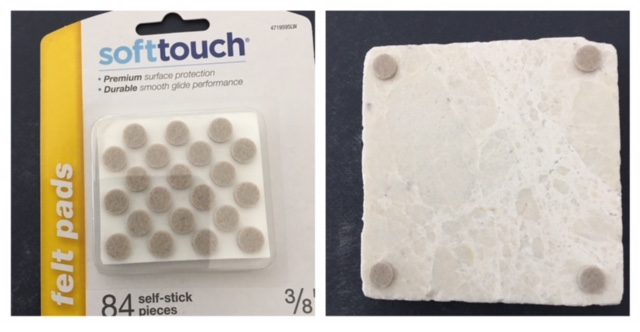
Apply the self-stick felt pads (per manufacturer’s instructions) to each corner on the back of the tile.
(Click Image to Enlarge)
Step 12:
Congratulations! Your decorative tile coaster is now complete. Repeat the steps to make your set of four coasters. With so many SVG/Print Art designs these tile coasters make great gifts to personalize.