{{superHeaderAds.title}}
Live Chat
Embroidery Designs
Welcome, Embroiderer
Login
Kids Circular Easter Placemat
{{mainImageAlt || (productInfo._source && productInfo._source.name) || ''}}

Kids Circular Easter Placemat Embroidery Project

By   Linda Mills   on   March 11, 2019

PROJECT DETAILS

SKILL LEVEL
Beginner
TIME REQUIRED
01:30
Description

Brighten up the kids’ dinner table at Easter with a circular Easter placemat that is sure to please.

Project Preview Video

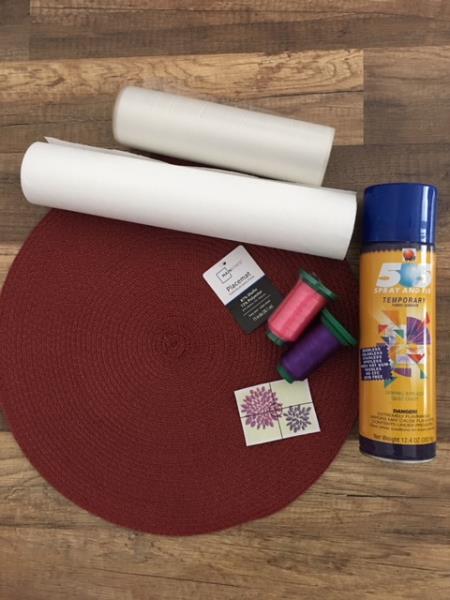
Materials
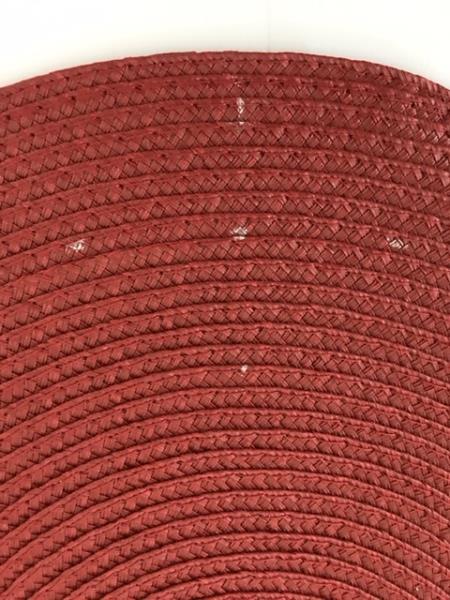
  • CIRCULAR SYNTHETIC STRAW PLACEMAT
  • EMBROIDERY THREAD ( TWO COLORS OF CHOICE)
  • TEMPORARY SPRAY ADHESIVE
  • TEAR AWAY STABILIZER
  • WATER SOLUBLE STABILIZER ( OPTIONAL)
  • CHALK OR AIR ERASE FABRIC PEN

  • Designs used in this project

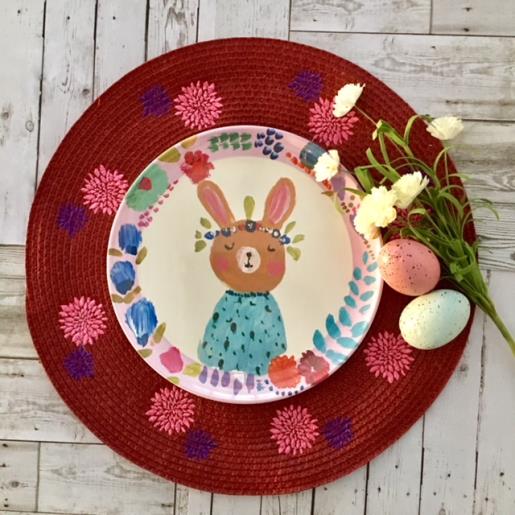
    Final Product: What You Will Create

    Preface:
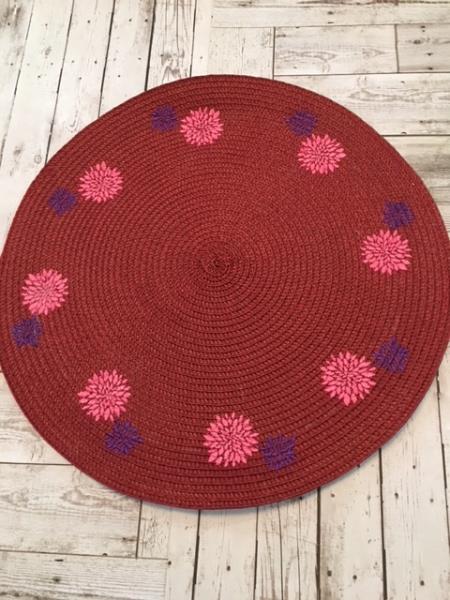
    Embroider the Deco Mums design as a border on a circular synthetic straw placemat and for the finishing touch, add a matching plate for a cute focal point on the kids’ dinner table this Easter.  


    Step 1:
    Gather all materials and review instructions before beginning.  


    (Click Image to Enlarge)


    Step 2:
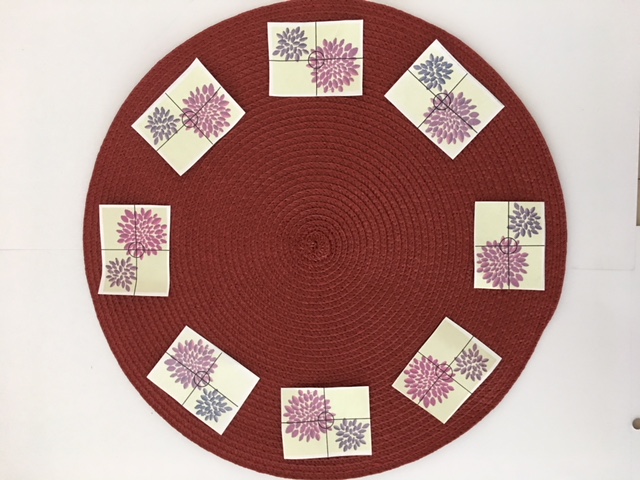
    Print out a template of the embroidery design. Optional: you can print out as many templates as you will need to form the border around your circular placemat for review.
     
    Note: Time stated is 1 1/2 hours for this tutorial as the Deco Mums design was stitched out 8 times to complete the border.  Less design stitch out = less time.  

    (Click Image to Enlarge)


    Step 3:
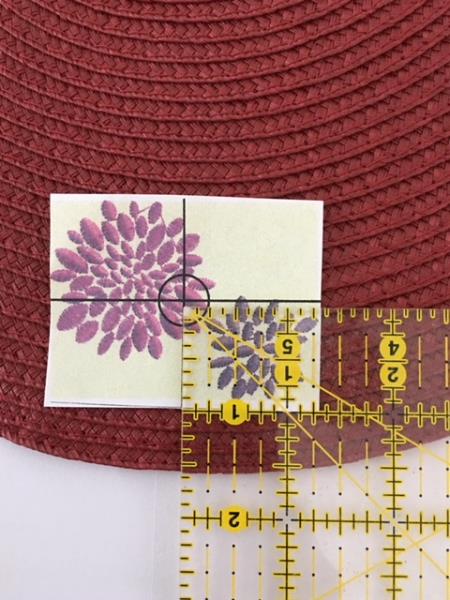
    Placement of design template is 1 ½” from the center of the design to edge of the placemat.   

    (Click Image to Enlarge)


    Step 4:
    When you have your design template placed where you want it,  mark the center and axis lines as shown in the picture.  

    (Click Image to Enlarge)


    Step 5:
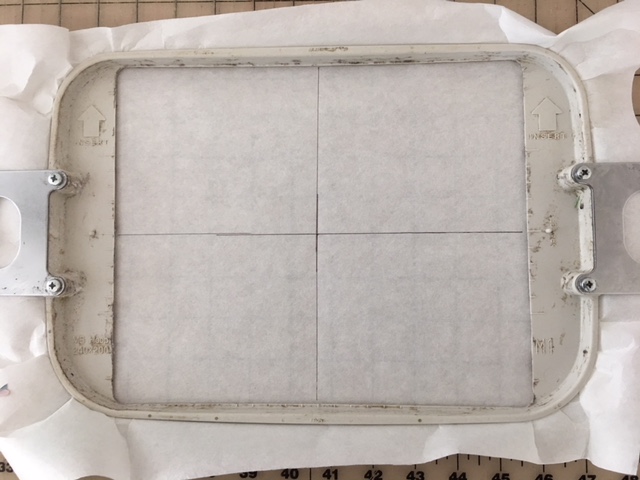
    Cut a piece of tear away stabilizer a bit larger than your hoop. Hoop and mark with an axis line cross hair. 

    (Click Image to Enlarge)


    Step 6:
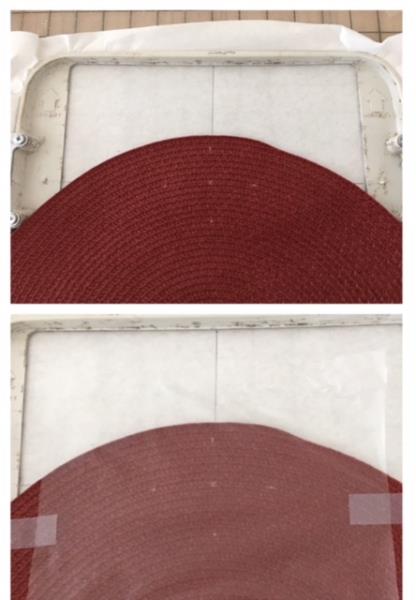
    Spray hooped stabilizer lightly with temporary adhesive spray. Place onto stabilizer lining up your top, bottom, and side axis lines. Fingertip press to secure. Optional: cut a piece of lightweight soluble stabilizer and place on top securing with tape on sides to hold in place. Using a soluble stabilizer on top will help the stitches lay evenly as the synthetic straw placemat has ridges. 

    (Click Image to Enlarge)


    Step 7:
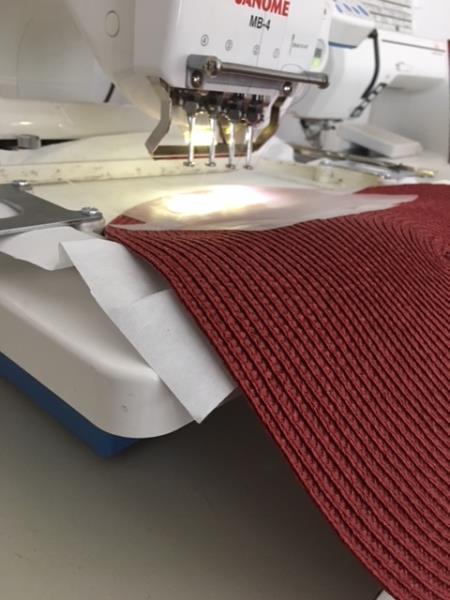
    Load embroidery design into your machine. Attach hoop and begin the embroidering process. 

    (Click Image to Enlarge)


    Step 8:
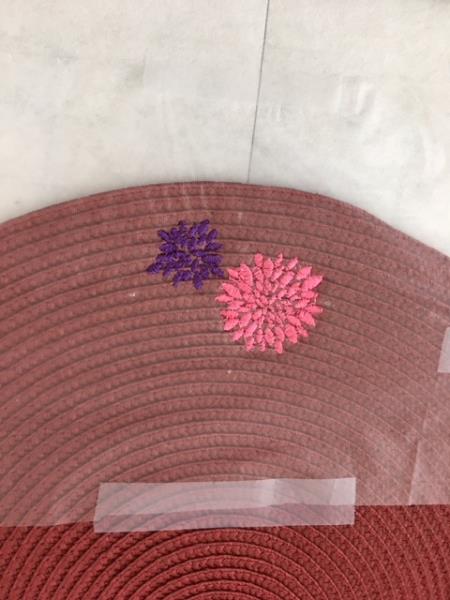
    Embroidering complete. Remove hoop from the machine. Cut and trim all jump stitches and loose thread ends front and back. Remove tearaway and soluble stabilizer. If there are bits of soluble stabilizer remaining remove with a wet Q-tip. Repeat steps #4 through #7 for the remaining number of Deco Mums you wish to embroider to complete your border. 

    (Click Image to Enlarge)


    Step 9:
    Once you have embroidered your remaining Deco Mums for your border you are done! Enjoy the smiles on the kids’ faces when they sit down for Easter dinner! 

    (Click Image to Enlarge)

    Meet the Author: Linda Mills
    Linda Mills
    Linda loves to create by sharing her different sewing and machine embroidery techniques so others can utilize their machines to the fullest
    More From This Author
    Link is Broken, Please check the URL
    Exclusive Embroidery Offers!
    Copyright © {{ currentDate | date:'yyyy'}} - EmbroideryDesigns.com
    GET 50% OFF! ×