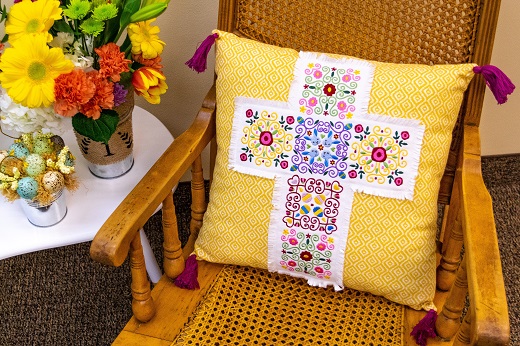
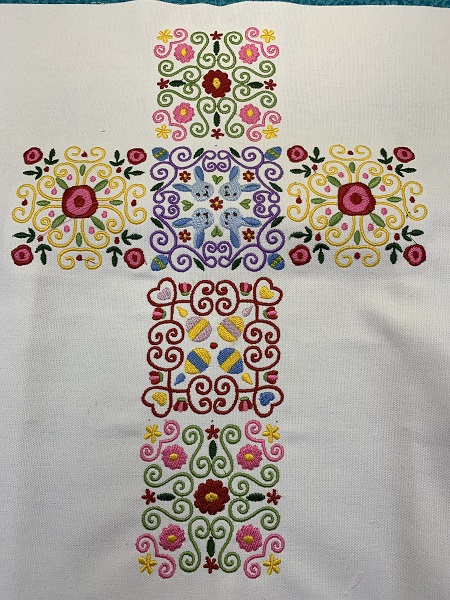
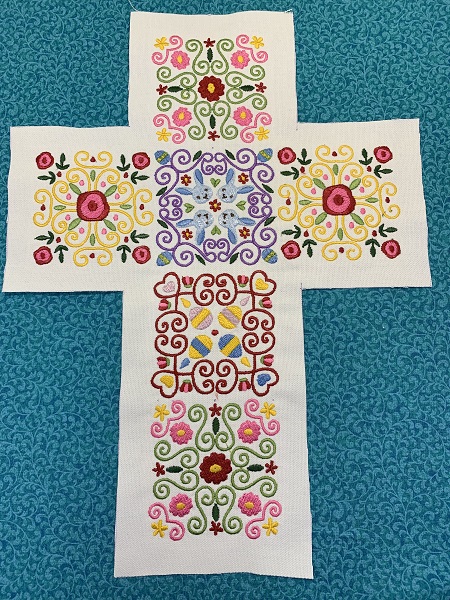
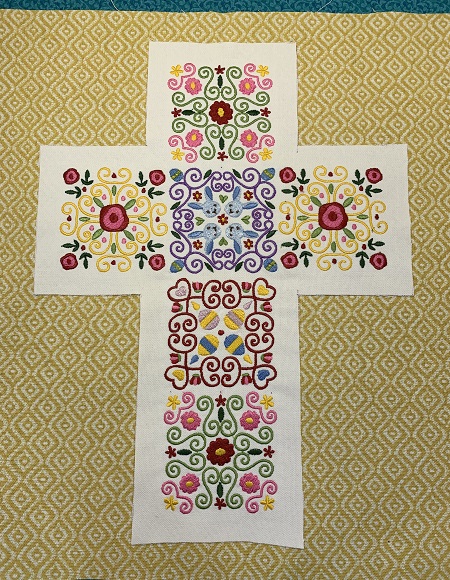
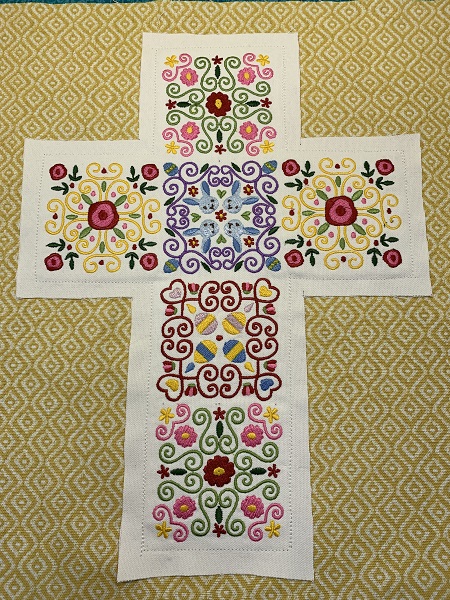
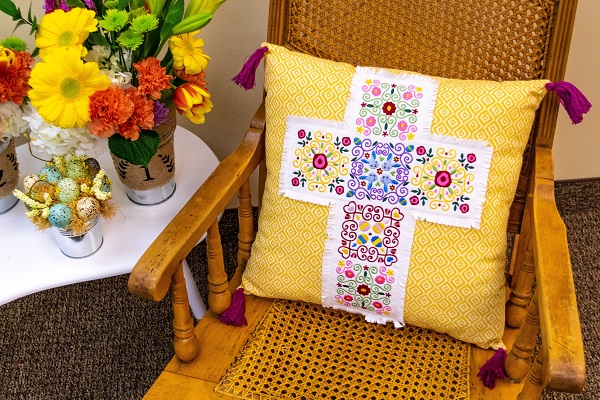
A warm, sunny yellow print showcases a frayed edge Easter Cross created with quilt blocks.
Each quilt block measures approximately 3.75" x 3.75". The finished pillow measures approximately 17.5" x 17.5". An 18" pillow was used for this project. The block size was reduced slightly to 3.5" x 3.5" using Embrilliance Essentials software program.
Step 1:
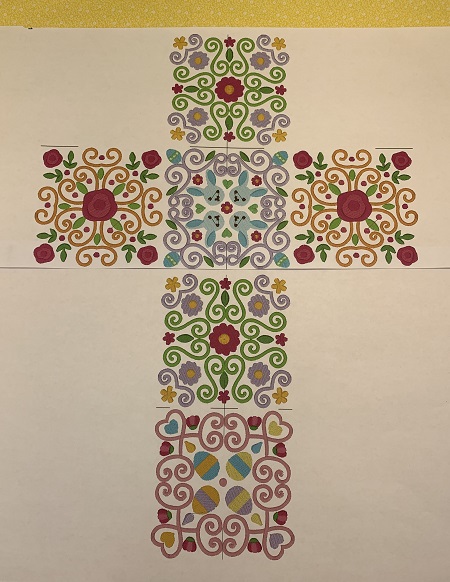
The first step in this project is making the Easter Cross design template.
Decide on your hoop size. If you are using 4"x4" hoop, you will need to print out 6 quilt blocks templates. Make them into a cross leaving about 1/2"-3/4" space between blocks. Tape them together. Make sure that the center lines and axis align when you make your template. You will hoop 6 times using a 4"x4" hoop.
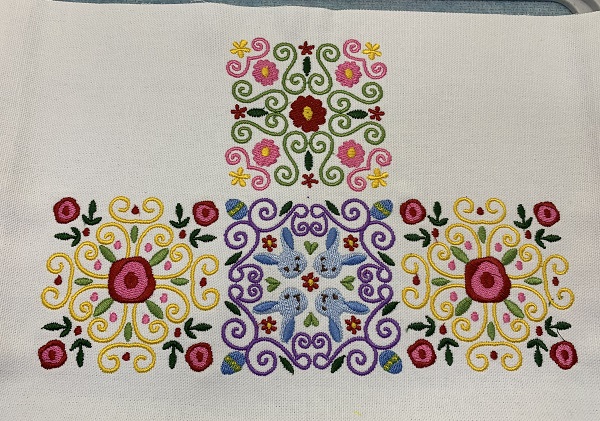
I hooped twice for this project. I used a 8"x12" and an 8"x8" hoop. I was able to get 4 blocks on the 8"x12" hoop and 2 blocks on the 8"x8" hoop.
(Click Image to Enlarge)
Step 2:
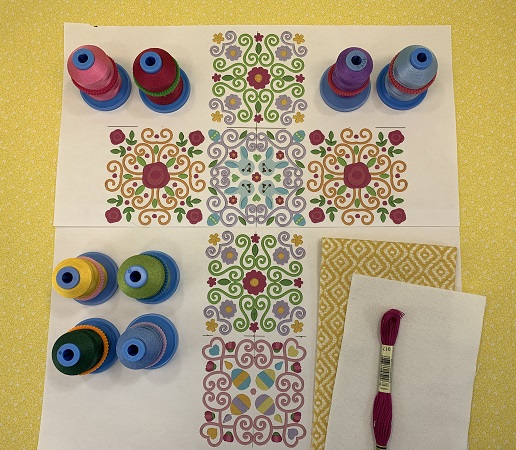
Gather and prepare the materials. Read the directions carefully. Iron the fabric using Magic Sizing spray starch.
(Click Image to Enlarge)
Step 3:
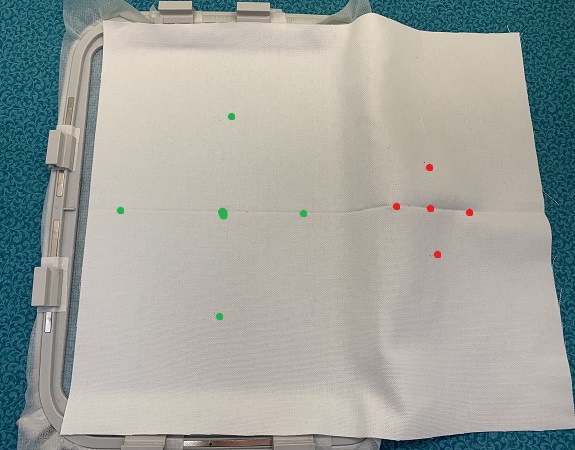
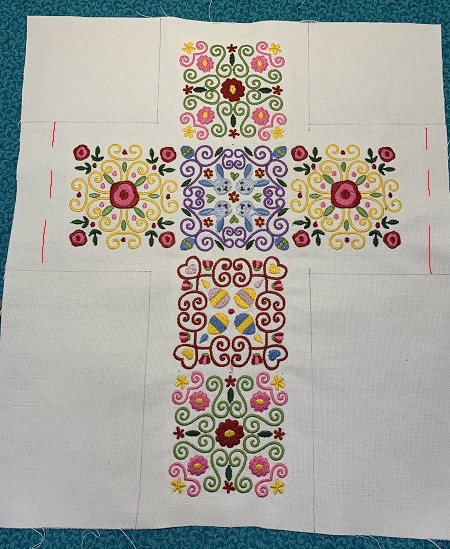
Mark the center points and axis on the white fabric.
Use one piece of No-Show Mesh stabilizer each time you hoop. Use the center points and axis as a guide for placement. Float the white fabric on top of the stabilizer using a temporary adhesive spray. Pin the outer edges of the fabric to the stabilizer for added security.
NOTE: The example shows 2 grids because I am hooping twice. If you are using a 4"x4" hoop, you will have marked 6 center points and axis' on the fabric.
(Click Image to Enlarge)
Step 4:
Load the embroidery design template. Embroider the design. Repeat until all blocks have been stitched.
NOTE: The picture is an example of one hooping using an 8"x12" hoop. 4 blocks were stitched.
(Click Image to Enlarge)
Step 5:
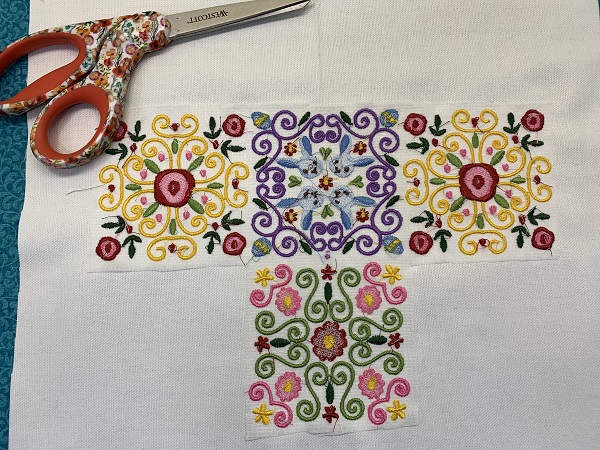
The excess stabilizer will need to be trimmed from around the design. Leave about a 1" space from the stitching when you trim the stabilizer.
(Click Image to Enlarge)
Step 6:
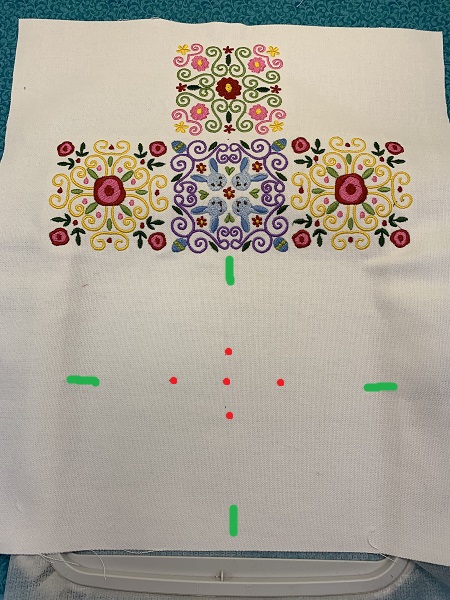
Use the center points and axis on the fabric as guides for placement of the fabric on the stabilizer each time you hoop.
NOTE: The example shows the second hooping for this project. I was able to use my 8"x8" hoop for the remaining 2 blocks.
(Click Image to Enlarge)
Step 7:
Finish stitching the blocks. Remember to trim the excess stabilizer on the back leaving about a 1" margin.
(Click Image to Enlarge)
Step 8:
Mark 1" from the edge of the stitches on the cross using an erasable fabric pen.
(Click Image to Enlarge)
Step 9:
Cut out the cross along the lines that you marked.
(Click Image to Enlarge)
Step 10:
Center the cross on the front of one piece of the 18"x18" fabric. Lightly mist the back of the cross with a temporary adhesive spray. Make sure that the surface of the cross is smooth and wrinkle free.
(Click Image to Enlarge)
Step 11:
Sew a seam along the edge of the stitching. Clip around the edges of the cross to make a fringe. Be careful not to cut the stitching.
(Click Image to Enlarge)
Step 12:
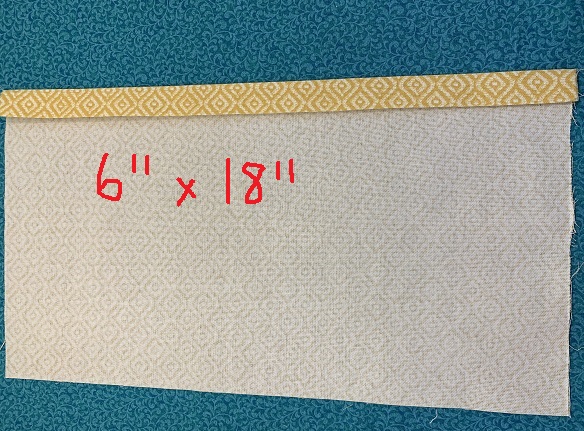
Fold the edge over 1" toward the wrong side on the 8"x18" piece of fabric. Fold again and pin in place. Stitch a 1/4" seam along the edge. The piece should measure 6"x18" when you finish.
(Click Image to Enlarge)
Step 13:
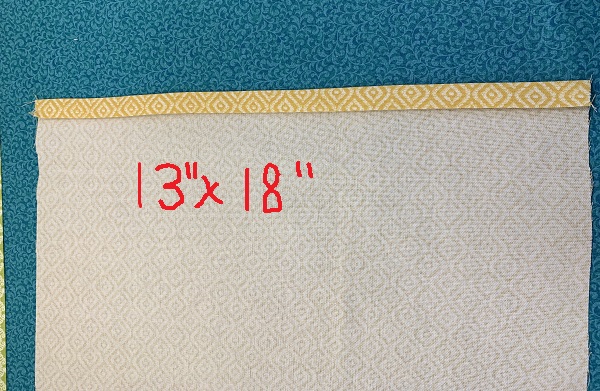
Fold the edge over 1" toward the wrong side on the 15"x18" piece of fabric. Fold again and pin in place. Stitch a 1/4" seam along the edge. The piece should measure 13"x18" when you finish.
(Click Image to Enlarge)
Step 14:
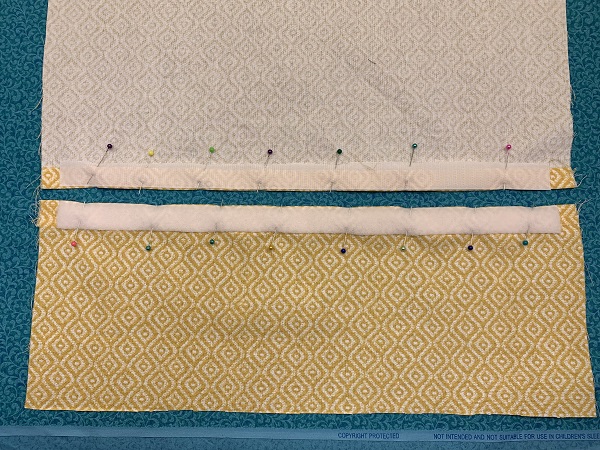
Pin a 1"x17" piece of Velcro on the edge of each piece for the back along the seam. The Velcro will be pinned on the right side of the 6"x18" fabric piece and on the wrong side of the 13"x18" fabric.
Use a zig zag stitch around the edges of the Velcro.
(Click Image to Enlarge)
Step 15:
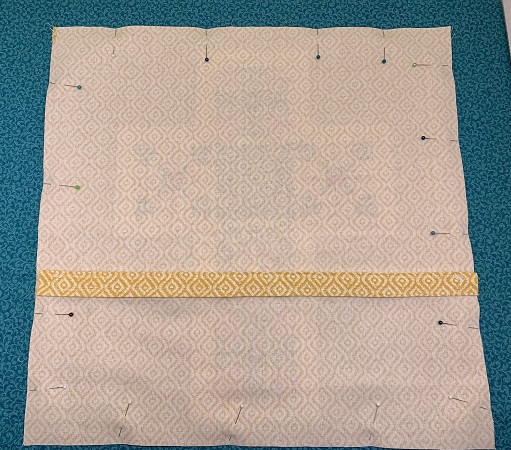
Fasten the Velcro together making one 18"x18" piece for the back. Pin the front and back together. You may need to trim the fabric to even the edges. Sew 1/4" seam along the edges of the pillow. Turn the pillow right sides out.
Step 16:
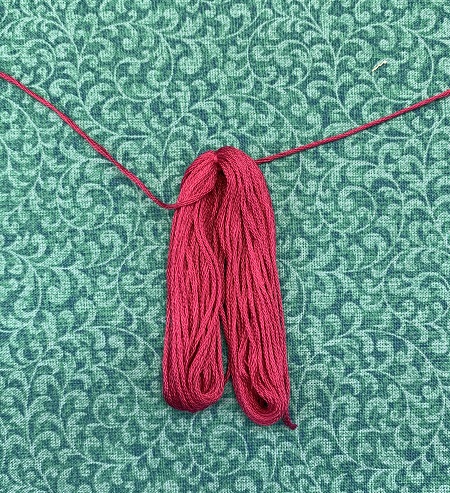
Tassels were made out of skeins of embroidery thread. Remove the paper from one skein of embroidery thread. Fold the skein in half and tie it securely in the middle with a string.
Step 17:
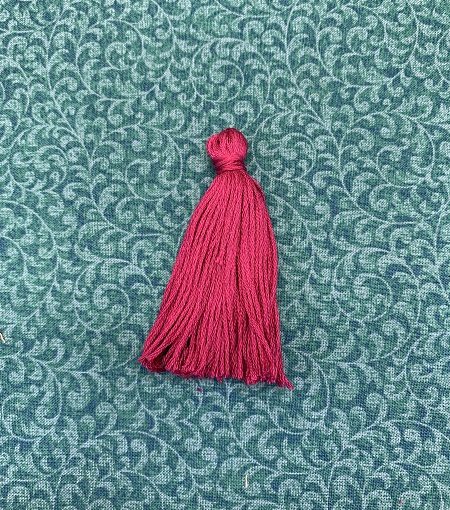
Smooth the strands in the skein. Tie a 6" piece of thread about 1/2" down from the top. Clip the loops in the tassel. Trim the ends of the thread.
Repeat these steps three more times for a total of 4 tassels. Use a needle and thread to attach the tassels to the corners of the pillow.
Marisa Littleton is a retired educator with a love for teaching and learning. Interests include machine embroidery, hand embroidery, quilting, cooking, and antiques.