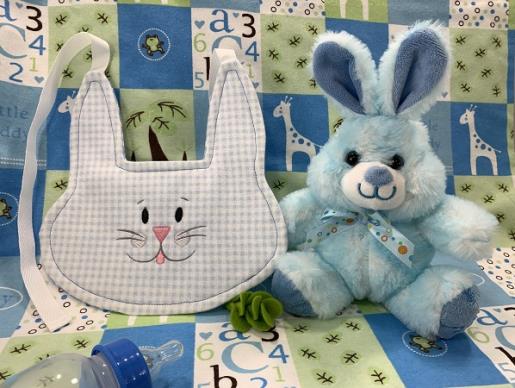
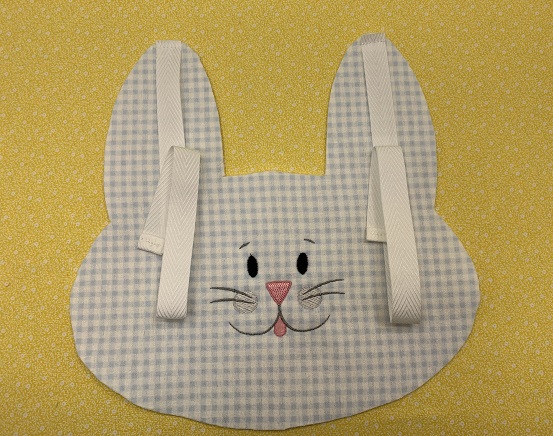
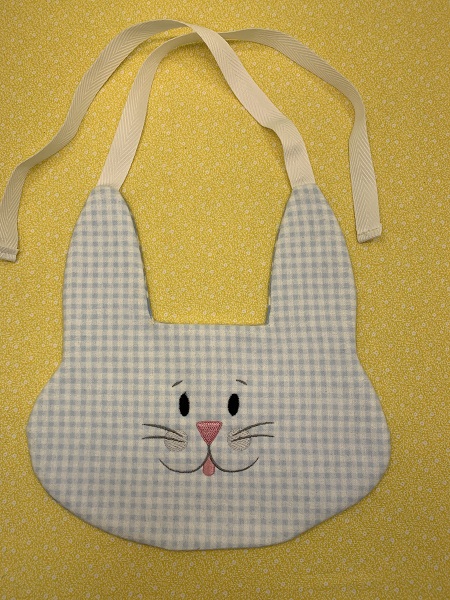
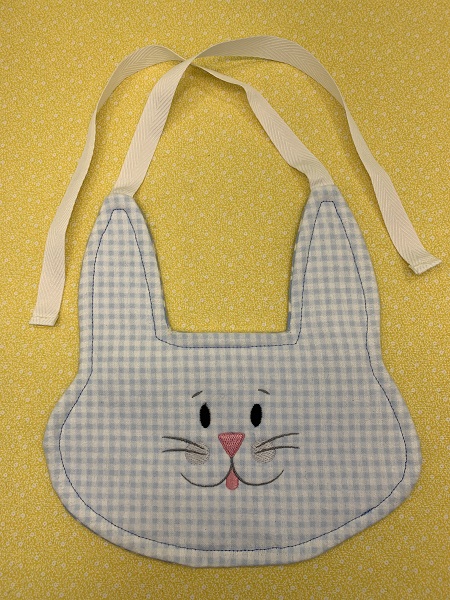
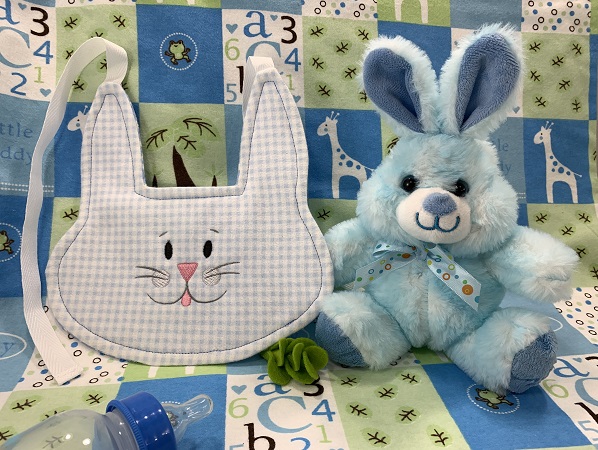
Have a 'Hoppy Easter' with this Bunny Shaped Bib. Ideal for the little ones at Easter. A great addition to a bunny themed nursery. Some basic sewing skills are used in this project.
Step 1:
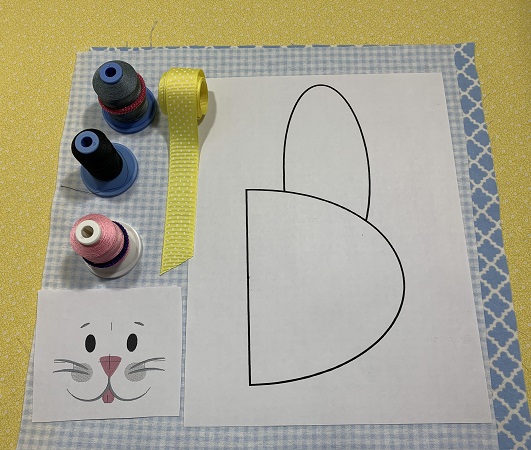
Gather materials for the project. Read the directions carefully. Print a copy of the Bunny Bib pattern. Print the design template of the 'Hoppy Bunny face'. Lightly starch and iron the fabric.
(Click Image to Enlarge)
Step 2:
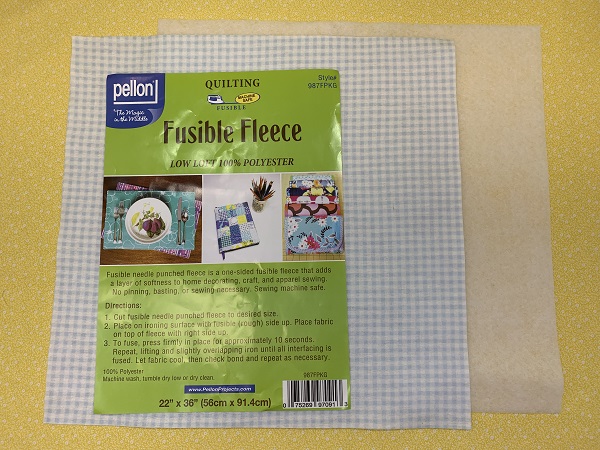
Cut one piece of fusible fleece 12"x20".
(Click Image to Enlarge)
Step 3:
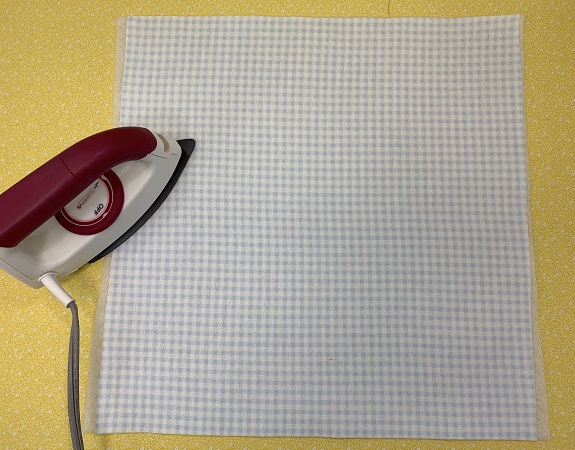
Place the rough side of the fusible fleece on the back (wrong side) of Fabric A. Fuse the fleece to Fabric A following the directions on the package.
(Click Image to Enlarge)
Step 4:
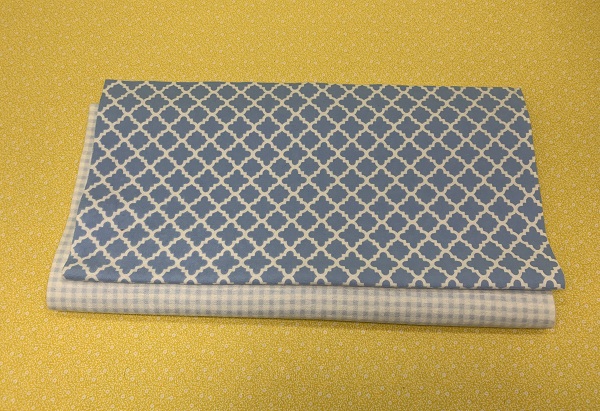
Fold Fabric A and Fabric B in half lengthwise with right side of fabric out. Stack Fabric A & Fabric B together.
(Click Image to Enlarge)
Step 5:
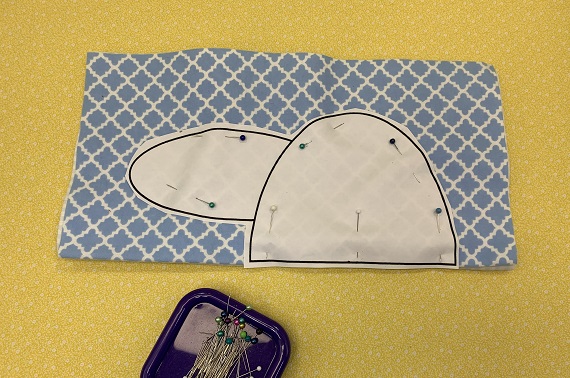
Place the Bunny Bib pattern on the fold edge of the fabric. Pin the pattern in place.
(Click Image to Enlarge)
Step 6:
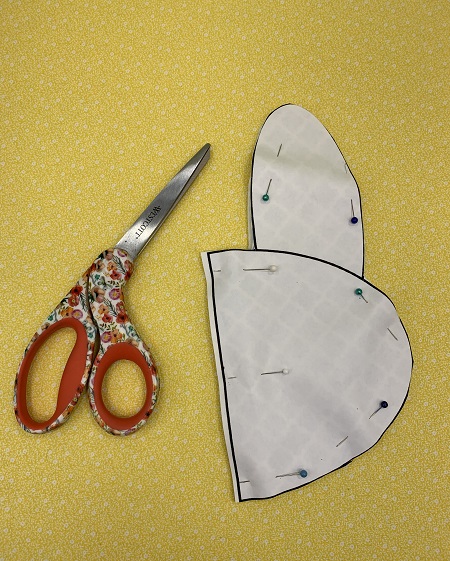
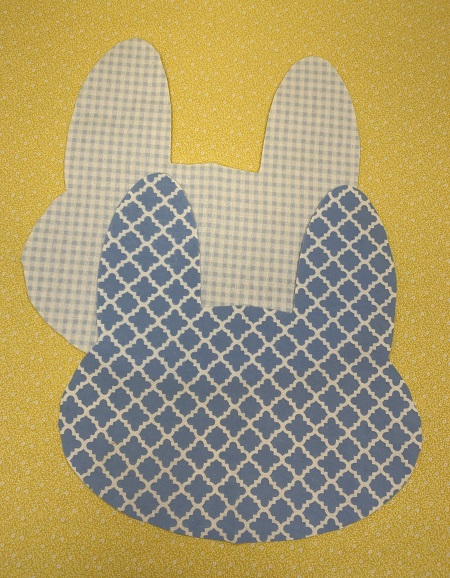
Cut out the bib using the Bunny pattern from Fabrics A & B.
(Click Image to Enlarge)
Step 7:
Remove the pins and pattern from the fabric.
(Click Image to Enlarge)
Step 8:
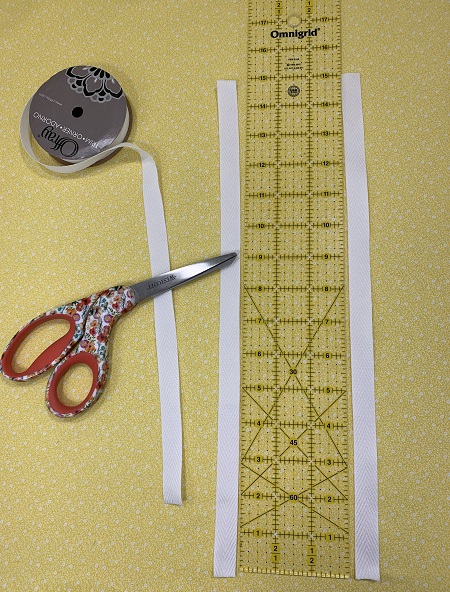
Cut the ribbon in half making two pieces 15" long each.
(Click Image to Enlarge)
Step 9:
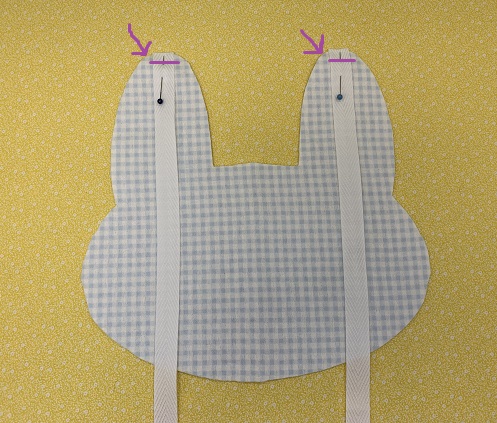
Pin one end of each ribbon on the tip of the bunny ears on the right side of the fabric. Stitch a straight seam across the end of each ribbon.
Step 10:
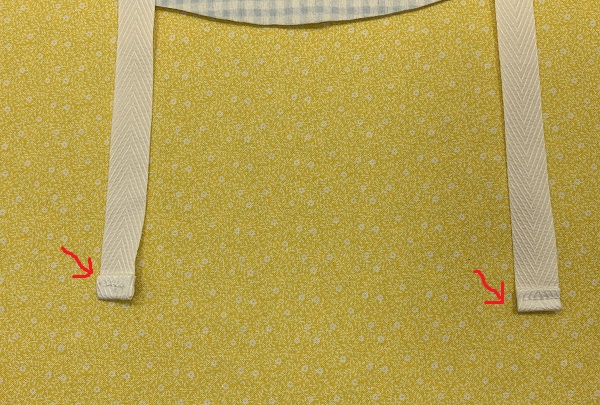
Fold the other end of the ribbon down about 1/2" and fold over again. Stitch a straight seam. Make sure to reinforce the stitching as you start and end the seam.
(Click Image to Enlarge)
Step 11:
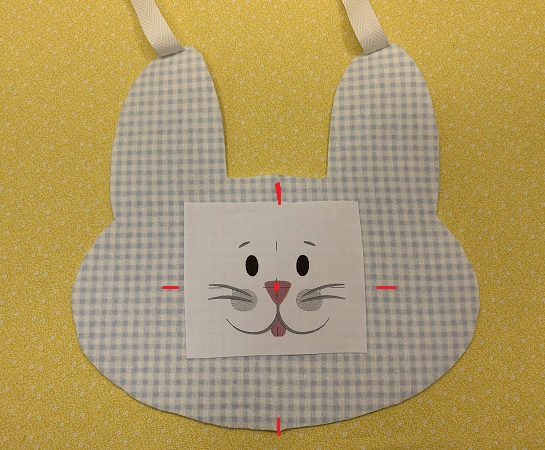
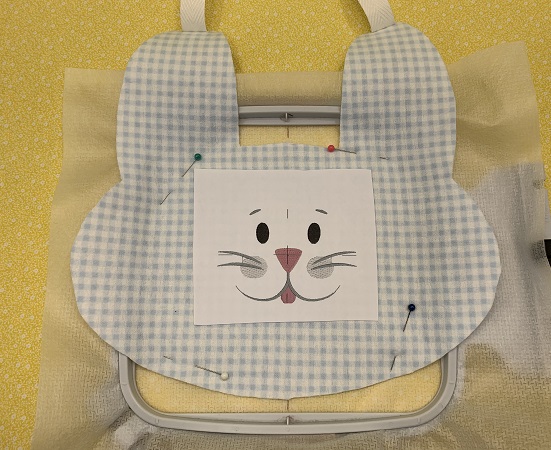
Fold Fabric A of the bib in half. Make a light crease on the fold with an iron. Use the crease line as a guide for the center. Use the design template to determine placement of the embroidery design.
(Click Image to Enlarge)
Step 12:
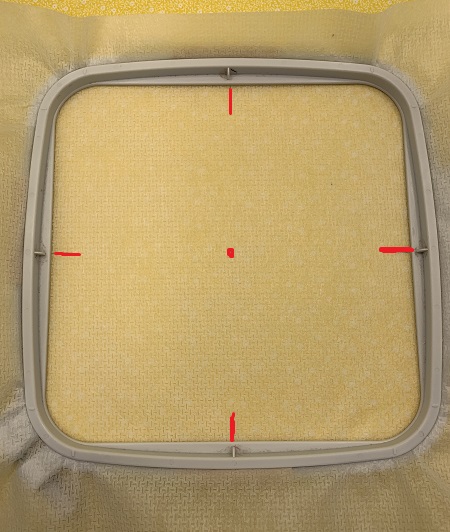
Hoop the stabilizer. A no show mesh stabilizer was used because it is lightweight and soft. A light weight cut away stabilizer would also work for this project. Mark the center point and axis on the stabilizer if using a grid.
(Click Image to Enlarge)
Step 13:
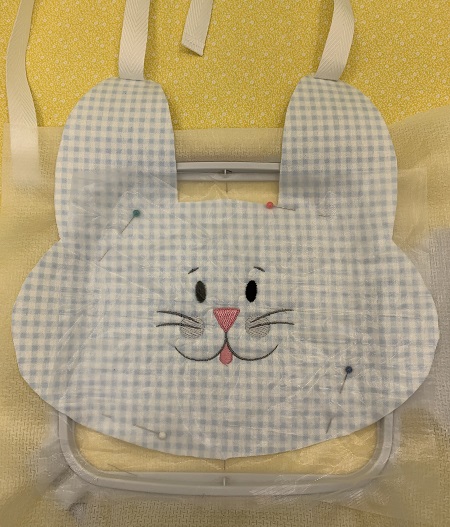
Match the center points on the fabric with the center points on the hoop. Lightly mist the stabilizer with a temporary adhesive. Gently press the fabric onto the stabilizer. Place one piece of water soluble topping over the fabric.
(Click Image to Enlarge)
Step 14:
Load the embroidery design on the machine. Embroider the design.
(Click Image to Enlarge)
Step 15:
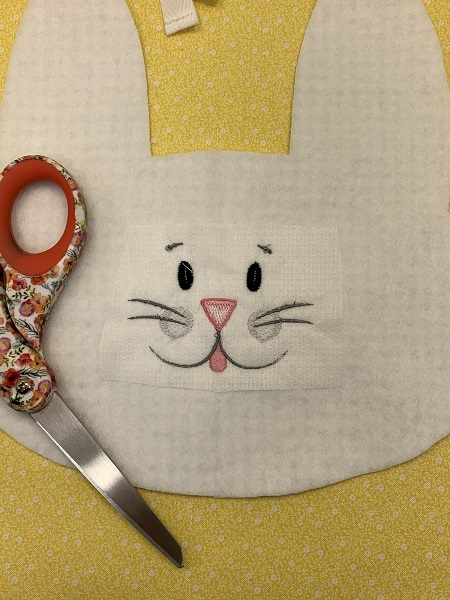
Gently remove the water soluble topping. Take the project out of the hoop. Trim the extra stabilizer from the back leaving about 1" space from the stitching.
(Click Image to Enlarge)
Step 16:
Fold the ribbon so that when you stitch the bunny the ends will not get caught in the stitching.
(Click Image to Enlarge)
Step 17:
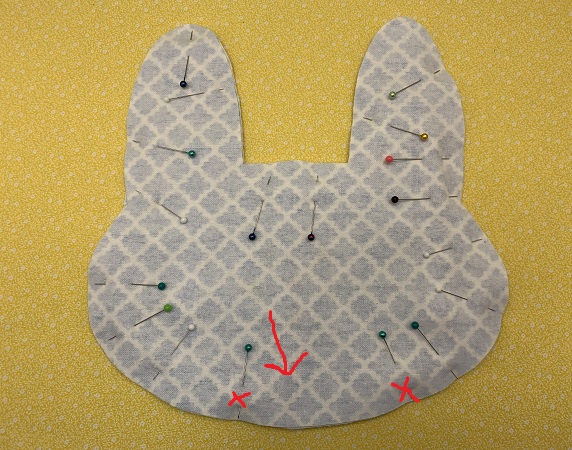
Place Fabric B on top of Fabric A with right sides facing each other. Pin the pieces together. Leave about a 3" opening in the seam for turning the bib.
Make a 1/4" seam around the outer edge of the bib. The bib is curvy; so I suggest sewing very slow.
(Click Image to Enlarge)
Step 18:
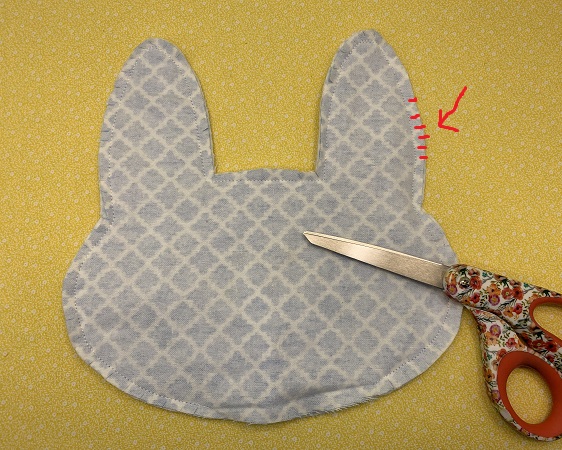
Clip around the edges of the seam. Be careful not to cut the seam. The clips will make the seams smoother when you turn the bib.
(Click Image to Enlarge)
Step 19:
Turn the bunny bib right side out. Press the seams. Tuck the fabric at the opened section to the inside of the bib. Pin in place.
(Click Image to Enlarge)
Step 20:
Top stitch around the edge of the bunny bib.
(Click Image to Enlarge)
Step 21:
You have finished your project! Yay!! Thank you for stitching with me!
Marisa Littleton is a retired educator with a love for teaching and learning. Interests include machine embroidery, hand embroidery, quilting, cooking, and antiques.