{{superHeaderAds.title}}
Live Chat
Embroidery Designs
Welcome, Embroiderer
Login
Easter Flour Sack Towels
{{mainImageAlt || (productInfo._source && productInfo._source.name) || ''}}

Easter Flour Sack Towels Embroidery Project

By   Linda Mills   on   February 14, 2019

PROJECT DETAILS

SKILL LEVEL
Beginner
TIME REQUIRED
01:15
Description

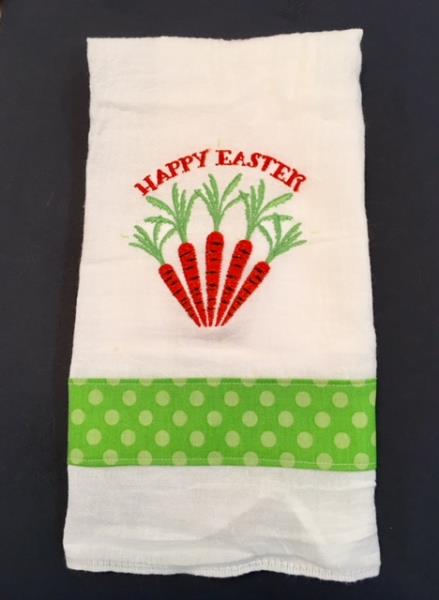
A festive flour sack towel with a charming embroidery design to dress up your kitchen for Easter.

Project Preview Video

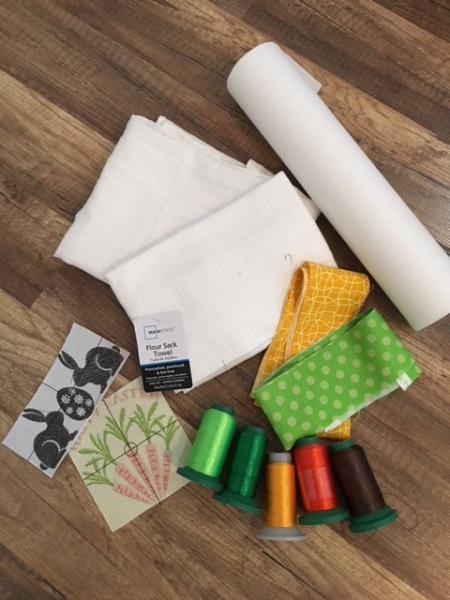
Materials
  • Flour sack towels (1)
  • Tear away stabilizer
  • Embroidery thread (colors of choice)
  • Sewing thread
  • Cotton fabric strips (1 cut strip for each towel) Cut 2.5” x ( width of towel )plus 1”
  • Chalk or air erase fabric pen

  • Designs used in this project

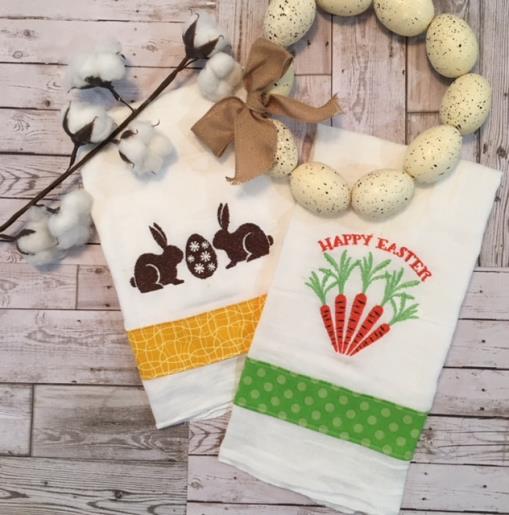
    Final Product: What You Will Create

    Preface:
    A great beginner embroidery project that will showcase your skills like a pro. A flour sack towel, a strip of cotton fabric and a charming Easter embroidery design bring this project together.


    Step 1:
    Gather all materials and review instructions before beginning. Print out a template of design for review.   Please note that time allowed is for one towel. (Optional: Embroidery design speed was decreased to 500-600 spm .. This added to the time as well )

    (Click Image to Enlarge)


    Step 2:
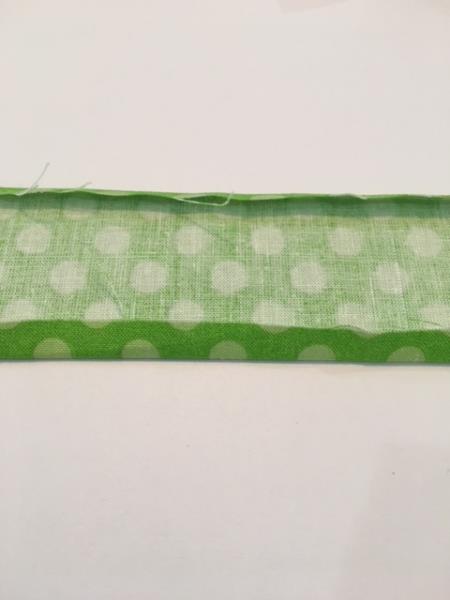
    Fold under both long side edges on your cut cotton strip ¼” and press. 

    (Click Image to Enlarge)


    Step 3:
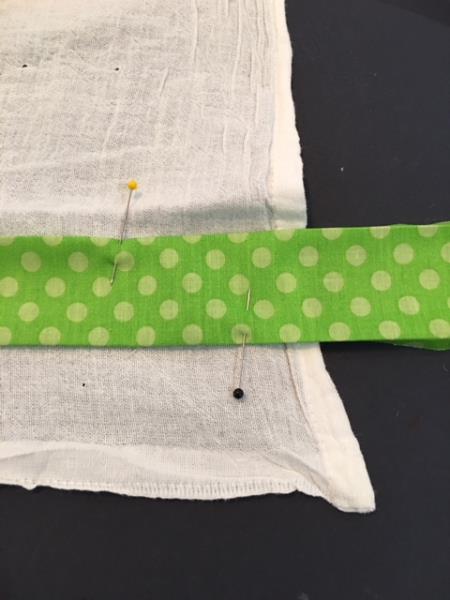
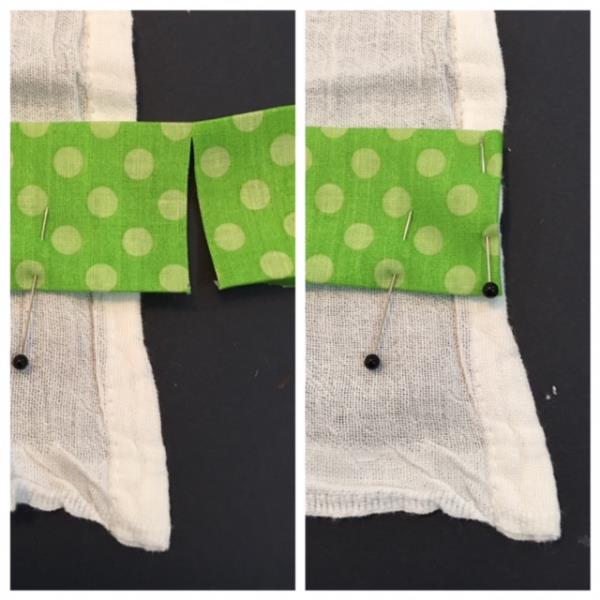
    Place strip 2” up from bottom edge of the towel. Extend ends over the side edges of towel approx. 1”. Pin in place.   

    (Click Image to Enlarge)


    Step 4:
    Cut excess leaving ½” to turn under to sit on edge of the towel. Pin in place.

    (Click Image to Enlarge)


    Step 5:
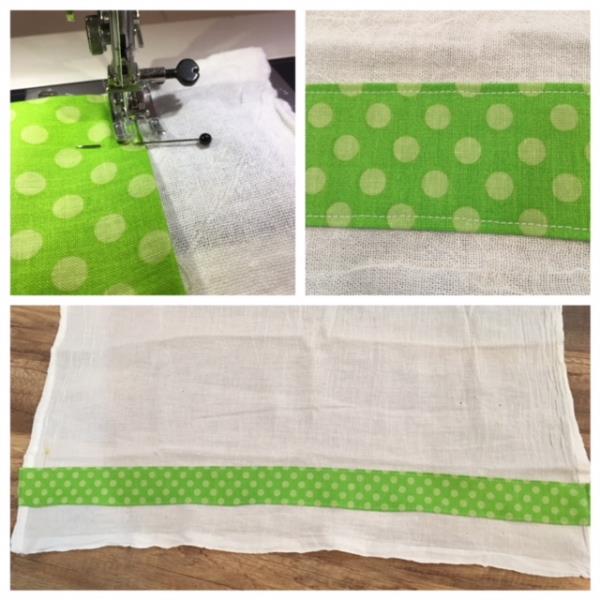
    Top stitch all sides 1/8" from the edge of the strip

    (Click Image to Enlarge)


    Step 6:
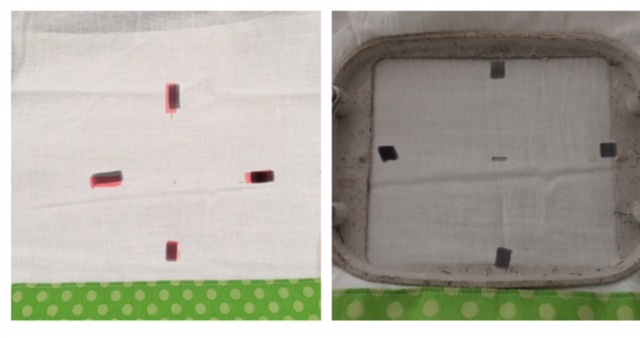
    Prepare for embroidering of design
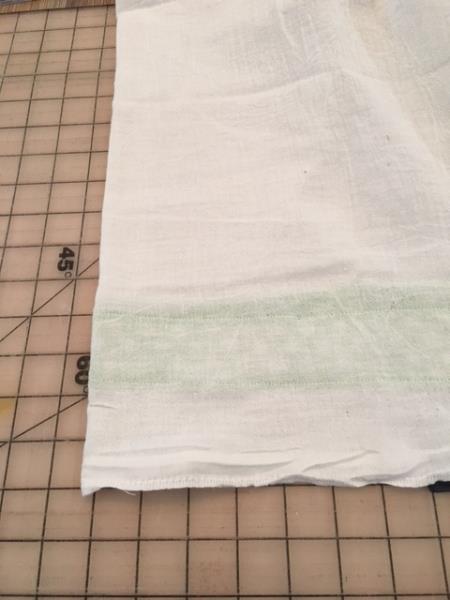
    Fold your towel in half lengthwise to find the center. Fingertip press. Unfold towel.

    (Click Image to Enlarge)


    Step 7:
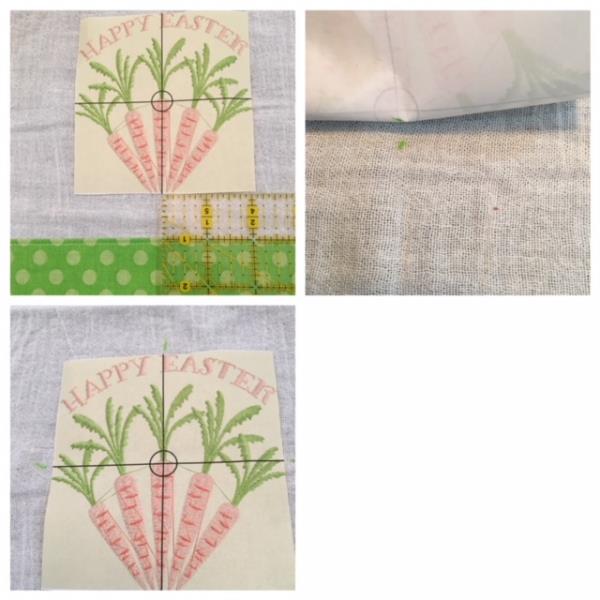
    Center your design template 1” up from the edge of the band. Mark center and axis points.

    (Click Image to Enlarge)


    Step 8:
    Cut a piece of stabilizer to the hoop. Lay open towel on top of the stabilizer. Center on to hoop matching your axis points. Make any necessary adjustments to smooth towel and tighten.

    (Click Image to Enlarge)


    Step 9:
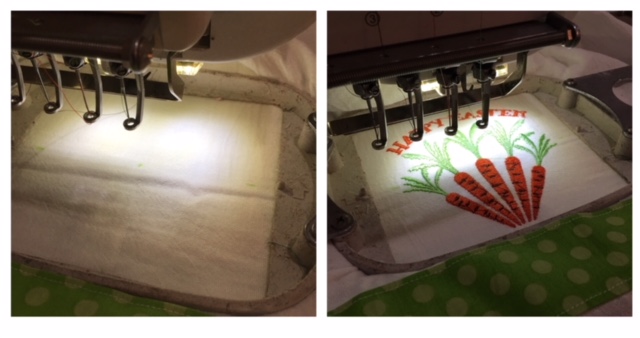
    Load your design into your machine. Attach hoop. Make any necessary adjustment per your machines instructions to confirm centering of design. Begin the embroidery process. 

    (Click Image to Enlarge)


    Step 10:
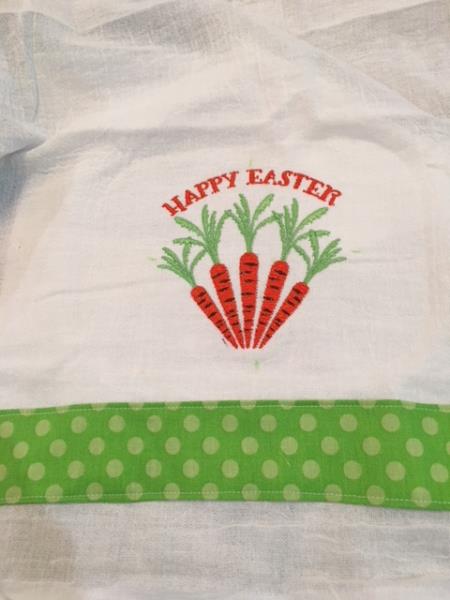
    Design complete. Remove hoop from the machine. Cut and trim all jump stitches and loose thread ends. Remove tear away stabilizer. 

    (Click Image to Enlarge)


    Step 11:
    Woohoo! Your Easter Flour Sack Towel is complete! Congratulations! Repeat the steps for additional towels. These will make wonderful Easter gifts for any host. 

    (Click Image to Enlarge)

    Meet the Author: Linda Mills
    Linda Mills
    Linda loves to create by sharing her different sewing and machine embroidery techniques so others can utilize their machines to the fullest
    More From This Author
    Link is Broken, Please check the URL
    Exclusive Embroidery Offers!
    Copyright © {{ currentDate | date:'yyyy'}} - EmbroideryDesigns.com
    GET 50% OFF! ×