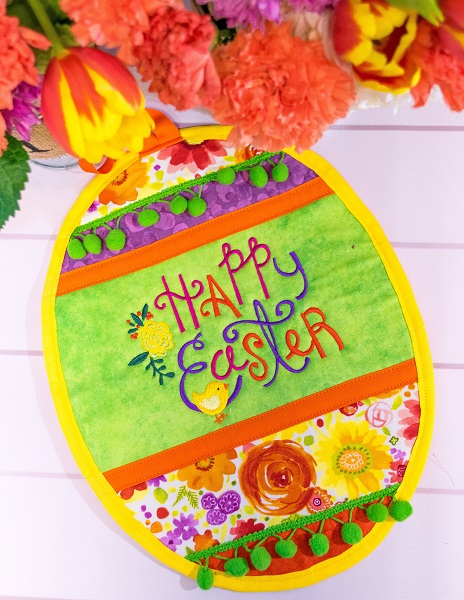
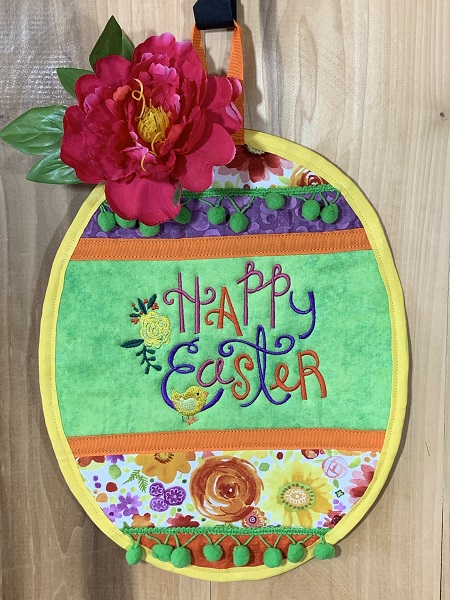
An Easter Egg wall hanging that combines sewing, quilting, and machine embroidery to create an eye-catching piece of artwork.
Step 1:
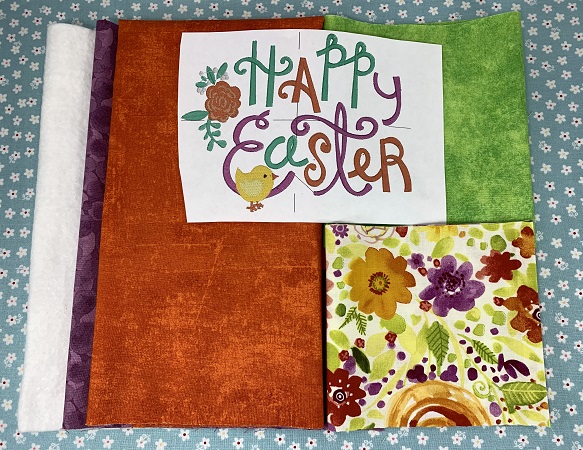
Read the instructions before beginning. Gather the materials needed for the project. Print the PDF Easter Egg pattern. The pattern can be found in the project instructions. Print the design template.
(Click Image to Enlarge)
Step 2:
Cut one piece of cotton fabric 12"x15". Cut one piece of low nap quilt batting 12"x15".
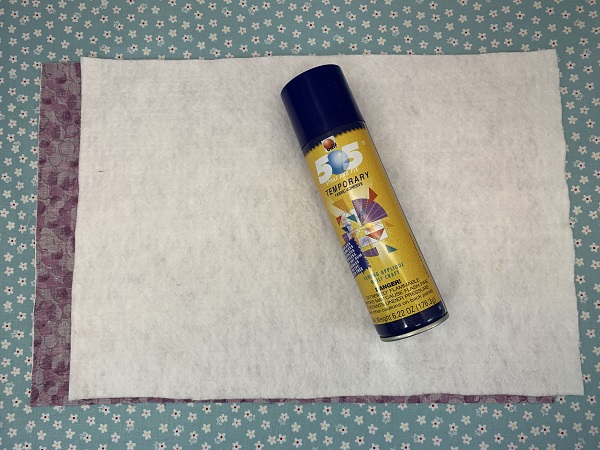
Lightly mist one side of the batting with a temporary adhesive spray. Place the wrong side of the fabric on the batting. Smooth the surface.
(Click Image to Enlarge)
Step 3:
In the next several steps, the quilt as you go (QAYG) method will be used as we 'color' the Easter egg. You are sewing the top piece of the fabric (your Easter egg) right down through the layers of batting and backing with a sew and flip method. The fabric can be any size or shape. Simple strips of varying widths were used for the egg.
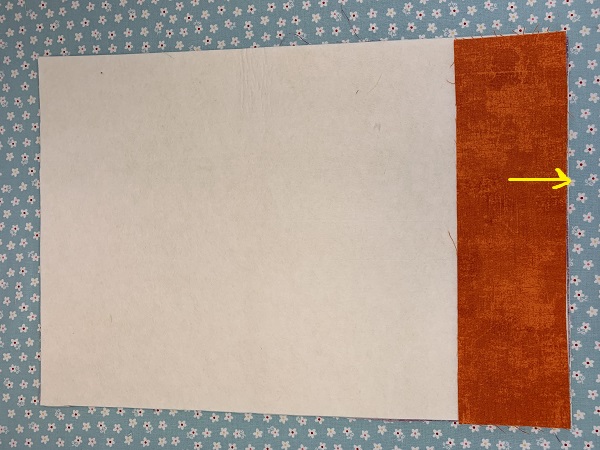
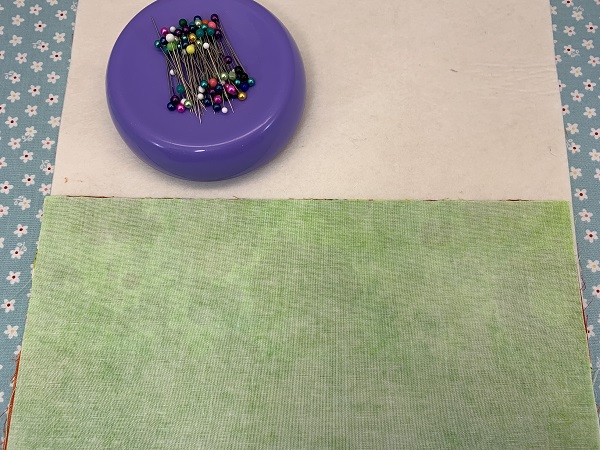
The first strip in the example was 2" x 12". Place the strip with the right side facing you on the edge of the batting. Pin in place. Sew a 1/4 seam along the edge.
(Click Image to Enlarge)
Step 4:
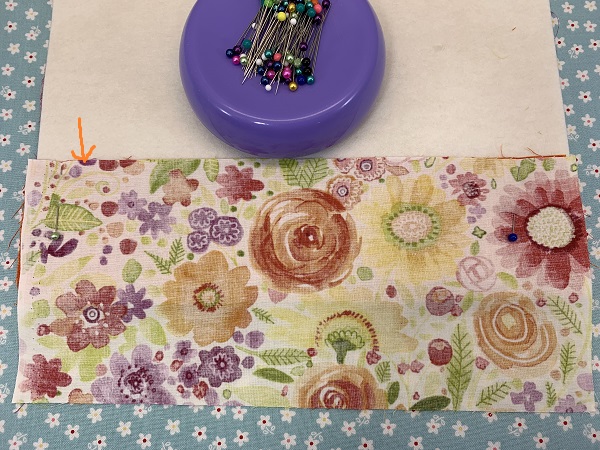
Place your next piece of fabric with the right side down on the edge of the fabric. Stitch a 1/4" seam along the edge. Flip the fabric onto the batting. Smooth the fabric surface. This strip measured 3" x 12".
(Click Image to Enlarge)
Step 5:
Place the next strip onto the batting with right sides facing each other. Pin the strip in place and sew a 1/4" seam. Flip the fabric over toward the batting and smooth the fabric surface. I made this section larger in a more neutral color because the embroidery design was going in this section. The fabric strip measured 6" x 12".
(Click Image to Enlarge)
Step 6:
Place the next strip onto the batting with right sides facing each other. Pin the strip in place and sew a 1/4" seam. Flip the fabric over toward the batting and smooth the fabric surface. The fabric strip measured 2" x 12".
(Click Image to Enlarge)
Step 7:
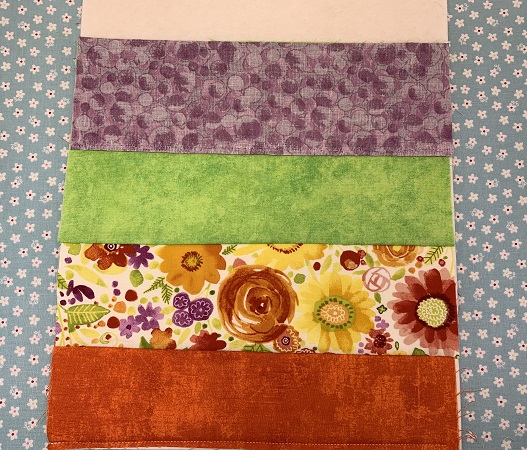
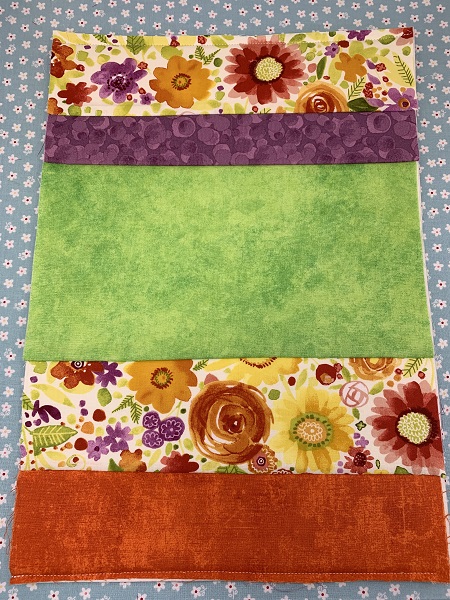
Place the next strip onto the batting with right sides facing each other. Pin the strip in place and sew a 1/4" seam. Flip the fabric over toward the batting and smooth the fabric surface. The fabric strip measured 3" x 12".
(Click Image to Enlarge)
Step 8:
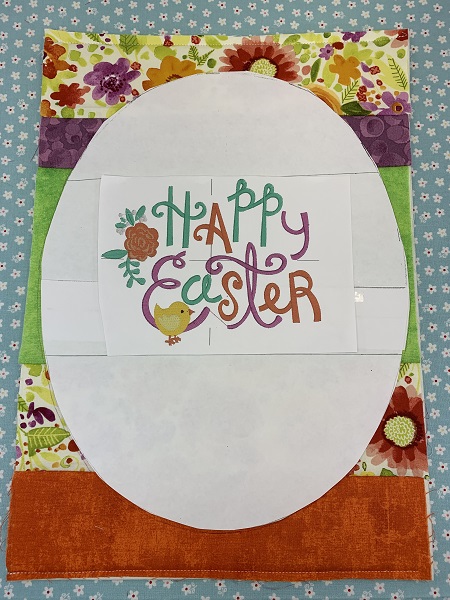
Cut out the PDF Easter egg pattern. Tape the two pieces covering the lip on one you join them together. Pin the egg pattern to the fabric.
(Click Image to Enlarge)
Step 9:
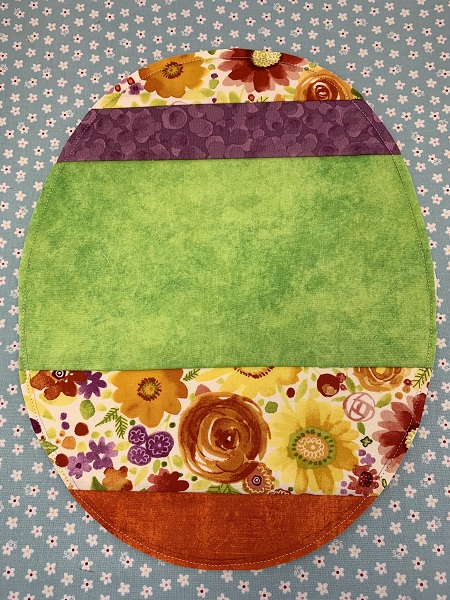
Cut out the egg leaving a 1/4 to 1/2" seam allowance around the outer edge.
(Click Image to Enlarge)
Step 10:
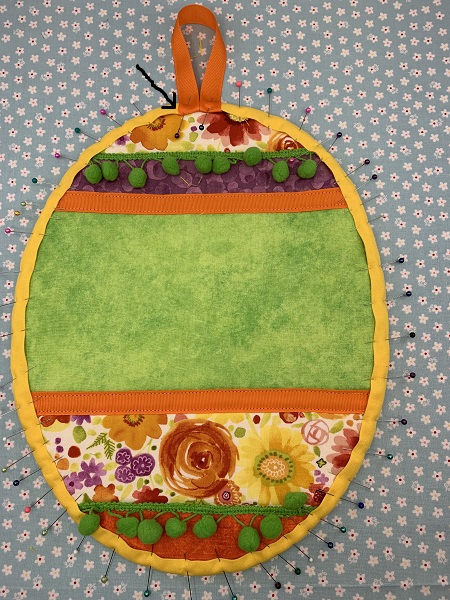
Add trim or ribbon along the seam lines on the egg. Cut strips of trim or ribbon the width of the egg. Pin the trim/ribbon along the seam line. Sew the trim to the fabric.
Step 11:
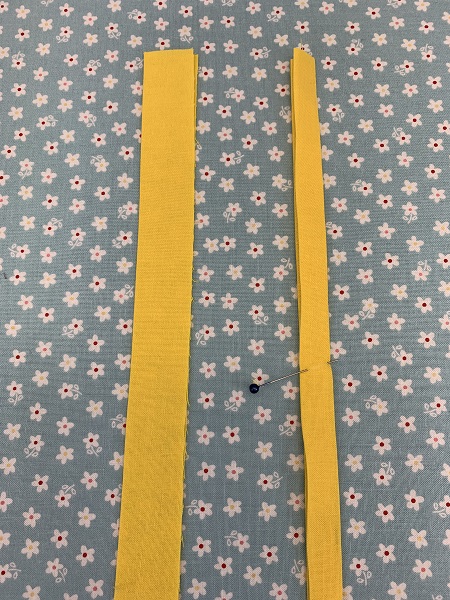
Cut a strip of fabric 2" x approximate diameter of the egg. Fold the fabric in half and press with an iron. Open the fabric strip and then fold the edges of the fabric strip to the crease line. Fold again and press with an iron.
(Click Image to Enlarge)
Step 12:
Pin the trim on the outer edge of the egg. Use a 1"x10" piece of grosgrain ribbon for a hanger. Slide the edges of the ribbon under the trim and pin in place. Sew a 1/4" seam around the edge of the trim.
(Click Image to Enlarge)
Step 13:
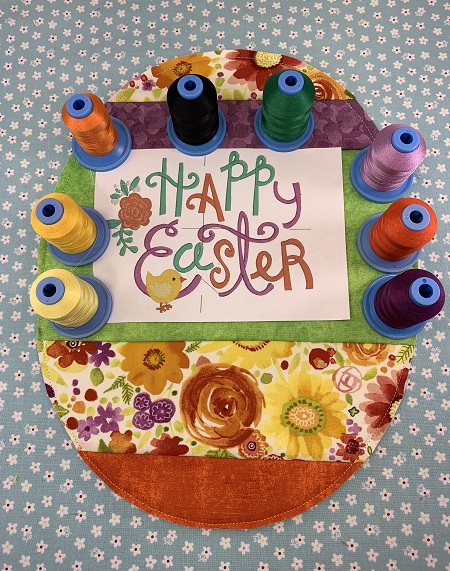
Use the design template to determine placement on the Easter egg. Thread color choices are easier now for this type of project.
(Click Image to Enlarge)
Step 14:
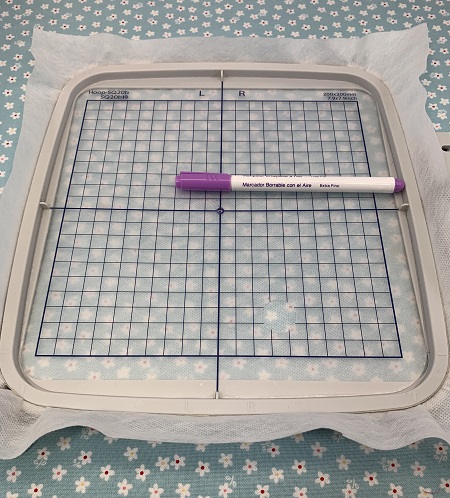
Hoop one piece of tear away stabilizer.
Step 15:
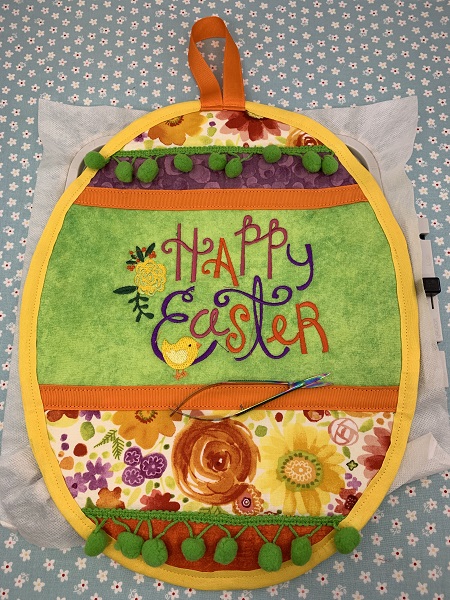
Use the design template to determine placement on the egg. Float the egg on the stabilizer. Use pins to secure the egg to the stabilizer.
Load the embroidery design on the machine. Embroider the design. Remove the hoop from the machine. Gently tear away the stabilizer from the design. Trim any threads if needed.
Marisa Littleton is a retired educator with a love for teaching and learning. Interests include machine embroidery, hand embroidery, quilting, cooking, and antiques.