{{superHeaderAds.title}}
Live Chat
Embroidery Designs
Welcome, Embroiderer
Login
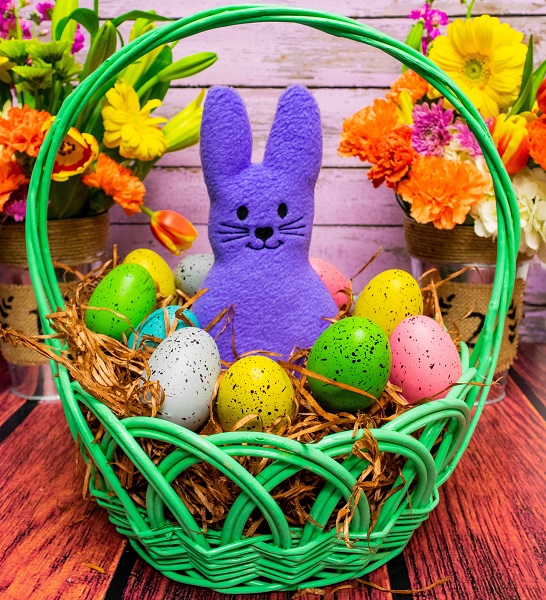
Stuffed Fleece Bunny
{{mainImageAlt || (productInfo._source && productInfo._source.name) || ''}}

Stuffed Fleece Bunny Embroidery Project

By   Marisa Littleton   on   February 07, 2019

PROJECT DETAILS

SKILL LEVEL
Some Experience
TIME REQUIRED
01:00
Description

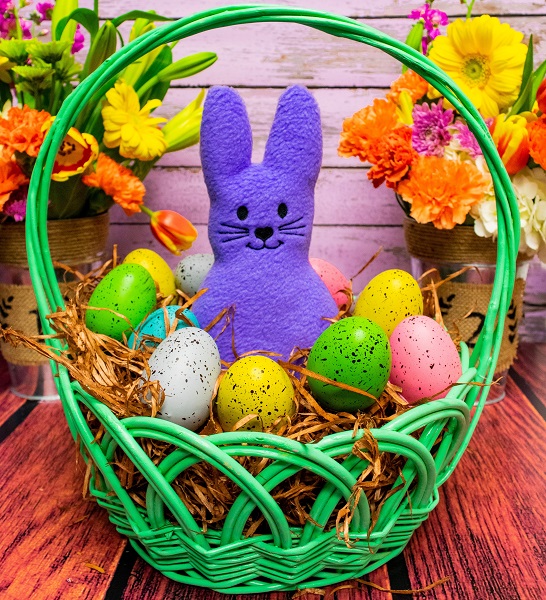
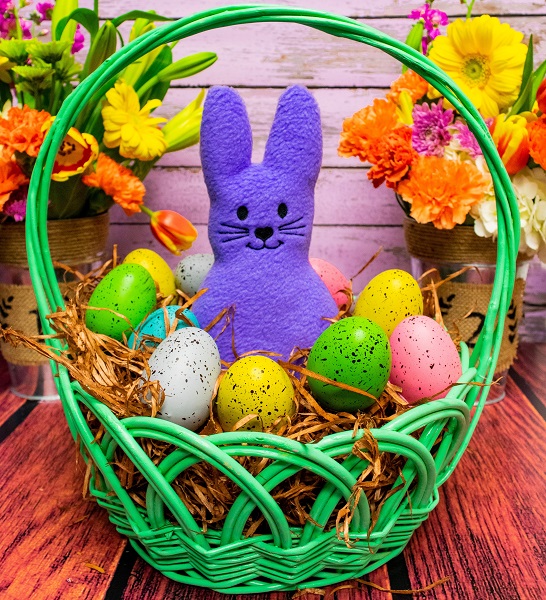
This stuffed bunny is something that all ages will love whether it's for Easter or any other occasion.

Project Preview Video

Materials
  • Design template
  • No Show Mesh stabilizer
  • 4x4 hoop
  • 40 wt. Embroidery thread (Robison-Anton)
  • Two pieces of 8"x11" fleece
  • Poly-Fil
  • Sewing Machine
  • Needle & thread
  • Water Soluble topping

  • Designs used in this project

    Final Product: What You Will Create

    Preface:
    This stuffed bunny is something that all ages will love whether it's for Easter or any other occasion.


    Step 1:
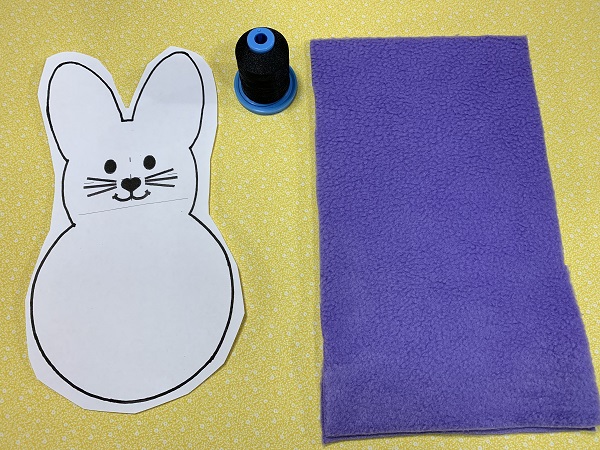
    Read the instructions for the project.  Gather the materials needed for the project.  Print the embroidery design template.   Print the PDF BUNNY pattern.  The pattern is included with the instructions.

    (Click Image to Enlarge)


    Step 2:
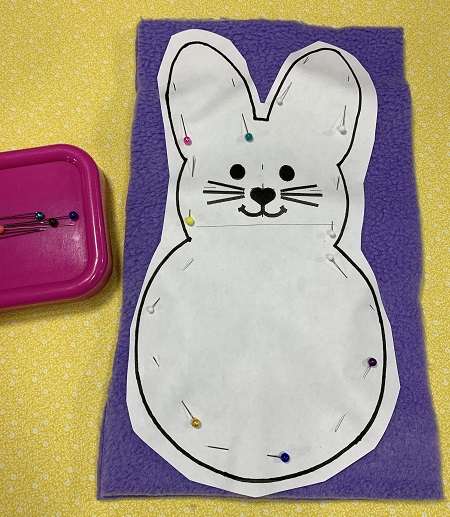
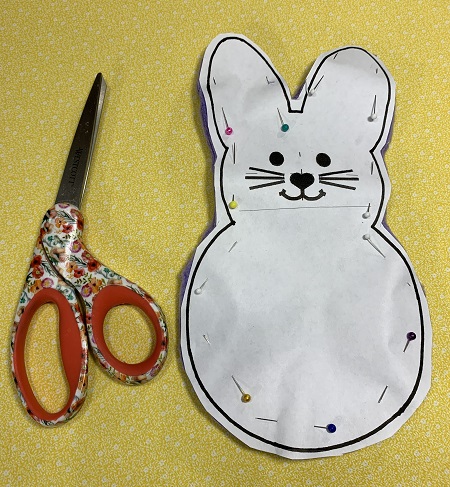
    Put both pieces of fleece together with wrong sides facing each other.  Pin the pattern to the fleece.

    (Click Image to Enlarge)


    Step 3:
    Cut the BUNNY about 1/4 to 1/2" larger than the pattern to make a seam allowance.


    Step 4:
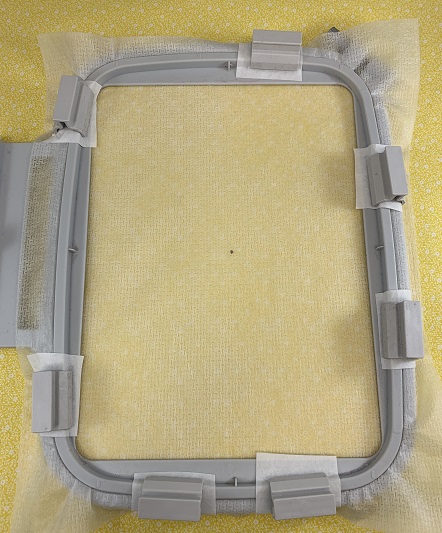
    Hoop one piece of No Show mesh.  A 4x4 or larger hoop is appropriate for this project. 
     
    Mark the center point and axis on the stabilizer.  

    (Click Image to Enlarge)


    Step 5:
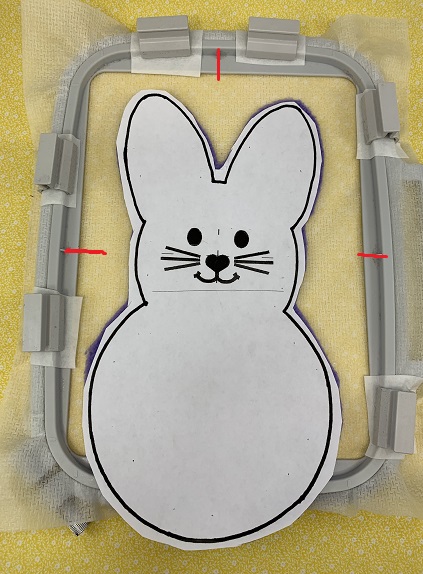
    Place one piece of fleece on the stabilizer.  The right side of the fabric will be facing you.  Pin the fabric in place onto the stabilizer using the center point and axis as a guide.  

    (Click Image to Enlarge)


    Step 6:
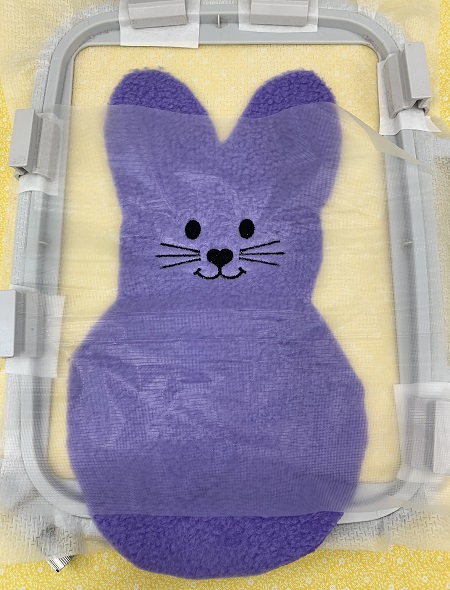
    Place one piece of Water Soluble topping on top of the fabric.  
     
    Load the embroidery design.  Embroider the design.  Remove the hoop from the machine.  

    (Click Image to Enlarge)


    Step 7:
    (Click Image to Enlarge)
    Trim the stabilizer leaving about a 1" margin around the design.  


    Step 8:
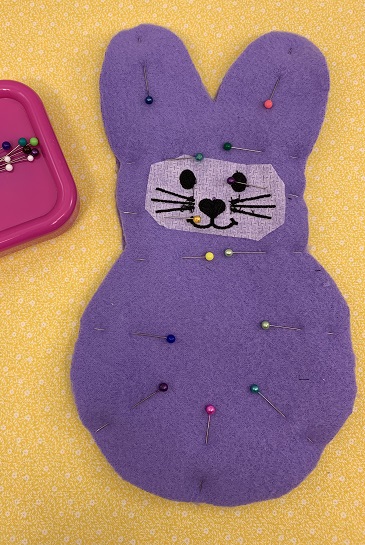
    Pin the two pieces of fleece together with right sides facing each other. 
     
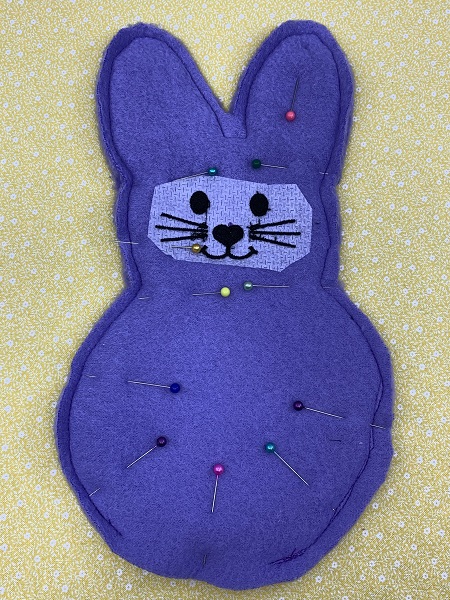
    Sew around the outer edge of the bunny leaving about a 3" opening for stuffing.

    (Click Image to Enlarge)


    Step 9:
    (Click Image to Enlarge)
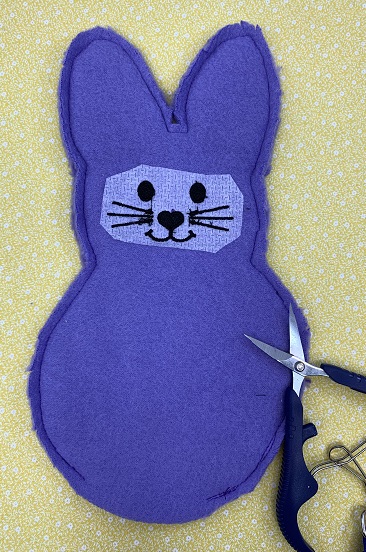
    Using small scissors, clip around the seam line of the bunny but do not clip the seam.  


    Step 10:
    (Click Image to Enlarge)
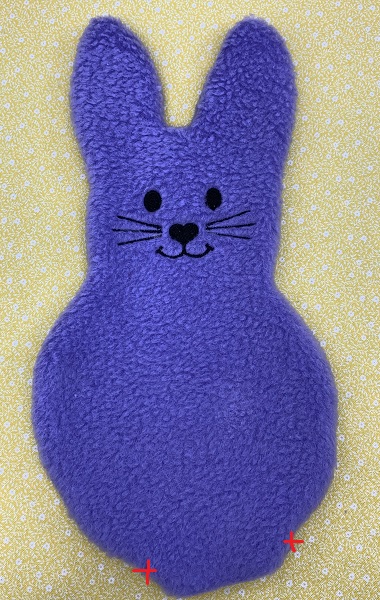
    Turn the bunny right side out.  Stuff the bunny with Poly-Fil.  Use a needle and thread to close the opening on the bunny.


    Step 11:
    Awesome!  You made a STUFFED BUNNY!  Totally neat!

    (Click Image to Enlarge)


    for the love of learning...
     
     Marisa Littleton 
    Meet the Author: Marisa Littleton
    Marisa Littleton
    Marisa Littleton is a retired educator with a love for teaching and learning. Interests include machine embroidery, hand embroidery, quilting, cooking, and antiques.
    More From This Author
    Link is Broken, Please check the URL
    Exclusive Embroidery Offers!
    Copyright © {{ currentDate | date:'yyyy'}} - EmbroideryDesigns.com
    GET 50% OFF! ×