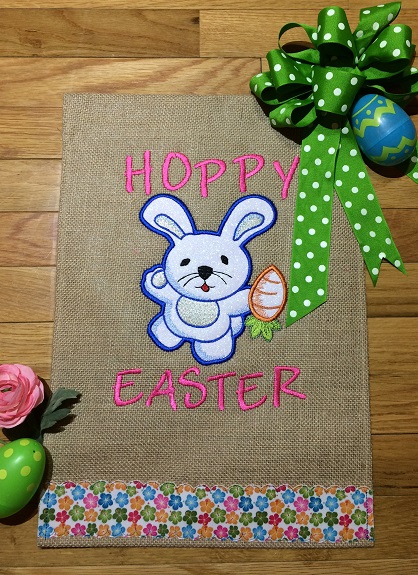
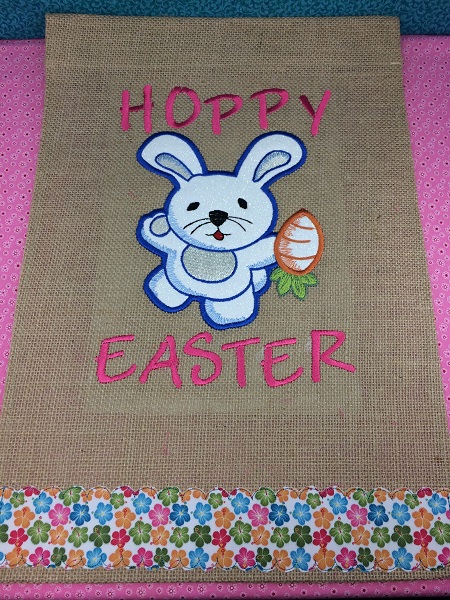
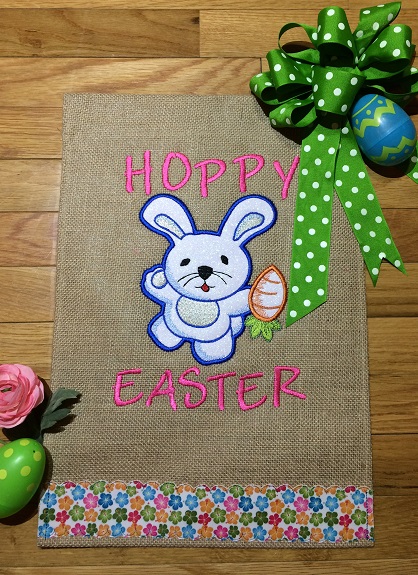
A cheerful bunny wishes everyone a 'HOPPY EASTER'! An applique rabbit made with glittery vinyl and trimmed with floral vinyl. For indoor or outdoor use.
An applique bunny made with a glittery vinyl and a printed vinyl. A good quality quilting fabric (100% cotton) works well also if you do not have or want vinyl. A sewing machine was used to sew the printed vinyl as a trim. Project can be used as a flag for outdoors or wall hanging indoors. A fun, easy design that wishes everyone a 'HOPPY EASTER'!
Step 1:
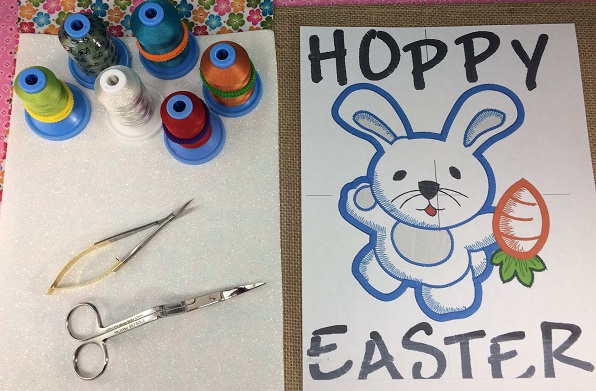
Gather the materials needed for the project. Read the directions carefully.
(Click Image to Enlarge)
Step 2:
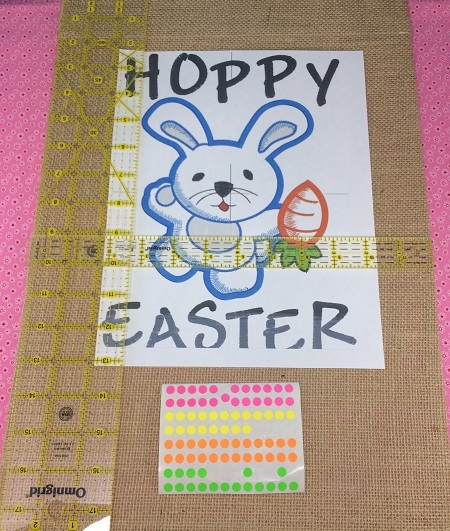
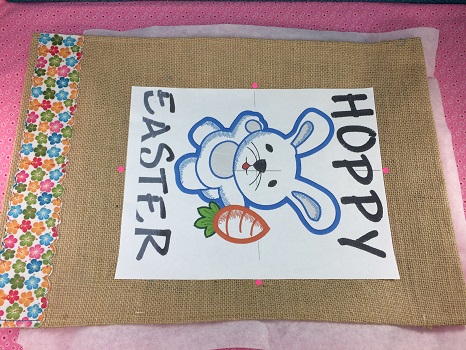
I began the project by making a design template. A design template is a printout of the actual size of the design. It's an excellent tool to use as a guide for placement and positioning.
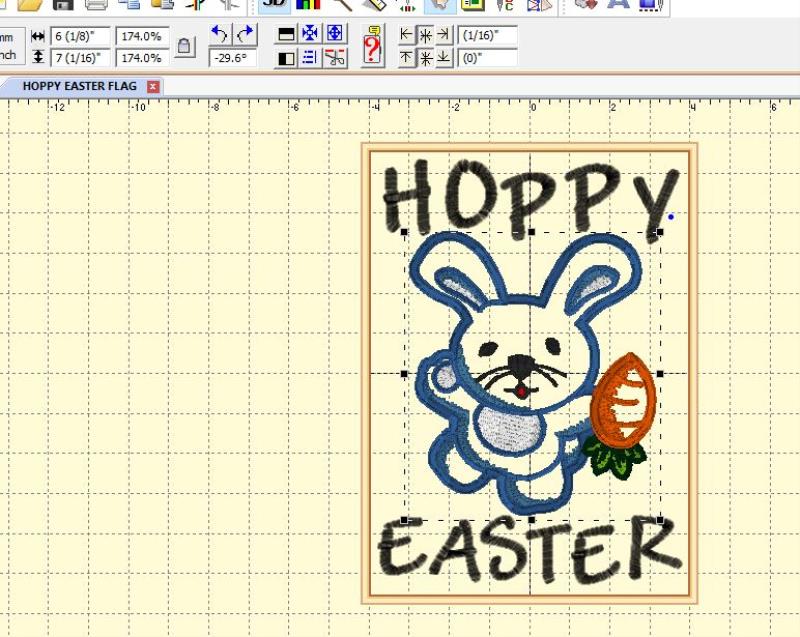
The flag in this project measures 12"x18". The design needed to be slightly larger to be more proportionate to the flag dimensions. I used an embroidery software program (Embrilliance Essentials) to slightly enlarge the bunny. The new dimensions of the bunny are 6 1/8 x 7 1/16. The letters are 2" tall, and the font 'Andy' was used for the caption.
(Click Image to Enlarge)
Step 3:
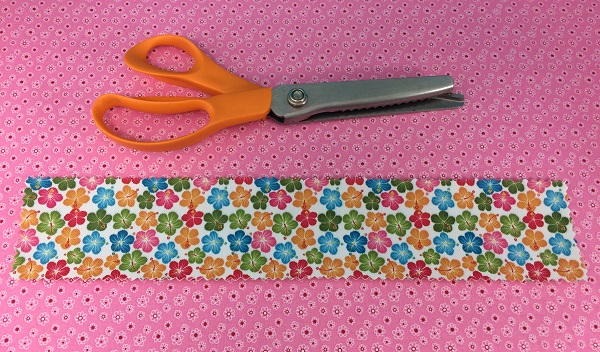
Cut one 3" strip of printed vinyl for the trim on the flag.
(Click Image to Enlarge)
Step 4:
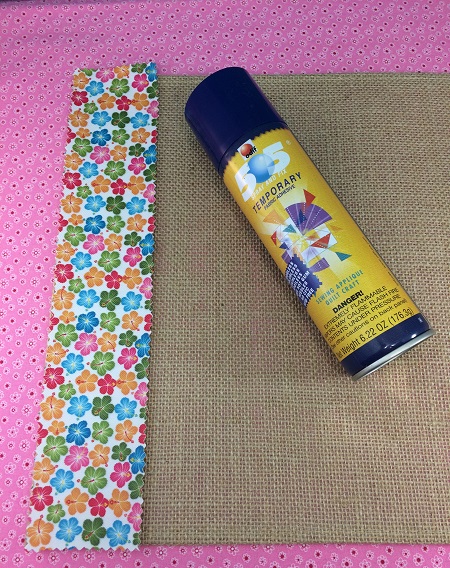
Lightly spray temporary adhesive to the back of the vinyl strip. Press the strip along the bottom edge of the flag.
(Click Image to Enlarge)
Step 5:
(Click Image to Enlarge)
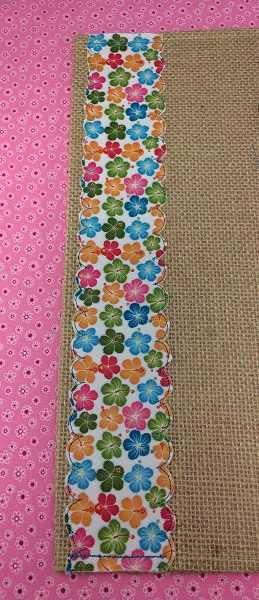
Sew the trim to the flag with a 1/4" seam.
If your machine has decorative stitches, I used a scalloped stitch along the edges. I stitched the scalloped seam along the long sides of the trim. I used a straight seam on the sides. I trimmed the vinyl along the scalloped edge to make a pretty border.
Step 6:
Use the design template to determine placement on the flag. Mark the center point and axis of the design on the flag using an air erasable fabric marker. I use 1/4" dots on fabrics that are harder to mark.
(Click Image to Enlarge)
Step 7:
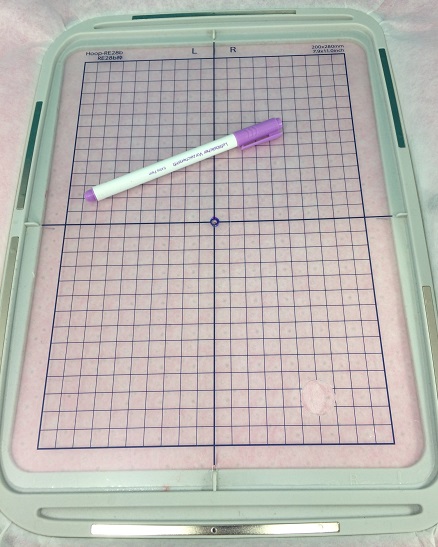
Hoop one piece of medium weight (2.5) cut away stabilizer. Mark the center point and axis on the stabilizer.
(Click Image to Enlarge)
Step 8:
A ‘floating’ technique’ will be used for this project. Only the stabilizer is hooped. The flag is secured on top of the stabilizer with temporary adhesive spray.
Put the flag on top of the stabilizer, lining the axis lines made on the placemat with the marks on the hoop.
Step 9:
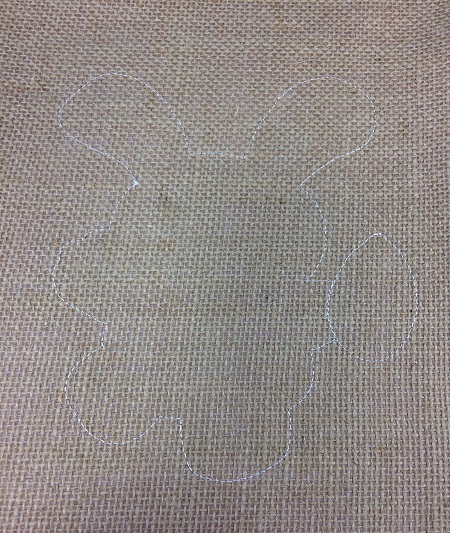
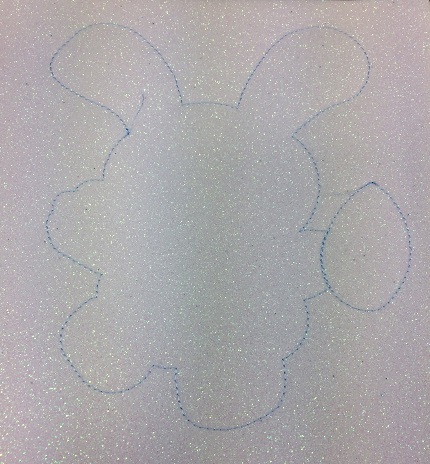
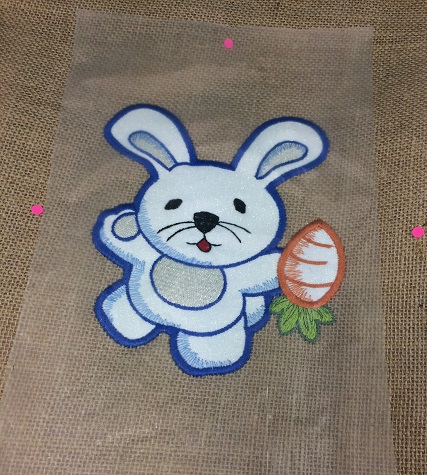
Load the embroidery design. Attach the hoop. The rabbit is appliqued in this project. Applique embroidery decoratively stitches one fabric on top of another. Applique embroidery designs include a placement stitch, a tack down stitch, and a finishing stitch for each piece of fabric. These stitches are usually in different colors on the color chart so that the machine will stop after each step.
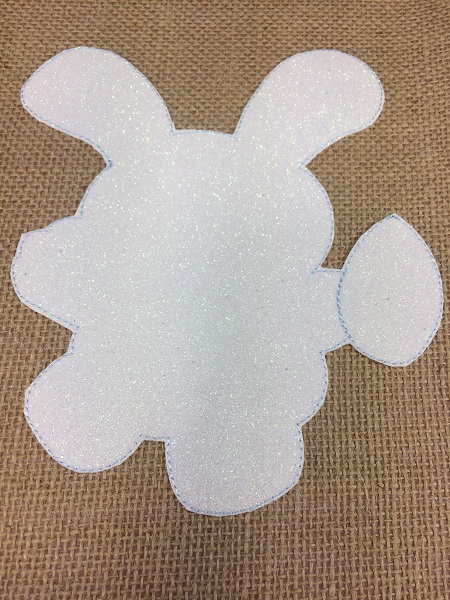
Stitch the placement stitch for the bunny. Place the white glitter vinyl over the placement stitches making sure that all the area is covered by the vinyl.
(Click Image to Enlarge)
Step 10:
Stitch the tack down stitches for the bunny. This step attaches the vinyl to the flag.
Step 11:
Remove the hoop from your machine, but DO NOT REMOVE THE PROJECT FROM THE HOOP.
Using sharp embroidery scissors, trim the applique fabric around the tack down stitching. Trim close to the stitches but not so close as to cut the stitches themselves. Attach the hoop back to the machine.
(Click Image to Enlarge)
Step 12:
Place one piece of Water Soluble Topping on top of the flag. Finish stitching the design.
Step 13:
Remove the hoop from the machine. Remove the flag from the hoop. Gently tear away the Water Soluble stabilizer from the front of the flag.
Trim the cut-away stabilizer from around the design leaving about a 1/2" margin. Clip any long threads from the back if needed.
(Click Image to Enlarge)
Step 14:
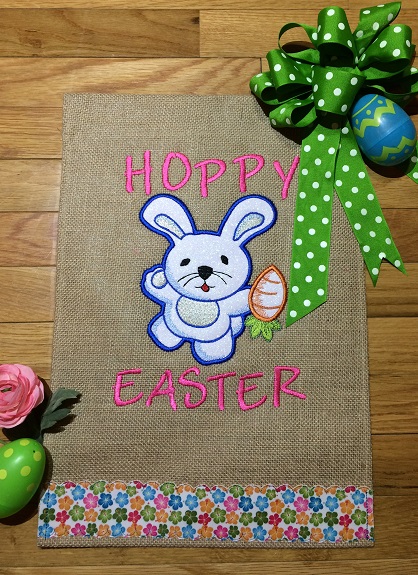
You are now finished with your project. HOPPY EASTER! Very, very nice!
Marisa Littleton is a retired educator with a love for teaching and learning. Interests include machine embroidery, hand embroidery, quilting, cooking, and antiques.