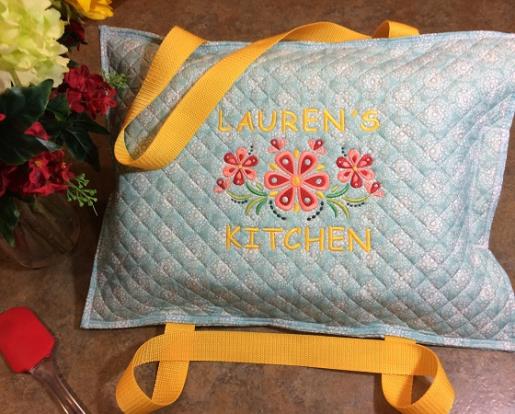
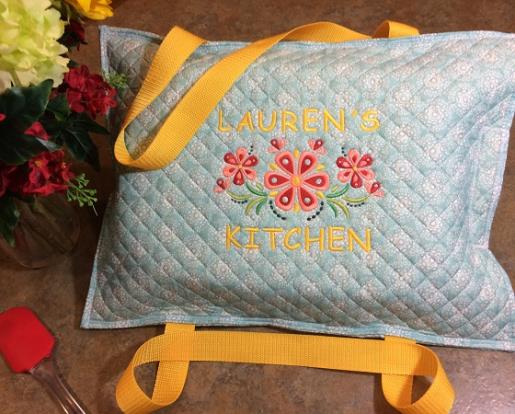
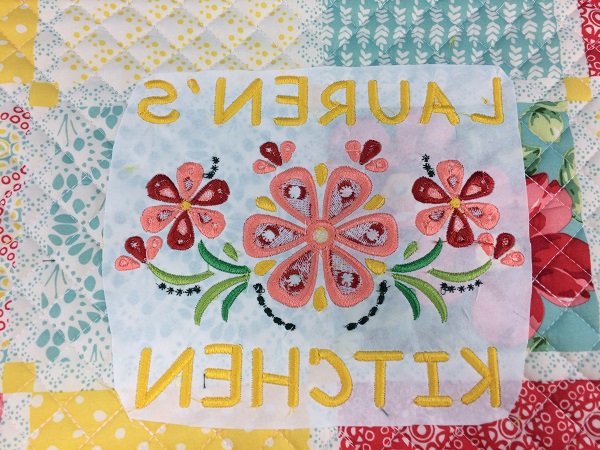
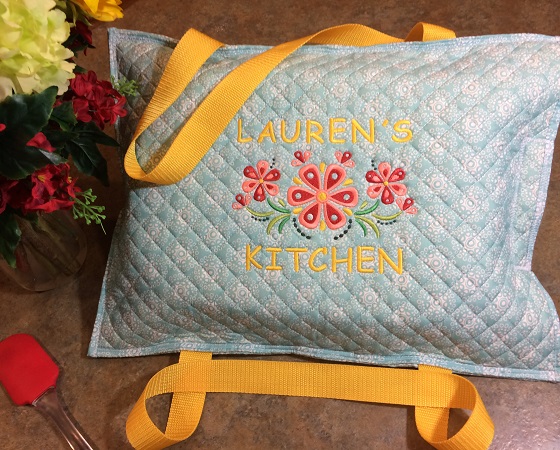
Personalized 'Placemat Carrier' for a 9"x13" pan. Quilted placemats generally have two pieces of fabric with a layer of batting in between. Match the edges of the placemats when you purchase as most placemats are not true to size.
Step 1:
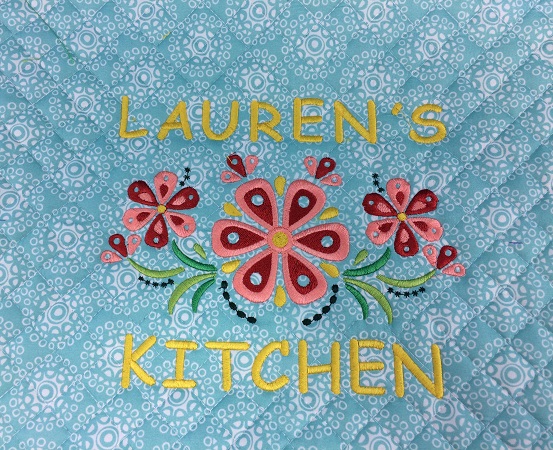
Personalize the design by adding text. 'Comic San' font was used with the Embrilliance Essentials embroidery software.
(Click Image to Enlarge)
Step 2:
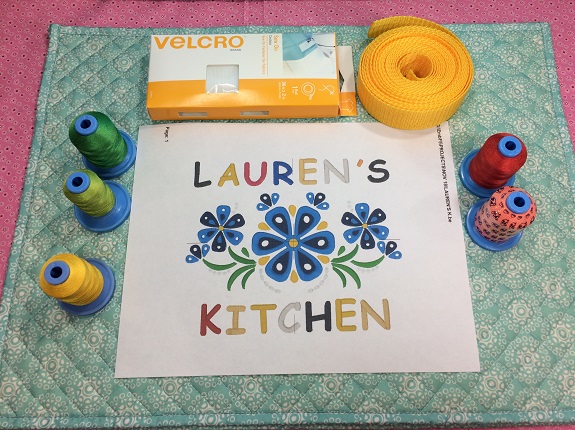
Gather the materials. Read through the instructions before beginning. The paper design template is the actual size of the stitch out. Print a design template and color chart.
(Click Image to Enlarge)
Step 3:
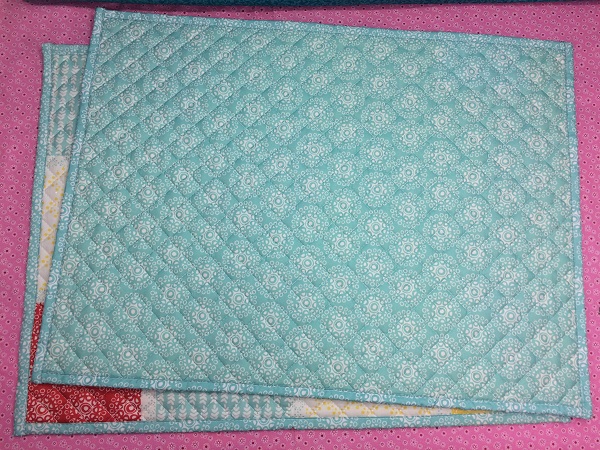
Match the edges of the placemat. Placemats should be as close to the same actual size as possible.
(Click Image to Enlarge)
Step 4:
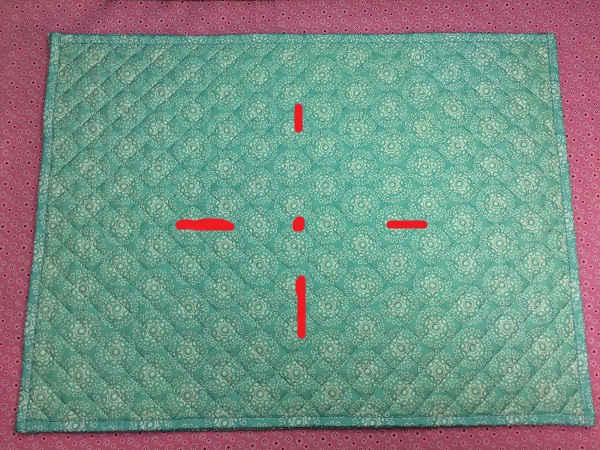
Place one placement on a flat surface with the right side (side to be embroidered) facing you. Use the template as a guide for placement and positioning of the design on the placemat.
Mark the center point and axis on the placemat using an air-erase fabric marker.
(Click Image to Enlarge)
Step 5:
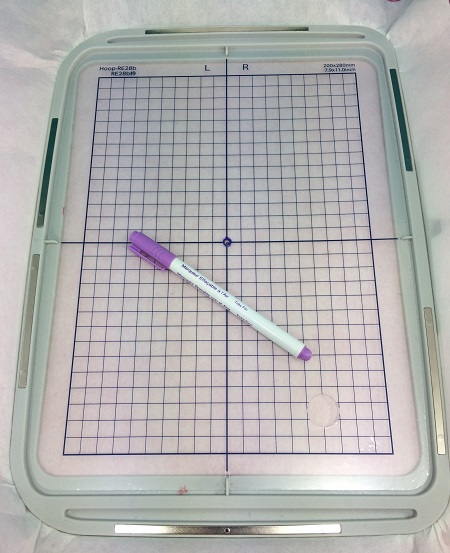
Hoop 1 piece of medium cut away stabilizer. Mark the center point and axis on the stabilizer.
(Click Image to Enlarge)
Step 6:
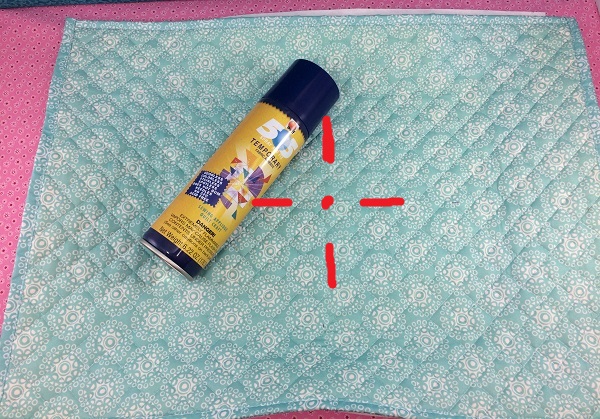
Match the center points on the placemat with the center point on the stabilizer. Align axis marks. Use a light mist of temporary adhesive spray to secure the placemat onto the stabilizer. Add pins if needed to help hold the placemat in place.
(Click Image to Enlarge)
Step 7:
Load the embroidery design on your machine. Stitch the design. Use the color guide on the machine and printed chart as a guide.
(Click Image to Enlarge)
Step 8:
Remove the placemat from the hoop. Cut away the stabilizer leaving a ½” margin around the design. Trim any long threads.
(Click Image to Enlarge)
Step 9:
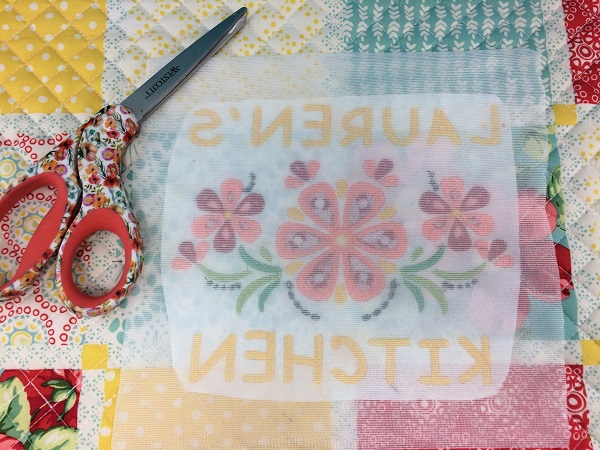
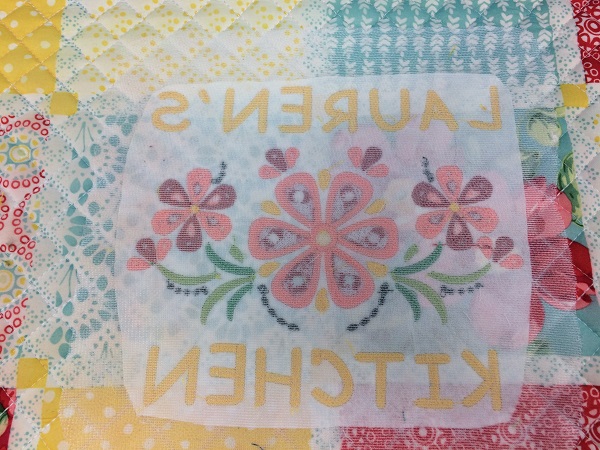
Cover the embroidered area on the back with a Soft Cover to keep your containers from getting caught on the edges of the cut away stabilizer.
Cut a piece of Soft Cover (Cover A Stitch) large enough to cover all of the cut away stabilizer with about a 1" margin.
(Click Image to Enlarge)
Step 10:
Follow the directions on the package to bond the Soft Cover to the fabric. The Soft Cover will leave a smooth surface on the inside of the carrier.
(Click Image to Enlarge)
Step 11:
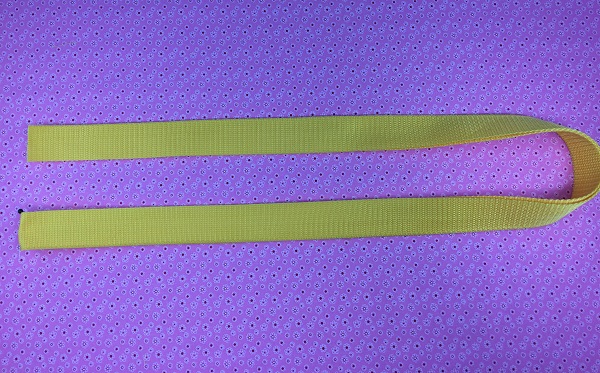
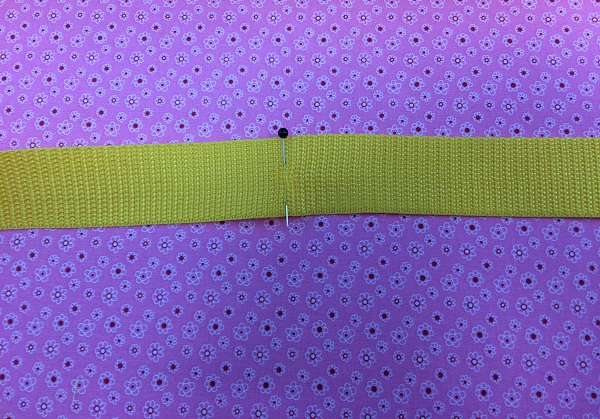
Fold the webbing for the straps in half.
(Click Image to Enlarge)
Step 12:
Find the center of the strap. Make sure the ends of the straps are even. Place a pin at the fold.
(Click Image to Enlarge)
Step 13:
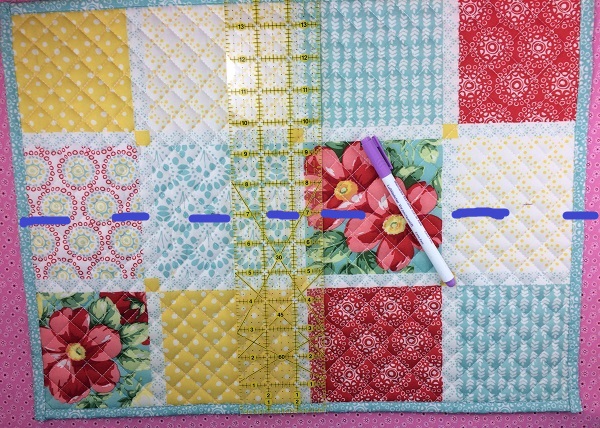
Place the second placemat on a flat surface with the wrong side facing you. Find the vertical center point of the placemat. This placemat is 14" tall. The center point will be 7". Draw a line in the center lengthwise using an air erasable fabric marker.
(Click Image to Enlarge)
Step 14:
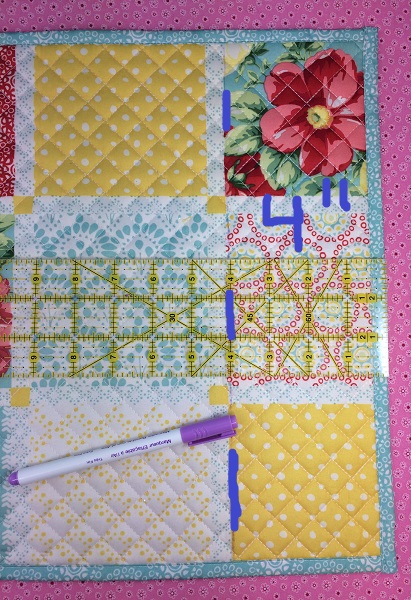
Measure 4" from the edge of each vertical side. Mark 4" from the edge on each side using an air erasable fabric marker.
(Click Image to Enlarge)
Step 15:
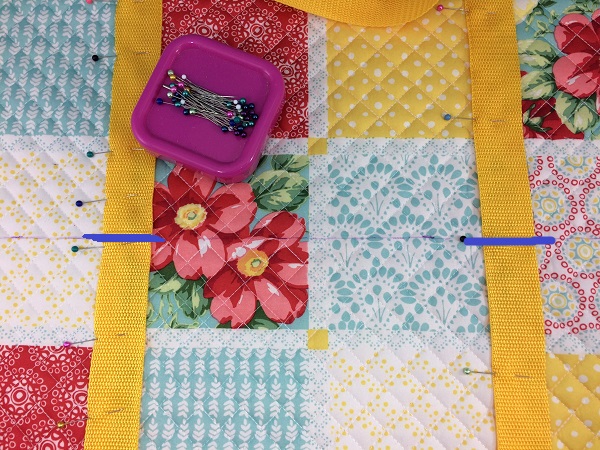
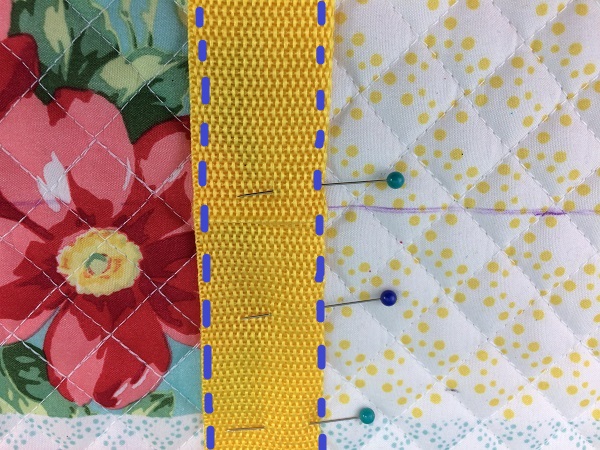
Line the center of the strap with the center on the PM on one side of the PM.
Match the ends of the strap at the center on the other side of the PM. I let the ends overlap slightly.
Watch the direction that the strap handles loop around when you are pinning them in place. Make sure the webbing is not twisted or turned wrong. Pin the straps in place.
(Click Image to Enlarge)
Step 16:
Sew a 1/8” to ¼” seam along both edges of the strap. Reinforce the stitching at the sides of the straps.
(Click Image to Enlarge)
Step 17:
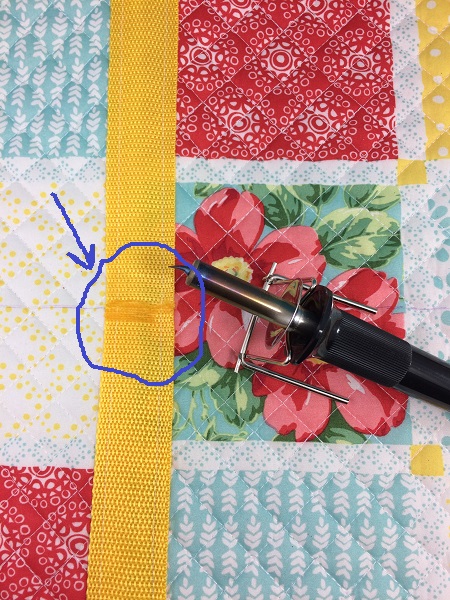
Sear the edges of the webbing where it overlaps to prevent fraying. I used a wood burning etching tool.
(Click Image to Enlarge)
Step 18:
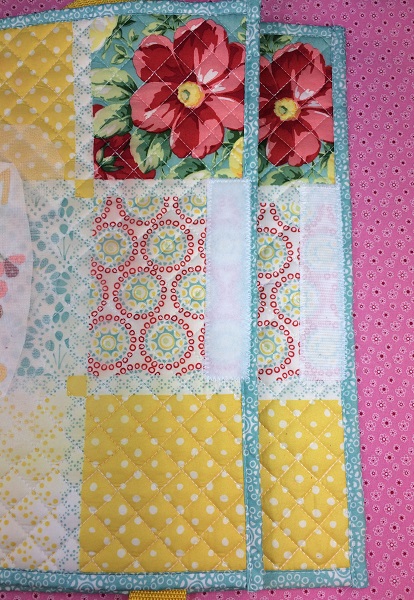
Containers will be inserted into the carrier from the right side. Velcro is used to close the opening.
Cut a set of Velcro 1" x 5". Place each placemat on a flat surface with the wrong side facing you. Center the Velcro along the edge where the carrier will be open. Leave about 1/4" from the edge of the placemat and pin in place. Sew the Velcro in place. I used a zig zag stitch and sewed around the Velcro twice. The double seam will add durability to the closure.
(Click Image to Enlarge)
Step 19:
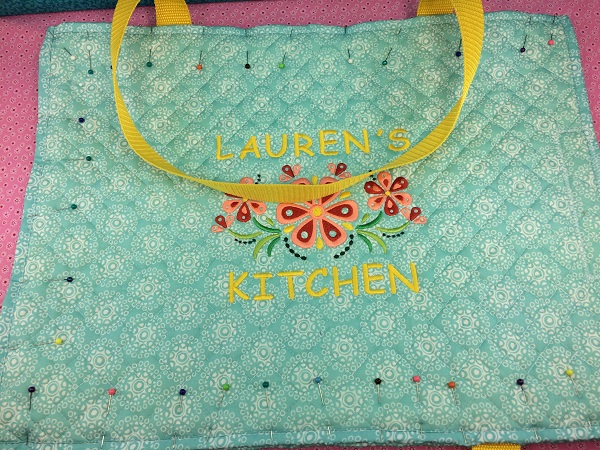
Place the two placemats together with right sides facing you. Pin the placemats together leaving the end on the right side open. Make sure the handles are on the outer sides of the PM.
Sew ¼ ” seam around the three pinned sides of the placemat. Sew a second seam around the three pinned sides using a ½” seam. The two seams will make the carrier more durable.
Congrats! You have completed a 'Placemat Carrier'! WTG! Great job!
(Click Image to Enlarge)
Step 20:
Congrats! You did it! You completed a 'Placemat Carrier'! GREAT JOB!
Marisa Littleton is a retired educator with a love for teaching and learning. Interests include machine embroidery, hand embroidery, quilting, cooking, and antiques.