Live Chat
Embroidery Designs
Welcome, Embroiderer
Login
Wooden Pie Box
{{mainImageAlt || (productInfo._source && productInfo._source.name) || ''}}

Wooden Pie Box Embroidery Project

By   Linda Mills   on   November 15, 2018
  • SKILL LEVELExperienced
  • TIME REQUIRED01:30
Description

A personalized stylish vessel to tote your freshly baked pies and other baked goods this holiday season.

Step of

Materials

Project Preview Video

Materials
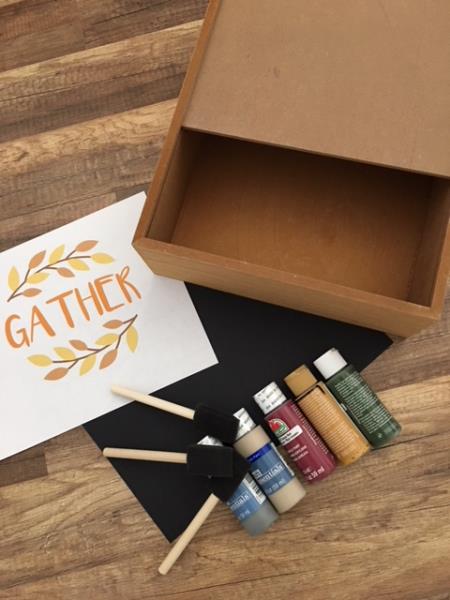
  • Unfinished Wooden pie box w/slider top
  • Vinyl with Adhesive back ( 1 sheet 12” x 12”)
  • Acrylic paint
  • Sponge brushes
  • Cutting Machine ( i.e Silhouette, Cameo, etc)

  • Designs used in this project

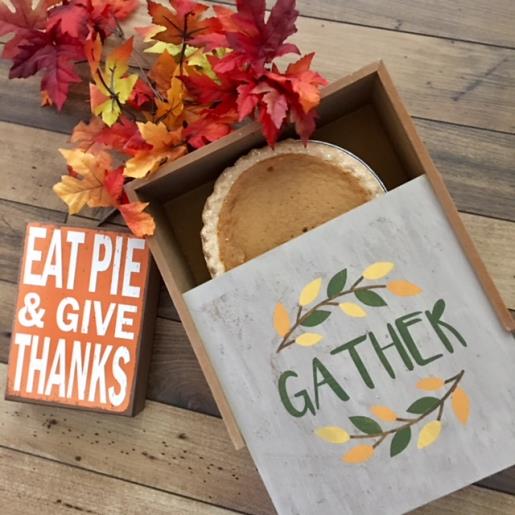
    Final Product: What You Will Create

    Preface:
    As you "Gather" this holiday season with family and friends, showcase your baked goods by creating a personalized wooden pie box lid using a simple SVG file and acrylic paints for transporting.   


    Step 1:
    Gather all materials and review instructions before beginning. 

    (Click Image to Enlarge)


    Step 2:
    (Click Image to Enlarge)
    Create stencil:
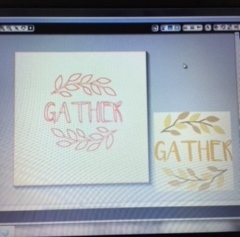
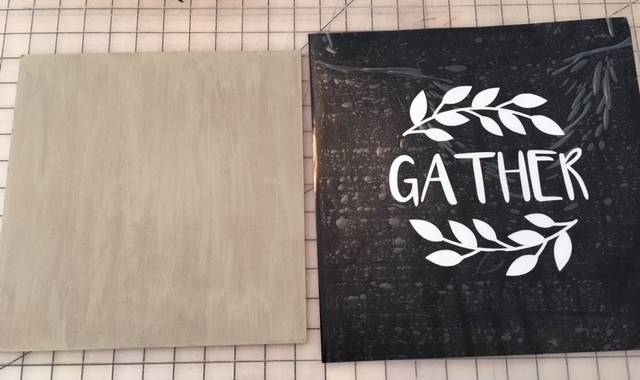
    Following your Silhouette/Cricut machine instructions bring in to your program the SVG file, “ Gather” . Enlarge design to 7” x 7” sq. Create and “ cut” your template. Weed your template using “reverse weeding".
     
    Reverse weeding: Removing the area of the vinyl that would normally be left behind. This technique is mainly used when making a stencil.
     
    For Silhouette users: If you do not have the program upgrade to “cut”  SVG files into a template please follow the instructions using the attached link in this tutorial to my project “Thanksgiving Themed Wood Art” to work around. Set stencil aside. 


    Step 3:
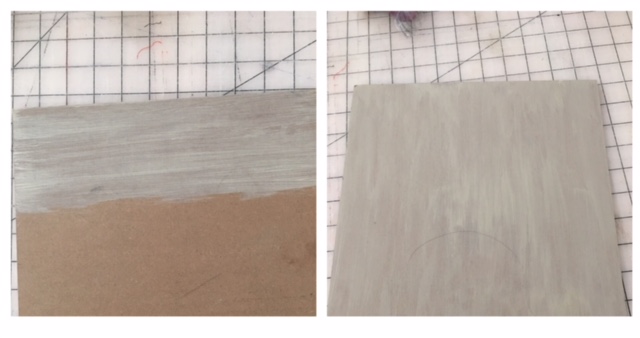
    To prep pie box lid for stencil: Remove lid from the box. Using your acrylic paint give it a base coat of your desired color. I used a neutral/gray tone color. Allow time to completely dry. 

    (Click Image to Enlarge)


    Step 4:
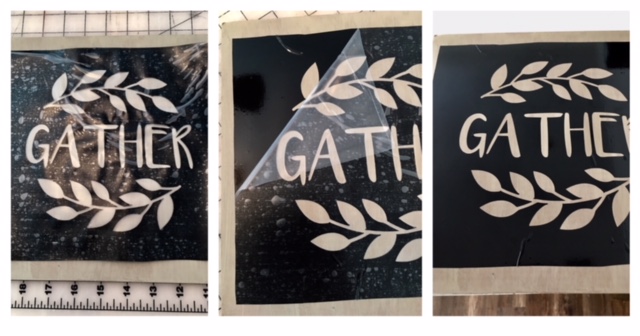
    Apply and center your stencil onto your pie box lid.  

    (Click Image to Enlarge)


    Step 5:
    Carefully remove transfer paper as you press down stencil onto the lid to secure.   

    (Click Image to Enlarge)


    Step 6:
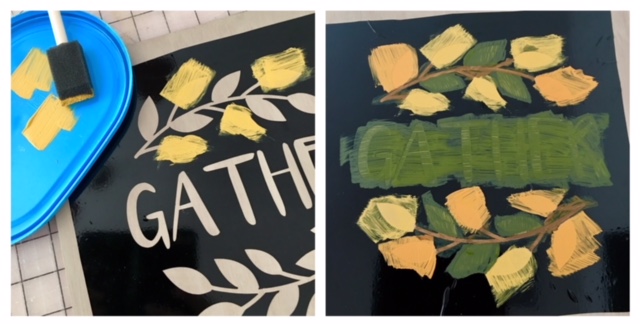
    Paint as desired or use your printed template as a color guide. Allow time to completely dry. 

    (Click Image to Enlarge)


    Step 7:
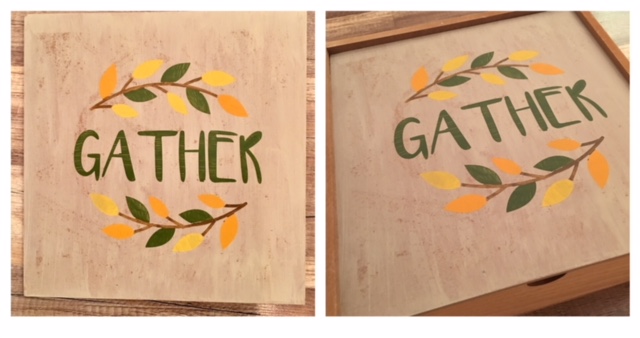
    Once completely dry. Carefully remove stencil. Some of my base paint stuck to my adhesive but I think it gives it a “vintage” look! You can always touch up any areas if needed. Just slide the lid back onto the box and Viola! Your pie box is now ready to transport your homemade pie or any other baked goods!

    (Click Image to Enlarge)

    Meet the Author: Linda Mills
    Linda Mills
    Linda loves to create by sharing her different sewing and machine embroidery techniques so others can utilize their machines to the fullest
    More From This Author
    Link is Broken, Please check the URL
    Exclusive Embroidery Offers!
    Copyright © {{ currentDate | date:'yyyy'}} - EmbroideryDesigns.com
    GET 50% OFF! ×