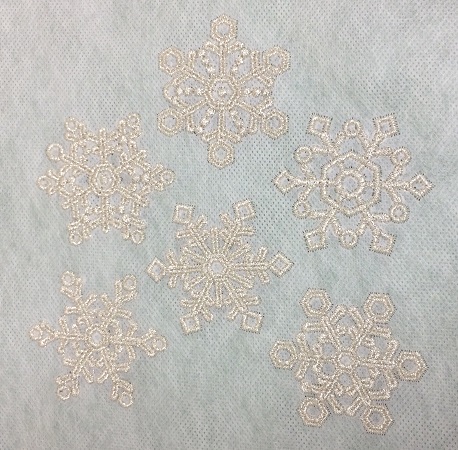
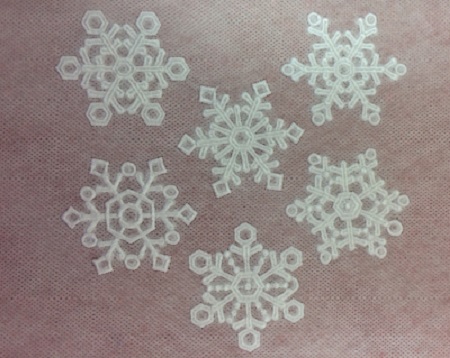
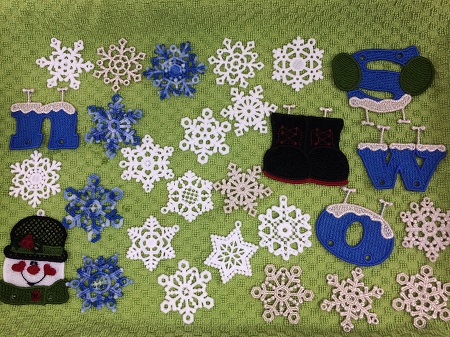
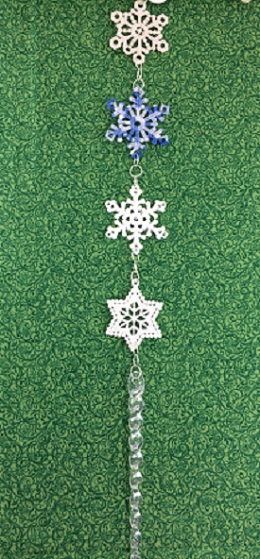
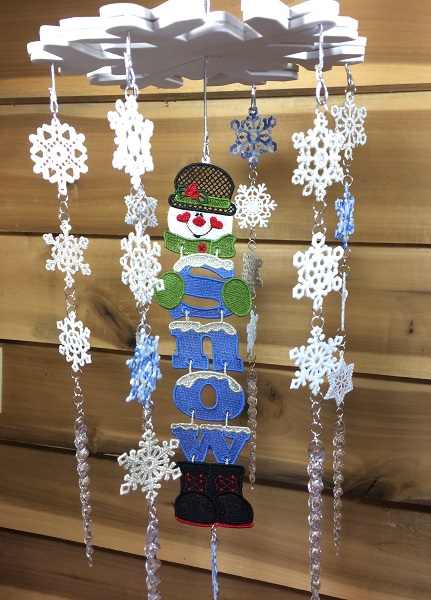
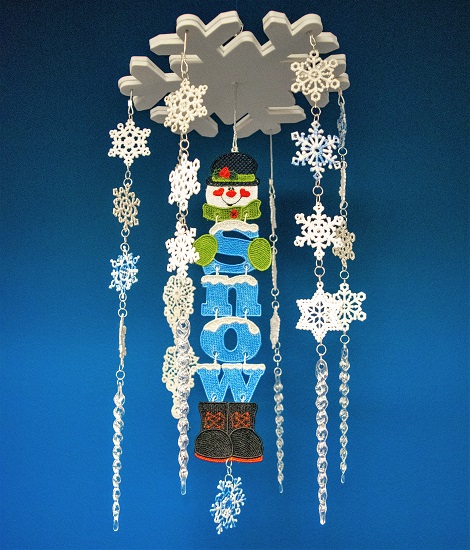
Two design packs were used to make the FSL Snowman Wind Chime. Three different colors were used for the FSL snowflakes: variegated light blue, silver metallic, and snow white. The wind chime has 6 dangling columns. Each of the columns have 3-4 snowflakes and a plastic icicle in the example. I suggest using 4 snowflakes and a plastic icicle for each of your columns. You will need to make 25 FSL snowflakes.
Step 1:
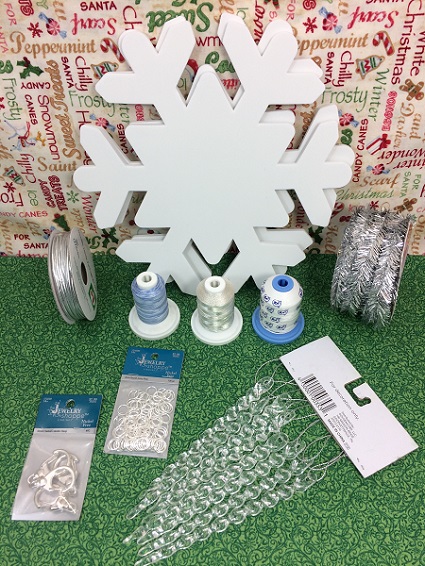
Gather the materials. Read the directions carefully before beginning the project.
(Click Image to Enlarge)
Step 2:
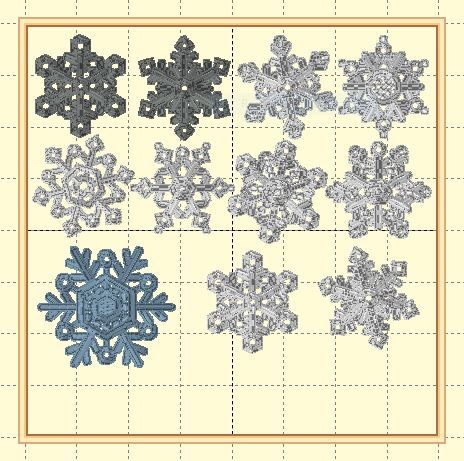
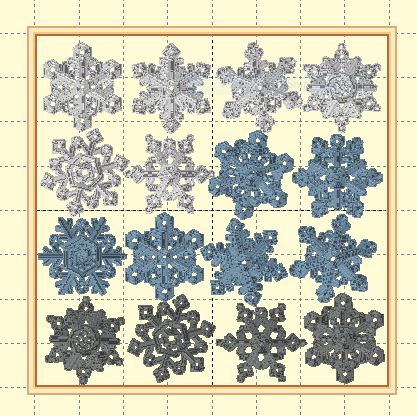
The designs for the FSL snowflakes and snowman are small. A great time and money saver is grouping the designs together. Instead of having to hoop each design separately, I grouped them together and made new templates. You will use less stabilizer and complete the project much faster.
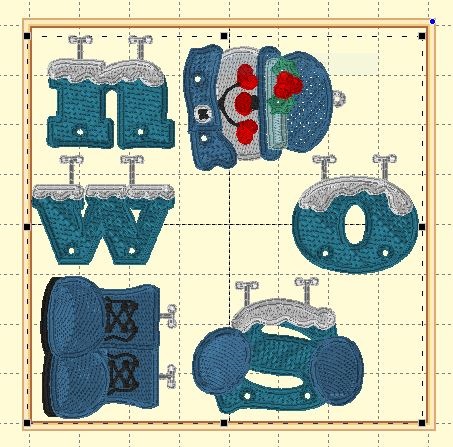
There are 20 different snowflake designs in the pack. Some of the designs will not work as well for the project because of their style. Designs 3,5,6,8,10,12,15, 16, & 17 are better choices. Enlarge one design to approximately 2.5x2.5” dimensions to go on the snowman column. An 8x8” hoop was used for this project. Pictured is the design template for the snowman.
Embrilliance Essentials software was used to make the templates.
Step 3:
Design template for snowflakes made using Embrilliance Essentials.
Step 4:
Design template made using Embrilliance Essentials.
Step 5:
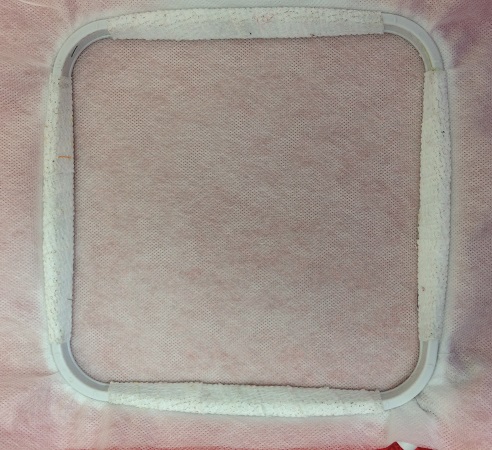
Use 2 layers of Vilene water soluble stabilizer in the hoop. Load the design onto your machine. Stitch the designs.
Step 6:
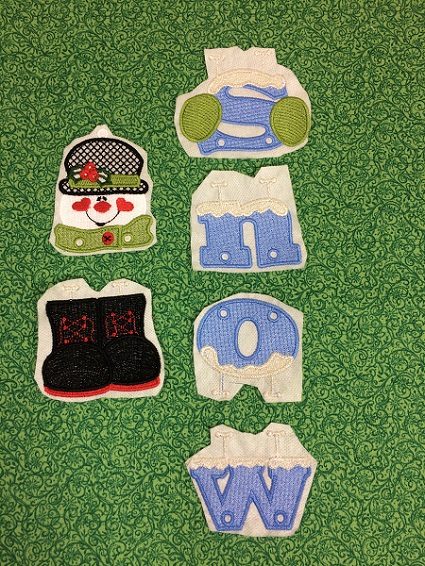
Remove the designs from the hoop. Trim away the excess stabilizer from around each design. The example shows FSL snowman.
(Click Image to Enlarge)
Step 7:
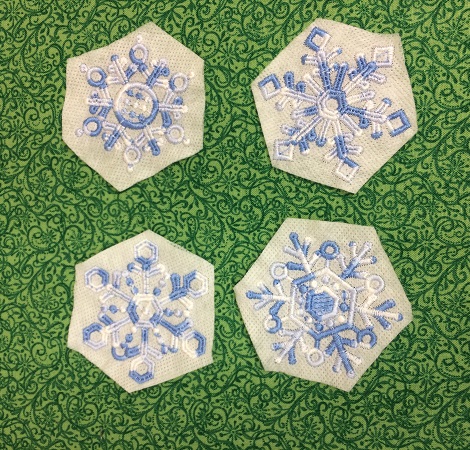
Example of FSL snowflakes stitched with the Robison-Anton variegated light blue thread.
Step 8:
Example of FSL snowflakes stitched with Robison-Anton silver metallic thread.
Step 9:
Example of FSL snowflakes stitched with Robison-Anton Super Brite snow white poly thread.
Step 10:
Refer to the directions on the package of the water-soluble stabilizer. You want to run hot water around the edges of each design just enough to remove the visible stabilizer. Do not saturate or soak the designs with water. The WSS will help the designs hold their shape. Place the designs on an old towel and allow to dry overnight.
Step 11:
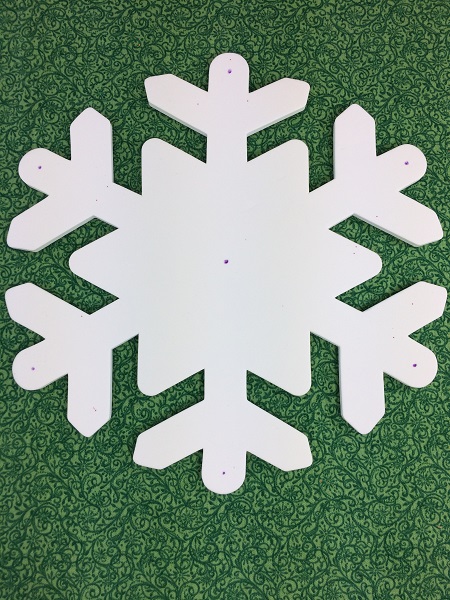
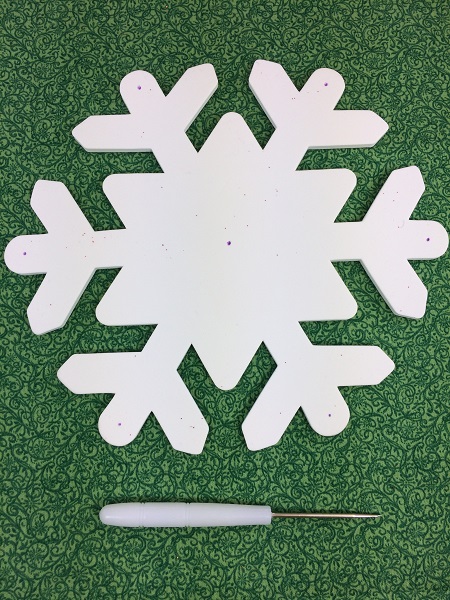
Everything dangling on a wind chime should be attached to a common platform or ring at the top. The platform for the chime two foam snowflakes.
Mark the center on the snowflakes.
Mark 6 spots on each snowflake at equal distances from each other.
(Click Image to Enlarge)
Step 12:
Use a punch tool/nail to carefully make a hole at each mark.
(Click Image to Enlarge)
Step 13:
(Click Image to Enlarge)
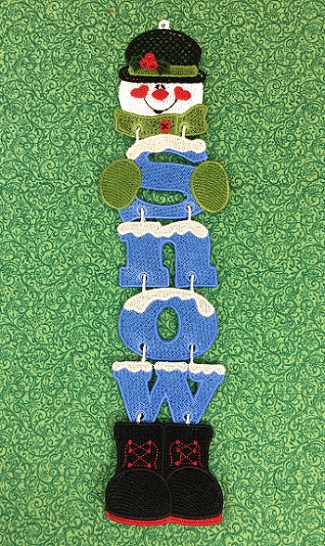
Assemble the snowman. Link each piece together by putting the ‘T’ shaped tab through the hole in the adjoining piece. The tops of the ‘T’ should be on the back side of the snowman.
Step 14:
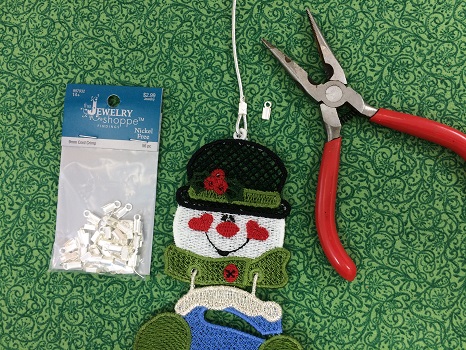
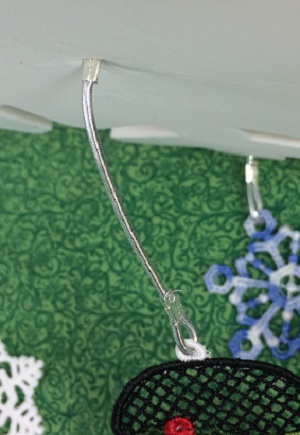
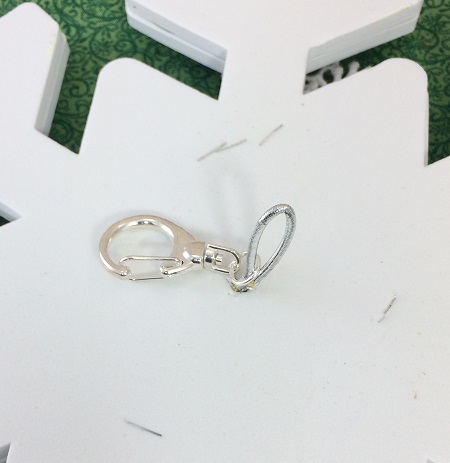
Cut one 6” strand of the elastic silver cord. Attach one end of the cord to the snowman’s hat. Secure the end of the cord. A 9mm jewelry crimp was used in the example. Loop the cord through the snowman hat. Place the end of the cord in the crimp (ignore the little circle in the crimp or just clip it off with the pliers). Use small pliers to squeeze the sides of the crimp together.
Step 15:
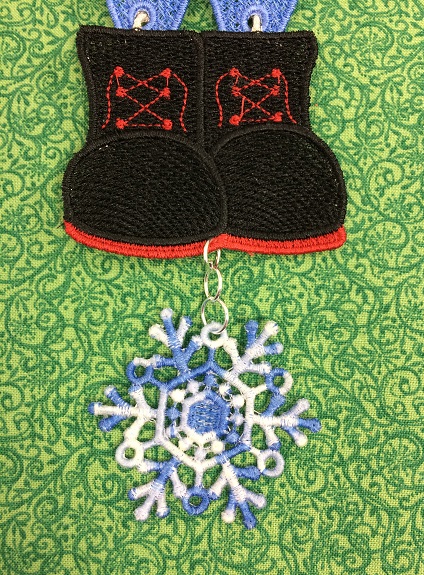
Attach the enlarged FSL snowflake to the end of the snowman column.
(Click Image to Enlarge)
Step 16:
(Click Image to Enlarge)
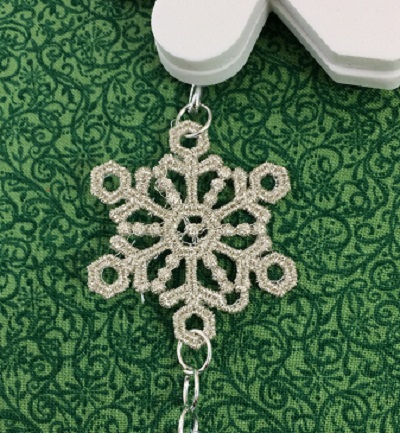
Assemble the 6 columns. You will need 4 FSL snowflakes,1 icicle, 6mm jump rings for each column. Link the snowflakes together with the jump rings putting 3 jump rings between each snowflake. Use small pliers to close the jump rings securely. You will have four snowflakes and then the icicle on the end of each column.
Step 17:
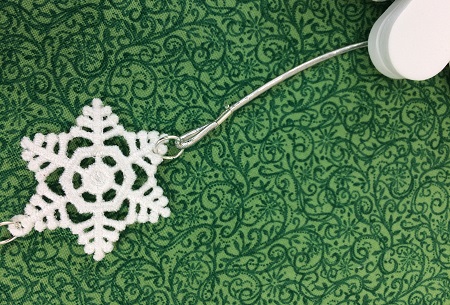
Attach a 6” piece of cord to the snowflake at the top of each column. Make a 1” loop and fasten together with a crimp.
Step 18:
(Click Image to Enlarge)
Match the edges of the two foam snowflakes together. Run the other end of the cord through the hole in the centers of the snowflakes.
Step 19:
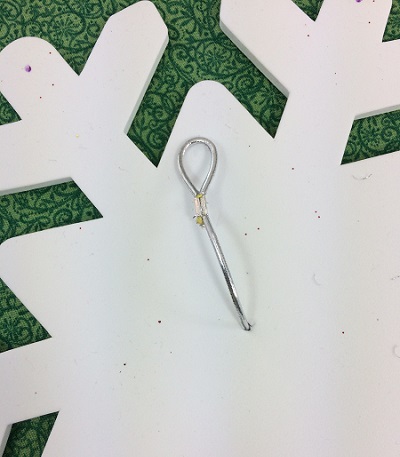
Make about a 1” loop and fasten the cord ends together with a crimp.
Step 20:
Attach the hook in the loop. Glitter everywhere!
Step 21:
Attach each column to the holes at the perimeter of the foam snowflakes. Run the end of each cord about 1.5” through both holes in the two layers of the foam snowflakes. Use clear tape to temporarily hold the cord in place on the foam snowflake. Attach the rest of the columns.
Once attached, use a hot glue gun and bond the two foam snowflakes together securely. Make sure that the edges are well sealed.
Marisa Littleton is a retired educator with a love for teaching and learning. Interests include machine embroidery, hand embroidery, quilting, cooking, and antiques.