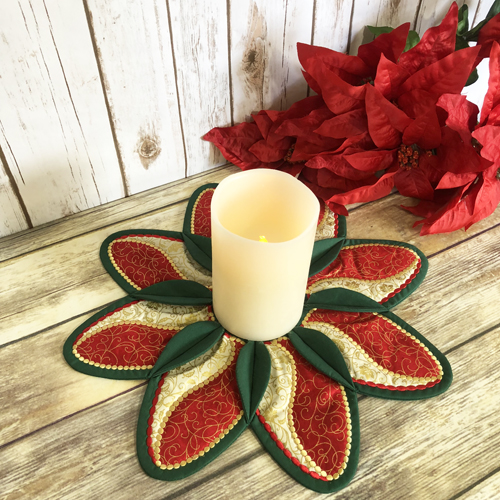
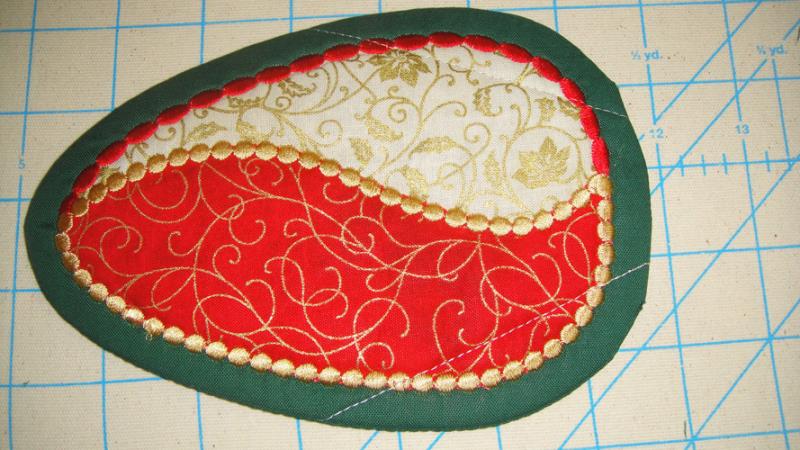
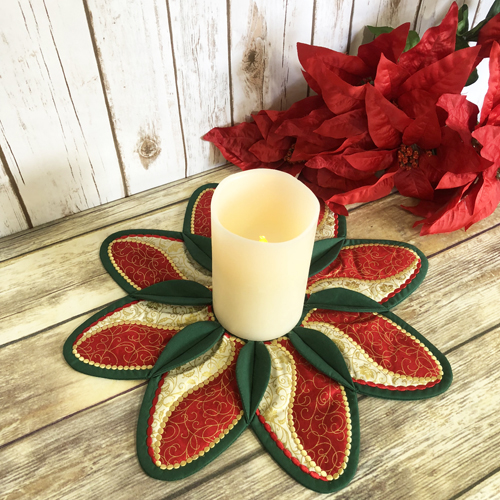
Each petal of this lovely centerpiece is created in the hoop. They are stitched together in just a few minutes at your sewing machine. By changing the fabric colors you can make it up for any season.
Each petal is made in the hoop, turned and closed with hand stitches or double sided fusible tape. Guidelines are stitched on the petals during the embroidery process to show you where to stitch the petals together.
Step 1:
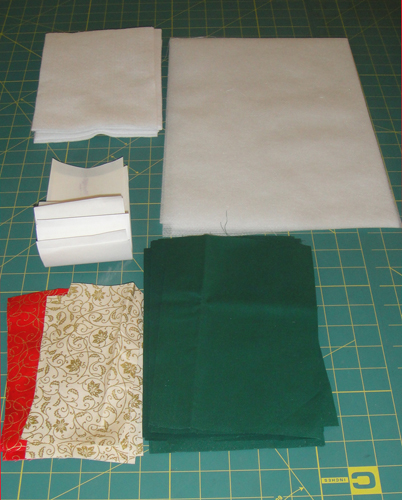
Cut: a. 16 Green rectangles 9”x 6” b. 8 Ivory/Gold rectangles 7” x 3 ½” c. 8 Red/Gold rectangles 7” x 3 ½” d. 8 Battilizer® rectangles 8” x 6” e. 16 Heat N Bond Lite® rectangles 7” x 3 ½”
Step 2:
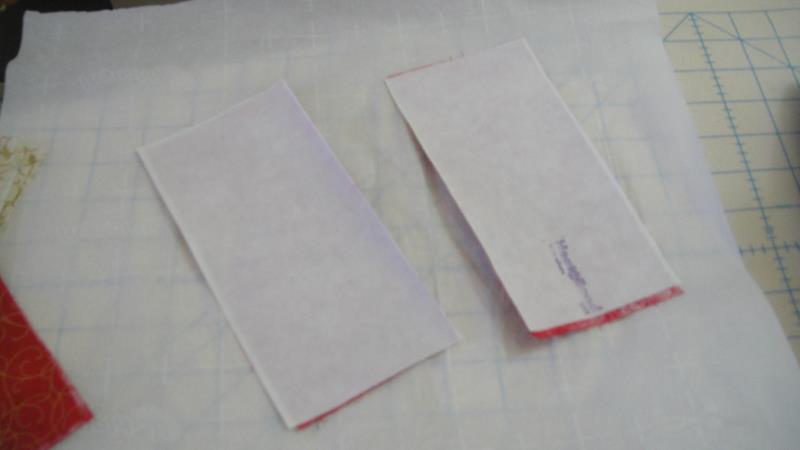
Spray all fabrics with Magic Sizing® and press, spray the applique pieces a second time and press again, then following the manufacturer’s instructions fuse the Heat N Bond Lite® to the back of each applique. Hint: Placing parchment paper on your ironing board will prevent you from getting adhesive on the ironing board cover.
(Click Image to Enlarge)
Step 3:
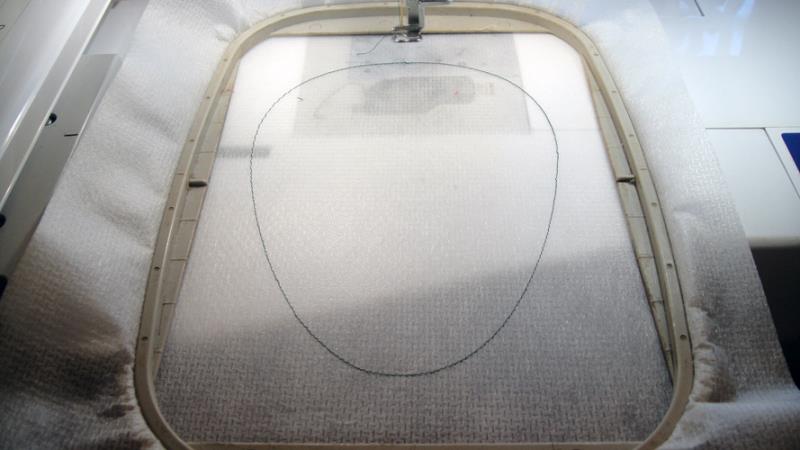
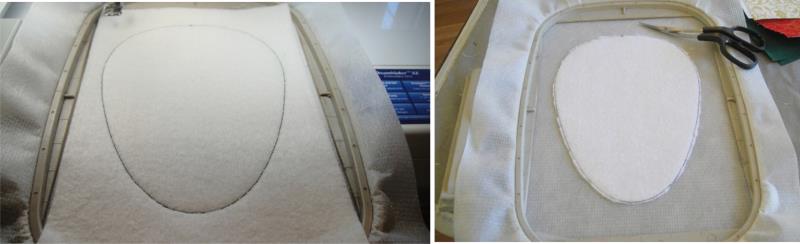
Tautly hoop poly mesh stabilizer in your hoop. Run the 1st color stop (CS 1) in Fir as a placement line for the Battilizer®.
(Click Image to Enlarge)
Step 4:
Spray adhesive on the Battilizer® and position over the placement line. Run CS 2 in Fir to tack it down. Remove the hoop from the machine, do not unhoop, and trim the Battilizer® right up next to the tack down stitches.
(Click Image to Enlarge)
Step 5:
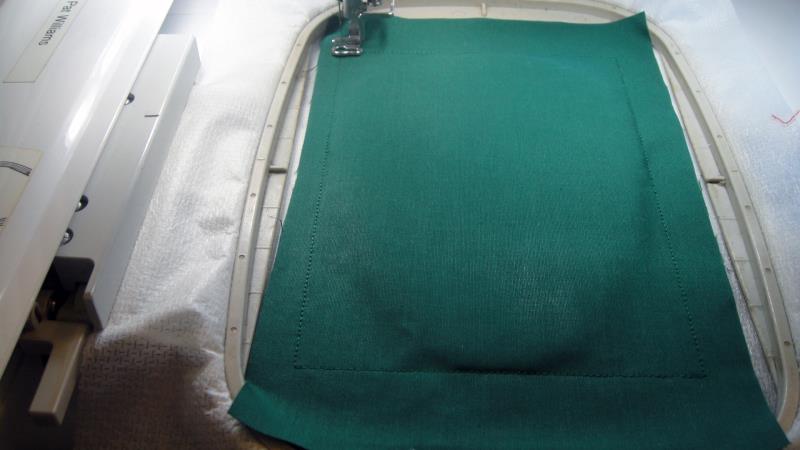
Spray adhesive on a green rectangle and position over the inside of the hoop. Run CS 3 to tack down the green fabric.
(Click Image to Enlarge)
Step 6:
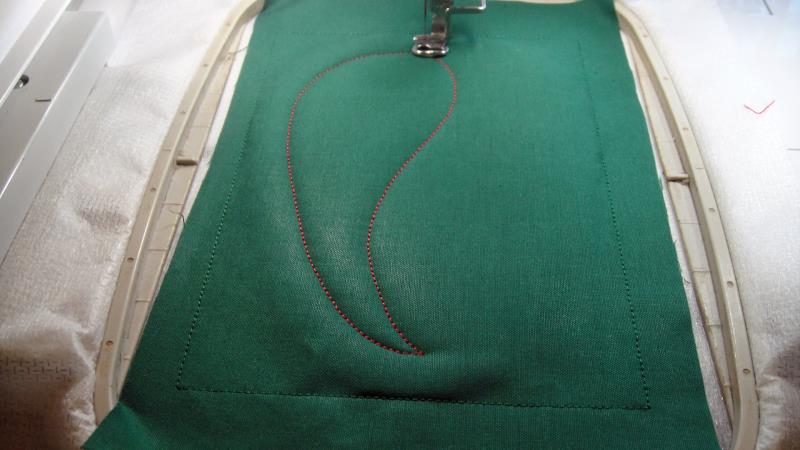
Run CS 4 in Red as a placement line for the Ivory/Gold Christmas Print applique.
(Click Image to Enlarge)
Step 7:
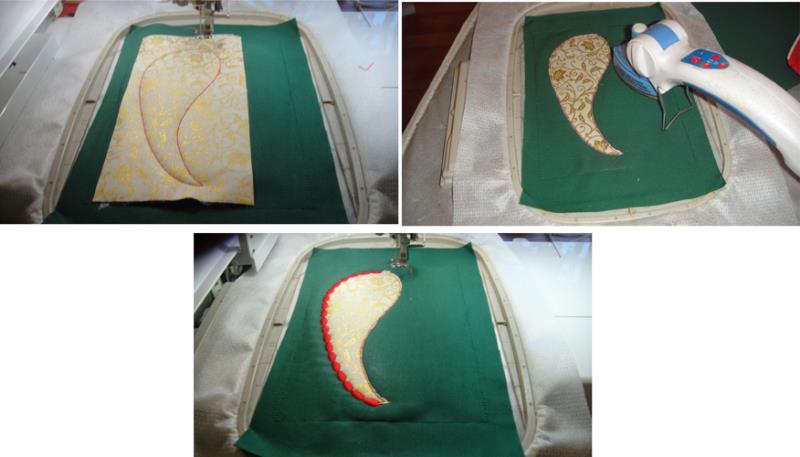
Remove the Heat N Bond Lite® paper from the Ivory/Gold applique, spray adhesive on the back and position over the placement line. Run CS 5 to tack down the applique. Remove the hoop from the machine, do not unhoop; trim the applique right up the tack down line and press with an applique iron. Run CS 6 to stitch the border.
(Click Image to Enlarge)
Step 8:
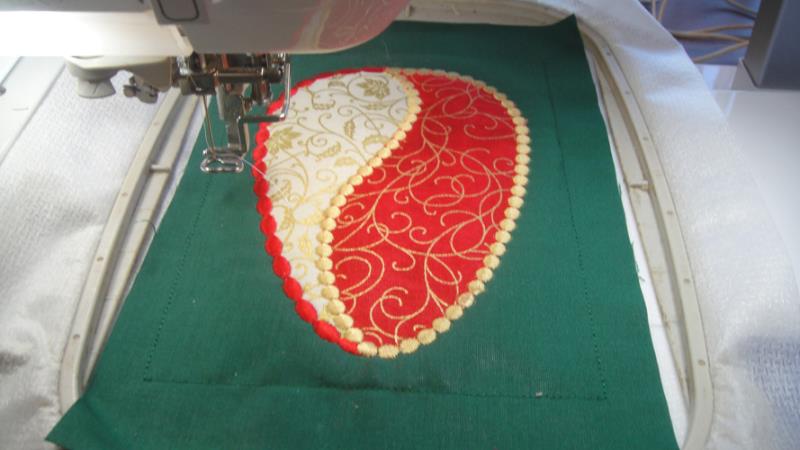
Repeat the procedure in Step 7 in Vegas Gold thread and color stops 7, 8 and 9 to stitch the red applique fabric to the petal.
(Click Image to Enlarge)
Step 9:
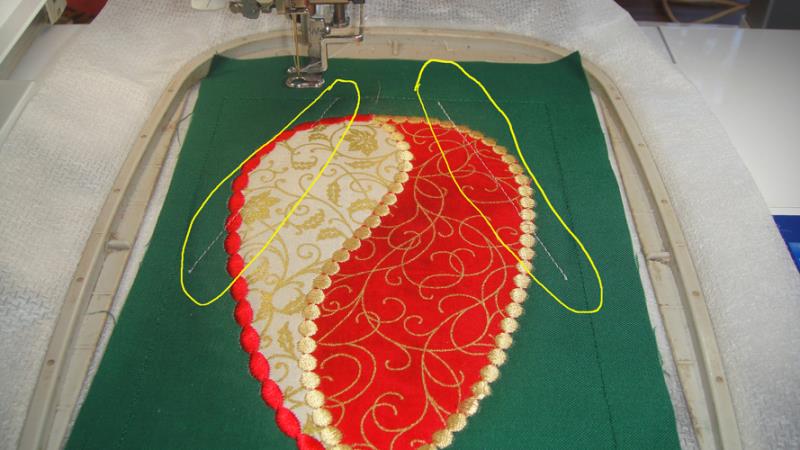
Run CS 10 in Fir (match the background fabric) as guidelines for you to stitch the project together. They are shown in white in this picture so that you can see them.
(Click Image to Enlarge)
Step 10:
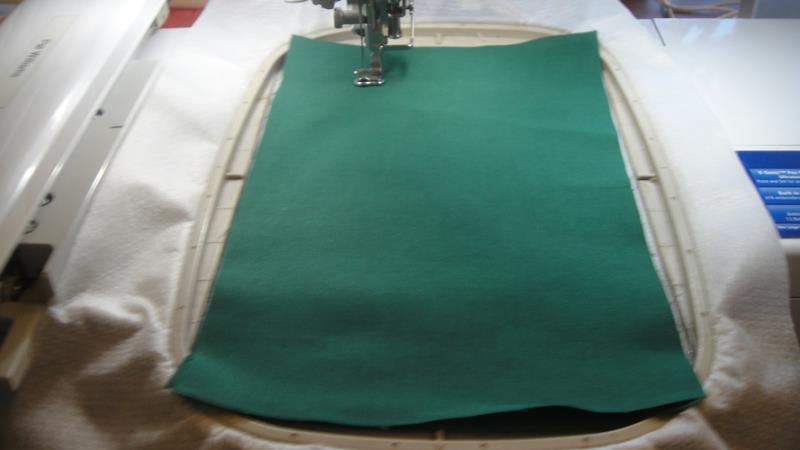
Position the remaining green fabric over the project without adhesive spray. Run the final color stop in Fir for the final seam (not pictured.)
(Click Image to Enlarge)
Step 11:
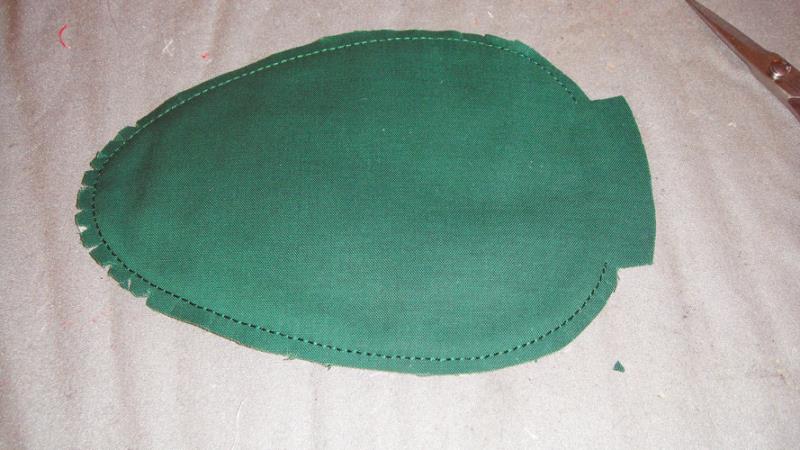
Trim around the seamed areas of the project with a ¼” seam allowance. Leave a ½” seam allowance around the area that is not seamed for turning. Cut notches around the end of the petal and clip the other corners.
(Click Image to Enlarge)
Step 12:
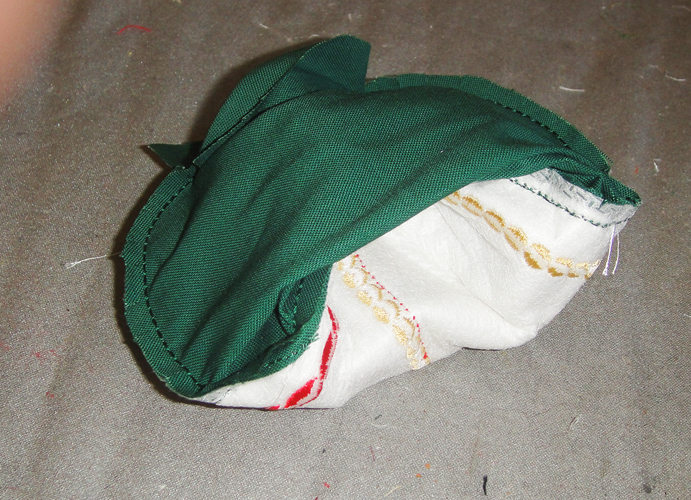
Turn the petal right side out through the opening, smoothing out the curves with a chop stick or other long object.
(Click Image to Enlarge)
Step 13:
Turn in the seam allowances at the top and either hand stitch or close those with double-sided fusible ¼” Steam a Seam®.
(Click Image to Enlarge)
Step 14:
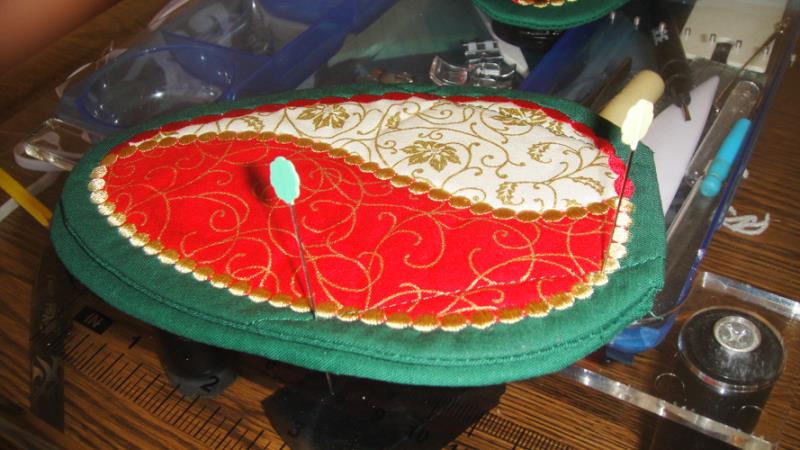
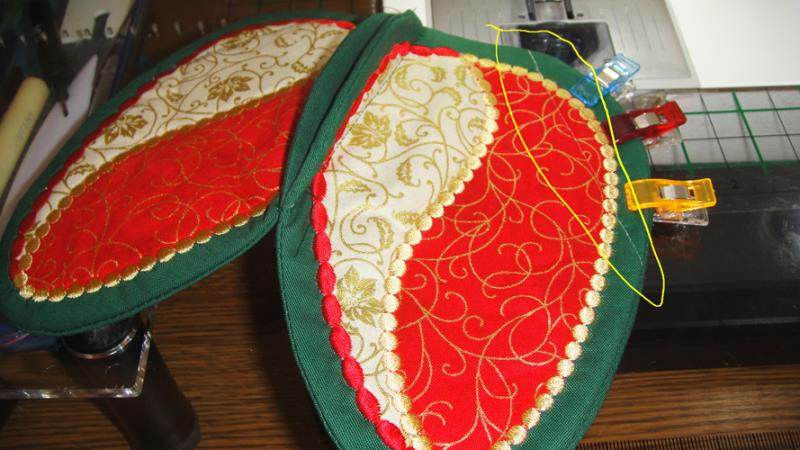
Make a total of 8 petals. Take two petals and place them wrong sides together. Place two pins vertically through the stitch guidelines of the top petal and then through the bottom petal to make sure they are aligned.
(Click Image to Enlarge)
Step 15:
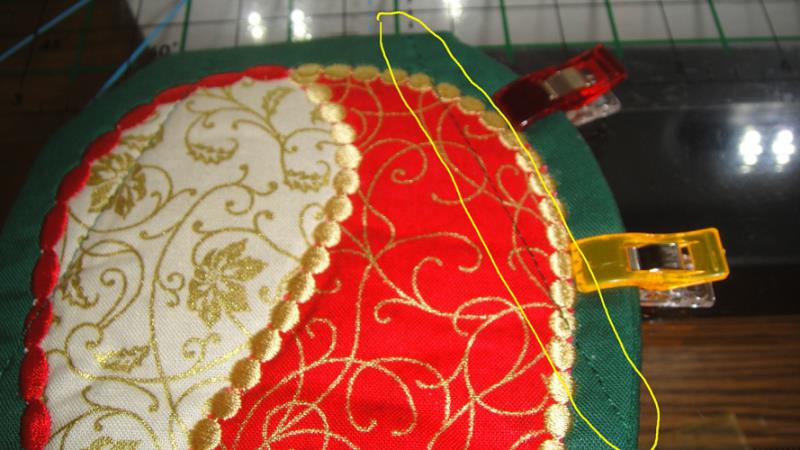
With thread in the top and bobbin of your sewing machine that matches the background fabric stitch directly over the guideline. Backstitch at the beginning and end of the seam. A stitch length of 3mm is recommended.
(Click Image to Enlarge)
Step 16:
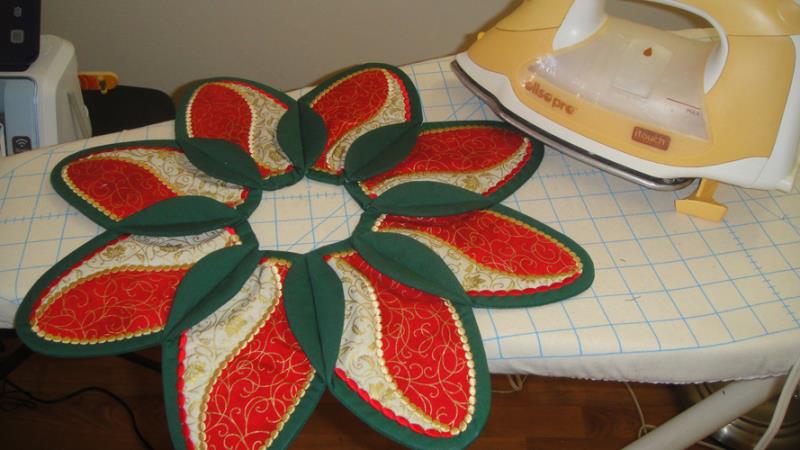
Continue adding petals until they are all stitched together.
(Click Image to Enlarge)
Step 17:
Steam press the new inner petals open.
(Click Image to Enlarge)
Step 18:
Set your flameless candle on the center of the wreath for a lovely table centerpiece. Congratulations your Folded Wreath Centerpiece is complete!
Award winning Digitizer, Embroidery Educator, Author and a Consultant to the Industry, Pat Williams has 30 years of experience in the embroidery industry. Pat has won multiple awards for her digitizing expertise including the 2007 Impressions Awards Grand Championship, Best of Show as well as the 1st and 2nd Place Awards. Pat’s love of digitizing has afforded her the opportunity to write numerous articles for Impressions magazine in the United States and Images Magazine in Europe. In 2001 Pat was named “Embroidery Educator of the Year.” For many years Pat taught digitizing seminars at the ISS Shows in Long Beach, CA and for Compucon software. She now resides in Tucson, AZ.