Live Chat
Embroidery Designs
Welcome, Embroiderer
Login
Multi Media Wall Hanging
{{mainImageAlt || (productInfo._source && productInfo._source.name) || ''}}

Multi Media Wall Hanging Embroidery Project

By   ruth vangrowski   on   October 16, 2018
  • SKILL LEVELIntermediate
  • TIME REQUIRED04:30
  • FINISHED SIZE20 x 28 inches
Description

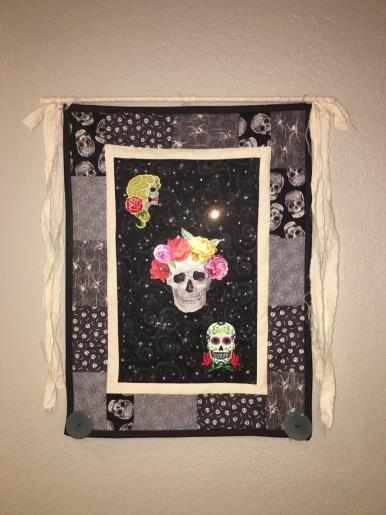
Wall Hanging using embroidery, applique, and Hotfix crystals Skull designs

Step of

Materials

Project Preview Video

Materials
  • Designs by Great Notions 63490 and 63482
  • Thread by Robison-Anton as stated on color sheets
  • 1 piece of low loft batting to fit the finished hanging
  • Stitch Witchery to apply to back of fabric for applique
  • Fabric for applique
  • Silicone Pressing sheet
  • Fuse-n-tear stabilizer
  • 1/2 yard of 45" fabric for background and back of wall hanging
  • 1/2 yard of 45" muslin
  • 1/4 yard of several coordinating prints
  • Hotfix Wand
  • Hotfix crystals
  • Two large Buttons
  • 1 dowel 22" long


  • Step 1:
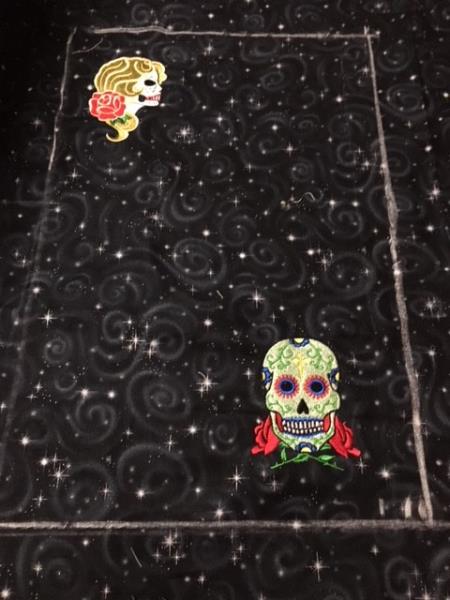
    Mark the background fabric 16" long x 10" wide. Fuse the Fuse - N - Tear Stabilizer to backside of 
    background fabric. Run the two designs, one in the upper left corner and the other in the lower right 
    corner.

    (Click Image to Enlarge)


    Step 2:
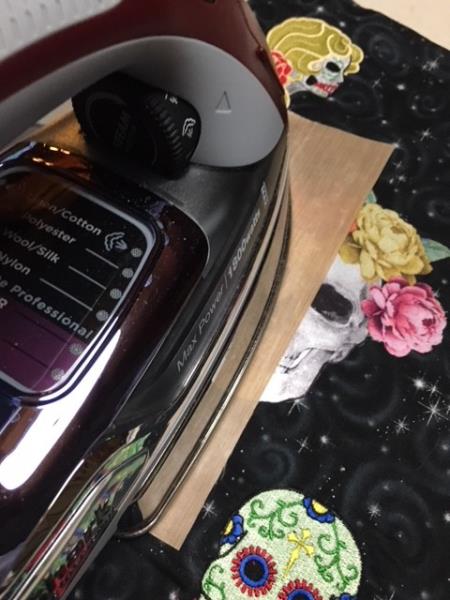
    Cut around the applique fabric, fuse the Stitch Witchery to the back side of the applique fabric using the Silcone Pressing sheet,next cut very close to the edge of the applique.Cut out the background fabric along the marked lines

    (Click Image to Enlarge)


    Step 3:
    (Click Image to Enlarge)
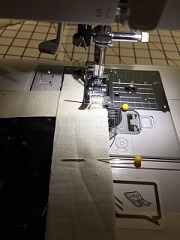
    Cut two 1" wide x 10" long and two 1" x 16" long and stitch to frame background fabric, using a 1/4" seam 


    Step 4:
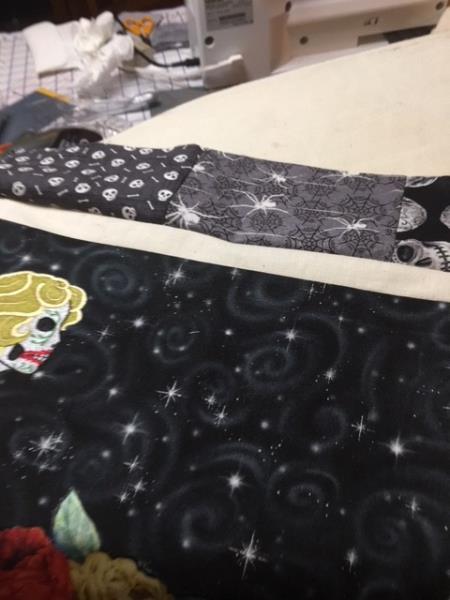
    Cut the coordinating prints 2 1/2"  wide by 4" long. Stitch pieces together across the short ends using a 1/4" seam. Cut two of the coordination prints to border the muslin at the top and bottom and stitch, now cut 2 to border the sides of the muslin. Press all seams, now you are ready to layer batting, backing and top together.

    (Click Image to Enlarge)


    Step 5:
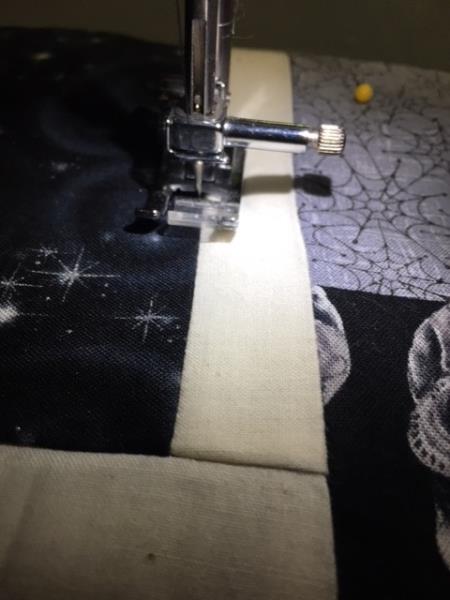
    Stitch in the ditch around the background fabric and muslin,
    Now you are ready to set the crystals 

    (Click Image to Enlarge)


    Step 6:
    (Click Image to Enlarge)
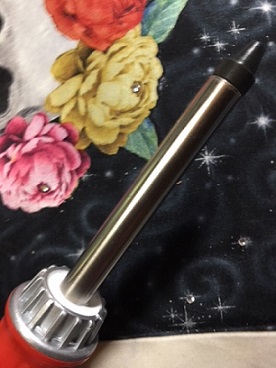
    Using the HotFix Wand and the HotFix Crystals, set the crystals,use as many as you want


    Step 7:
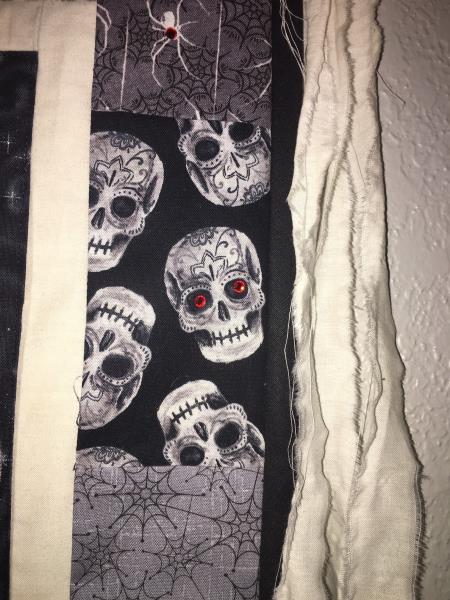
    I wrapped the dowel with muslin that I tore into 1" pieces, attached 2 large buttons to the bottom of the hanging to give it more weight and attached 2 curtain rings to run the dowel through. I then tied 1" strips of muslin to the ends of the dowel.

    (Click Image to Enlarge)


    I hope you enjoy making this easy project!
    Meet the Author: ruth vangrowski
    ruth vangrowski
    Ruth has been a customer service rep for Great Notions for 30 years. She has been sewing for over 65 years.
    More From This Author
    Link is Broken, Please check the URL
    Exclusive Embroidery Offers!
    Copyright © {{ currentDate | date:'yyyy'}} - EmbroideryDesigns.com
    GET 50% OFF! ×