Live Chat
Embroidery Designs
Welcome, Embroiderer
Login
Toddlers skirt
{{mainImageAlt || (productInfo._source && productInfo._source.name) || ''}}

Toddlers skirt Embroidery Project

By   Kylie Burke   on   September 28, 2018
  • SKILL LEVELBeginner
  • TIME REQUIRED01:40
Description

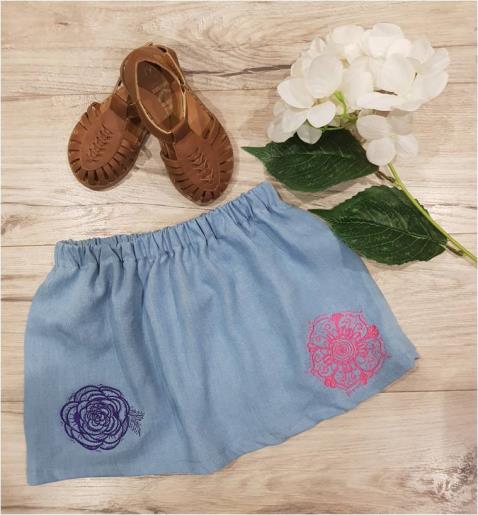
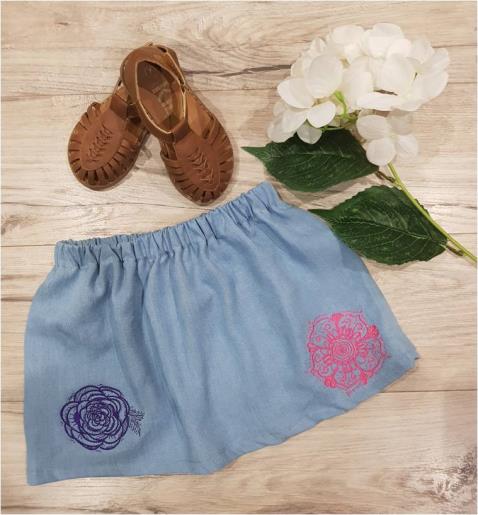
Create a simple toddlers skirt with fun and colorful flower embroidery!

Step of

Materials

Project Preview Video

Materials
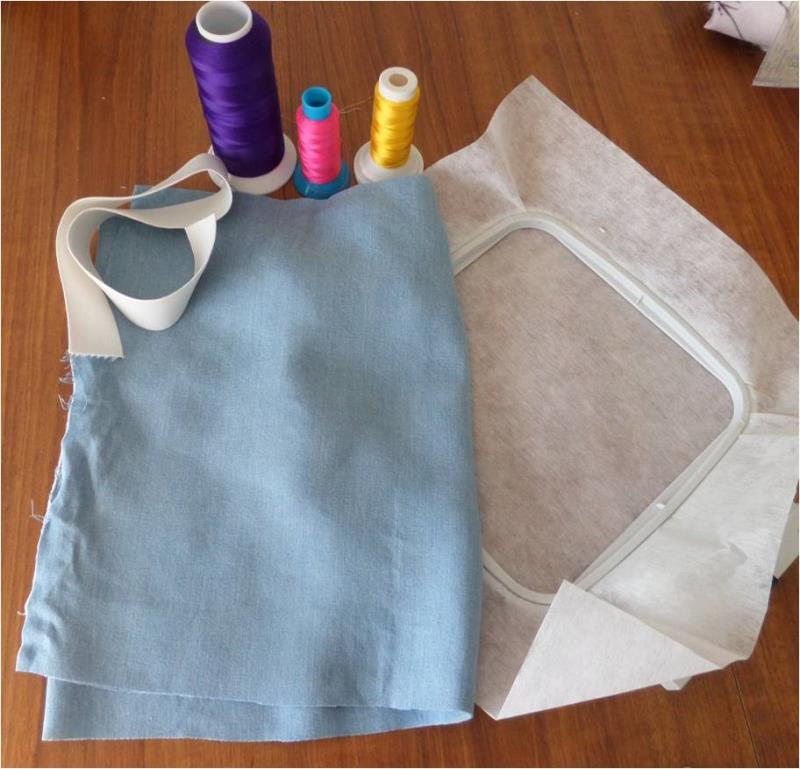
  • Fabric of your choice for the skirt
  • 3 embroidery thread colors of your choice
  • 4” hoop
  • Cutaway or tearaway stabilizer (depending on your type of fabric)
  • 20mm elastic
  • Sewing machine

  • Designs used in this project

    Final Product: What You Will Create

    Preface:
    Choose the stabilizer best suited to your fabric choice. I have used light cutaway for this skirt to help support the embroidery on the chambray fabric.
    I have also only embroidered 3 flowers, you could definitely add more if you wanted.


    Step 1:
    Gather the materials and read through the instructions before beginning. 

    (Click Image to Enlarge)


    Step 2:
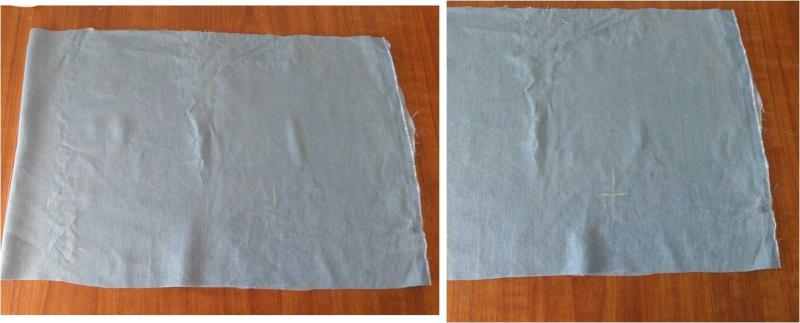
    To cut the skirt, you need to cut a rectangle. Measure the waist of the toddler and double it, then measure how long you wish it to be. The skirt I have made is for a 2year old so my rectangle is cut at 300mm long x 90cm wide. Then mark the positions you want the flowers, I have evenly spaced the 3 flowers around the skirt along the bottom hem, ensure you leave enough space to turn up the hem. 

    (Click Image to Enlarge)


    Step 3:
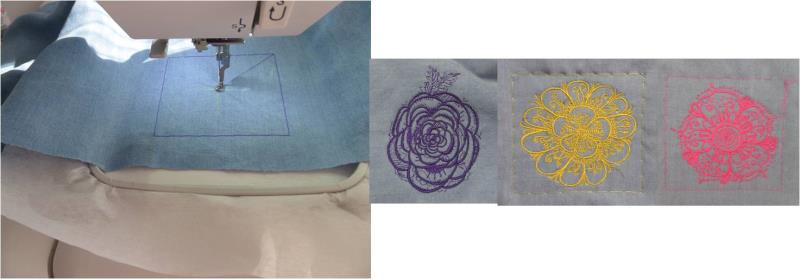
    Hoop the stabilizer and attach the hoop to the machine. I have floated my fabric for this stitch out and used a tack-down stitch to hold the fabric in place, just ensure you center the fabric under the machine foot based on the mark you made for the embroidery placement. Then stitch out the 3 flowers. NOTE: you need to re-hoop for each design

    (Click Image to Enlarge)


    Step 4:
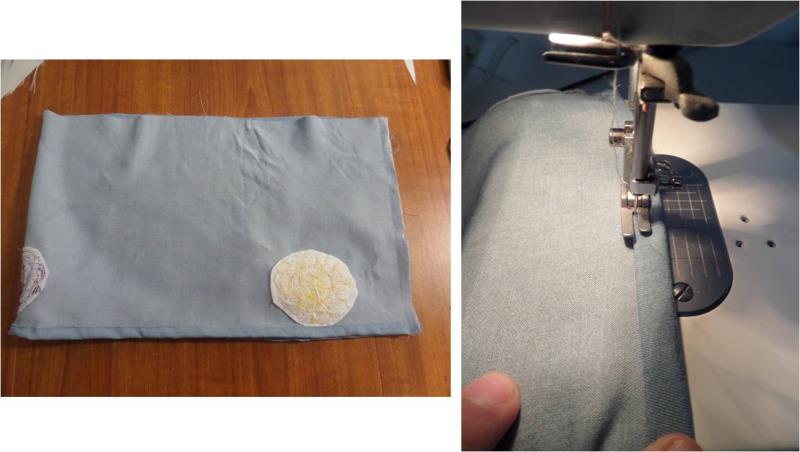
    Now you want to fold up the hem by turning it up to 6mm and pressing it, then turn up again for 12mm and press. Now fold your skirt in half lengthwise, with the right sides together and sew down the side seam. Then you can stitch down the hem.

    (Click Image to Enlarge)


    Step 5:
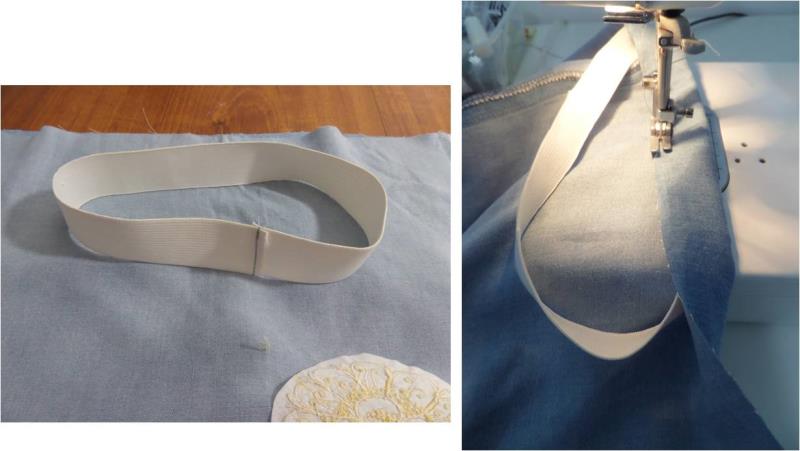
    Now for the elastic, using the toddler's waist measurement you want to cut the elastic to ¾ of that measurement. For example, if the waist measurement is 50cm, you would cut the elastic at 37.5cm. There are 2 ways you could insert the elastic 1.you can sew the casing first by turning under 6mm then turn again 25mm and press, then stitch it down and thread the elastic through, then stitch the elastic together and close the gap. Or the way which I have done it in this tutorial is 2.form a loop with the elastic and sew it closed, then lay the elastic along the top edge of the skirt and turn down the fabric 30mm to cover the elastic then turn under 5mm and top stitch the casing down, this will encase the elastic as you stitch it closed. 

    (Click Image to Enlarge)


    Step 6:
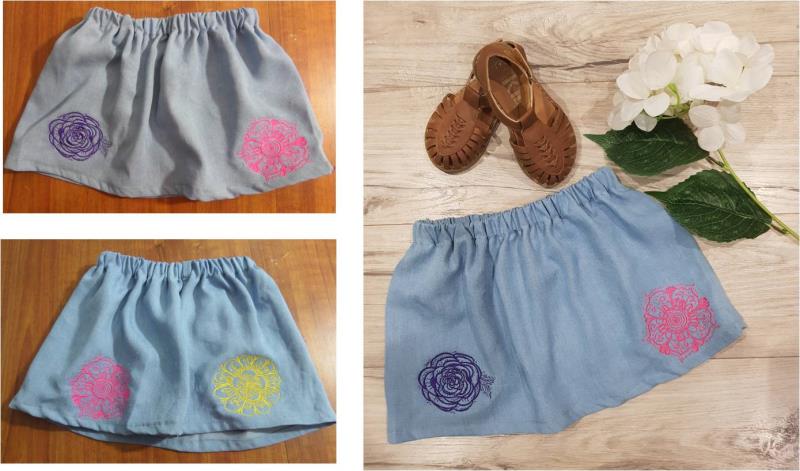
    Well done on completing this simple toddlers skirt! 

    (Click Image to Enlarge)

    Meet the Author: Kylie Burke
    Kylie Burke
    Kylie is based in Australia and loves creating and sharing her unique pieces.
    More From This Author
    Link is Broken, Please check the URL
    Exclusive Embroidery Offers!
    Copyright © {{ currentDate | date:'yyyy'}} - EmbroideryDesigns.com
    GET 50% OFF! ×